I remember when I was transitioning to adulthood a few years ago and developed a mild form of anxiety after realizing how expensive “adulting” was. The cost of owning a house, organic food, paper towels, a quality non-stick pan…
…the cost of window treatments.
Let’s face it – window treatments can make or break a room, but quality drapes and shades can cost as much as a kidney on the black market.
As I’m focusing on re-doing my living room (for the 11th time), I wanted to share how I personally created “custom” window treatments for less than $130 (no kidney OR sewing required)! The final product won’t look as high-end as the curtains I’m about to share, but it’s as close to luxe as we can get on a budget.
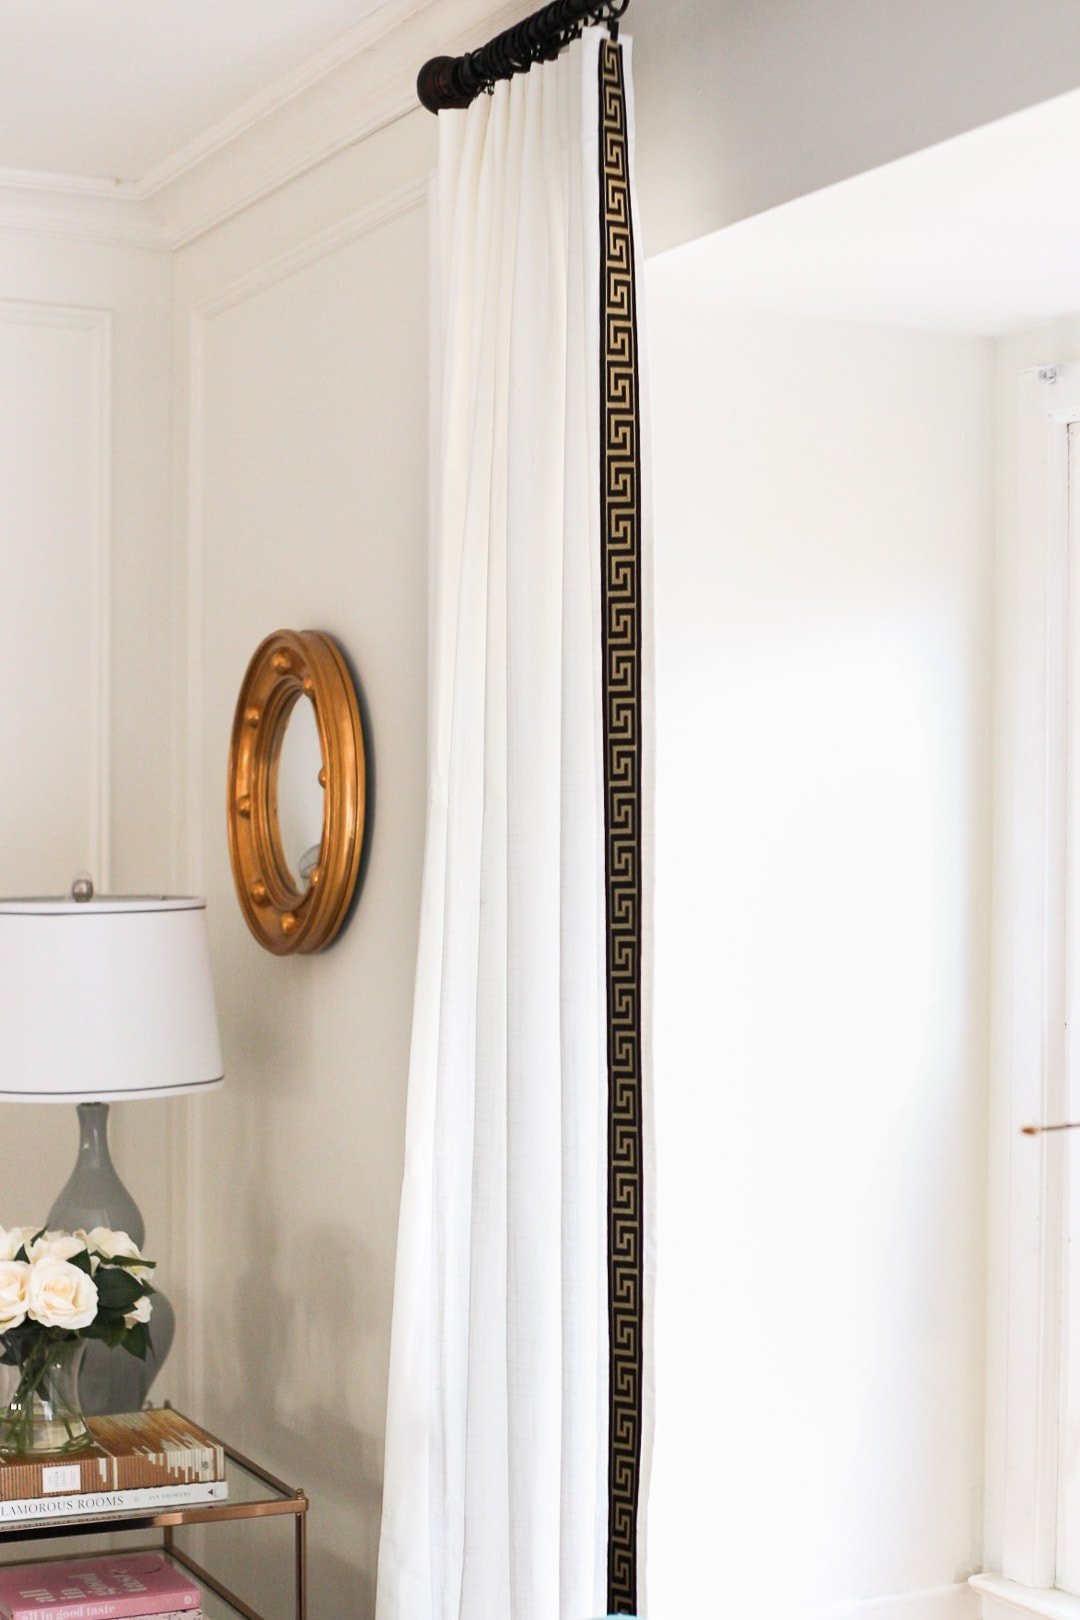
Before we dive in, I want to share some gorgeous photos of custom window treatments that make me swoon:
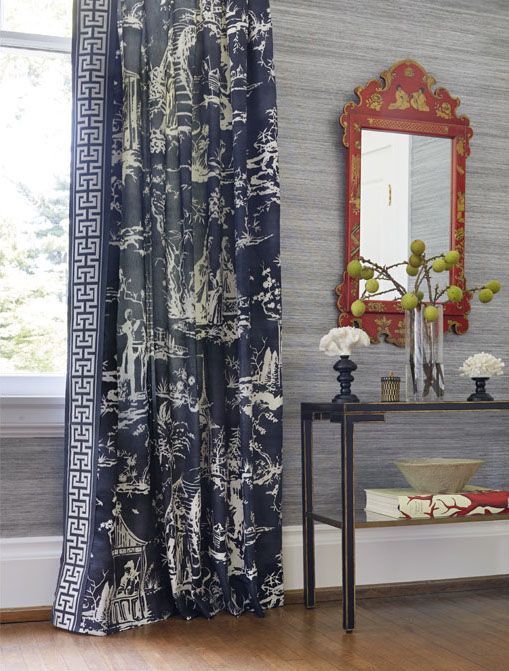
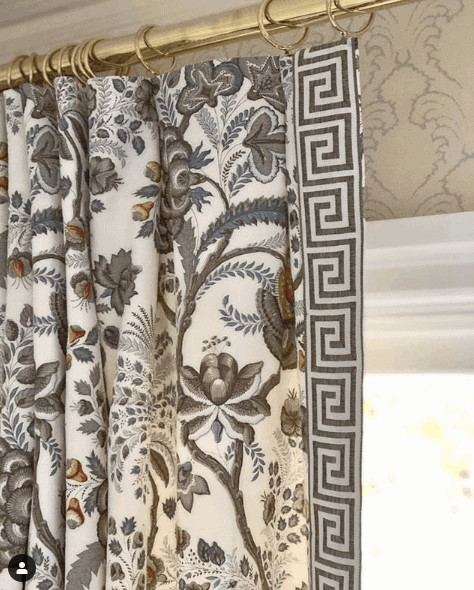
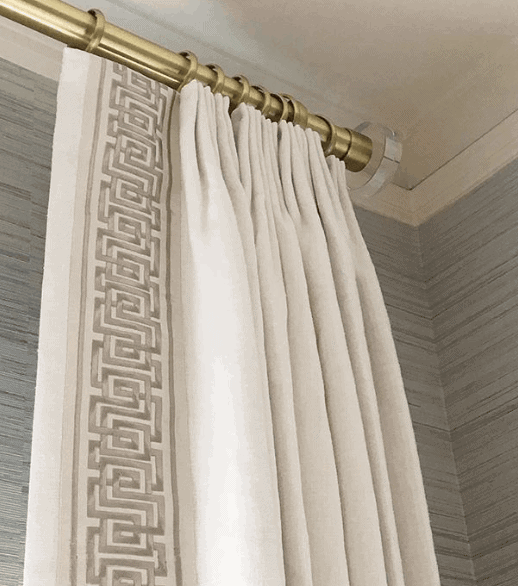
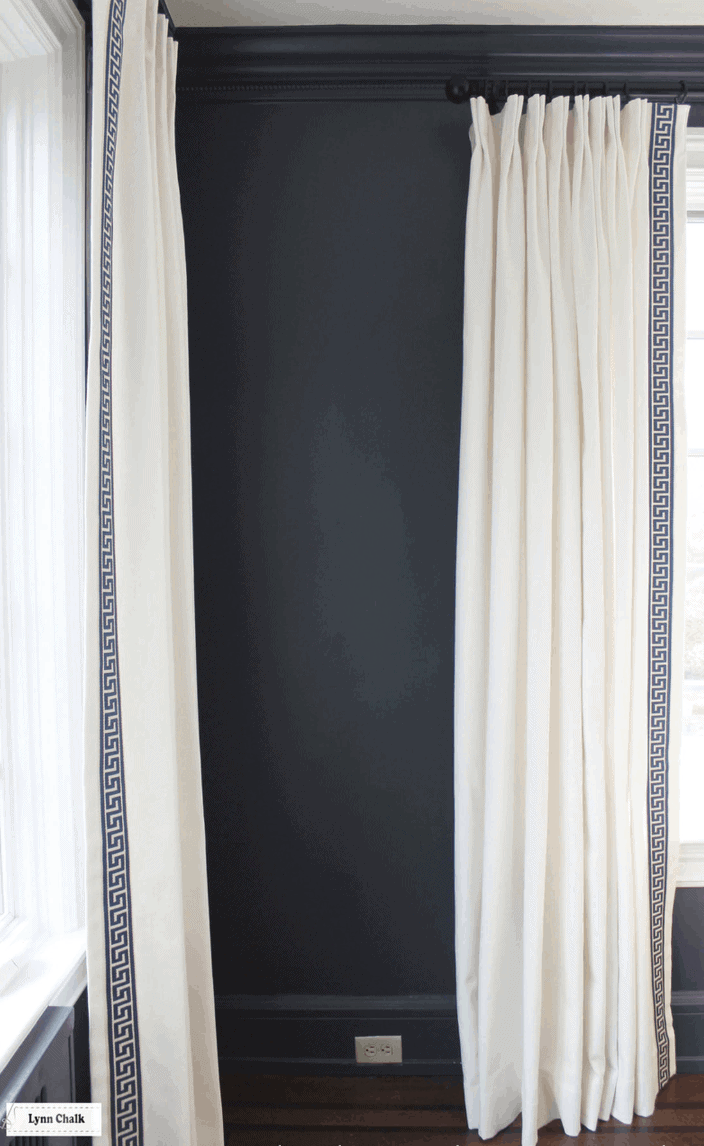
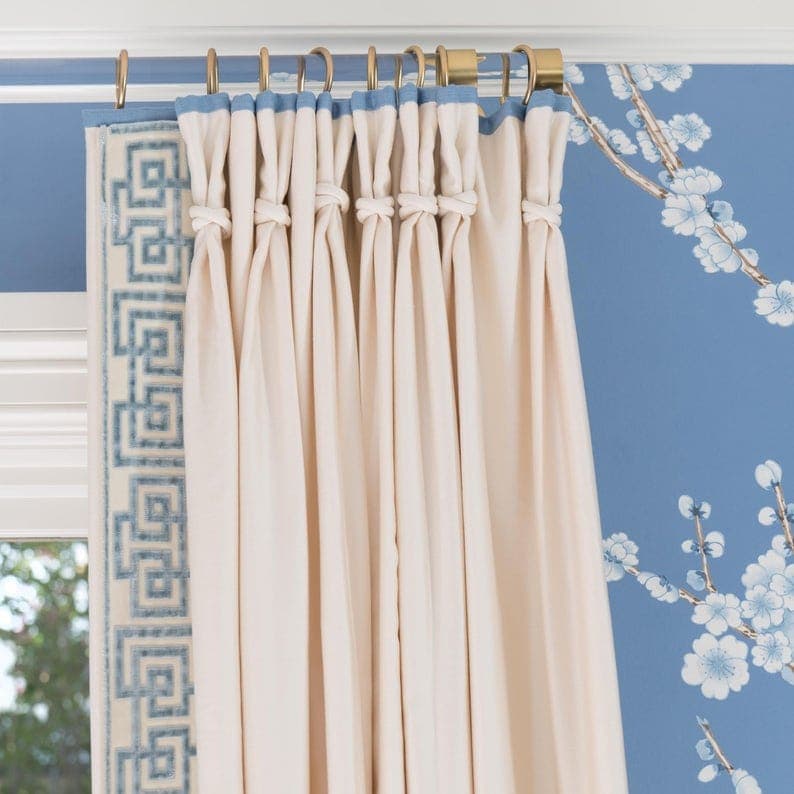
The pleats get me every time.
Alright, enough window porn. Let’s dive in.
MATERIALS:
(note – these are costs to create one pair of custom curtains):
- Ikea Ritva curtains: $39/pair. Since my window is 92” long, I will eventually double up on the curtains to add more fullness. I personally don’t think it’s necessary to double up on windows that are less than ~40″ wide. I used the same curtains in my office and did not double up. It’s entirely up to you!
- Greek key trim: $30 per 10 yards. I used about 3 yards of trim per panel, so I recommend buying one roll of this trim per panel. You can find greek key ribbon cheaper on e-bay, but it doesn’t look as nice.
- Fabric fuse – $6
- Curtain rings with clips – $12 per 40 rings. I use these to create the pleats that custom curtains typically have. Each curtain needs about 8-15 rings depending on how you space the pleats.
- Stitch Witchery: $5 per 20 yards. This will be used for hemming the curtains, so you won’t need this if your curtains are already the length you desire.
- Curtain rod: $30 If you already have rods, great! I bought the rods for my office off FB MP but they’re Umbra brand and I highly recommend. They come in a few finishes too!
Total cost: $122
STEP 1: HEM THE CURTAINS
If your curtains are already the length you need, then you can skip this step. But I’ve found that Ikea curtains are uncommon lengths so chances are, you may need to trim them. Here’s what you’ll need to trim them:
- Stich Witchery
- Iron
- Ironing board
- Damp rag
- Scissors
Here’s the very straightforward tutorial I used to hem the curtains – it’s super simple and took me about an hour to hem 4 curtains. Make sure they are all the same length! I like mine sitting just slightly above the floor.
STEP 2: APPLY THE TRIM
Once the curtains are the proper length, it’s time to add the trim. As a general rule, the trim should be placed about 1″ from the edge of the curtains, not directly along the edge of the curtain.
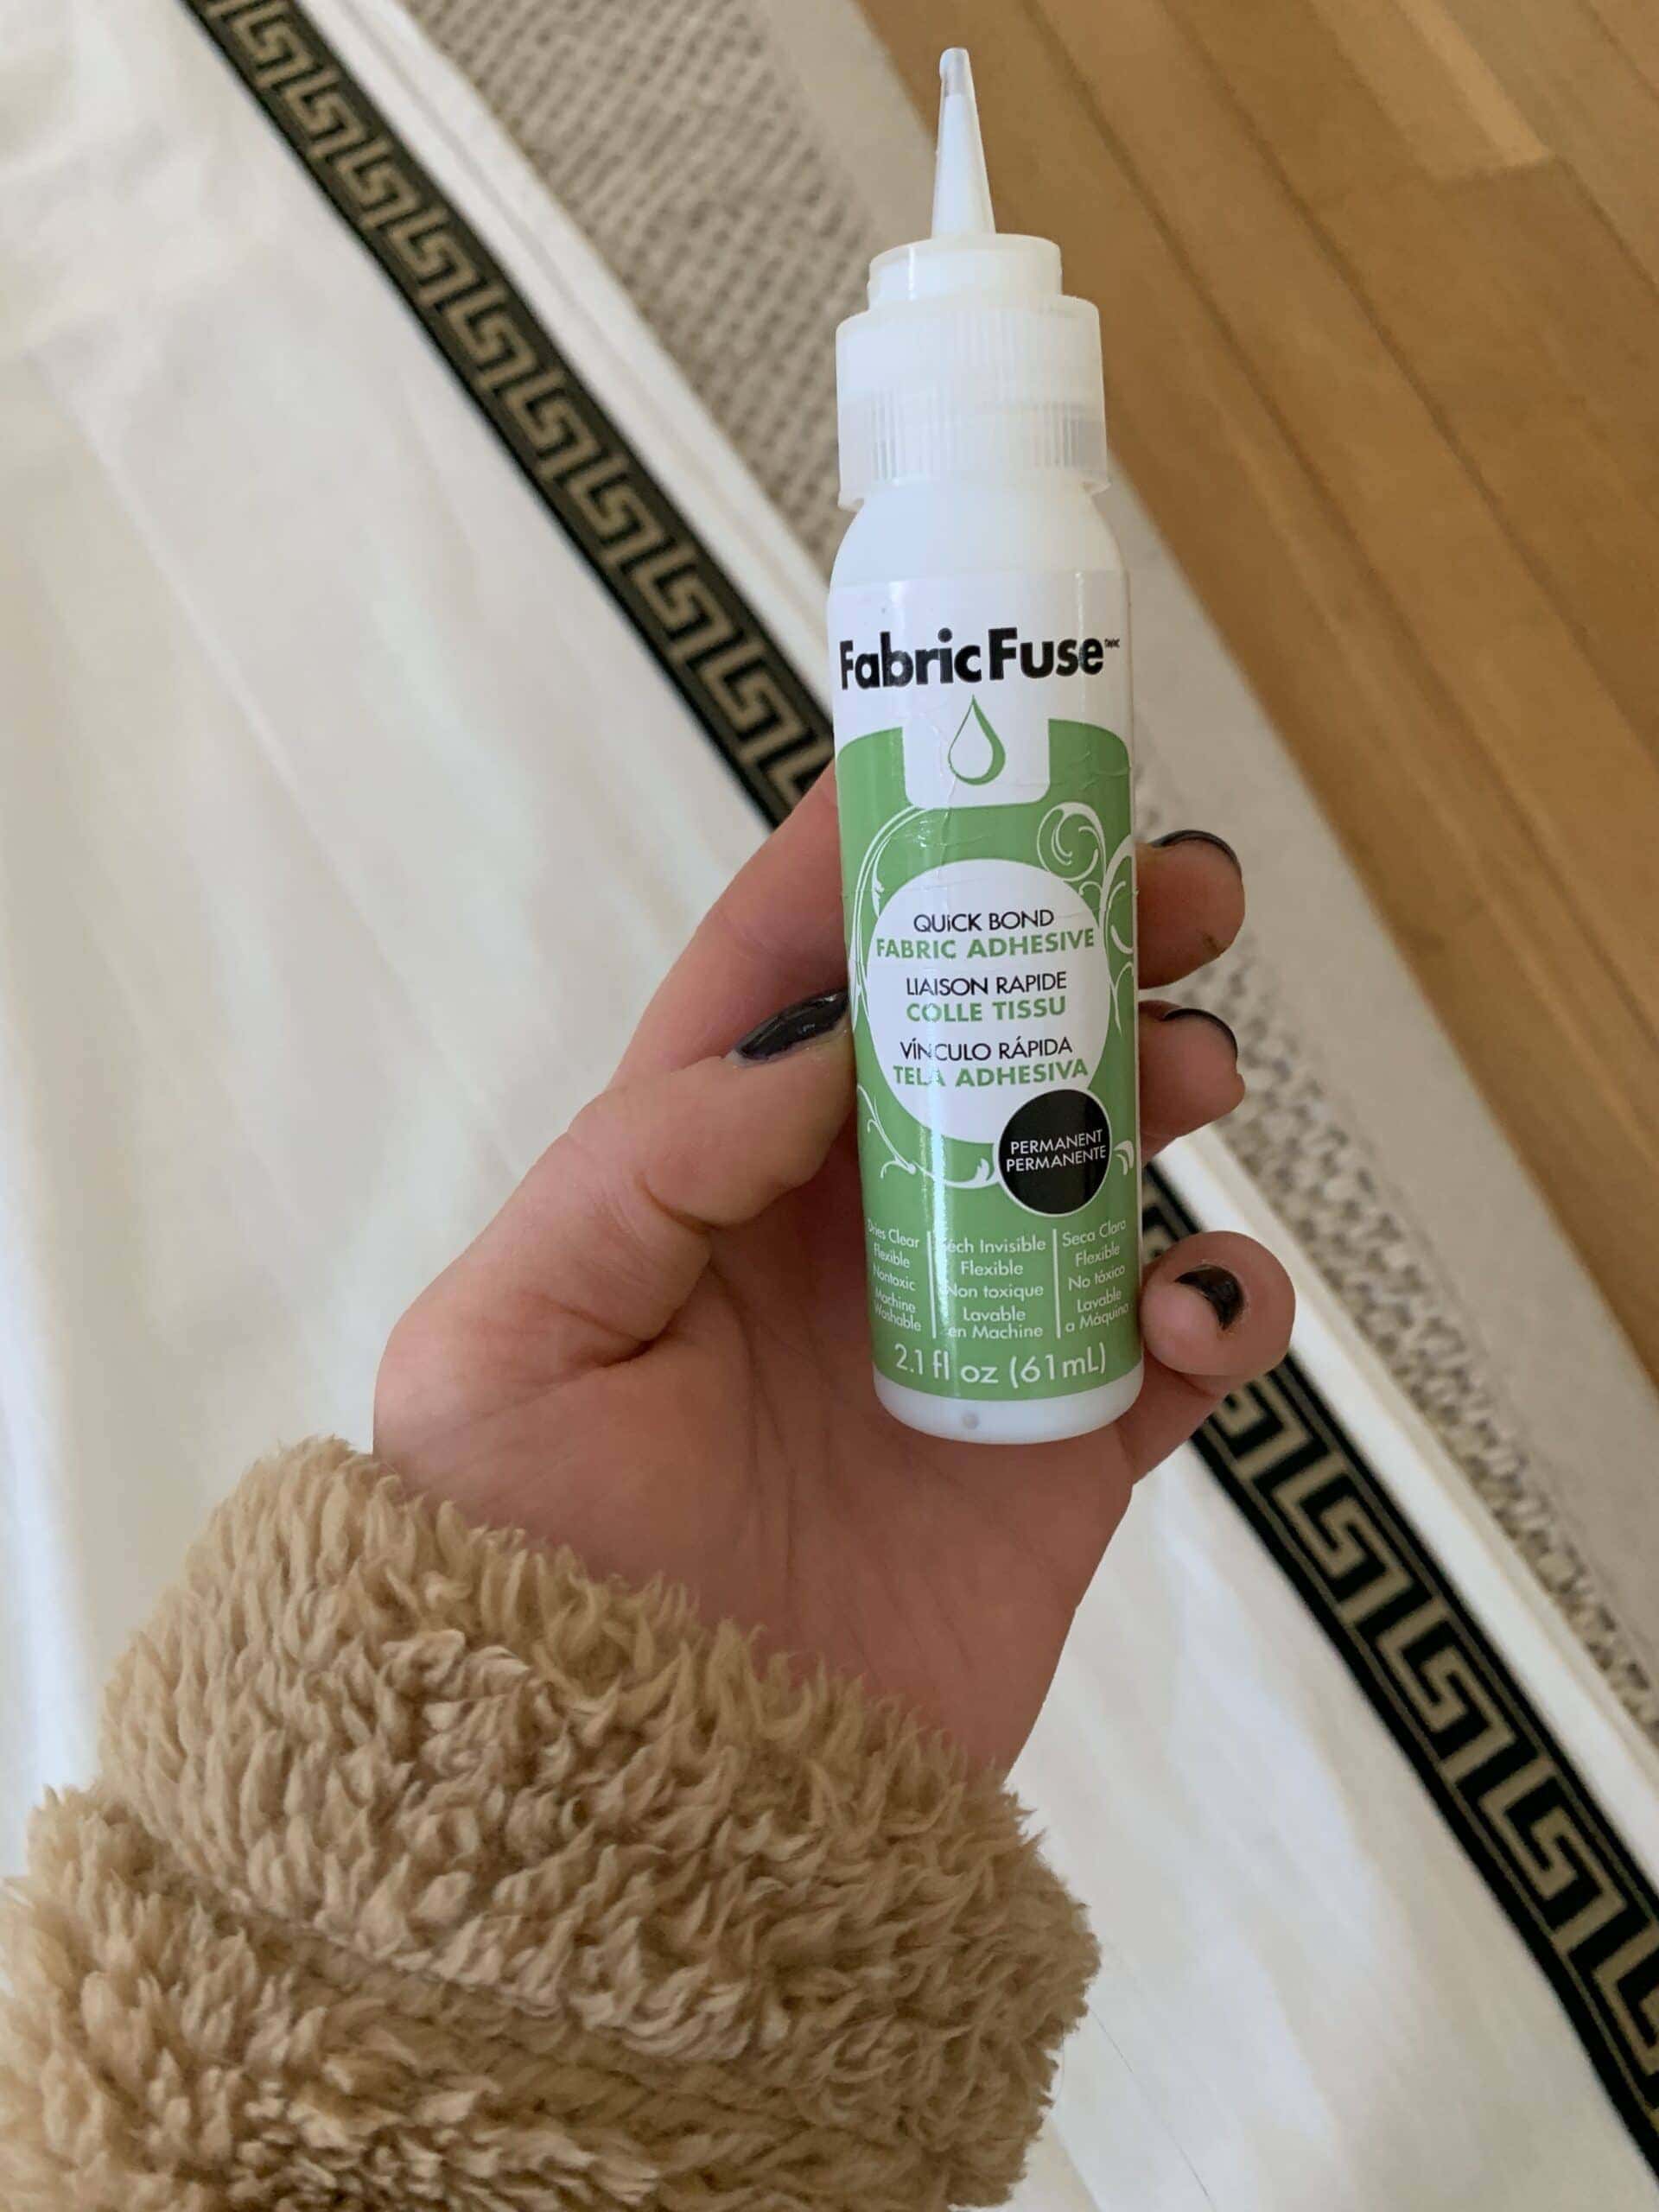
I laid each panel on a flat surface (ahem, the floor) and began to apply the fabric glue starting at 1″ from the edge of the curtain.
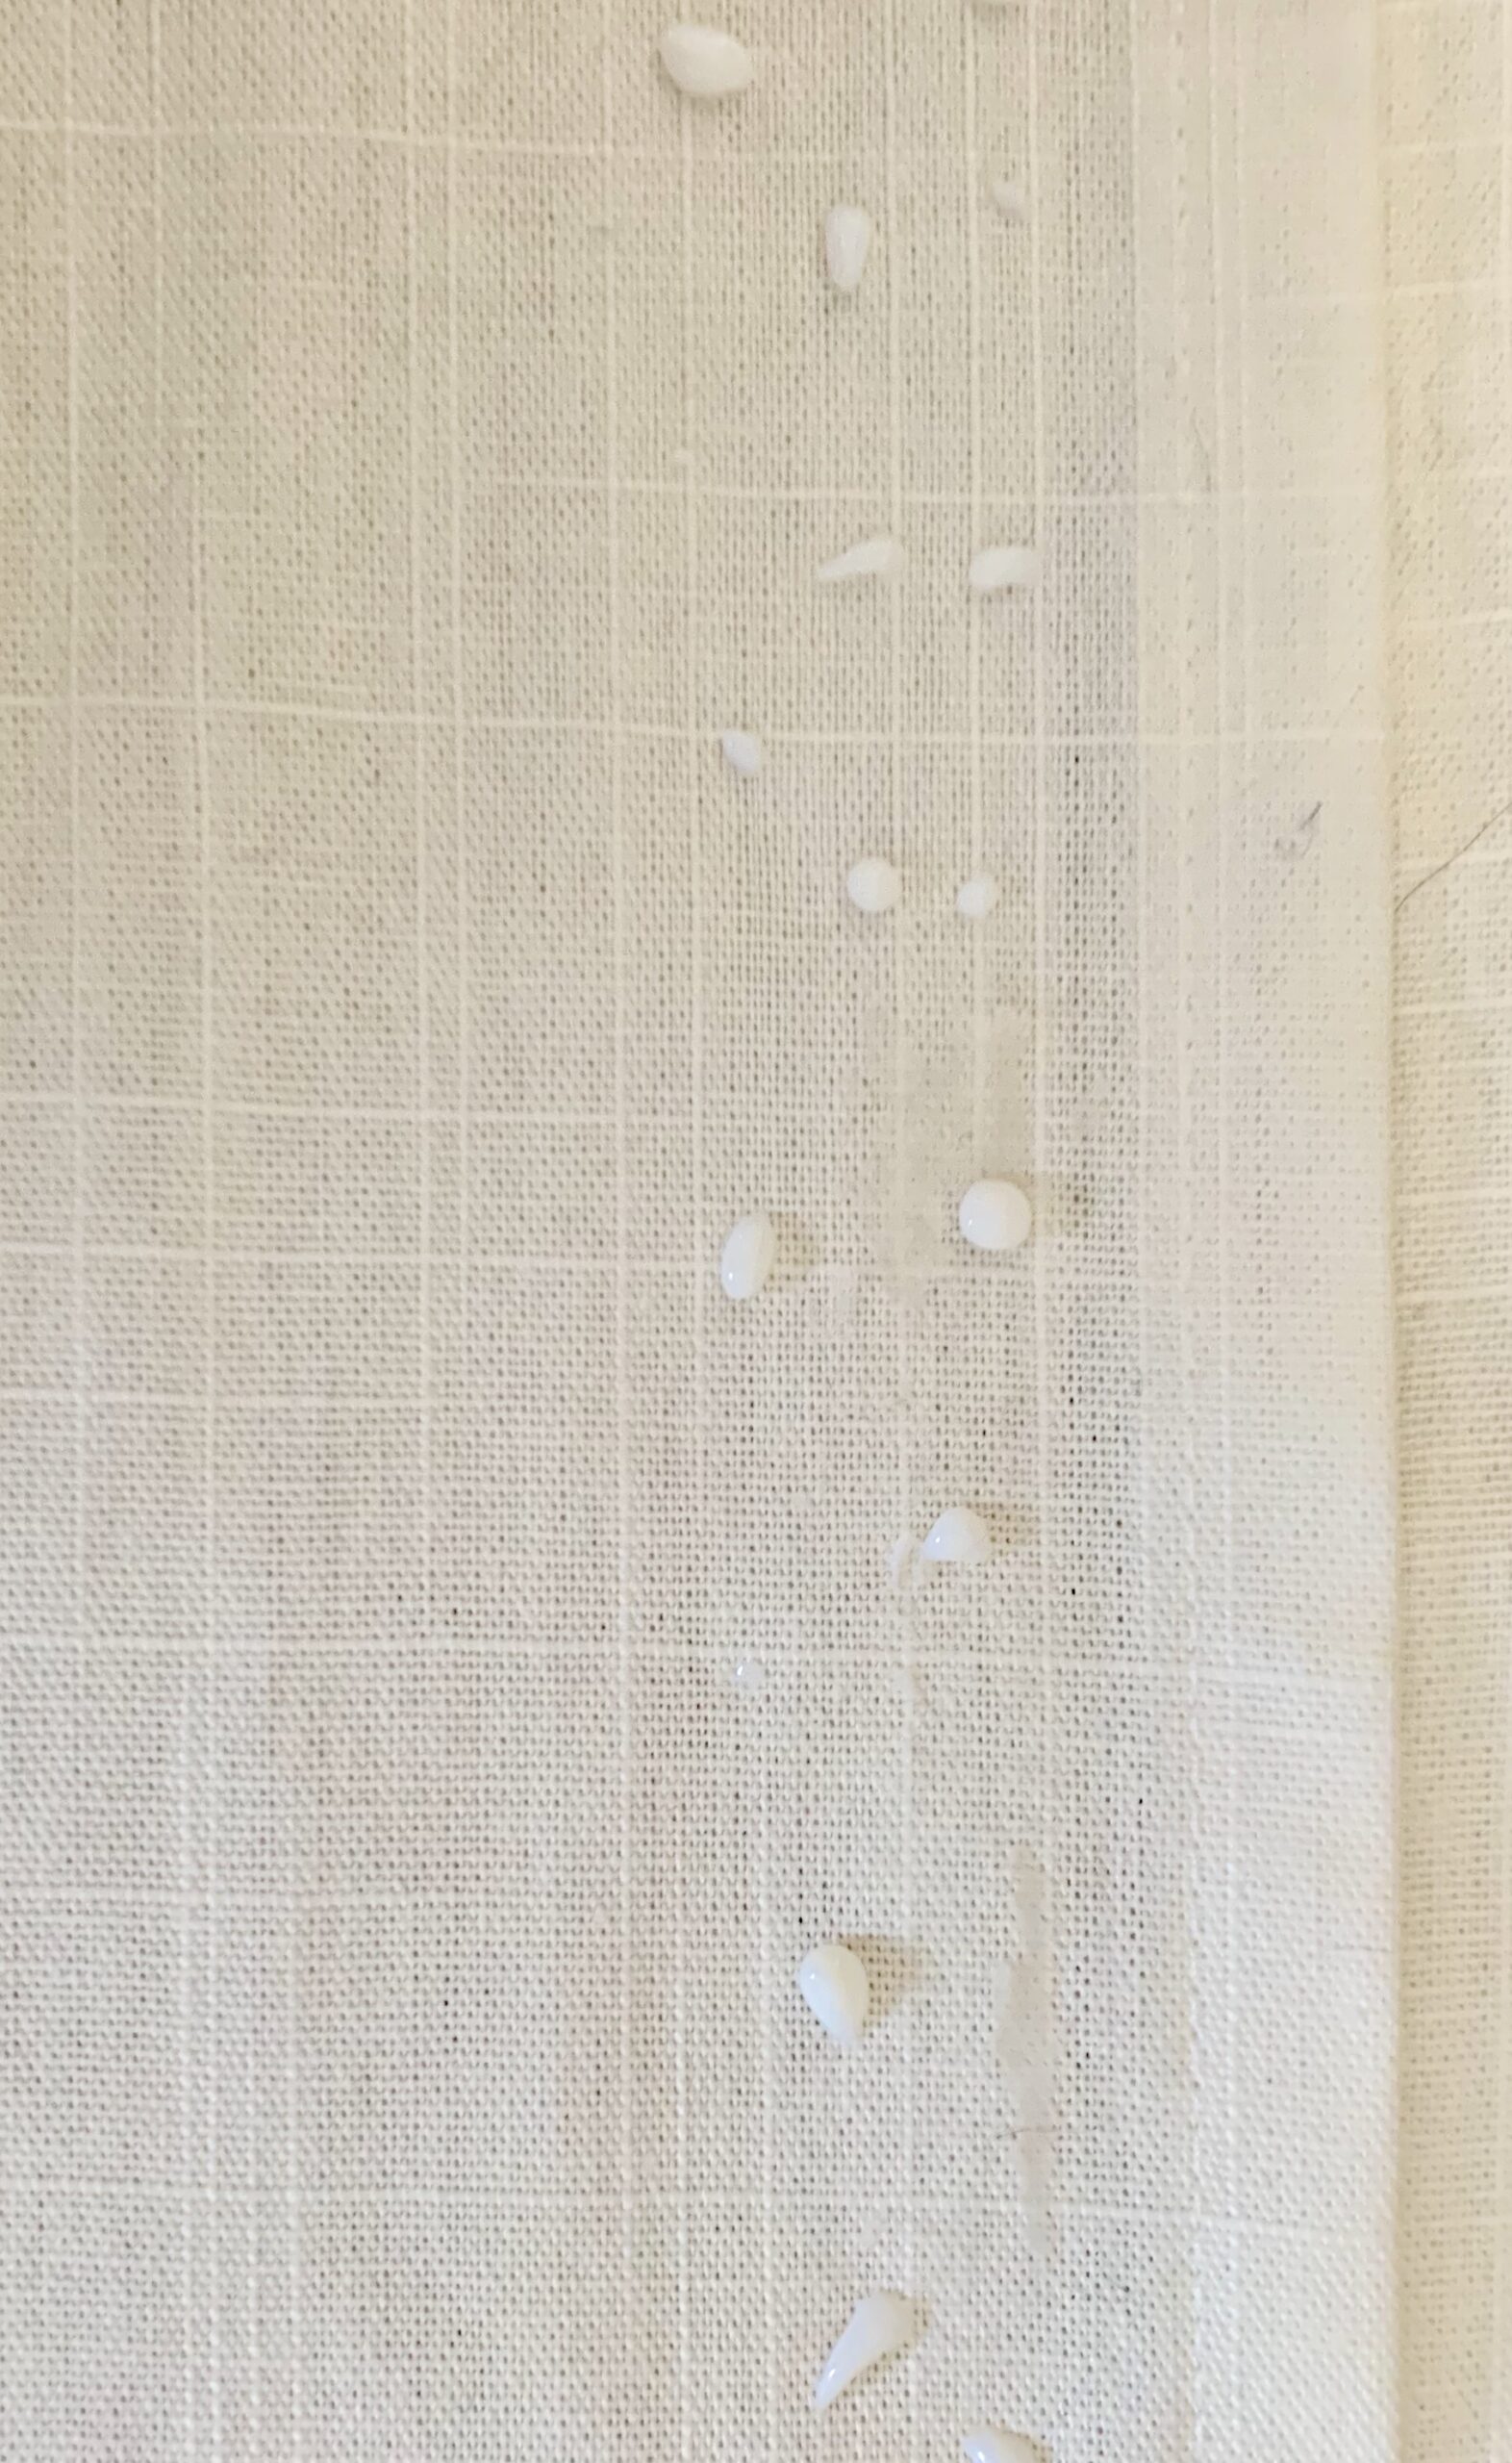
I started with a small amount but realized that the trim adhered better with more glue, so don’t be afraid to add more and make sure you apply enough around the edges!
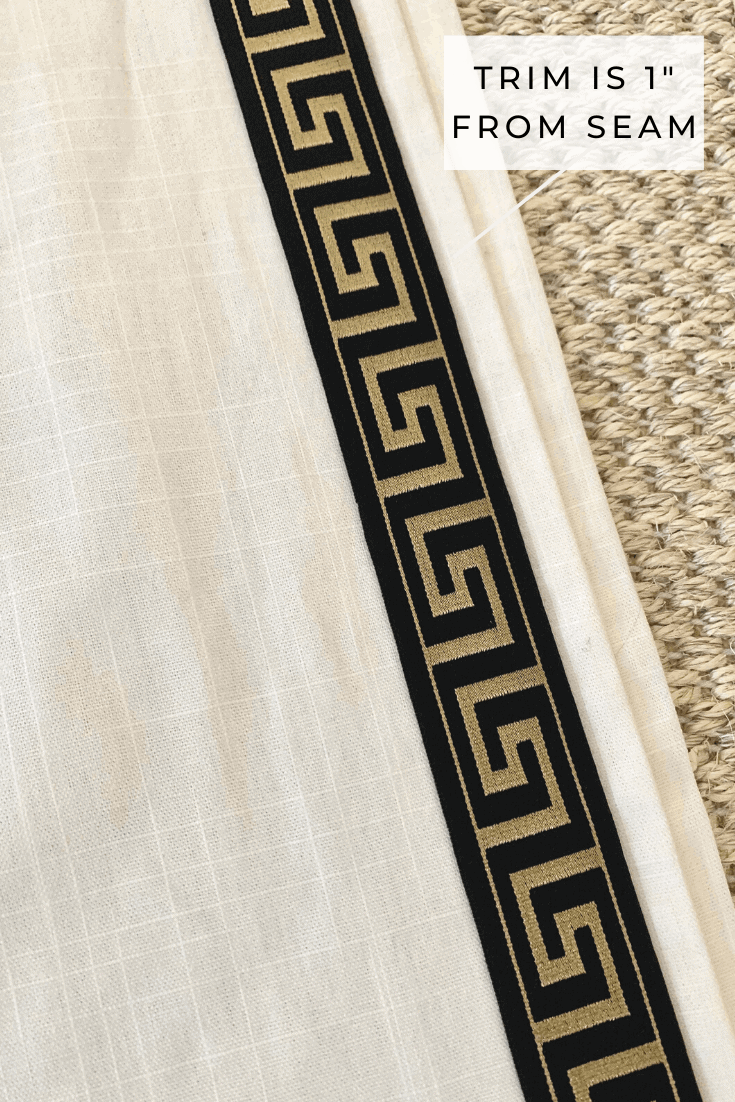
I let the glue dry for about 6 hours and then gently applied glue where I missed it the first round, which was mostly right under the edges of the trim.
STEP 3: HANG THE CURTAINS
Pleats really create that custom, tailored curtain look, so this step is key. It took me time to get the pleats the way I wanted, so be patient with yourself during this step.
You could do this step on a flat surface and then hang the curtains afterward, but I’m overly aggressive in nature and somehow messed up the curtains in the process of pleating and then hanging. It’s up to you where you want to pleat the curtains.
After hanging the curtain rods, I added 15 curtain rings to the rod and began to hang the panel using 3 rings (one on each end and one in the middle) to hold it up there while I start pleating on the inner part of the curtain.
If you end up with extra rings at the end of the curtain, they can just slide off the end of the rod, but if you don’t start with enough rings on the rod it can be a pain in the ass to add more while you’re in the middle of pleating.
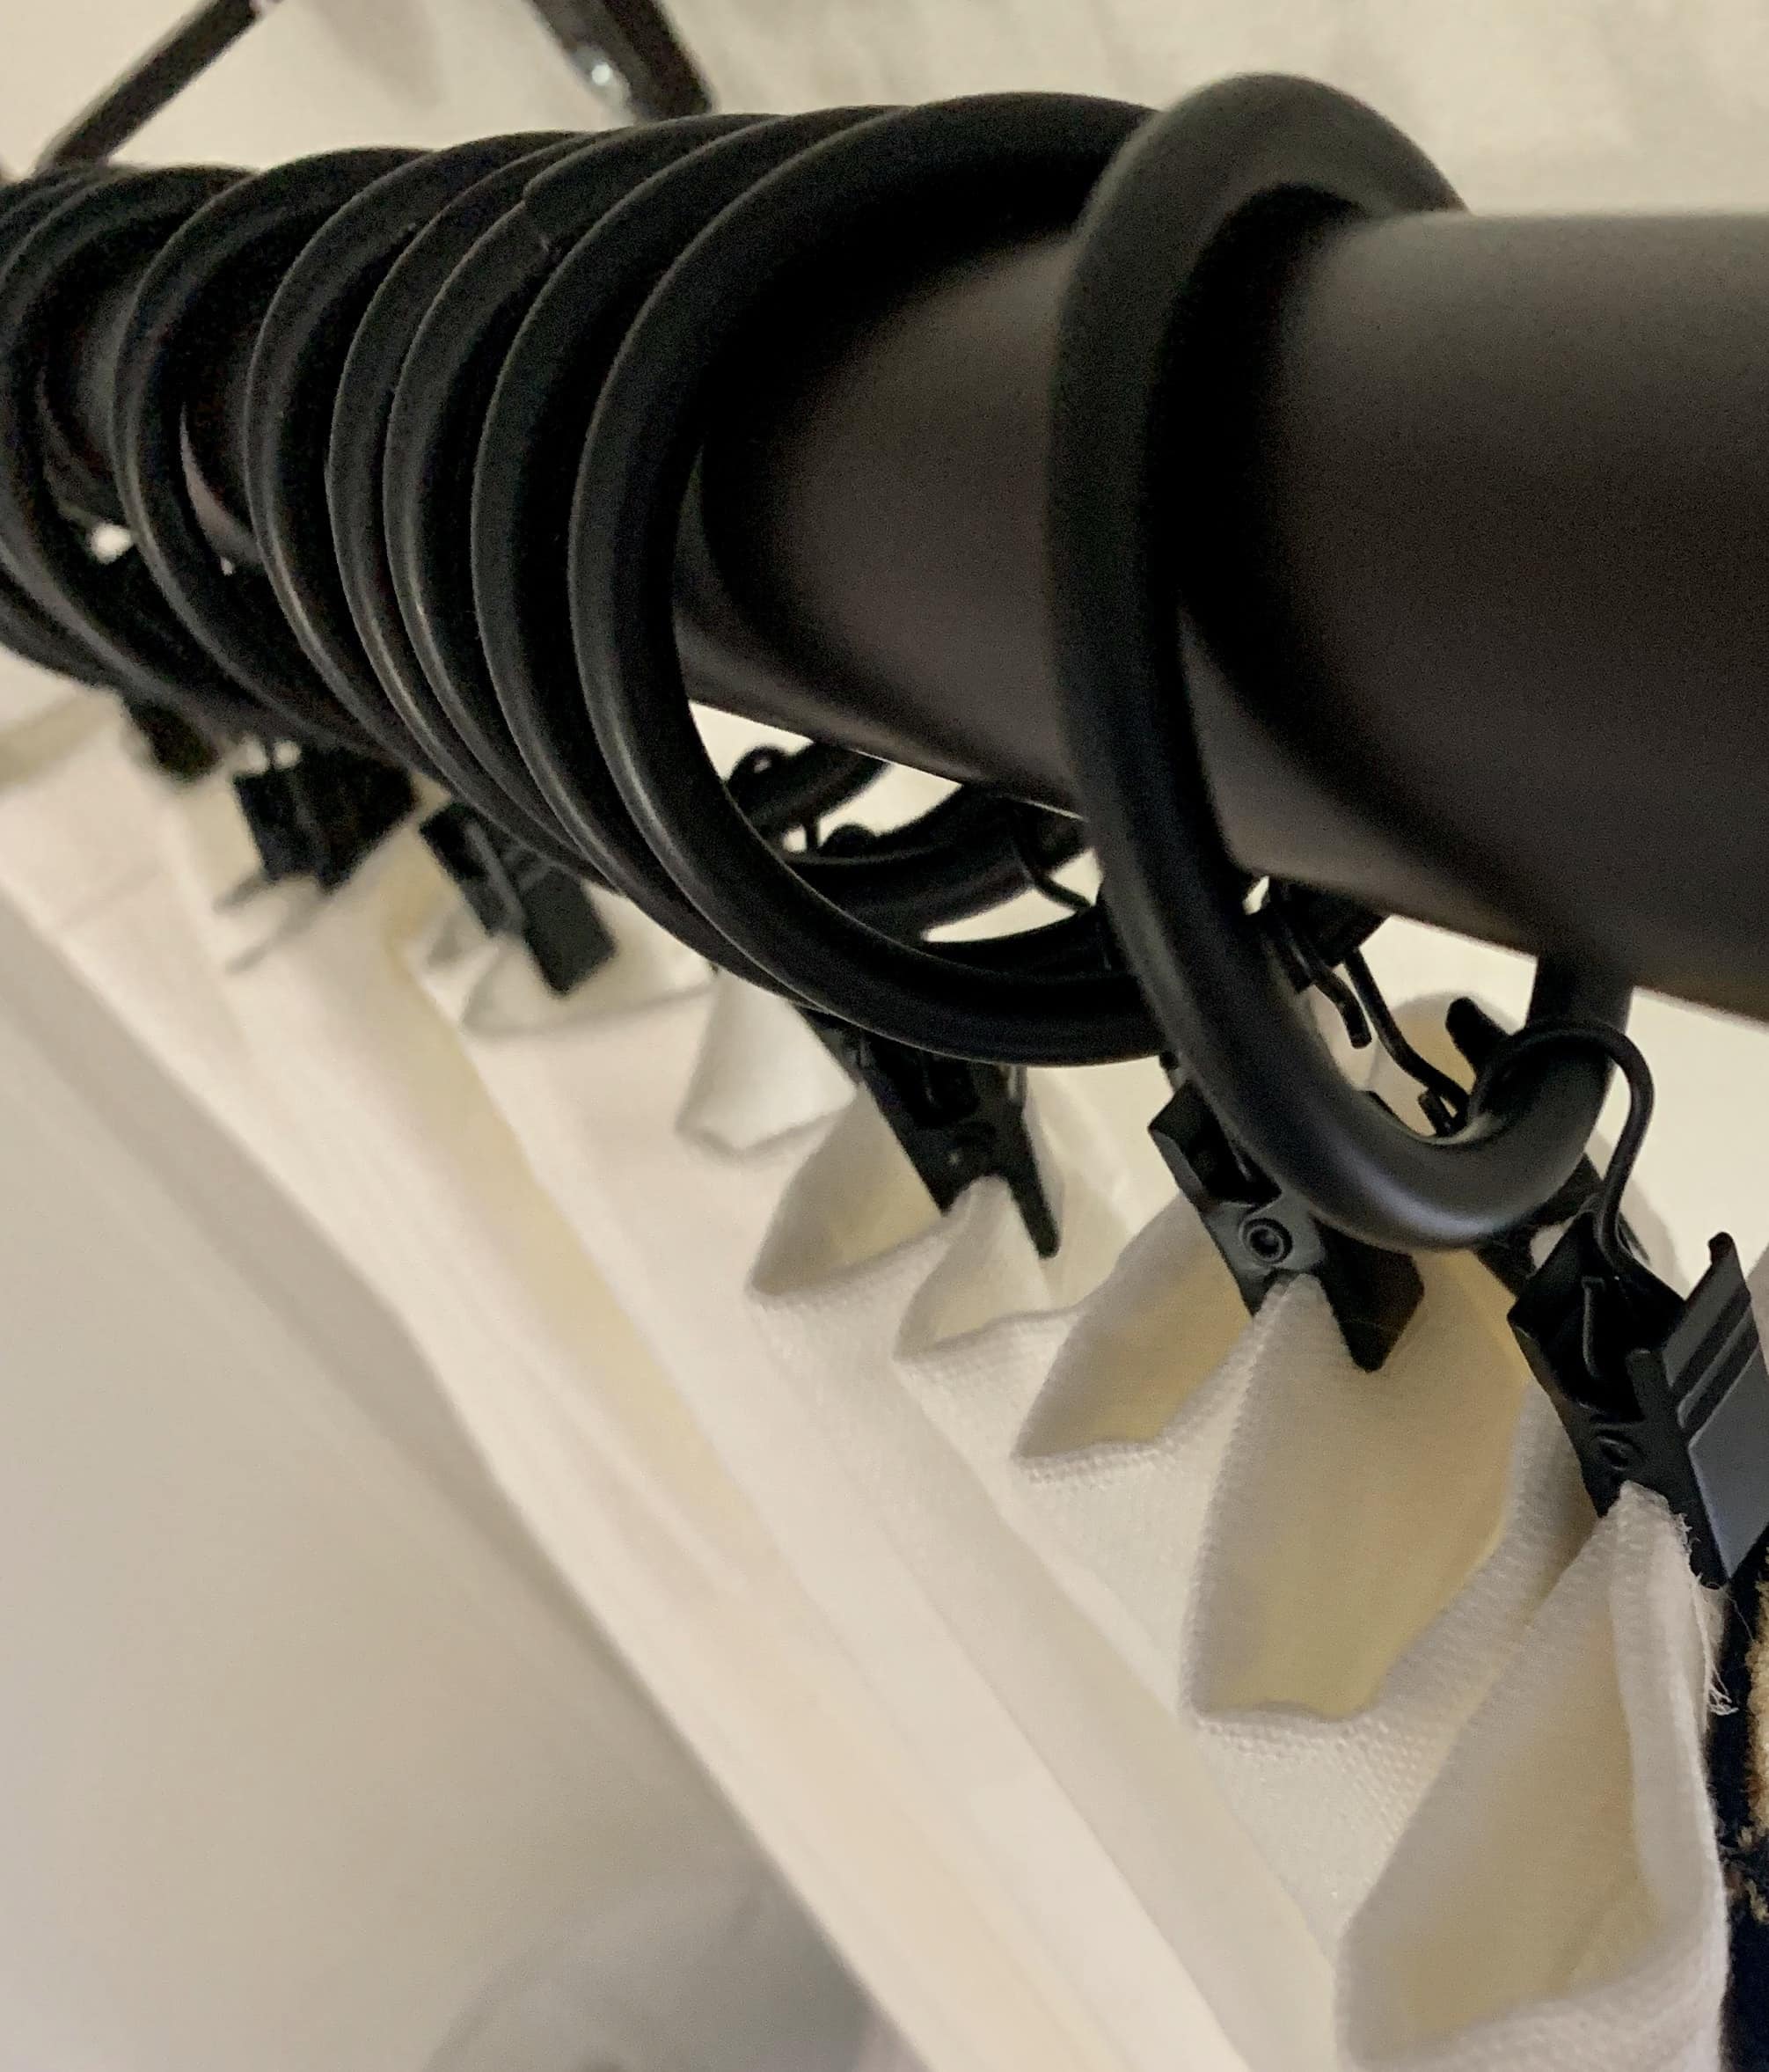
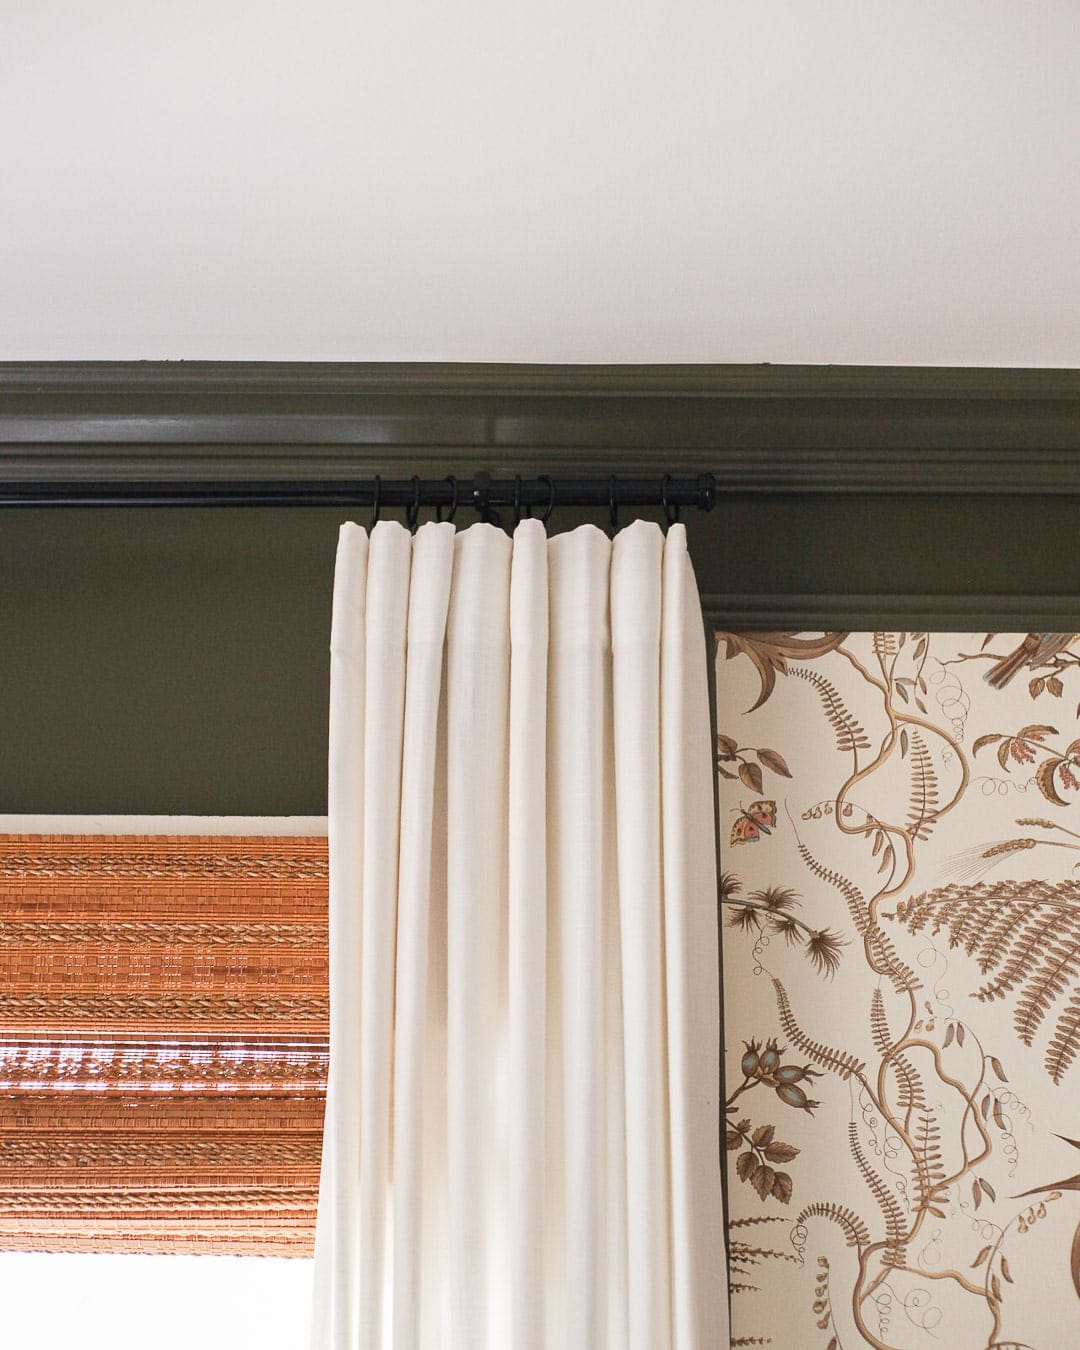
To create the pleats, you will have to fold the fabric over itself and then, using one ring clip, you will clip the two sections together. Try to clip in the same spot from one pleat to the next.
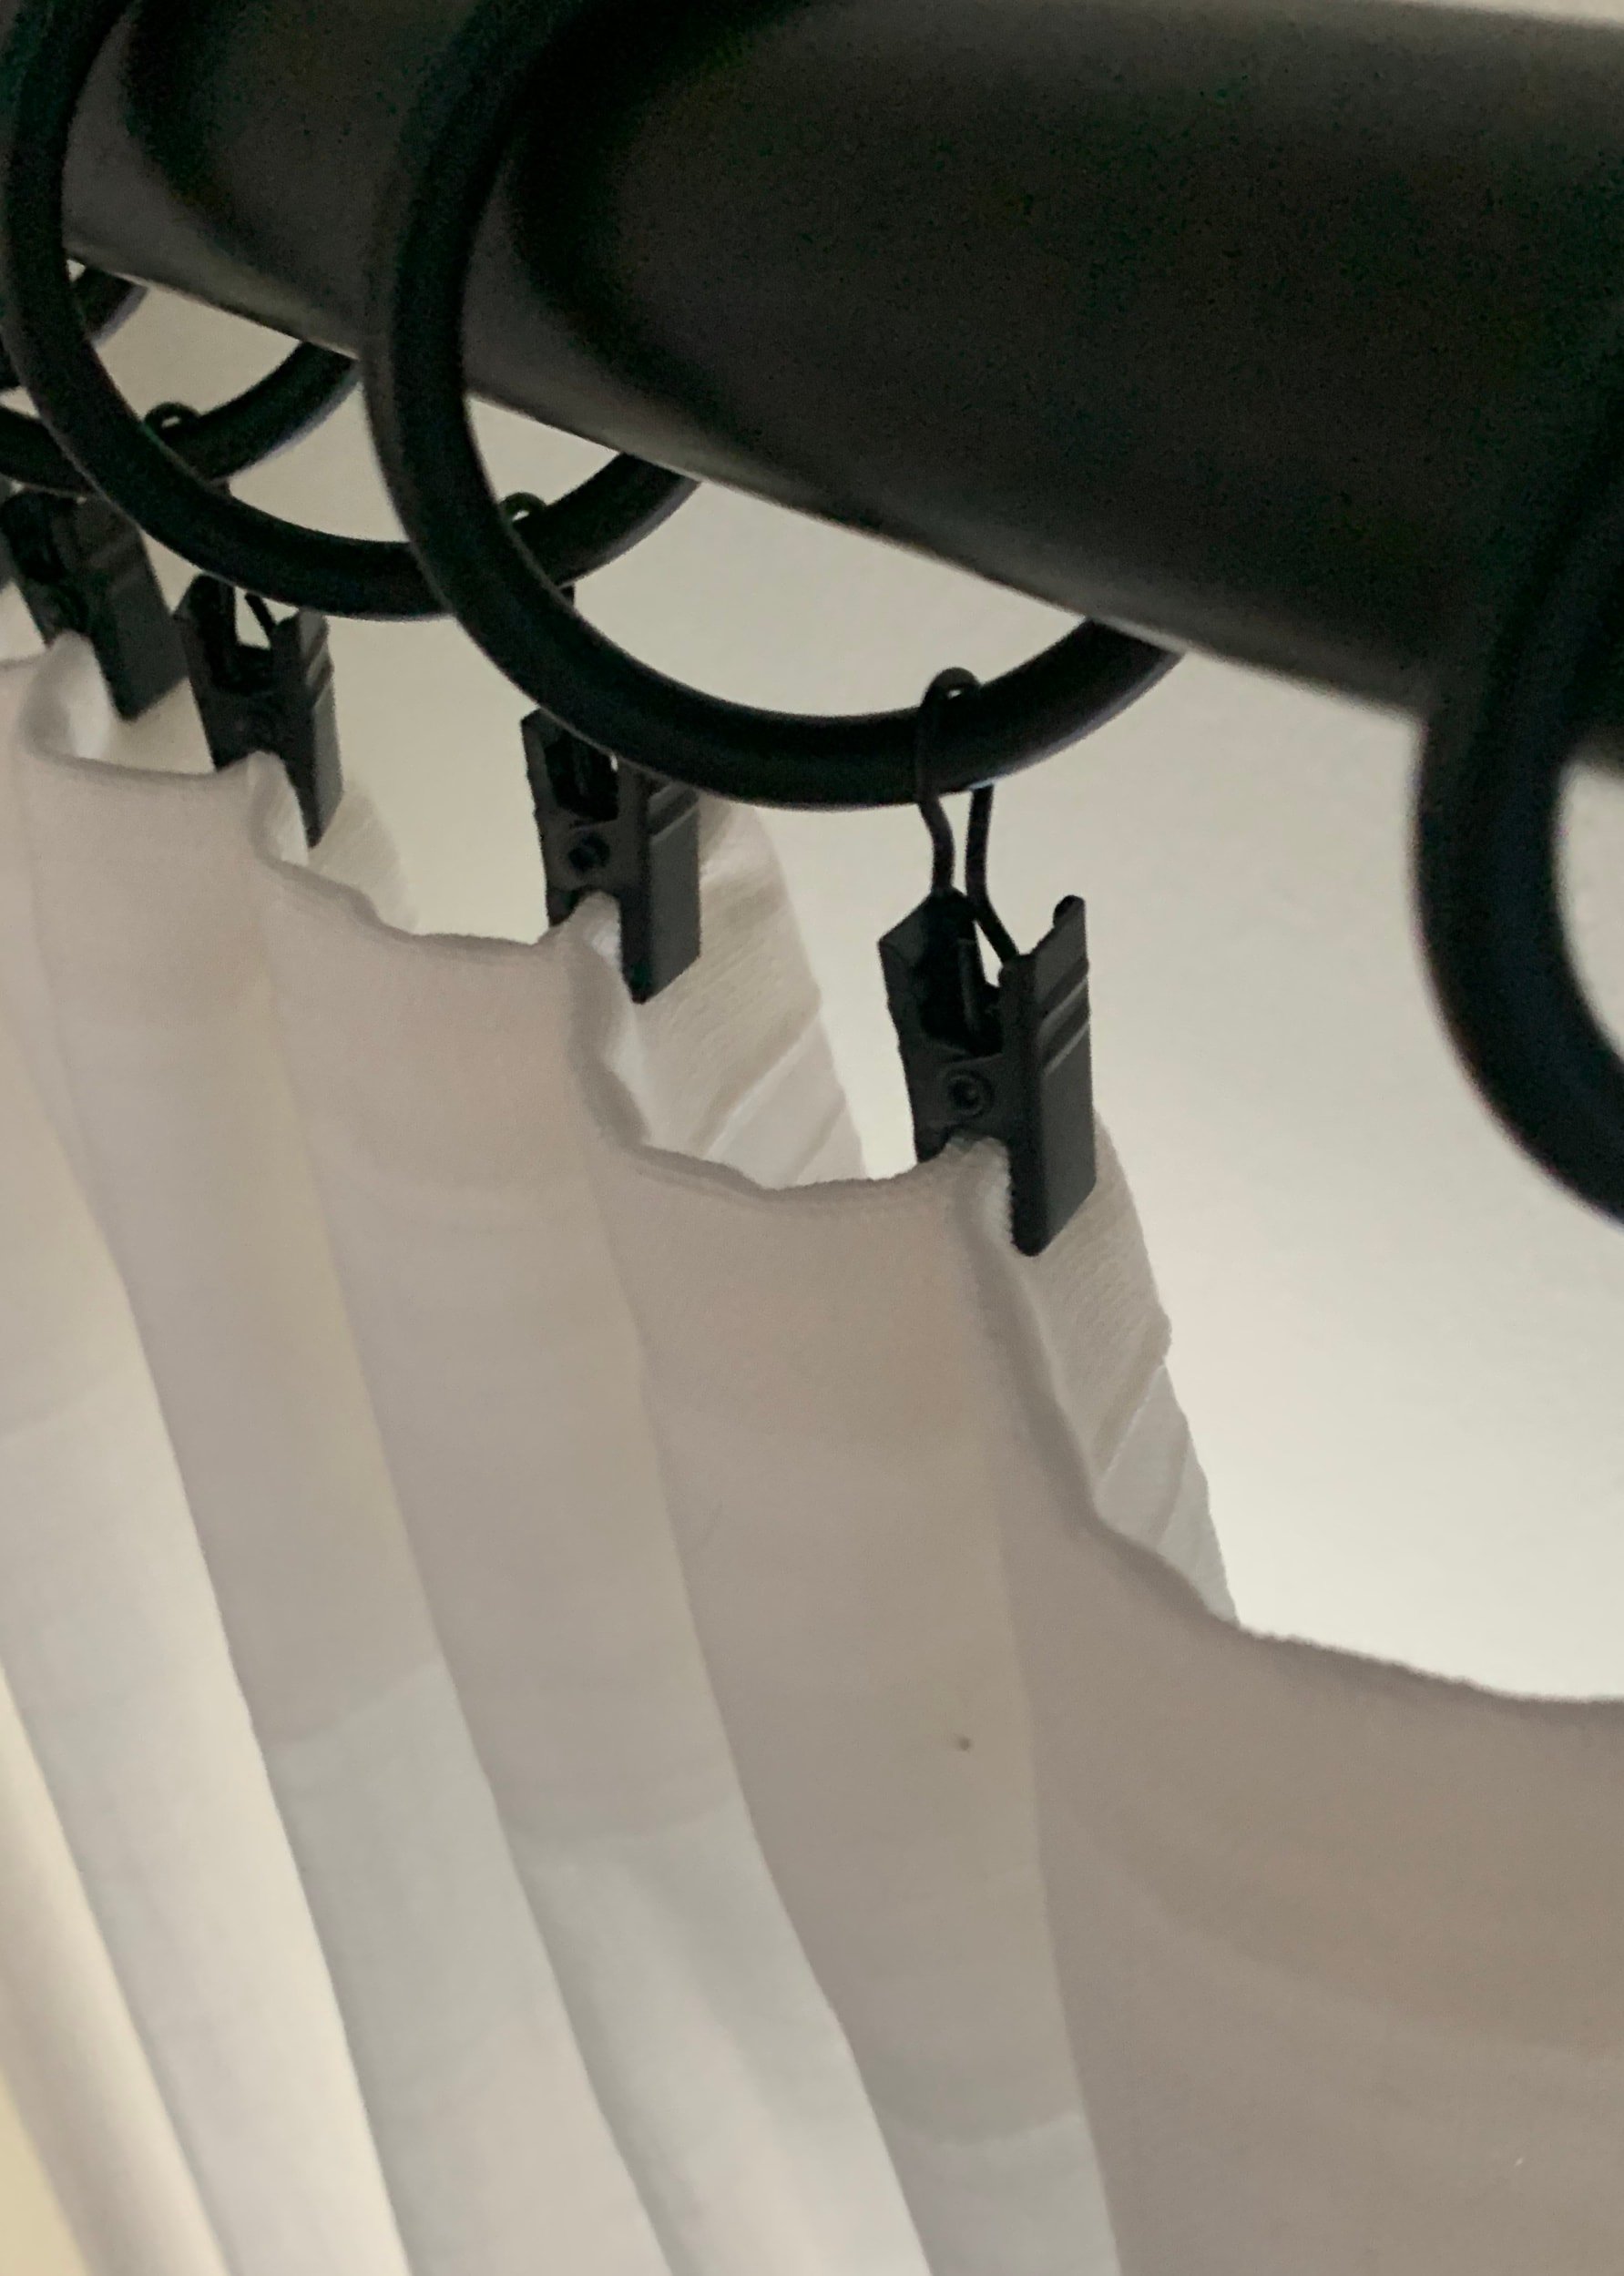
Sorry for crappy photos, my iPhone was the only way I could take closeups.
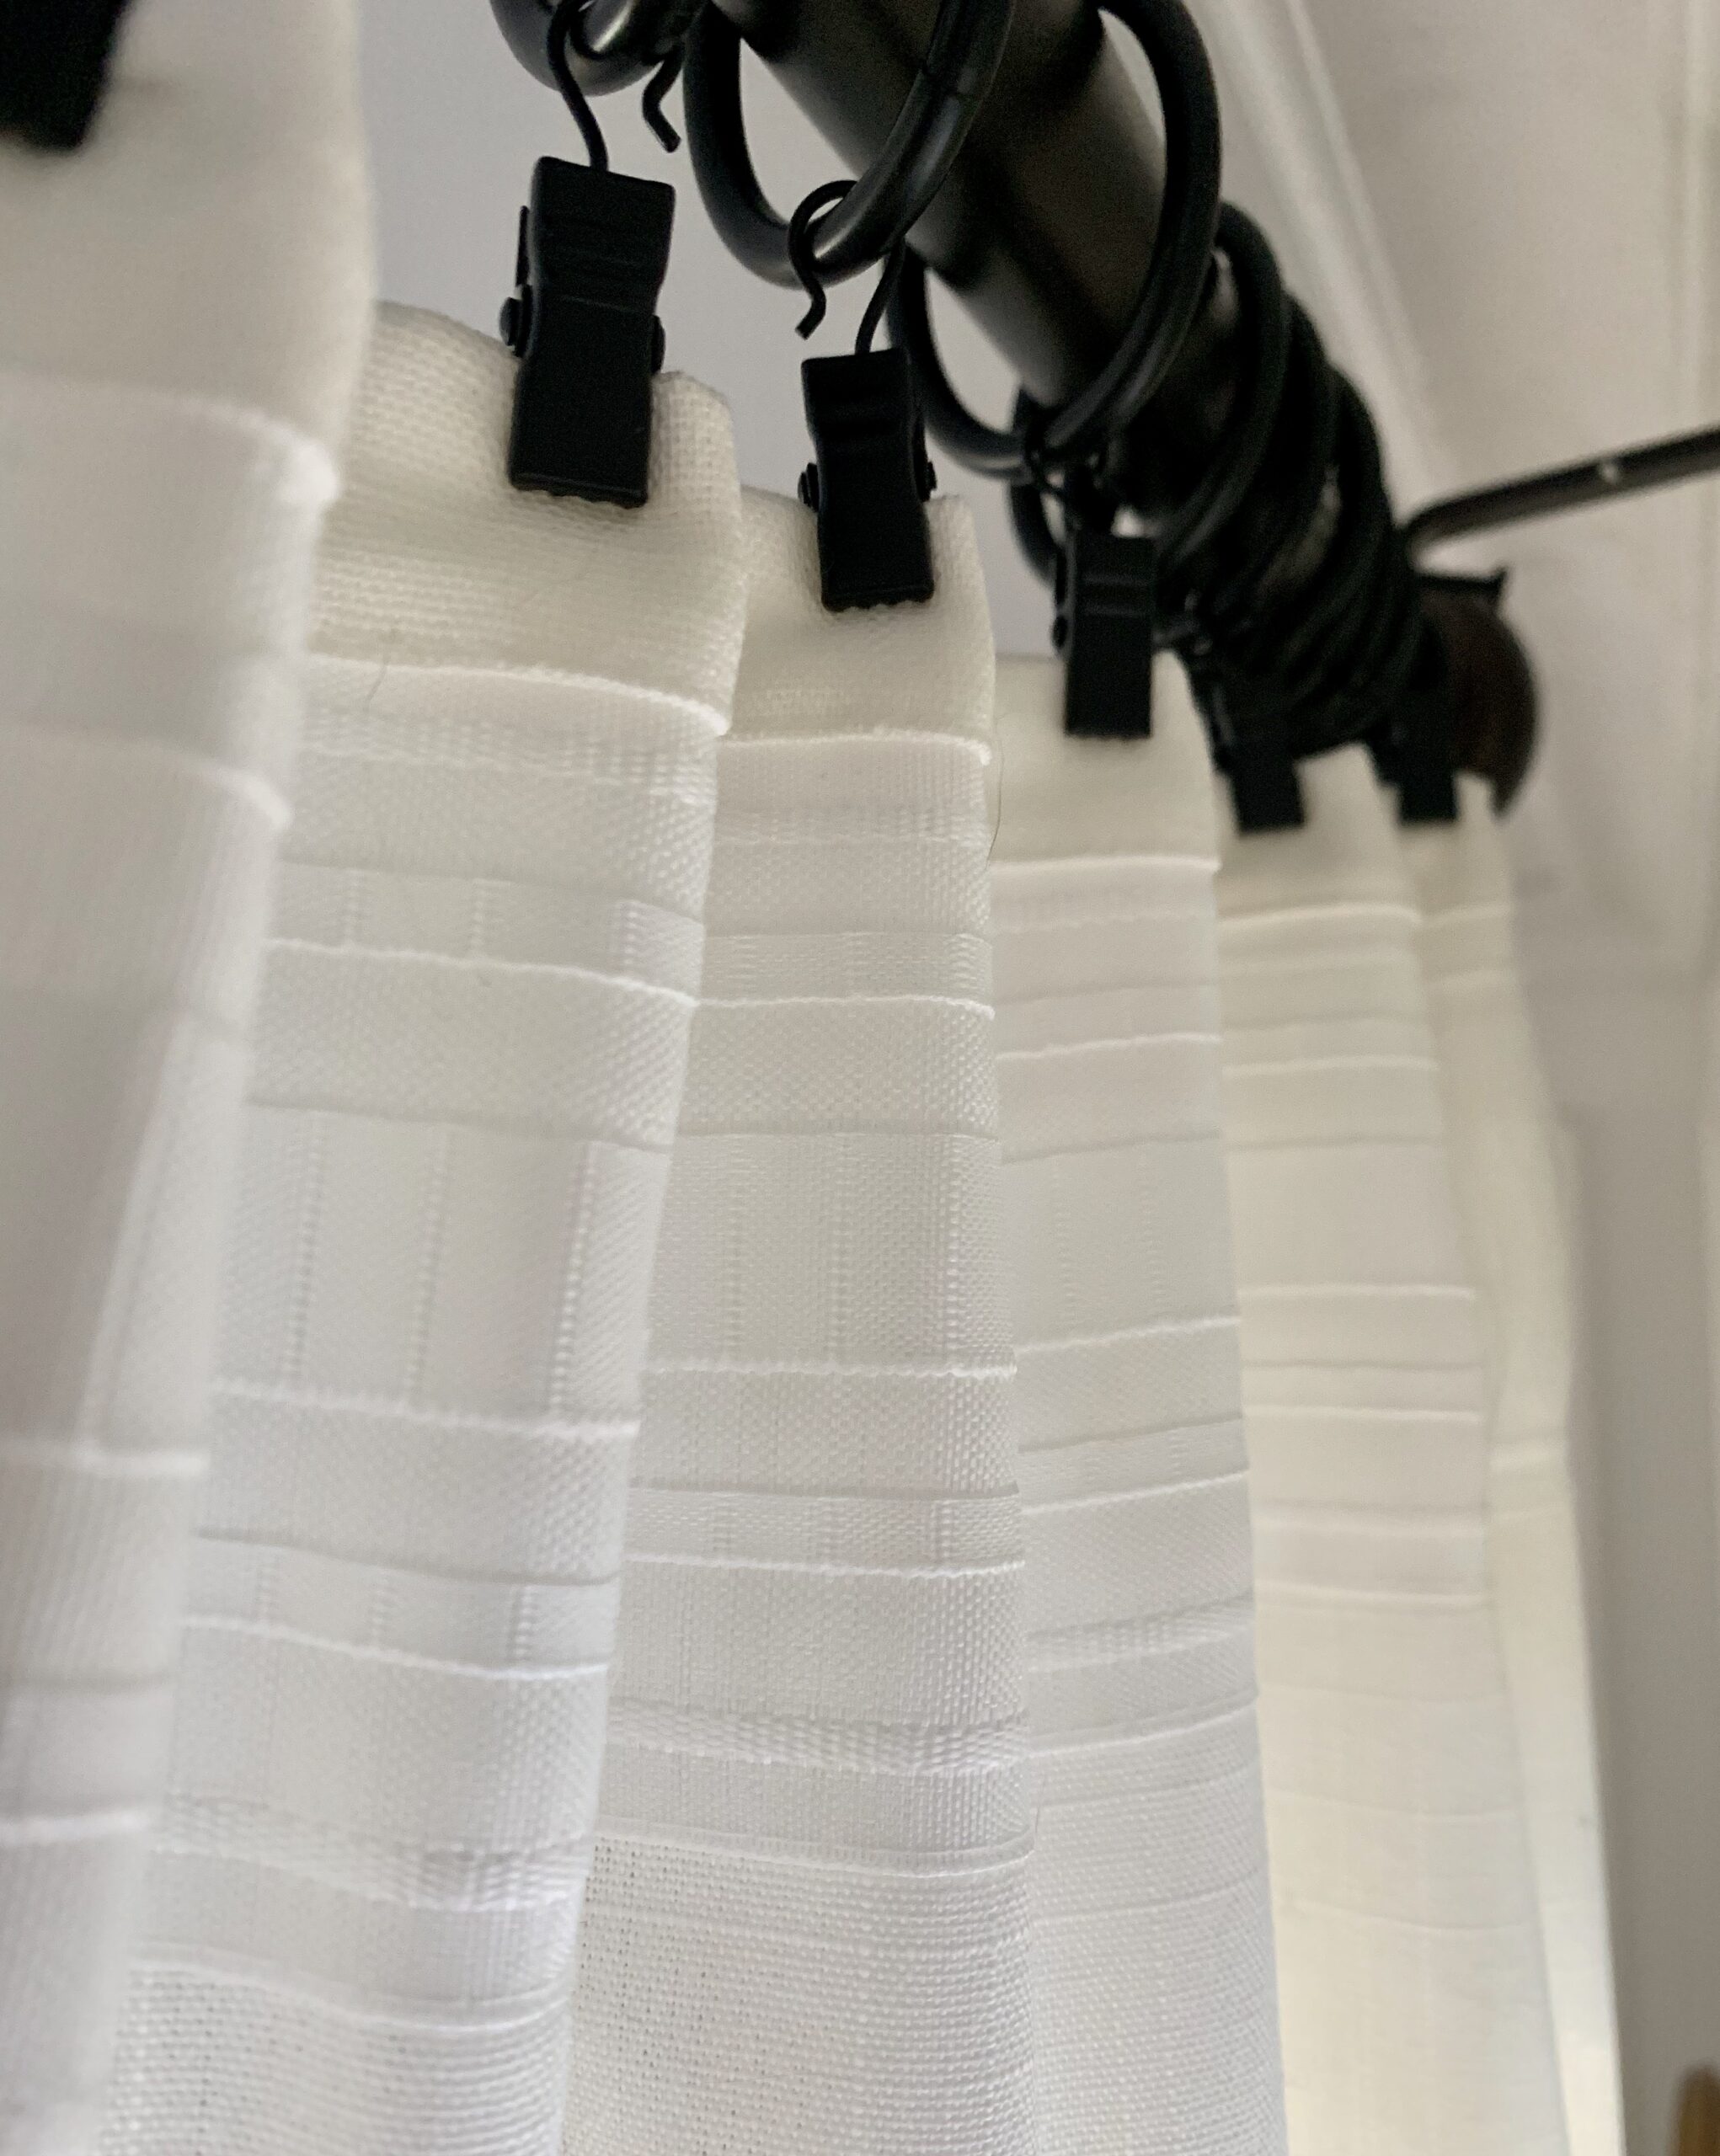
A mistake I made the first time I tried this was using too much fabric per pleat, spaced the pleats too far apart, and I also didn’t clip the same spot on each pleat. They turned out to look sloppy and uneven.
SO….be sure you’re using the same amount of fabric per pleat, you’re spacing them about equal distance apart from each other, and you’re also clipping in the same place.
You most likely need to play around with the size and spacing of your pleats until you get the look you desire.
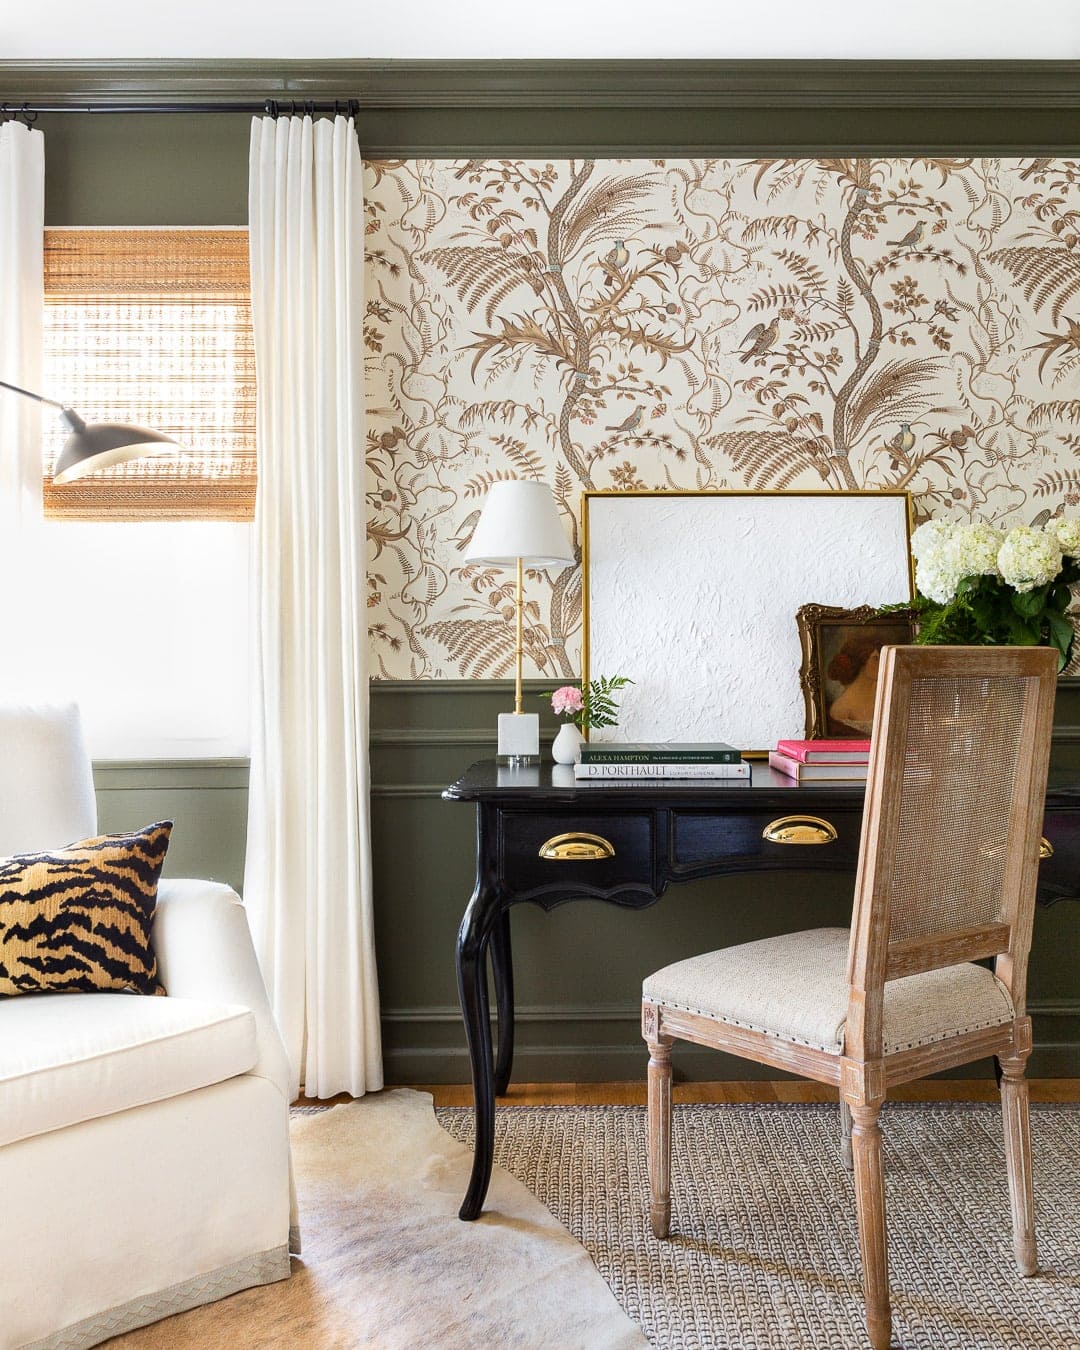
For reference, I spaced the pleats on the Ikea Ritva curtains in my office about 5″ apart from each other and 1.5″ deep, which required less rings:
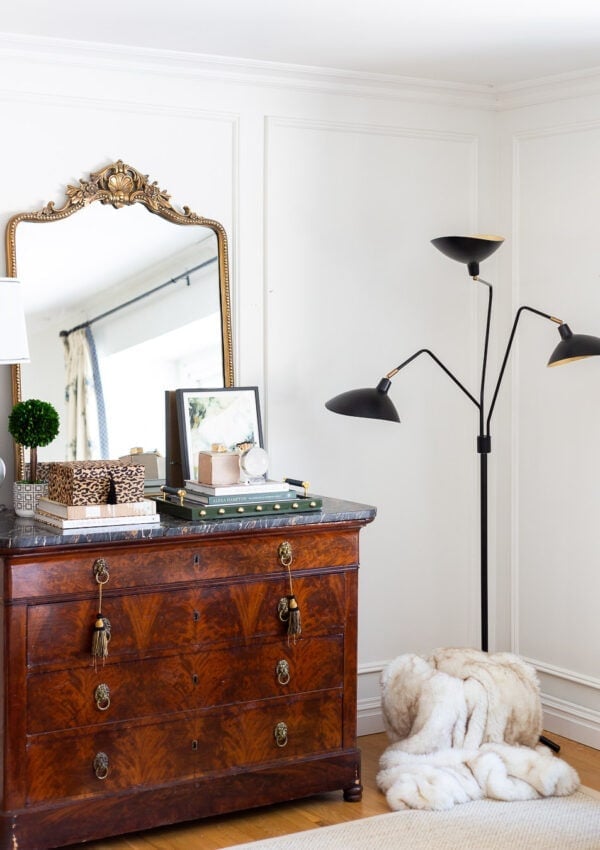
In case you have a bit more $ to spend on curtains, I created a roundup of chic curtains and drapery hardware.

There you have it! I hope this was helpful and as usual, please let me know if you have any questions.
Have a great week!
xo
Alisa

Always love reading your blog posts! Thank you so much for all the tips, I’m going to try recreating what you did for my living room curtains! ????????
Good tips for a DIY curtains. The height of my wall is 162 inches. I need 2 curtains to make one panel. Any idea how I can combine 2 curtains hiding the joint in full view. It will be right in the middle of the wall. Thanks
Hm, you could maybe try fusing the two curtains together using the same method as hemming them.
Thanks for the tutorial! The curtains look great. Do you know what size diameter you used for the curtain rods?
Thanks! I believe they were 1.5″
I am in the process of making my daughter drapes for her nursery. She wants strIght panels with trim down the side but she also wants grommets. Is this possible
Hi ,
Great ideas , Need 106 long curtains ,what size hems do the Ritva
Curtains have. Trying to figure out a way to use ikea curtains
What did you find out? I need 106” as well.
These are some great information that you have shared here diy custom curtains no sewing required. I really loved it and thank you very much for sharing this with us. You have a great visualization and you have really presented this content in a really good manner.One must check this Cedarblinds.co.nz it gives us more info on this topic.
Hi – where did you buy the Greek key trim? I can’t find it at $30 for 10 yards? Thanks!
This is a brilliant post, thank you for sharing these great tips. I think you are right with diy custom curtains no sewing required. I am sure many people will come to read this in future.I have also found this resource Beautifulblinds.co.nz useful and its related to what you are mentioning.
Hi Alisa,
Hope you are staying safe.
Is one bottle of Fabric Fuse enough for (2) panels or should I get 2? Doing both edges on curtains.
Just got my trim and want to ensure I have enough materials.
thx
Hi! Yes, it should be!!!
Only this submit proved that any frame isn’t always identical you and your level
Usually I by no means touch upon blogs however your article is so convincing that I by no means prevent myself to mention some thing approximately it. Really useful.
Great tutorial! Love the blinds – would love to know where you got them and the name.
Usually I never comment on blogs but your article is so convincing that I never stop myself to say something about it. Really helpful.