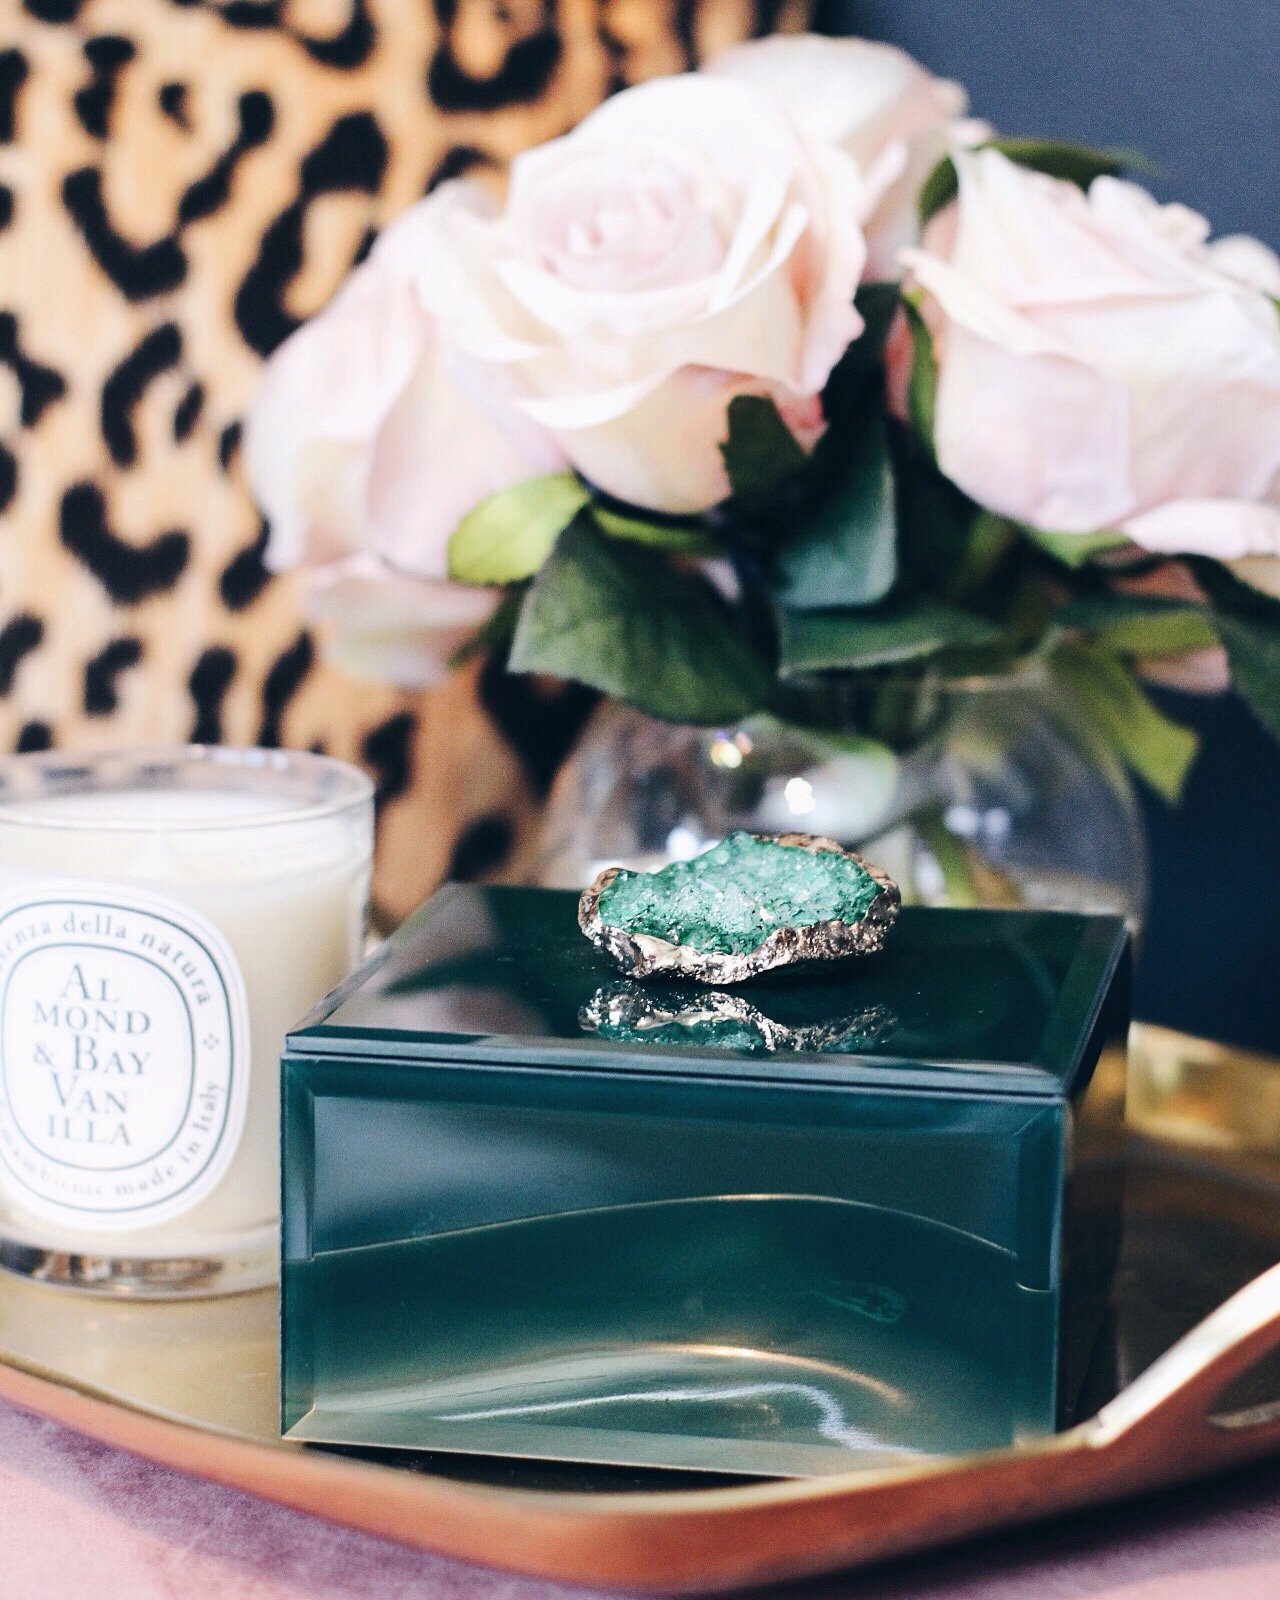
As a young girl (tomboy), I was an amateur geologist – I collected rocks. Not rocks from my backyard, I’m referring to *precious gemstones* that I would cash in my allowance for at Zainy Brainy. In hindsight, this may have been one of the contributing factors to my lack of friends, but I sure did love those gemstones.
I foresee another wave of friendless-ness if I keep talking about rocks but hold on, hold on. My rock collection somehow translates to this post. How? Because I always gravitated towards and scoped out these rocks to add to my collection:
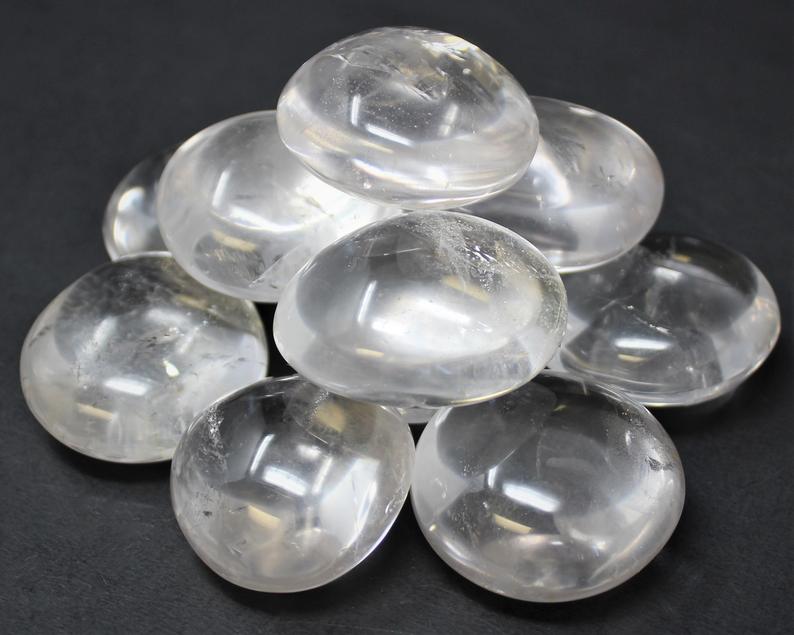
Look – they’re sort of like little lucite formations! Lucite is plastic, but I trust you get the point.
I was never the little girl who read home decor magazines or swapped furniture in my room, but I do think my love for pretty things and different textures started when I was young.
I also suppose my rock collection is just one example of how I’ve always chosen to pay attention to pretty things rather than socialize 🙂
Before we jump in, let’s take a moment to appreciate the divine beauty of a lucite rod, and how it can truly elevate a room:
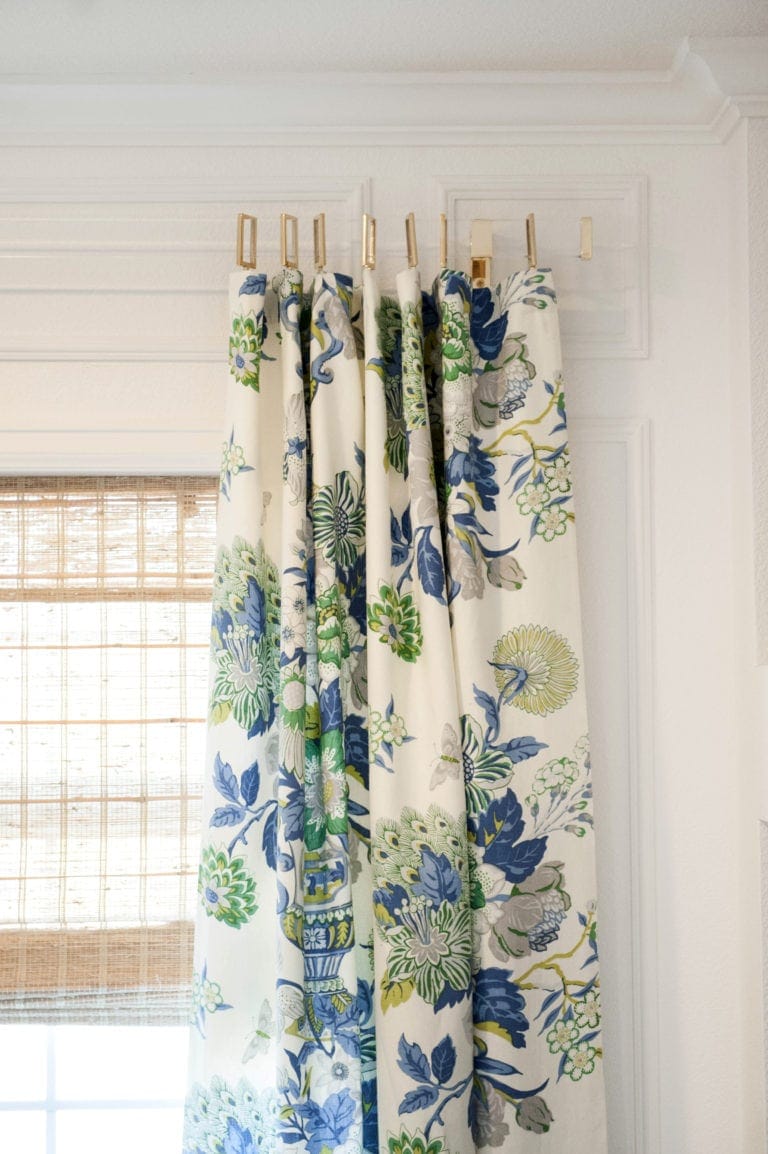
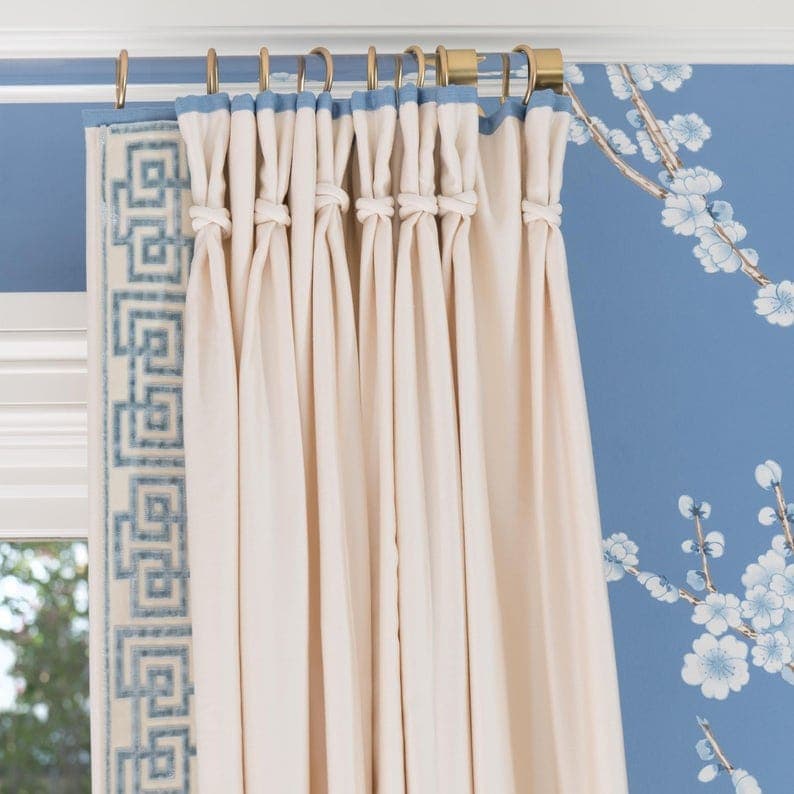
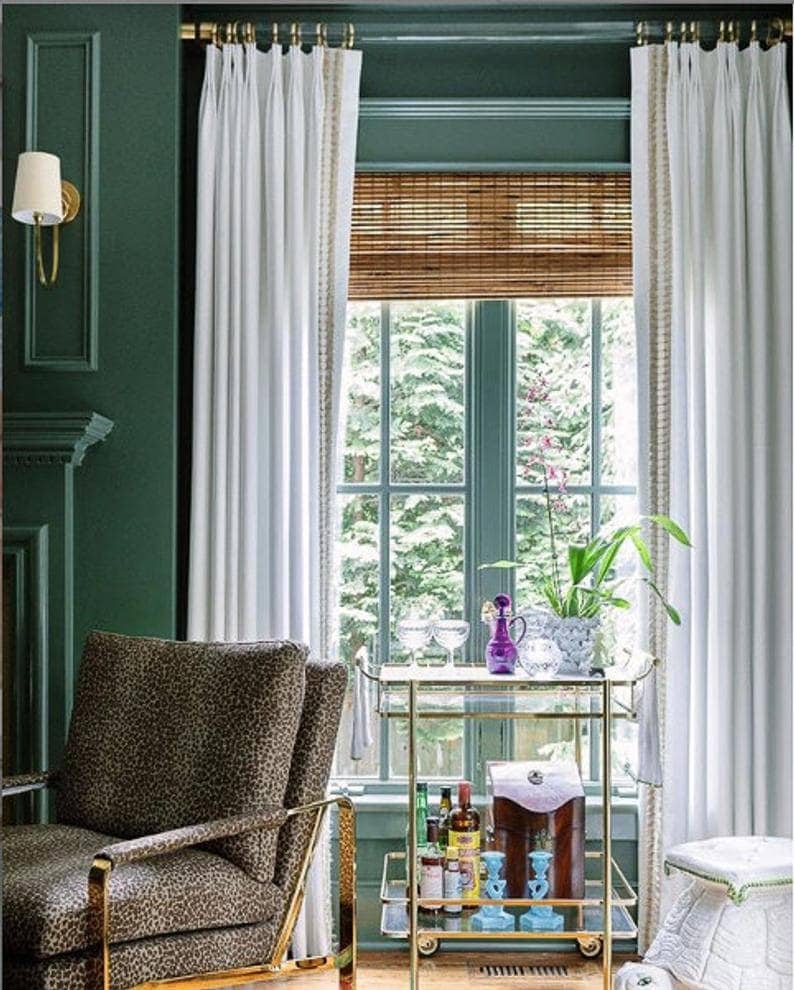
Similar to my obsession over those little quartz rocks, there’s something about a lucite curtain rod that captivates me.
A DIY lucite rod tutorial is nothing new, I actually followed Driven By Decor’s super helpful tutorial but I switched things up slightly to save $ on hardware.
HERE’S WHAT I DID:
- First I measured my long-ass window area that extends to Narnia, which was ~108″. I knew I wanted an overhang of about ~6″ – 8″ on either side, so some of the lucite rod and end cap could extend past the bracket, and therefore I would need a ~120″ rod.
- Since I needed a custom size, I used this form on CURBELL Plastics (previously known as Nationwide Plastics) to order the rod. If you don’t need a custom size, you can use this form. I personally wanted a thicker rod because of our long window + heavy drapes, so I opted for a 1.5″ thick cellcast acrylic rod. The longest rod they offer is 96″ so I planned to join two 60″ pieces together (that are cut from 96″ rods). This place cuts the rods for free.
- **NOTE – they will send you the excess cuts from the rod(s) you purchased. I wish I had known that, because I could have saved a few inches on this living room rod and utilized those extra few inches for the dining room window.
- I did not want the rod polished on both ends because I knew I was using end caps, and that saved me $15. I also did not choose the male/female connector option, which also saved me a few extra bucks
- Someone will email you back and confirm your order. It’s that simple!
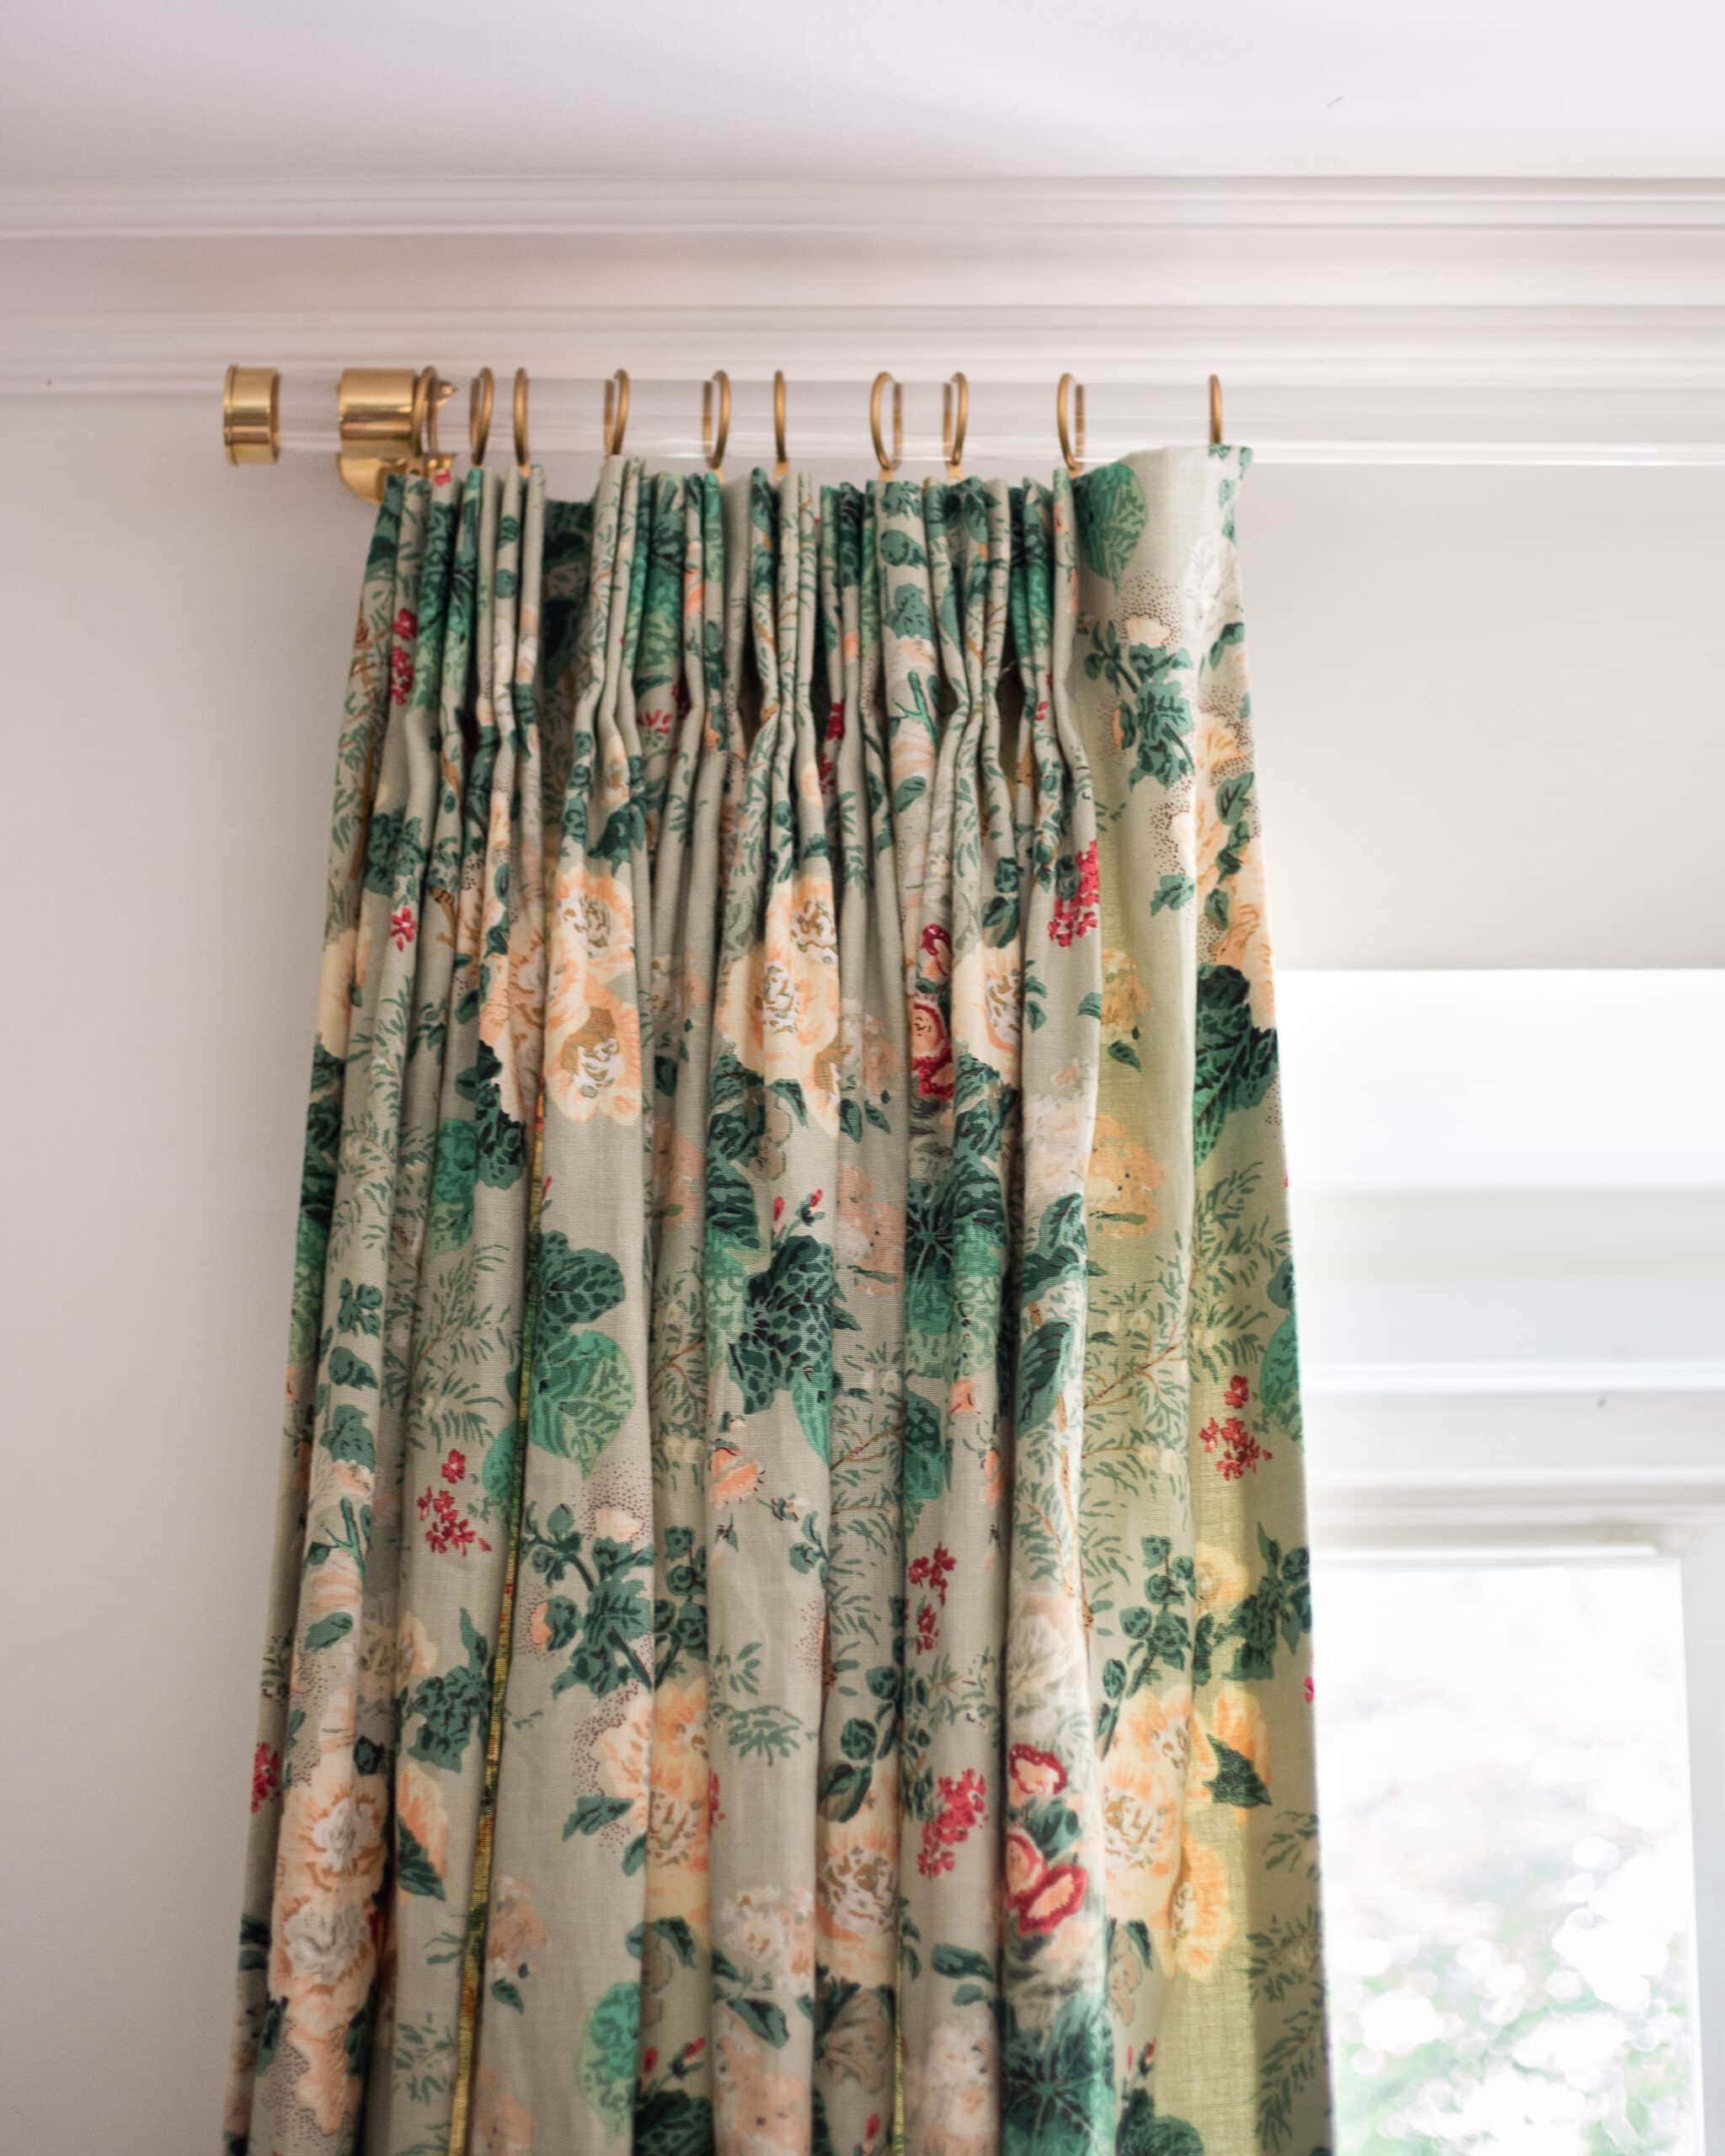
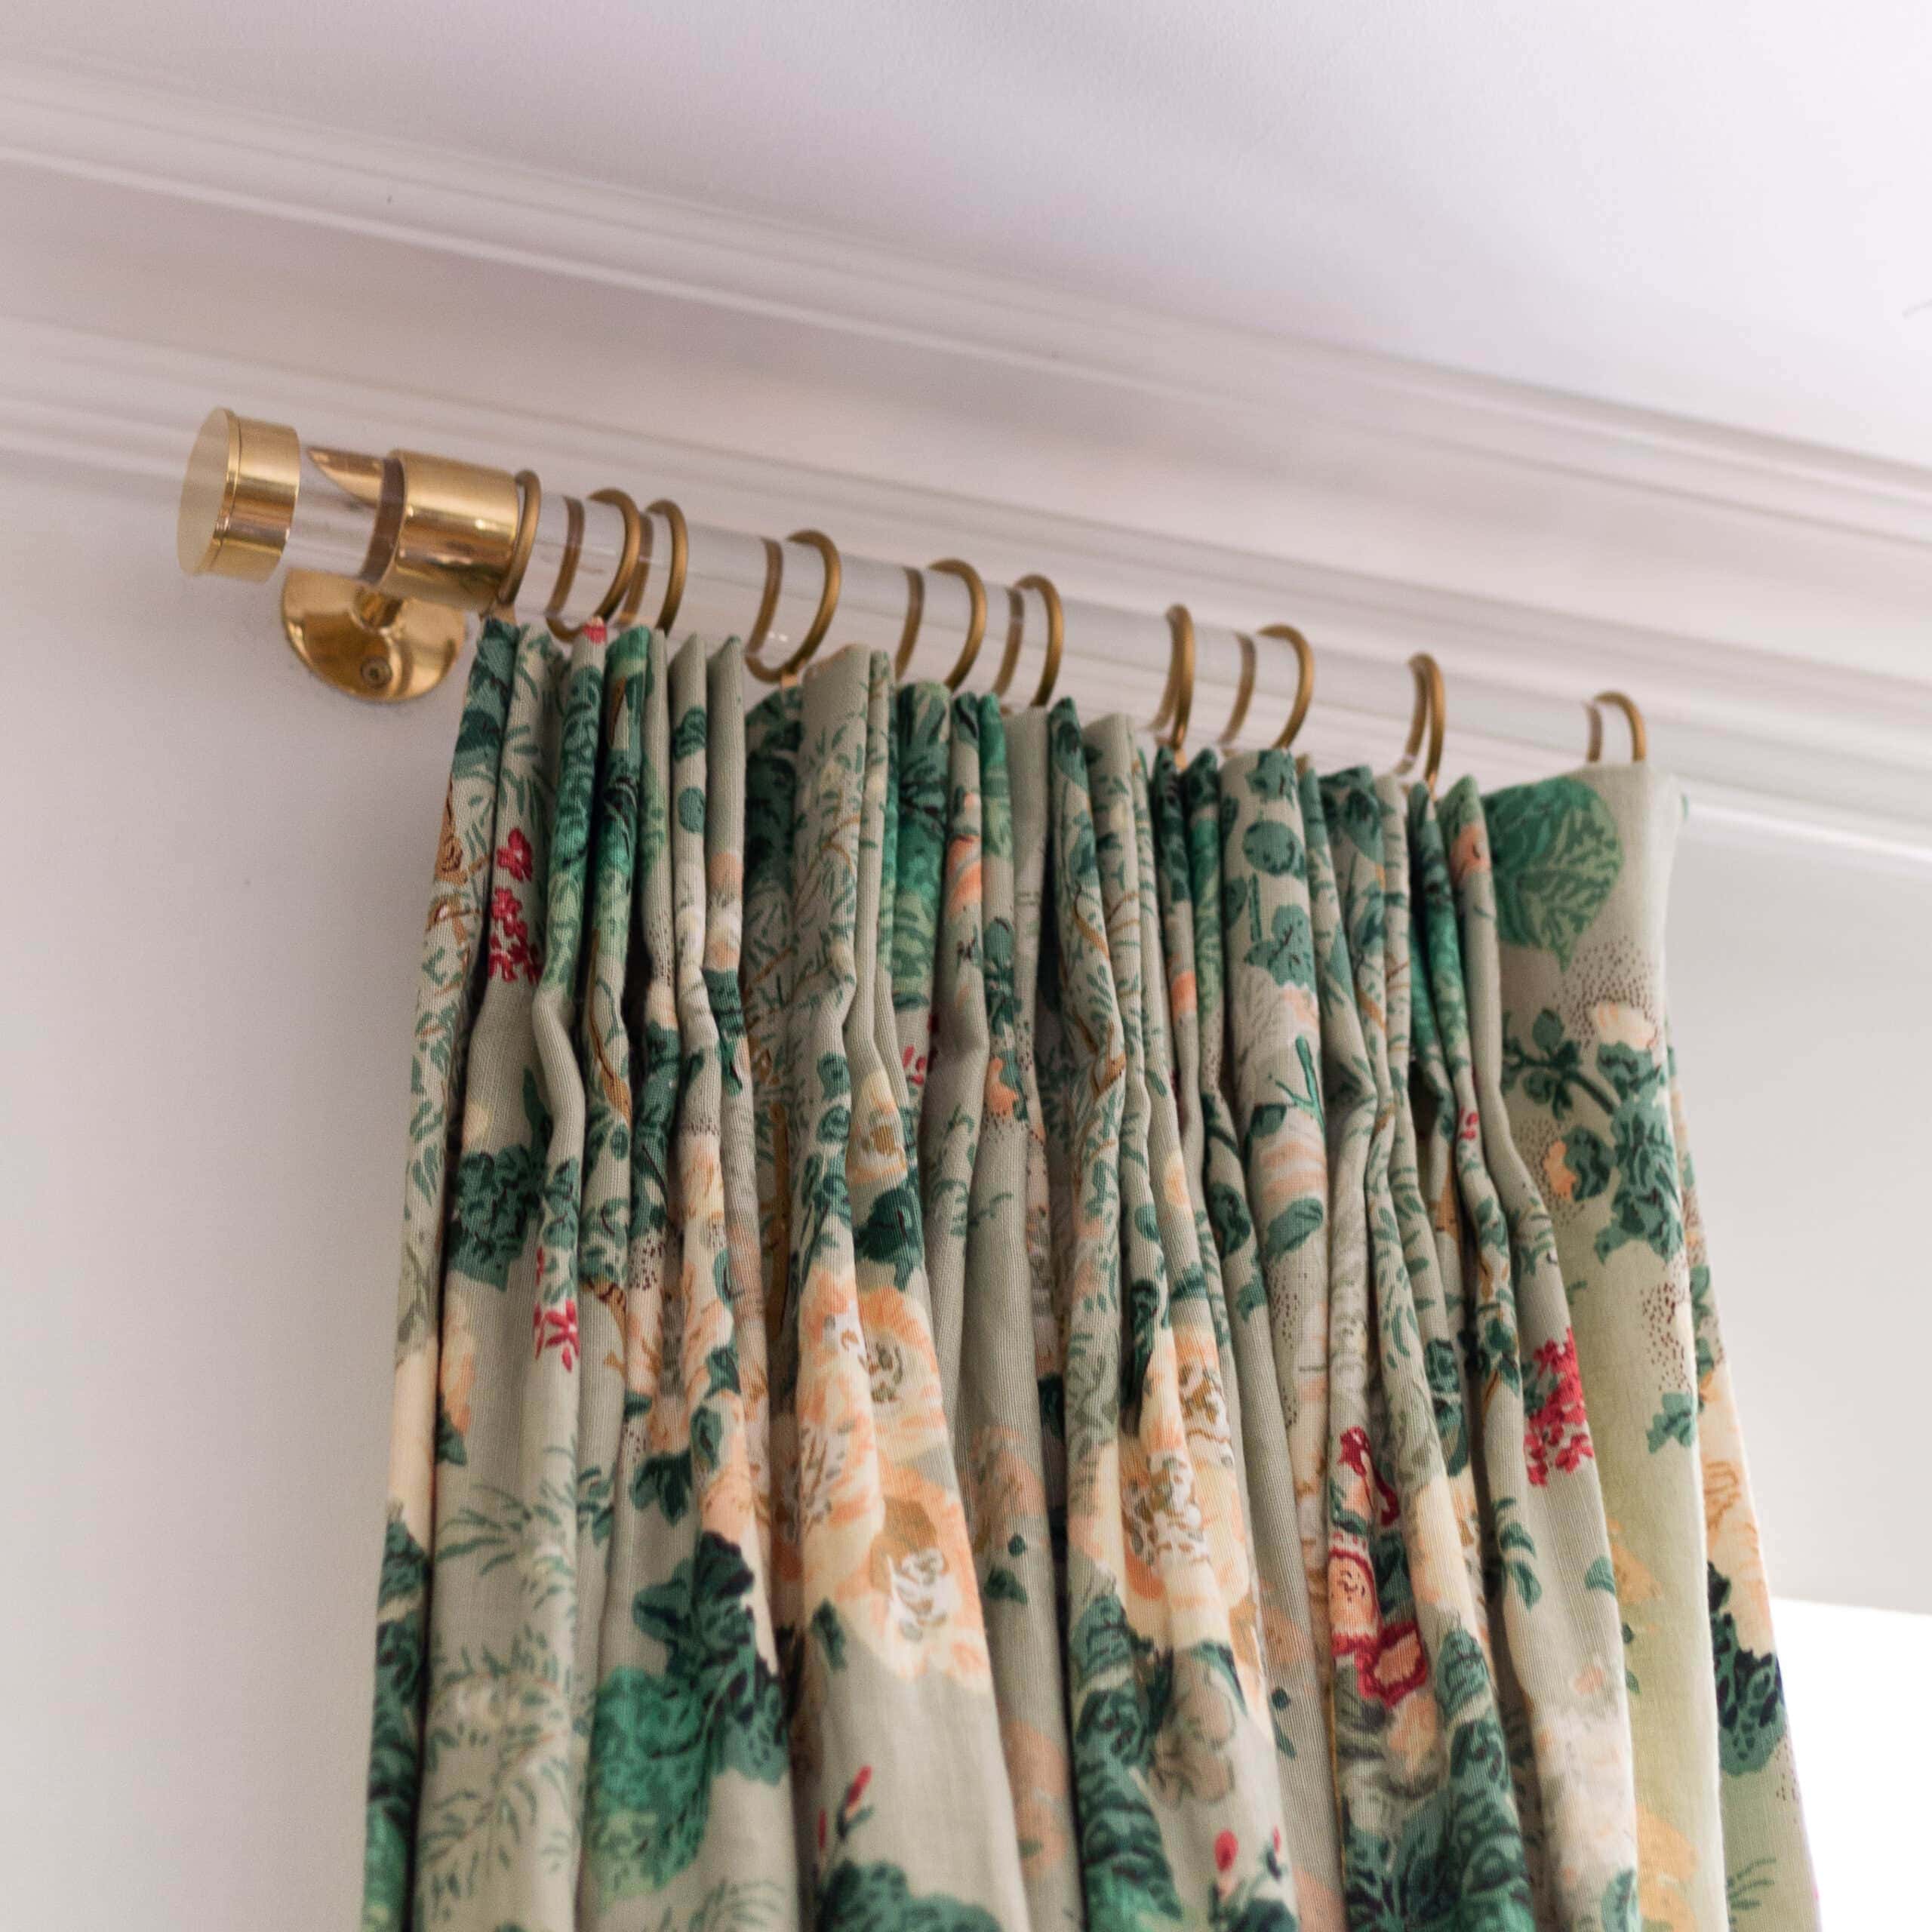
Then I purchased the brass hardware:
- 3 support brackets – 1.5″ in brass. I needed 3 because my window is super long, but if your window is less than ~46″ you could probably get away with 2 brackets, as long as your rod is at least 1.5″ thick.
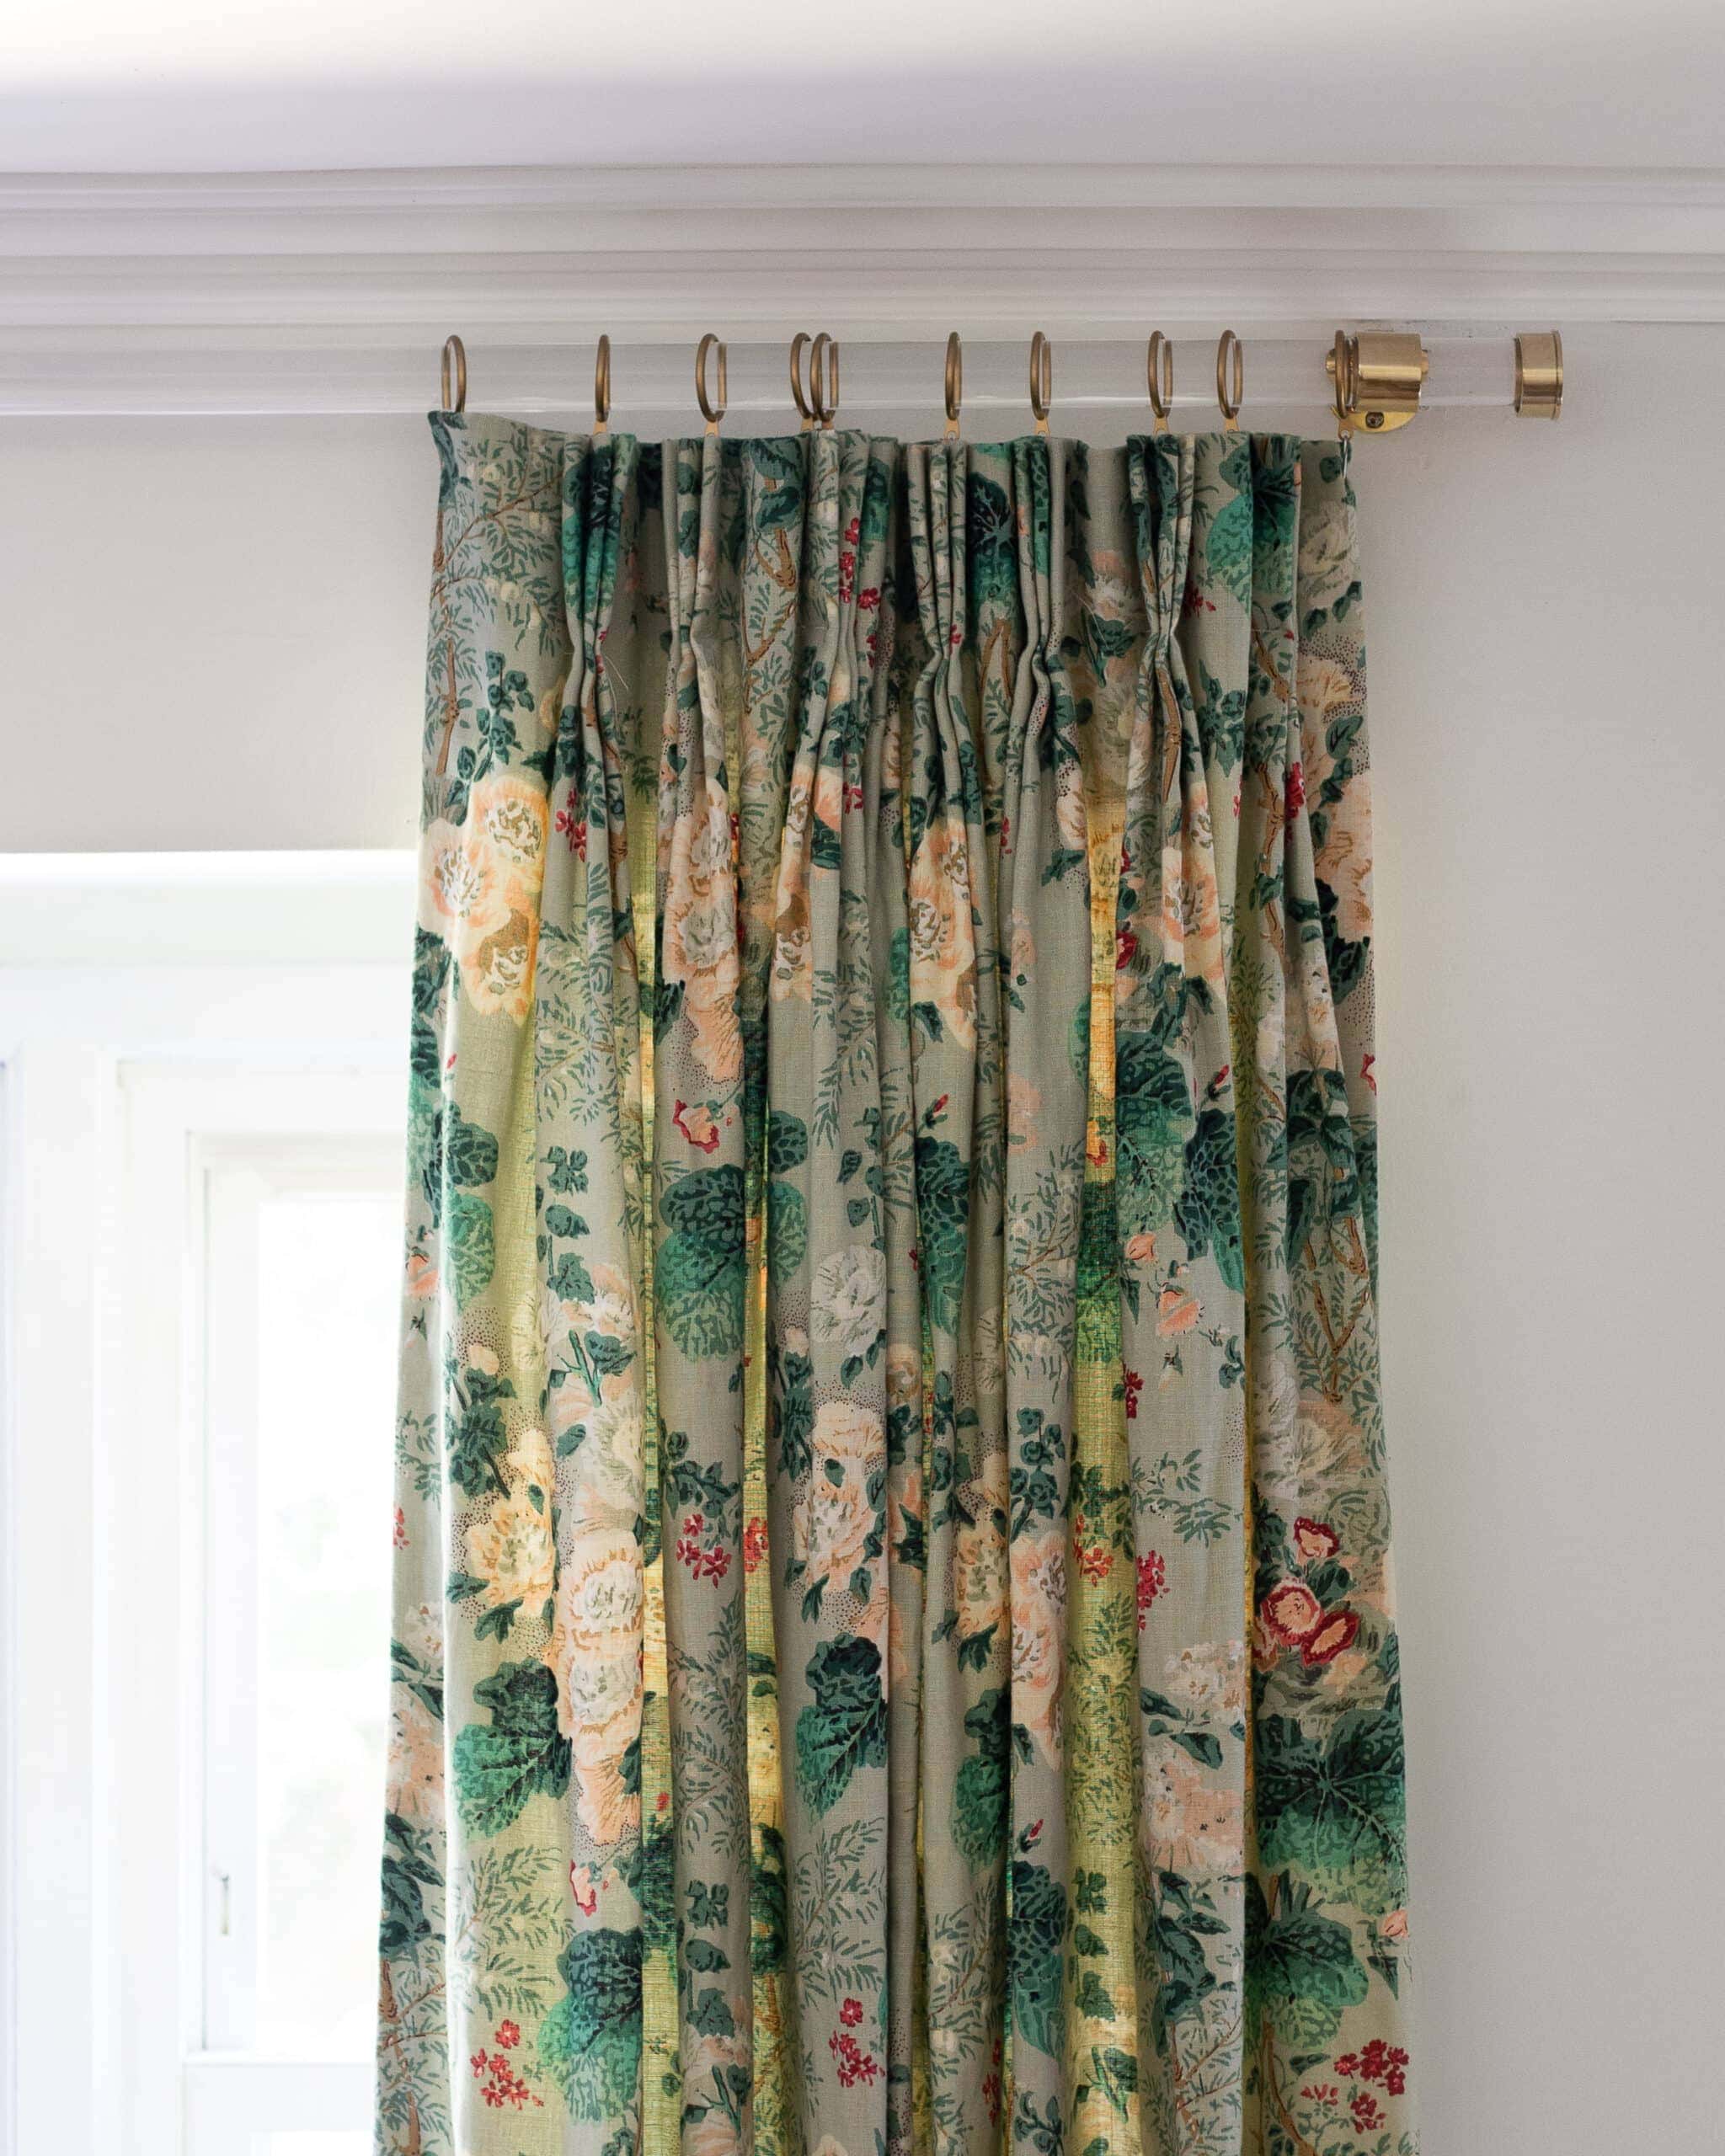
- 2 End caps – note that these end caps are 2″ but they were $10 cheaper than the end caps that I’ve seen elsewhere. They are heavy, quality brass caps and not cheap looking at all.
- Curtain rings – I purchased a pack of 28. They are probably a bit too tight for the 1.5″ thick rod, but it doesn’t really bother me. They still glide easily over the rod and are much cheaper than these, which I’ve seen others use.
ONCE I HAD EVERYTHING I NEEDED…
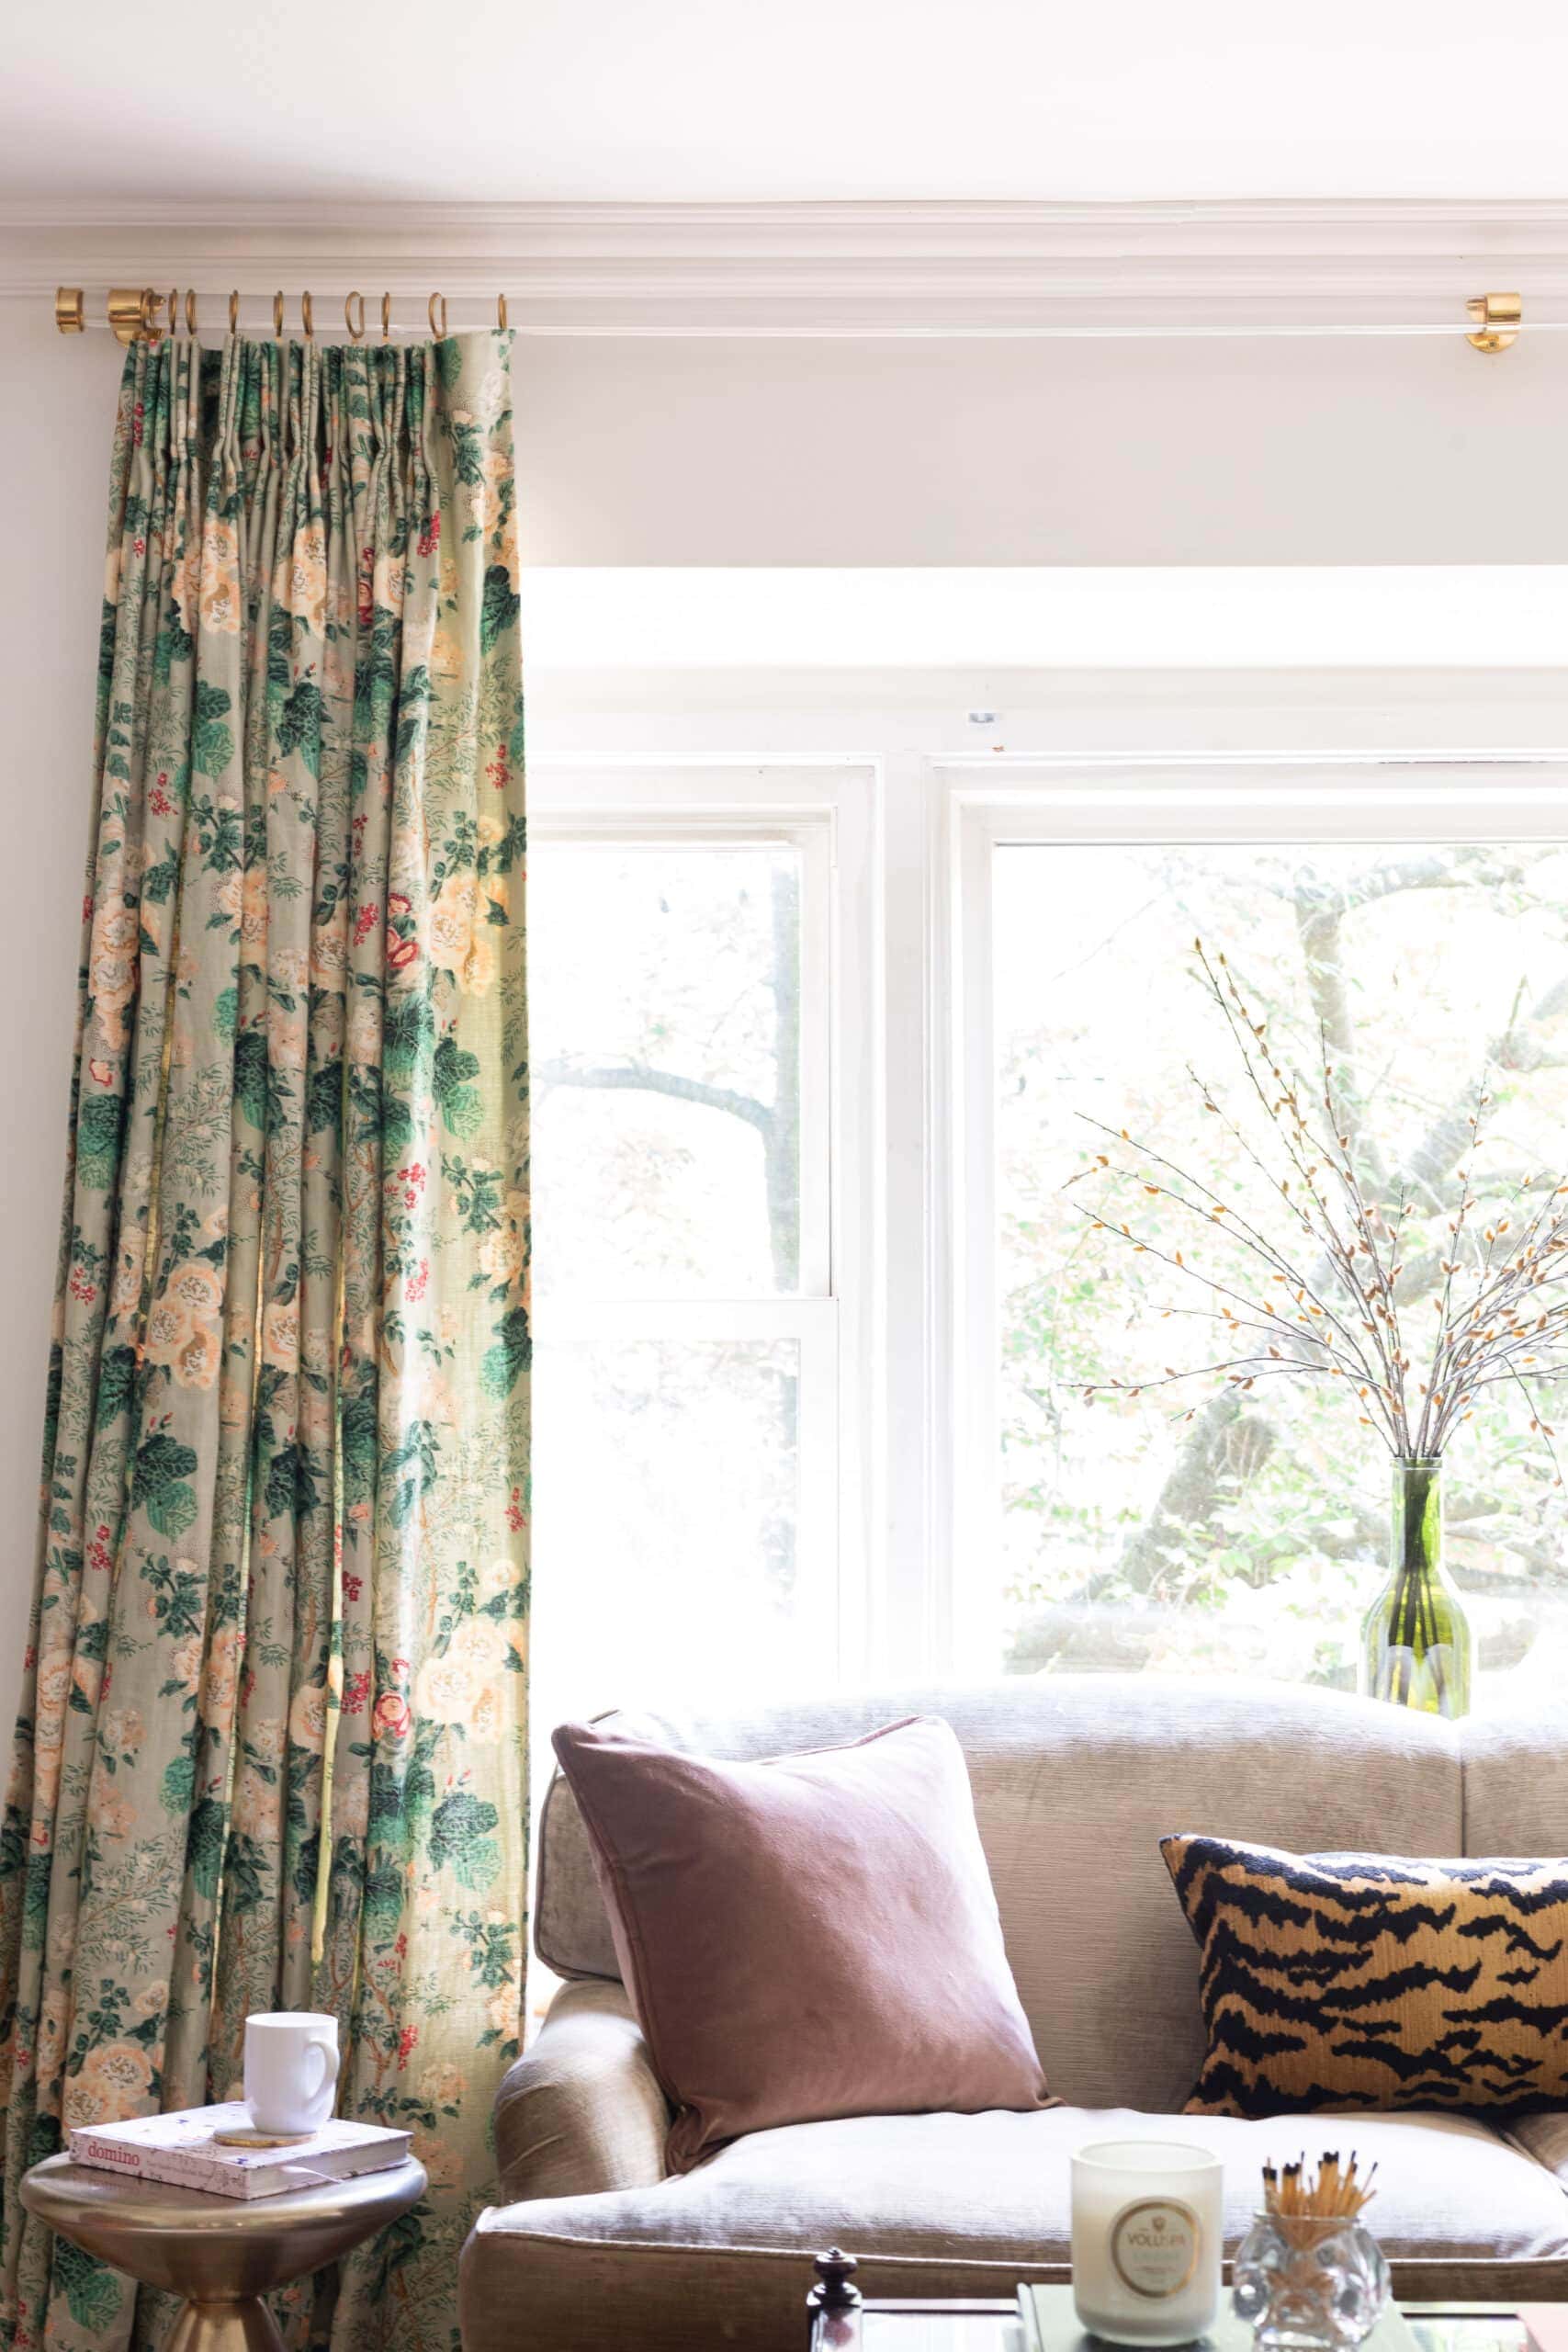
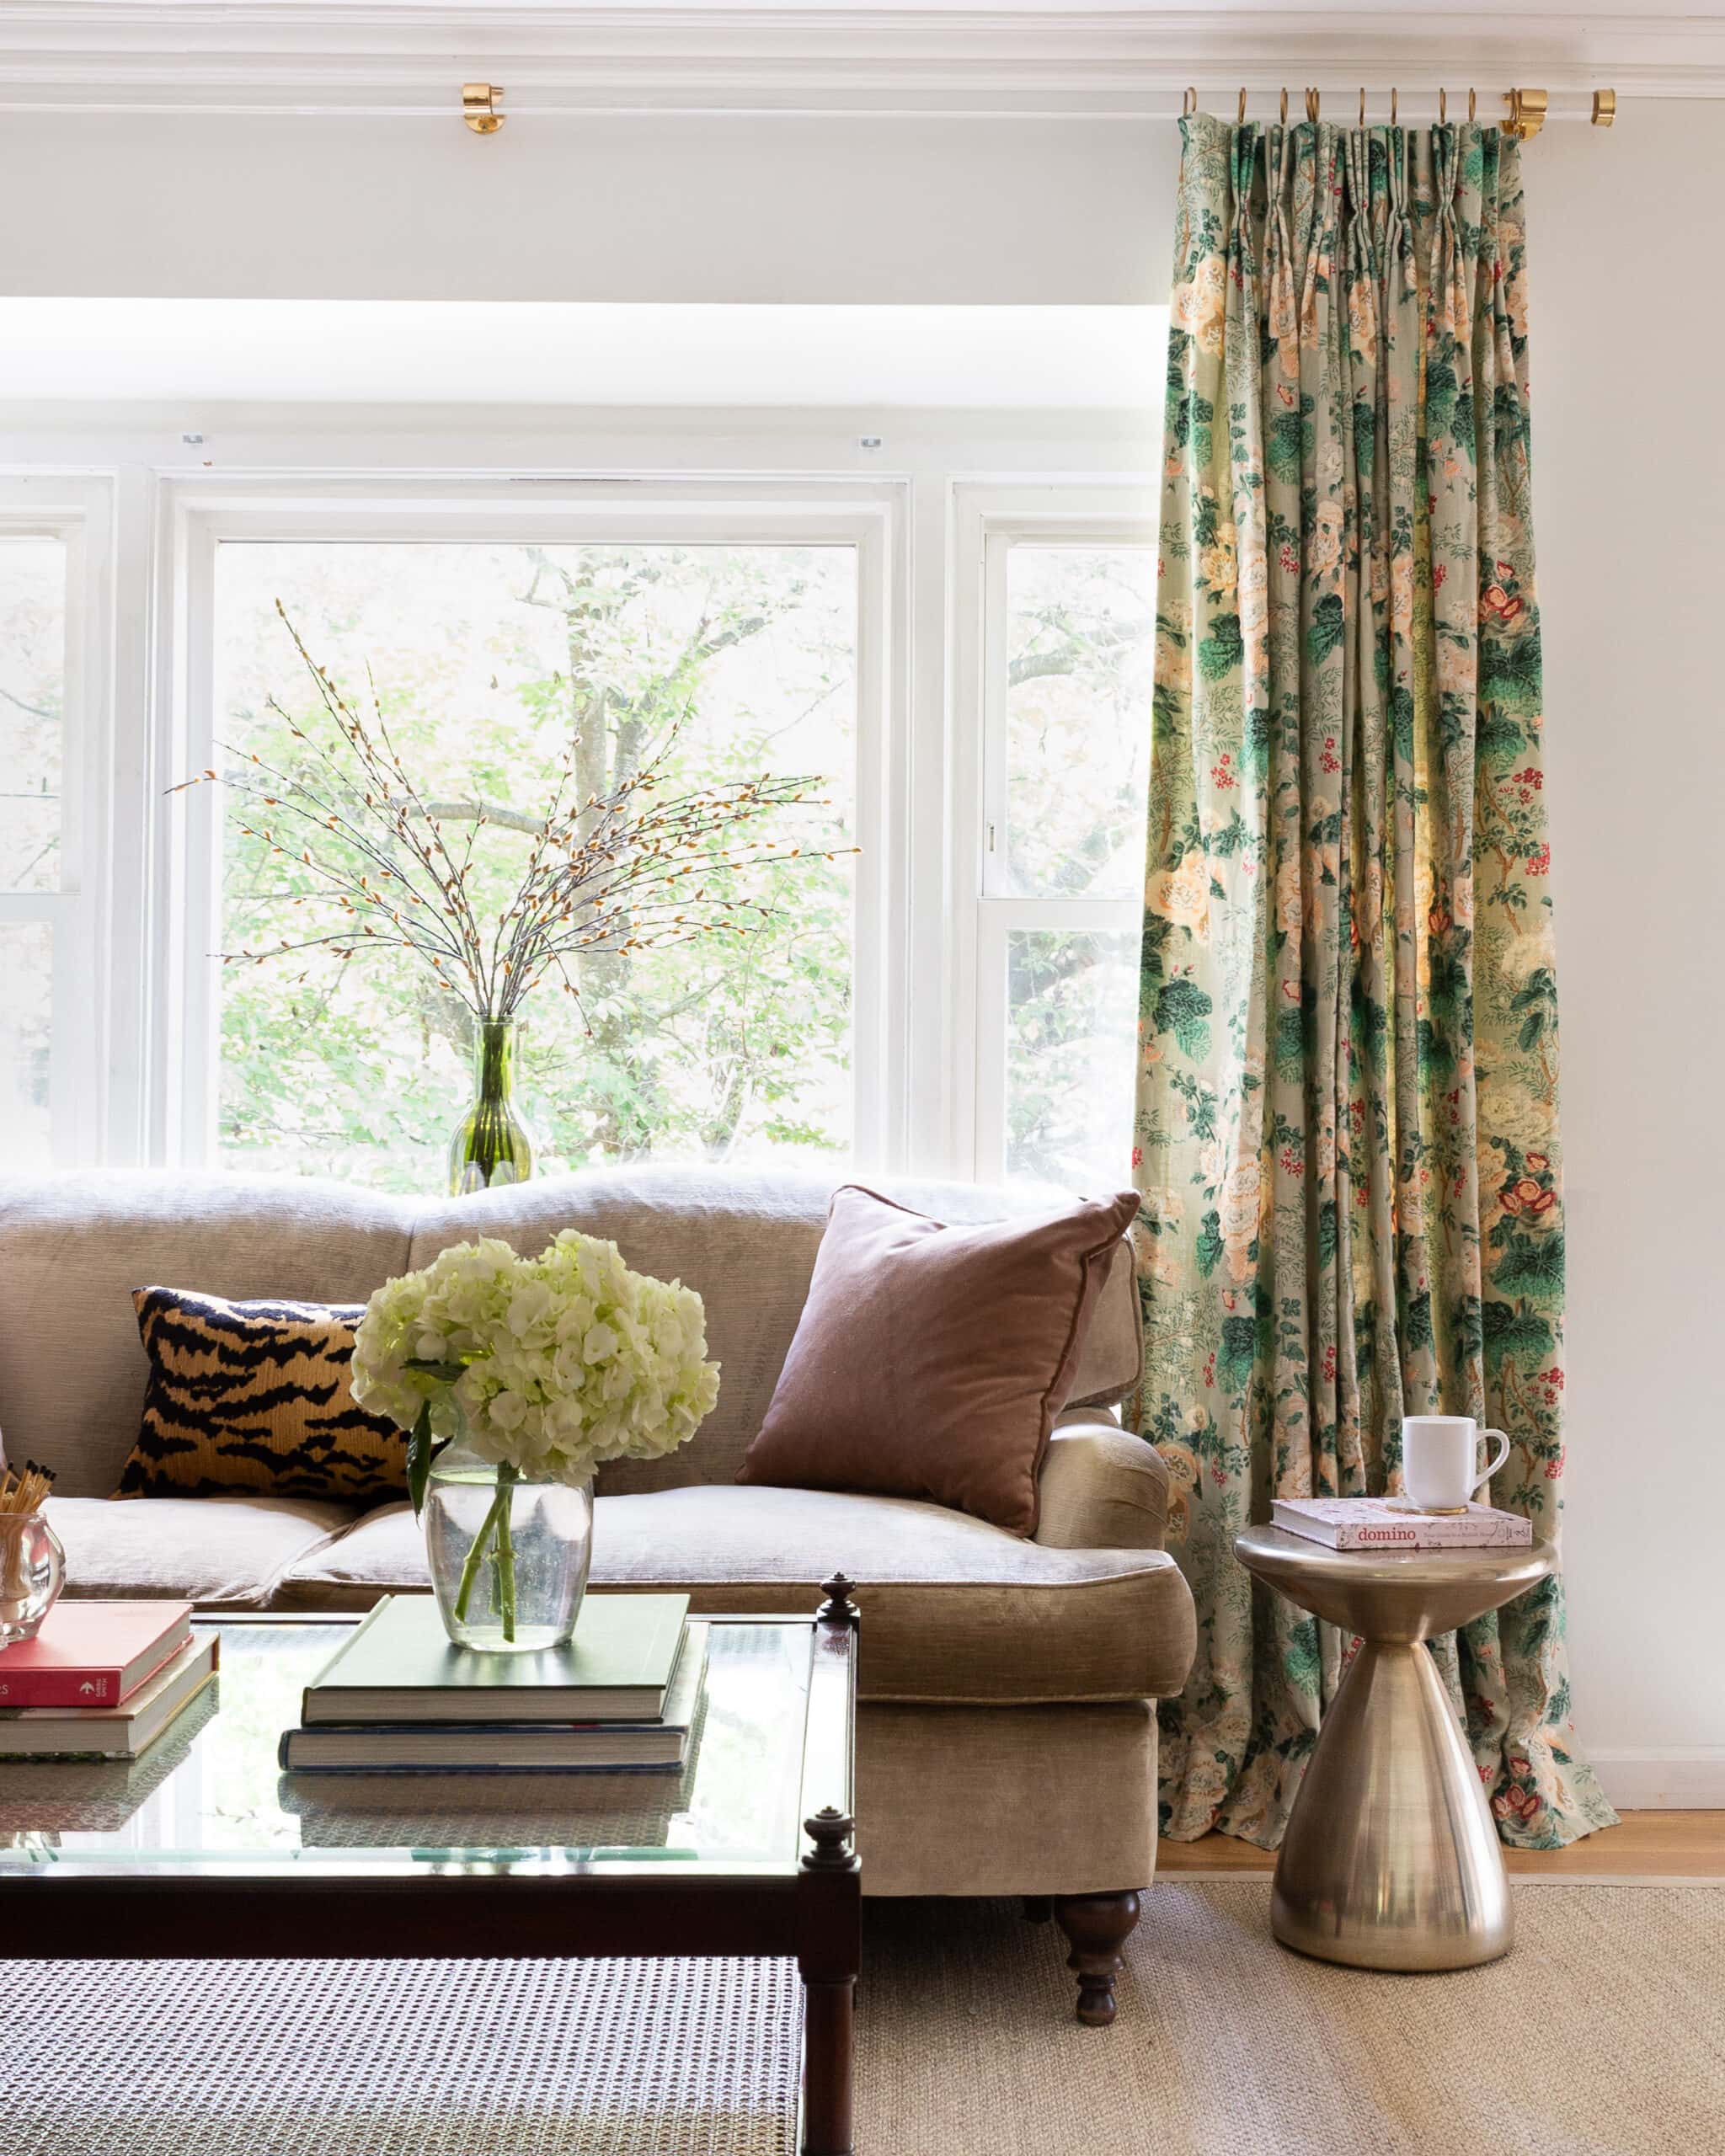
I just hung the brackets, slipped the rods in and hung the drapes (I spoke about the Lee Jofa drapes last week). Voila!
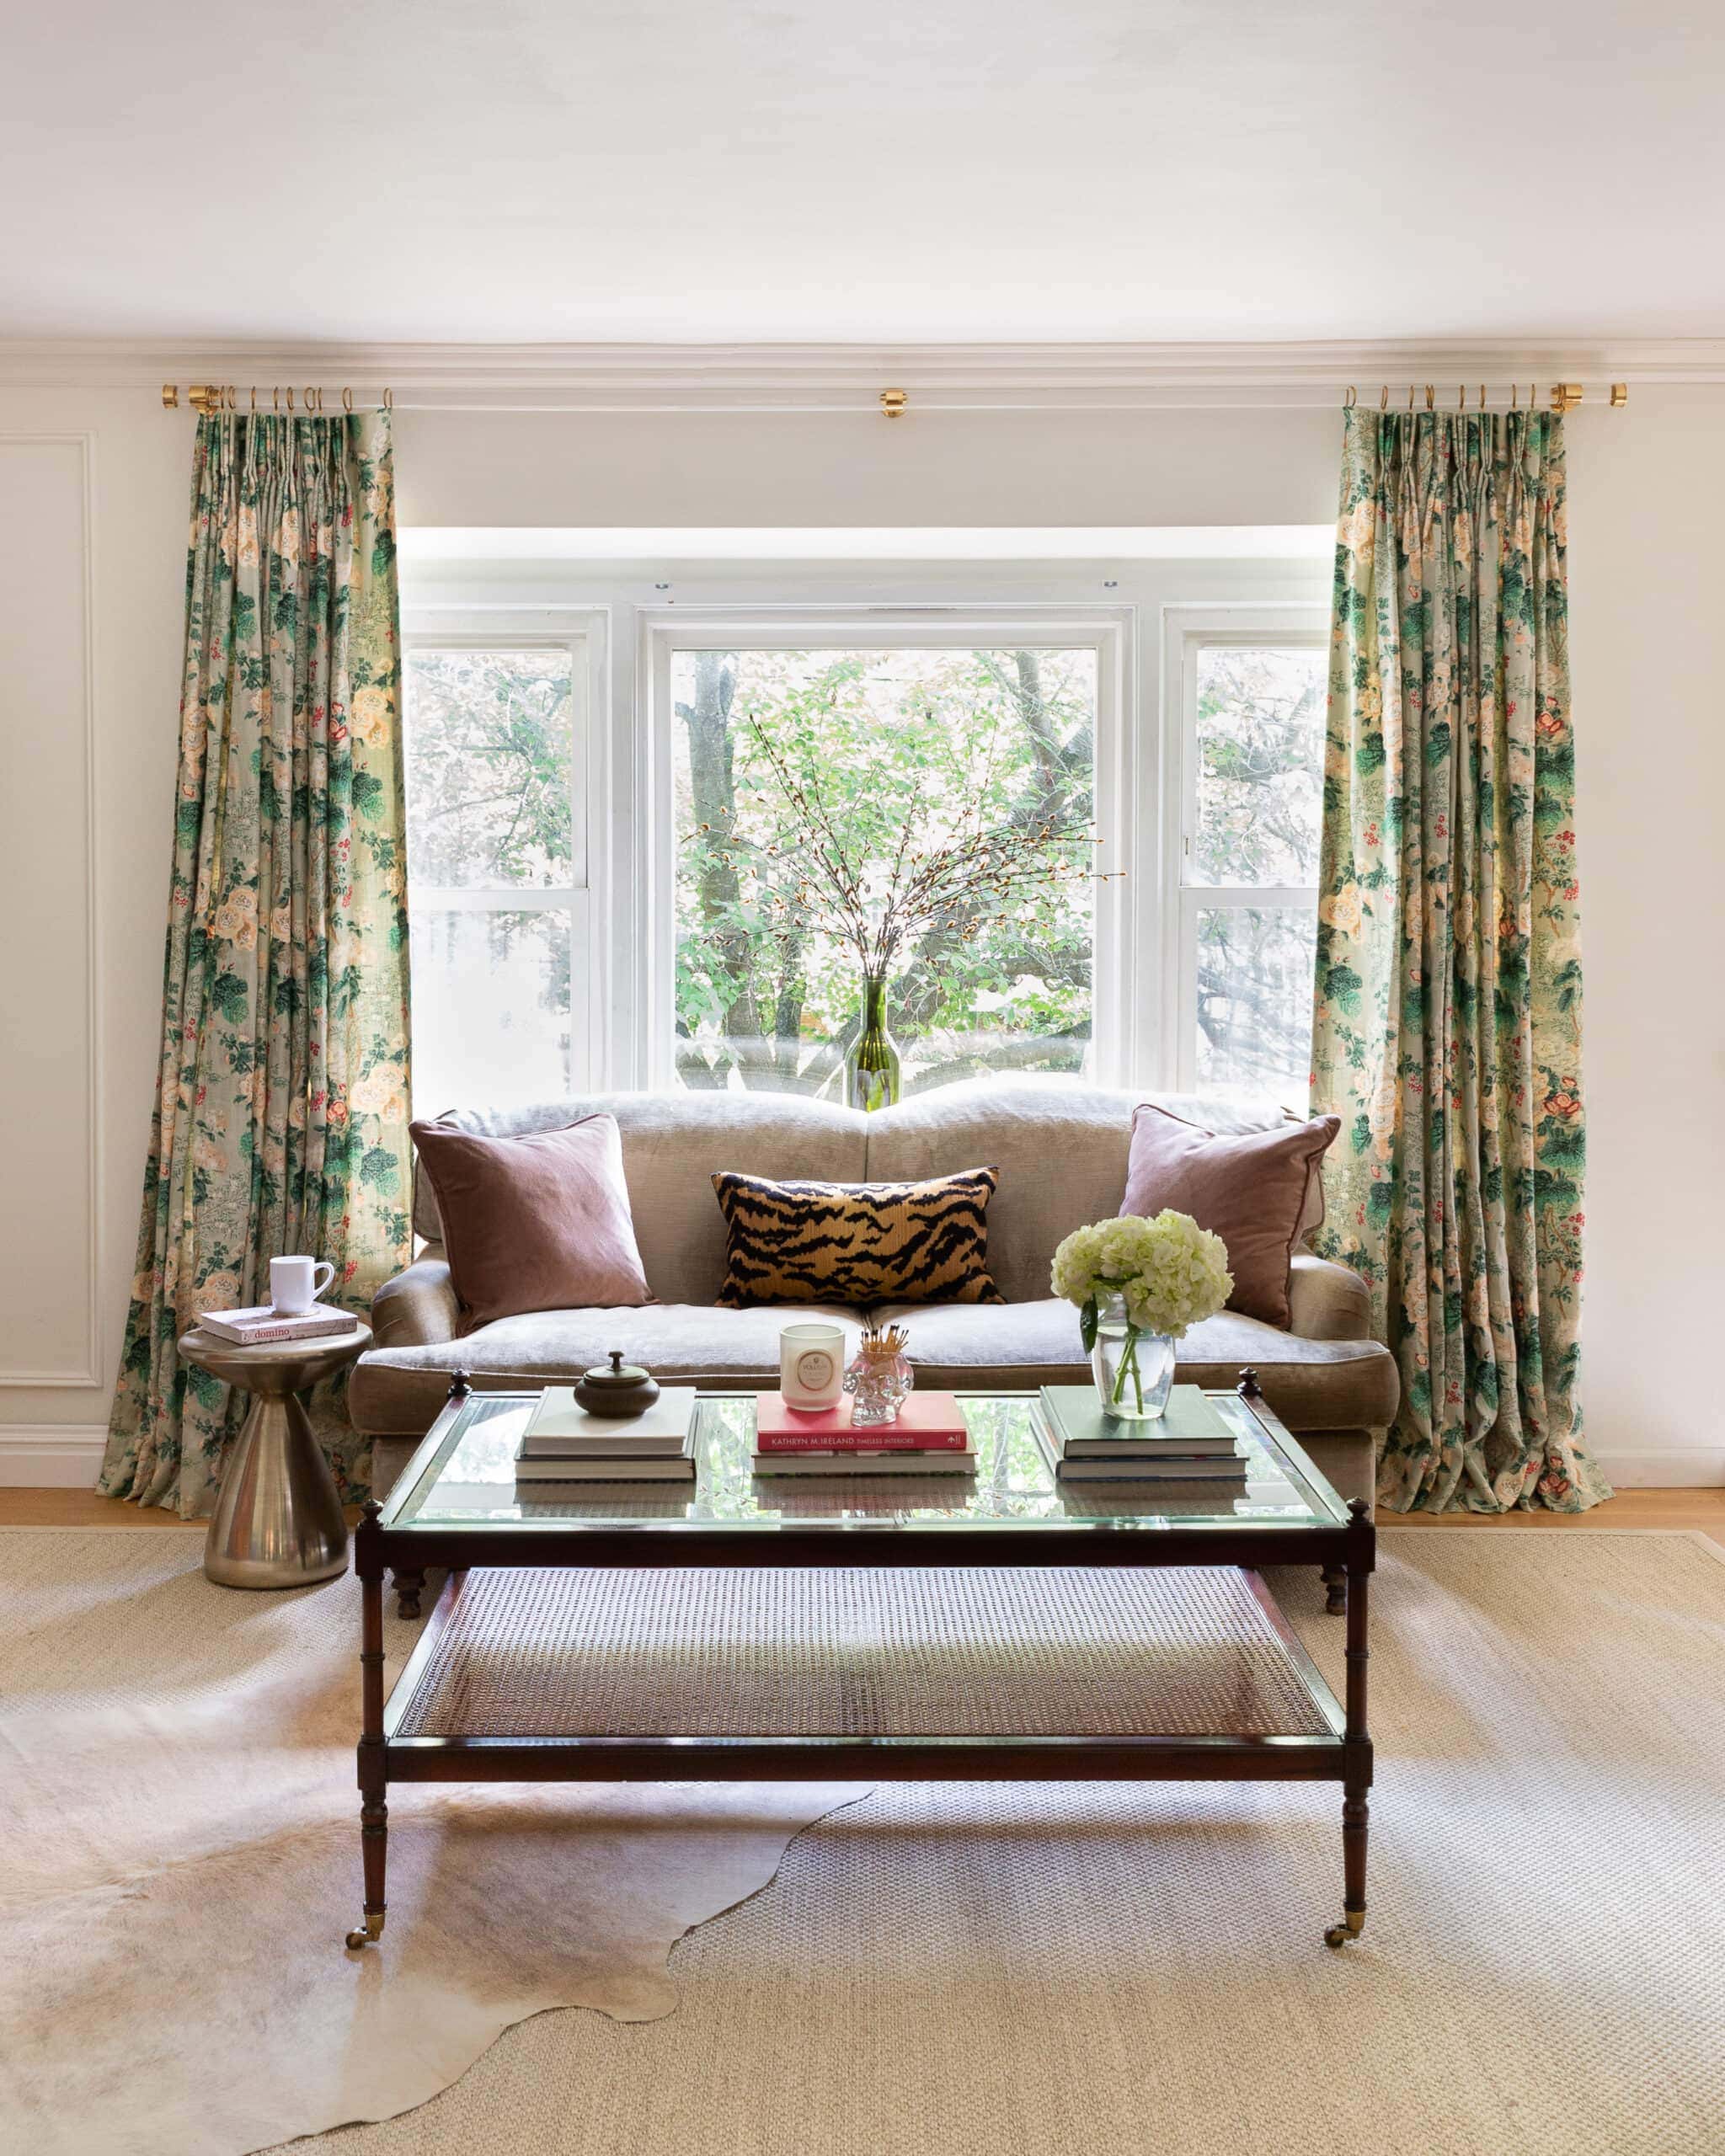
My inability to plan and act rather impulsively is loud and clear in this photo. Molding on the left, no molding on the right. I’ll get to it…eventually.
Speaking of acting impulsively, that coffee table was a FB MP impulse buy yesterday and I’m forcing it in the living room, even though it clearly isn’t working.
COST SAVINGS
I’m all for supporting small businesses, of course, but there are some things that are just completely out of my price range, so I thought I could share how much money I saved vs. buying the rod custom from a popular lucite rod maker.
- Two 96″ rods: $153 ($76/ea – cost includes shipping)!
- 3 Brackets: $67 (with shipping)
- Curtain rings: $18 (for a set of 28)
- End caps: $17 ($8.26 each)
- Total cost: $255
- Total cost of custom item from popular seller: $489 (including shipping)
- Savings: $234
The best part about this cost savings is that usually with a DIY, there’s some level of labor involved in order to save money. But there is no more work involved in this DIY than buying the rod custom.
LUCITE TOWEL BAR
I didn’t actually make a towel rod for this tutorial, but I did purchase one for our bathroom (new from Etsy) and would have saved a good chunk of change with this DIY route vs. buying new.
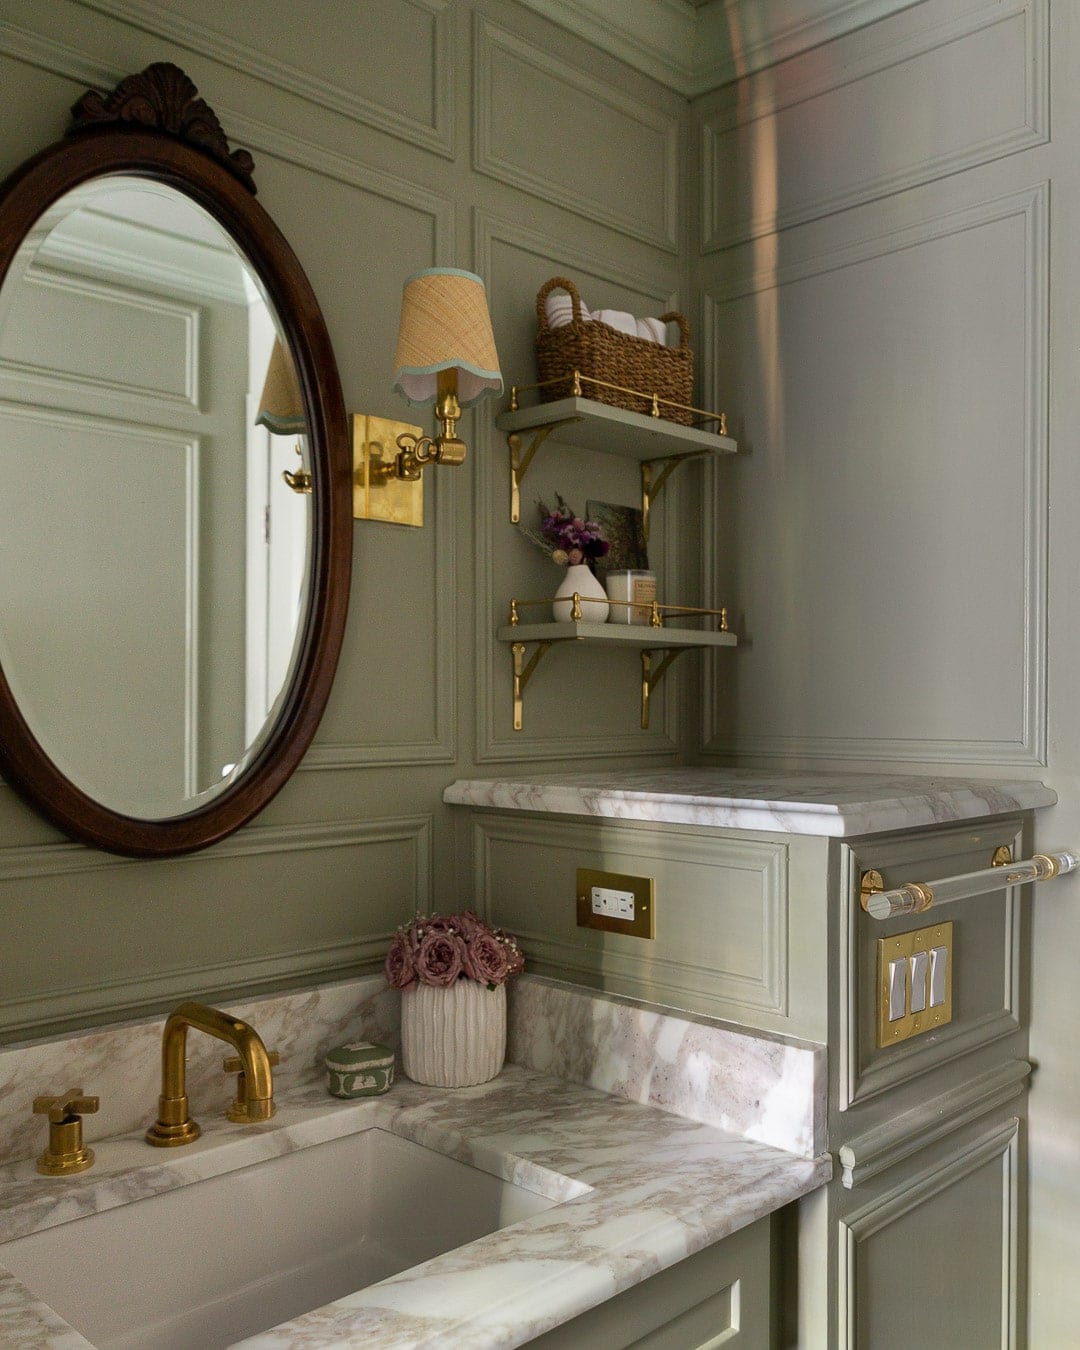
So if you want to make a towel bar, you could purchase a different diameter rod (1″ pictured above) and smaller brackets from Railings Hardware. This Etsy shop sells smaller pieces of lucite rods for pretty cheap.
OR, if you have excess pieces from your curtain rod, you could use that for something like a towel bar.
Thanks for reading and I hope you found this helpful. Not the part about my precious gemstones…the other parts.
Have a fabulous rest of your weekend!


Could you say more about why the new coffee table isn’t working for you in the LR? Thanks!
Hello! Could you elaborate on why you think the coffee table is not working in the space? Size issue or style incompatibility? To me it seems to work, straighter lines contrast with the curvier sofa. But I am looking to learn from your though process. Love your blog and decorating style by the way!
thank you! It’s really just the height of it that’s bothering me. I prefer lower coffee tables and the sofa is low to begin with, so the coffee table just overpowers it!
My coffee table is also slightly too tall and it is, indeed, maddening. I’m replacing it.
You dint mention the small bussiness from where you got this stuff. Can you please let me know. I plan to do something similar but with squared rods.
Hi!! Love it. Okay, this might be a stupid question but do the two rods just sit together in the middle bracket? They aren’t connected in another way, right?
Thanks!!
That’s not a stupid question! No they aren’t connected, but nationwide plastics offers male-female connectors if you want to go that route
What is the difference between the clear cast and the extruded acrylic? Why did you go with the clear cast?
I love all of it! You did a wonderful job.
Thanks!
Hey! That’s a good question, I’m not sure. I ordered what others had ordered and didn’t ask those questions haha! But I think nationwide plastics should definitely be able to help!
I love the rolling casters on your coffee table. I have them on my coffee table. I feel they lend A traditional feel to my transitional room. Cutting your coffee table down will make the lower shelf too low and will, IMHO make it feel wrong. It will look like you cut it! I would rehome it and find another option for my living room.
I love, love the lucite rods! They just float! Your room is coming together nicely!
I’ve been searching for a 211” black French return rod. I can only find them custom for $400.00+ ???? I feel your pain and I’m so inspired! It turned out beautiful! ????
Ugh, rods and curtains are so expensive! Thanks for reading 🙂
Check out pottery barn!
The look of the lucite curtain rod has really grown up me. I am thinking I am going to go that route for some of the rooms in my home!
Also, LOL @ “Long-ass window area that extends to Narnia”. Fortunately, all my windows (with the exception of the doors to our back deck) are all small in width so I won’t have that problem.
Yes, you really should! It’s a nice touch of luxury, IMO. And this is the ONLY window in our house that’s long – every other room has tiny windows and barely get any light – so I feel your pain haha!!
This turned out so beautifully! Question regarding the curtain rings. You mentioned they were a little small but didn’t bother you. Do you open and close these drapes? If not, and you had to, would it bother you? I’m considering doing this on a sliding french door off my living room. Also, may I ask what your ceiling height is? We have 8ft ceilings and I love the chunkier look of the larger rod.
Thanks for sharing the deets on this awesome project!
I love that you detailed this out (and provided the links). This was exactly what I was looking for. Can you expand more on how much room (inches) you left after the bracket and how many inches that you left from the window frame to the bracket? I am having a hard time judging how much extra I need to add to accommodate the inches after the bracket! Thank you.
*I have on window that is 88 inches and I am debating if it is necessary to add some additional length.
Hi!
How did you join your 2 60 inch lucite rods together? The length of a lucite rod I need for a window is 174 inches. I guess I could connect 2 96 inch rods together?
Thank you!
How did you get free shipping? It wants to charge $100?
In the brackets you ordered- did you order the 1 1/2 – I noticed it says the OD is 1 1/2” and the inside is smaller- did not know if I needed to order the 2” OD with the inside being 1.75”
That toffee colored sofa is so dreamy! I’ve been scouring the internet for one just like it and am struggling to find something I love as much. Could I ask where you bought it? (Thank you!)
Hello, could you tell me if your curtains are one panel or two? I’m not as lucky as you to find them at such an amazing deal! Lucky you! I’m going to make them myself, and that is how I will “save” money, I have a large window like yours so I wanted to see how little of fabric I could possibly get away with. Thank you!
I see that you used 2″ end caps on the 1.5″ rod – this may be a dumb question, but how did you attach your end caps? since they are too big for your rod, do they just sit on top? I’m worried the end caps will fall off on mine – they are heavy solid brass and I’m not sure if I should glue them on or just leave them sort of sitting on the rod? Thanks!
I was curious about this as well. I see that I can purchase a 1.5″ end cap so was thinking that’s the one I should order???
Thank you so much for this tutorial. I was looking for a DIY option because I have an odd size that I’m working with and you laid out the steps perfectly. Thank you!
aw yay! I’m glad to hear 🙂 good luck!
Oh I’m so hoping you can share with me the name of the fabric in the top pic. The blue and green based?
Hi! So glad I came across this blog. I initially purchased from the pricey etsy site and was determined to build similar versions at a much lesser cost by directly purchasing from manufacturers.
How did you secure the rods within the hardware? The hardware from the etsy site included the tiny screws to secure the rod in place. The hardware site you referenced does not include the tiny screw to secure the rods. I purchased some and they easily slide across the rod, and I worry they will fall out easily. Thx!