After recently sharing all our bedroom regrets/things I wish I did before I rushed the reveal in 2021, it got me thinking – why not just do what I want because, idk, YOLO? For as long as we live here, I’ll be forever tweaking things, and our bedroom happens to be my current ADHD hyper-fixation.
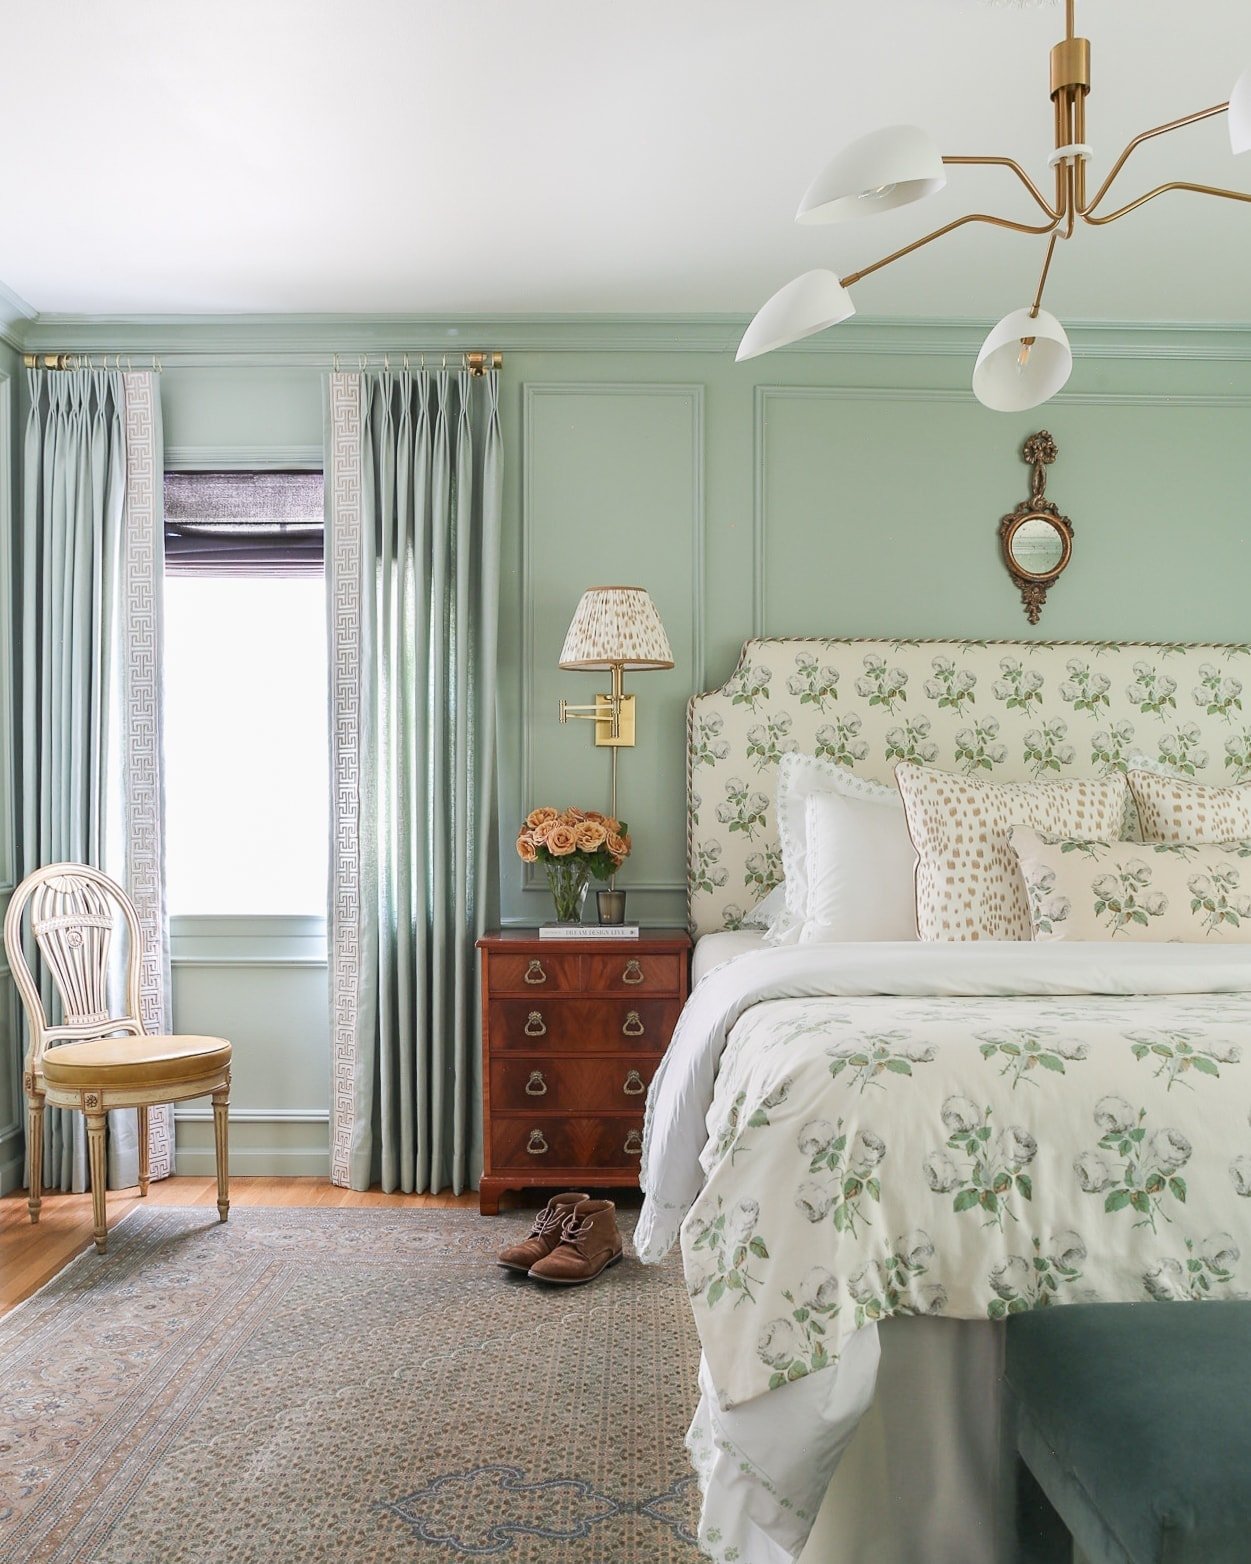
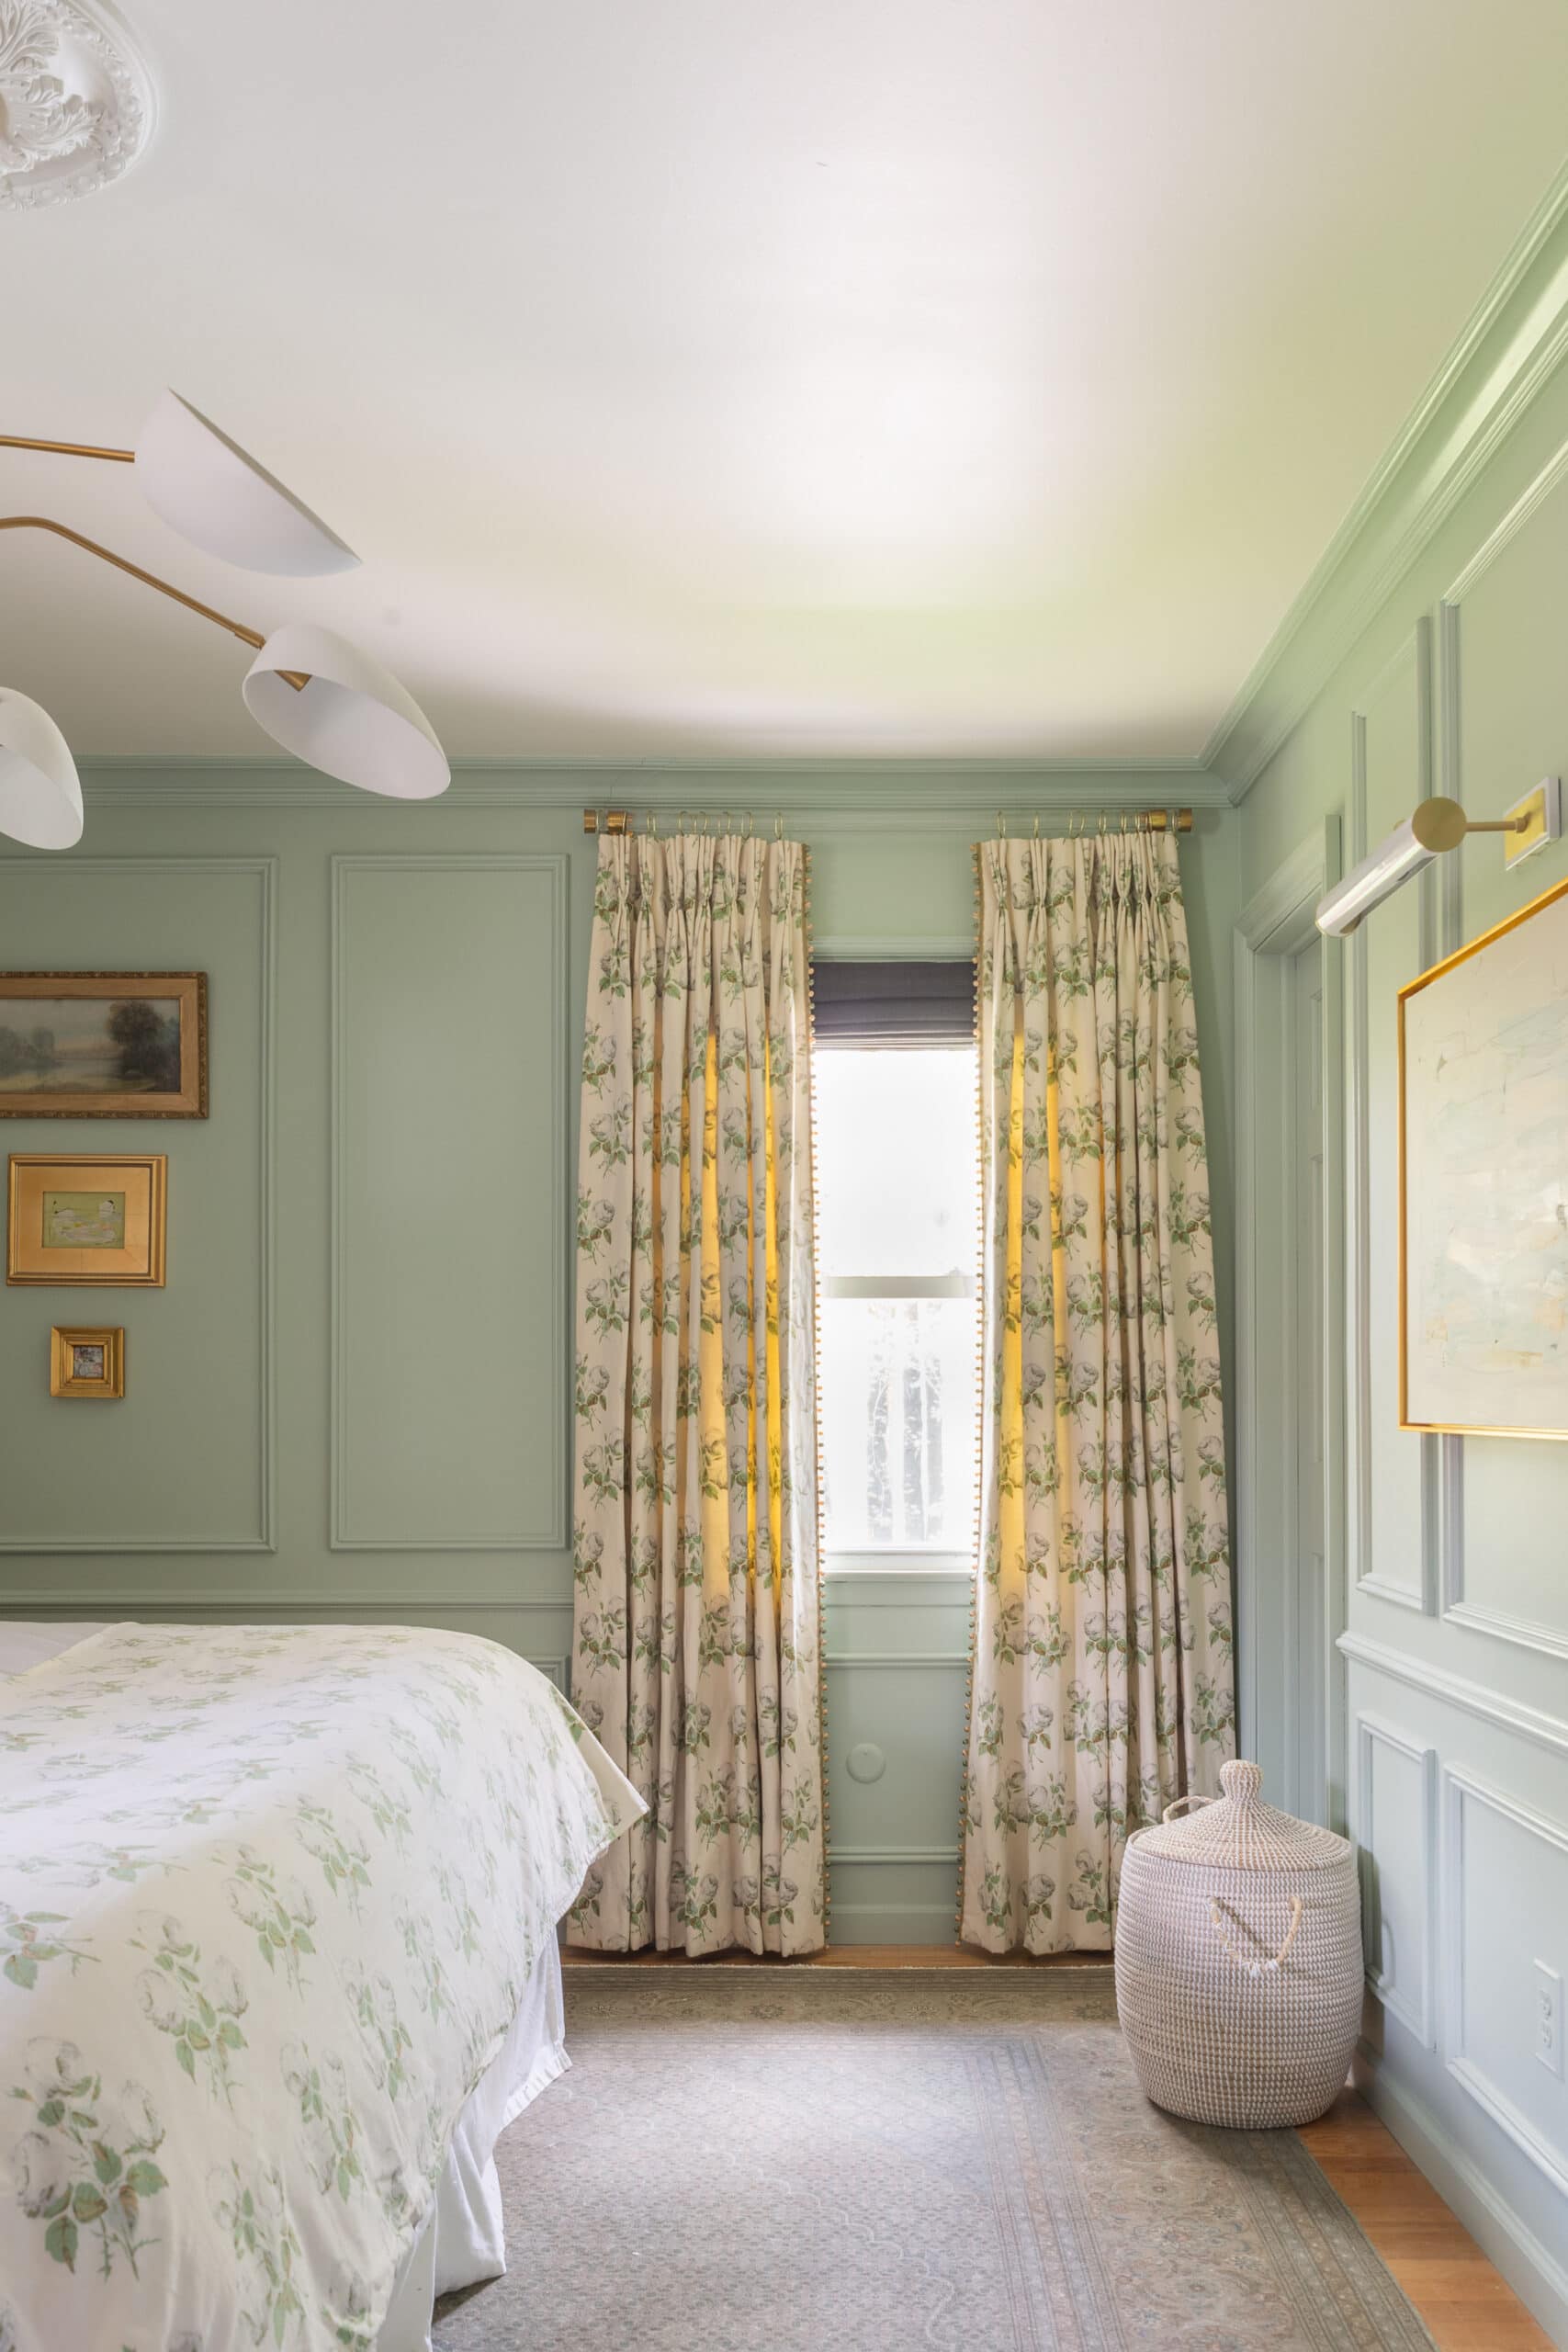
I recently found a single pair of Bowood curtains from the UK, so I’ll be swapping out the existing curtains with those. But since we have two windows, I’m getting a second pair of Bowood curtains made from Martha and Ash to match the secondhand pair! Bowood is a pattern that looks best in abundance, so I’m thrilled to finally incorporate more of it in our room.
Since sharing that I regretted not doing a half-tester canopy behind our bed, I’ve received so many messages and questions about them. What exactly is a half tester? How much does it cost to make (spoiler alert – they’re not cheap).
When I shared I wanted to do one in 2021, I received a handful of messages from people saying that I shouldn’t do it because it would get dusty, spiders, etc. But my desire to create a cozy, elevated bed far outweighs my fear of spiders. And I think I’ll risk the dust – we do own a vacuum.
What’s a half tester canopy?
A half tester canopy only covers the headboard. It is known as a “half” tester bed because the canopy extends only to half the length of the bed (vs a full canopy bed).
Full canopy:
Via Lisa M Henderson
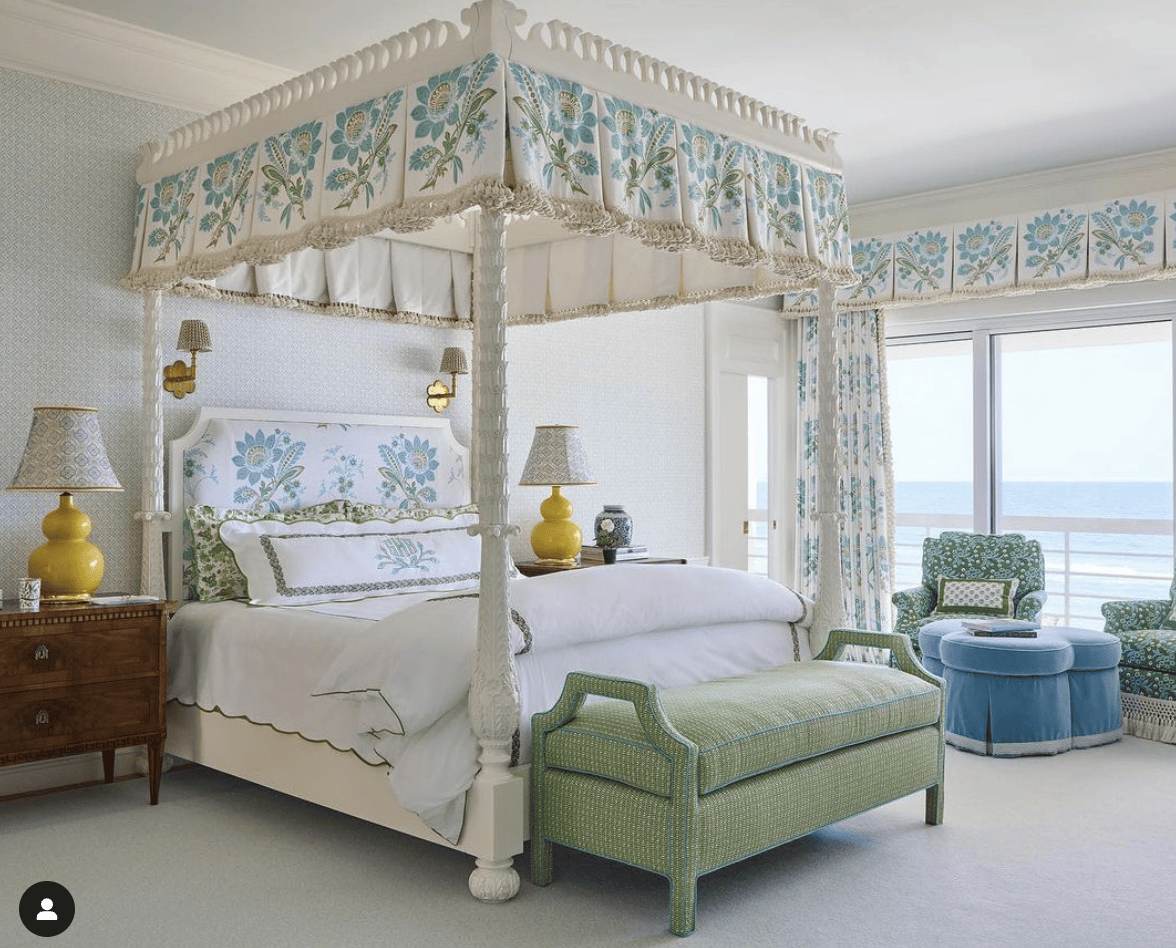
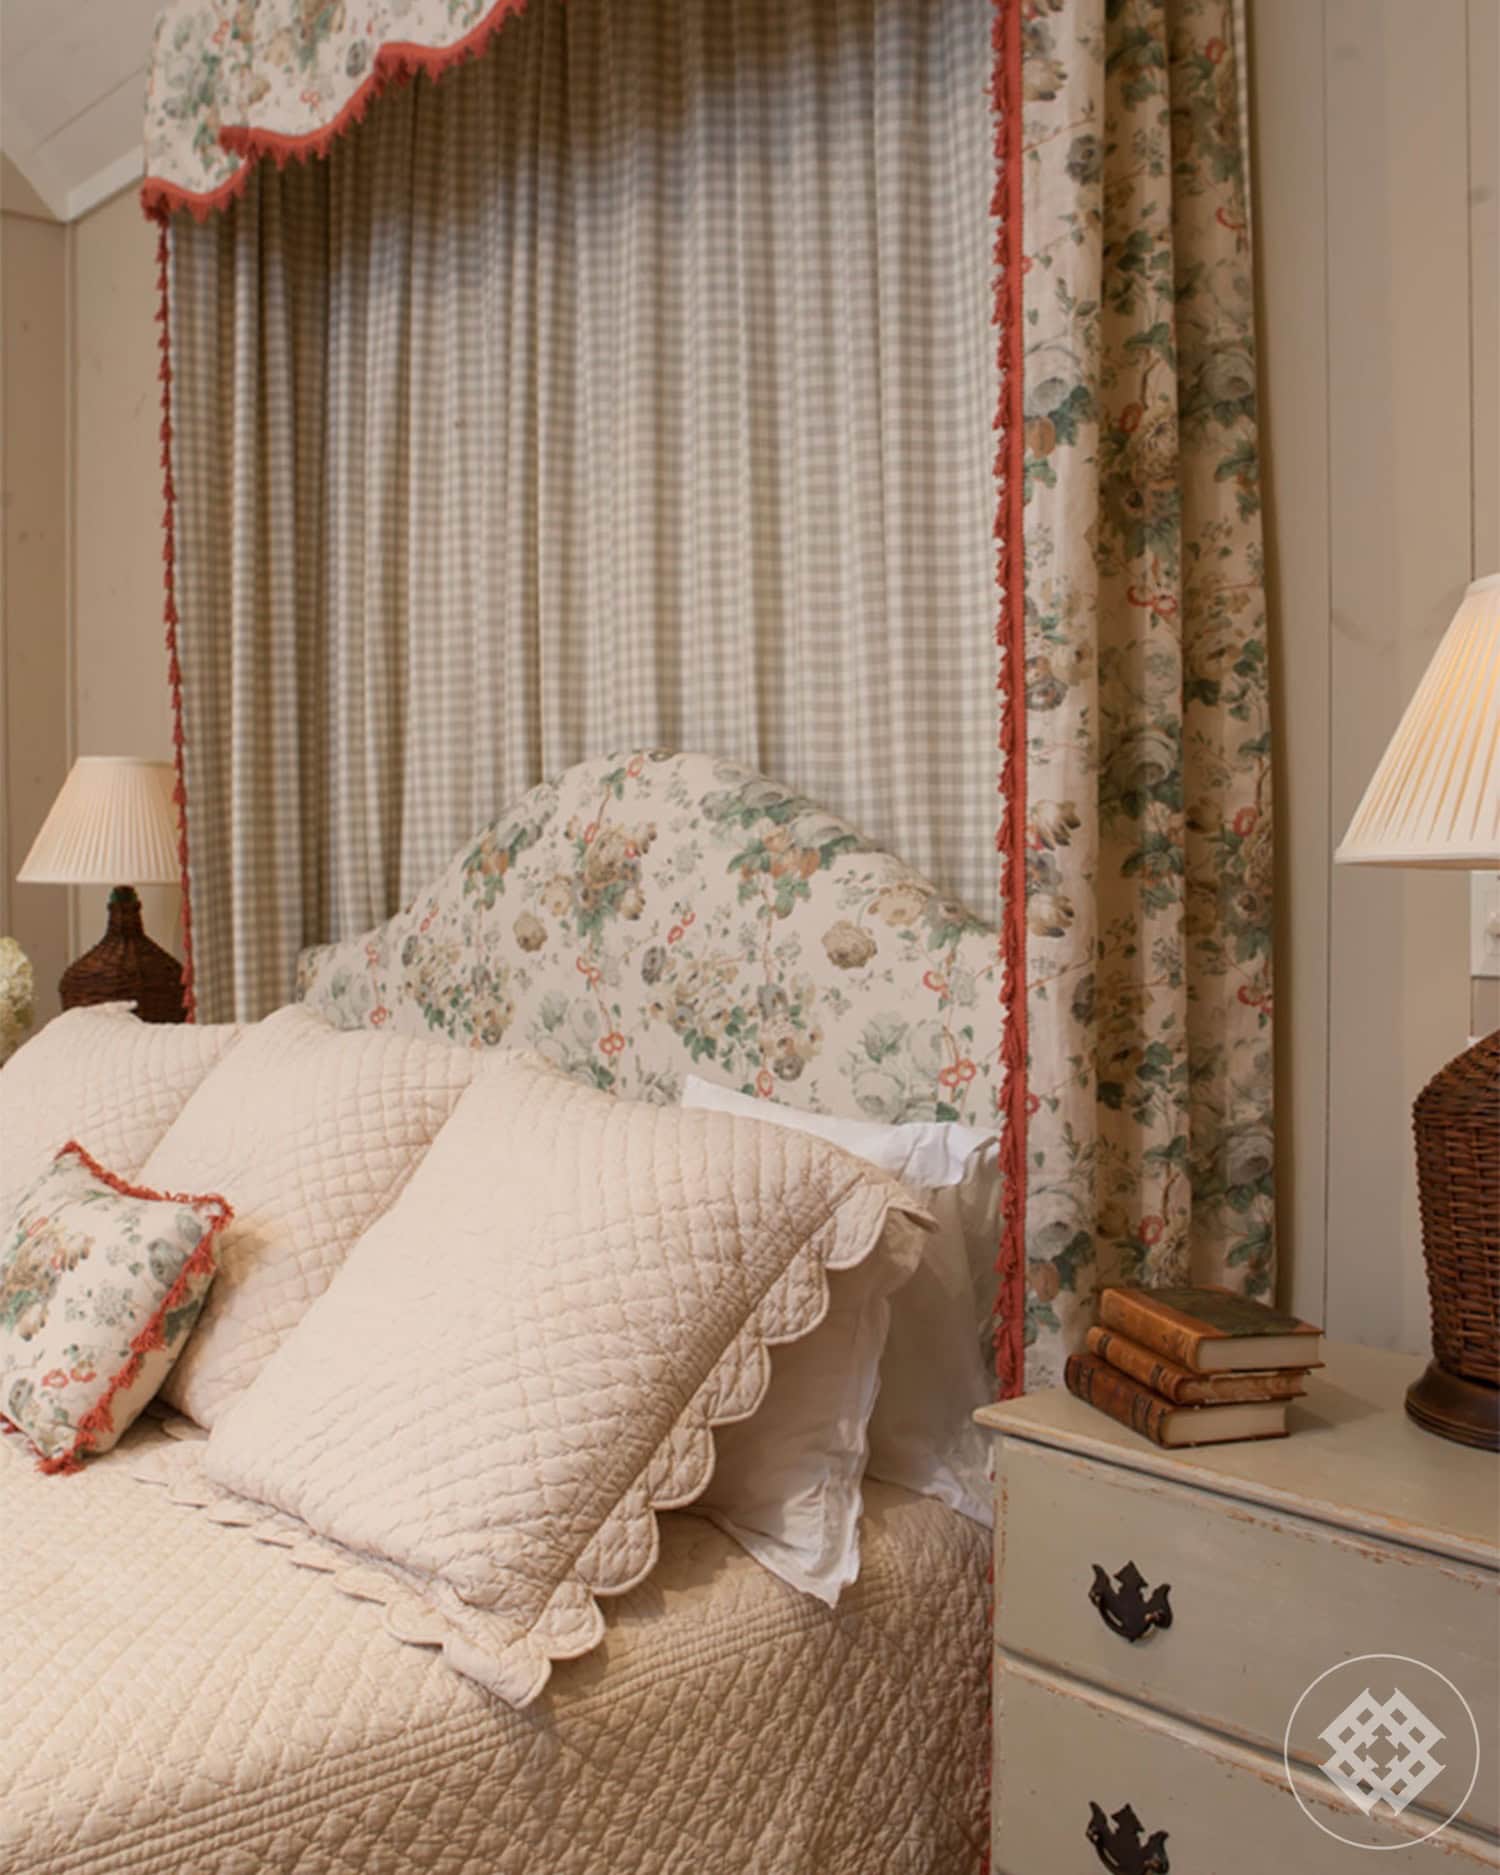
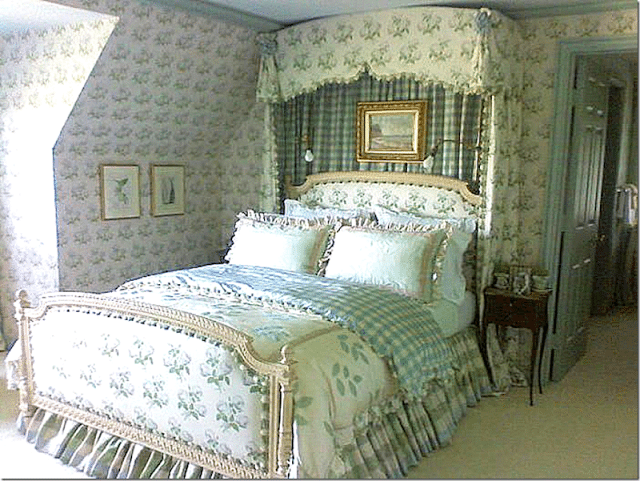
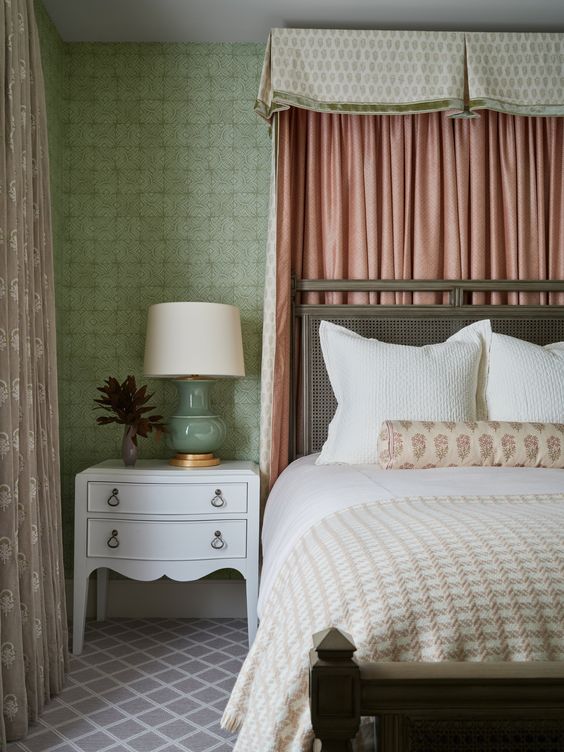
Half tester:
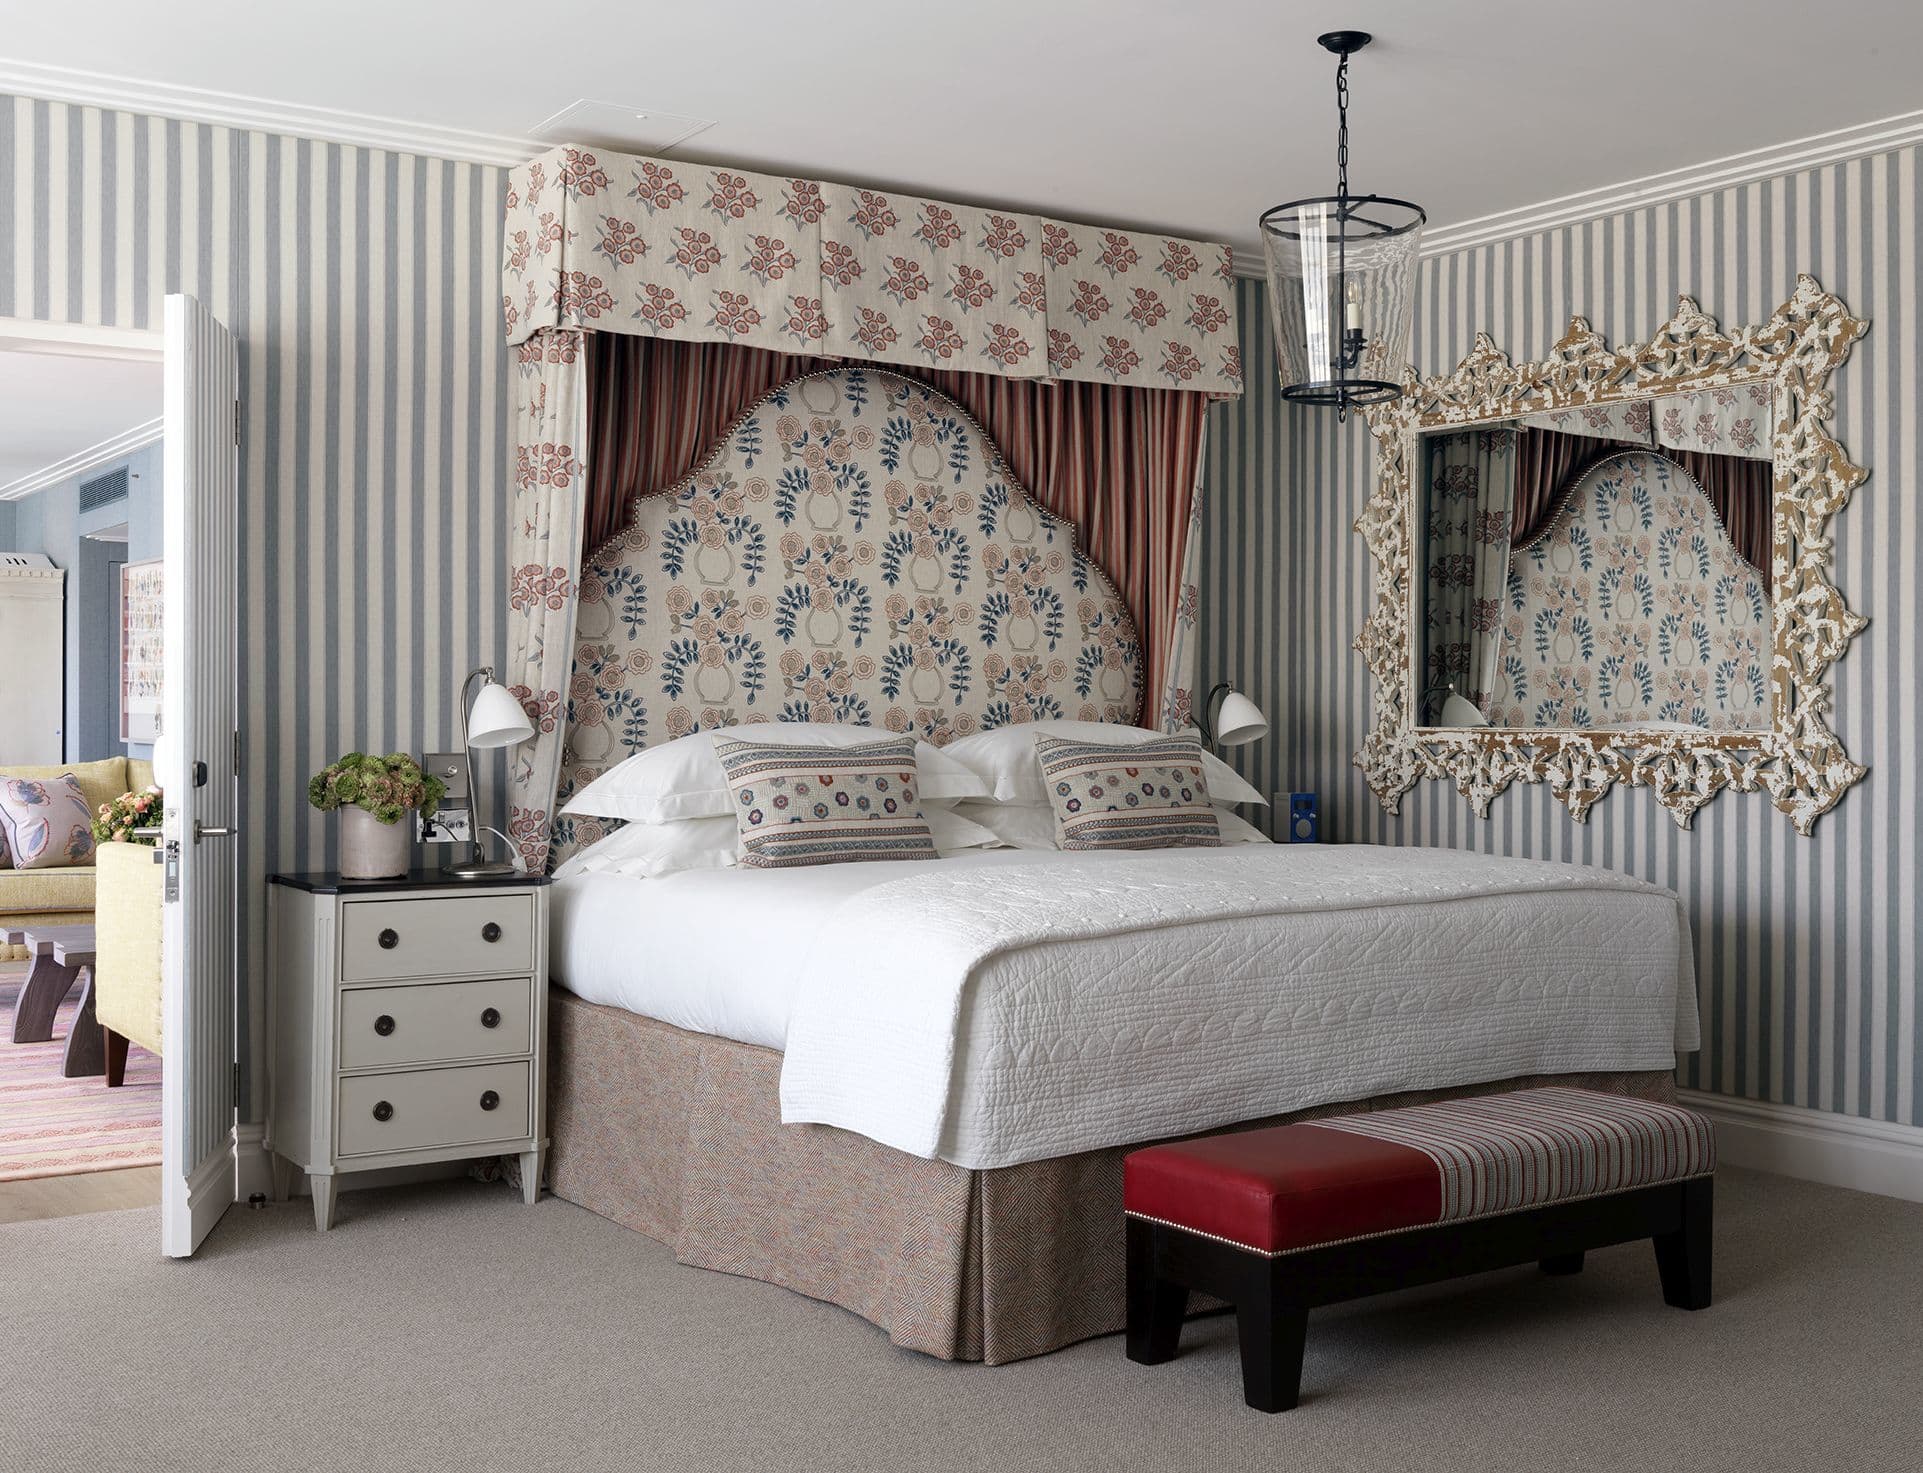
Via Kit Kemp
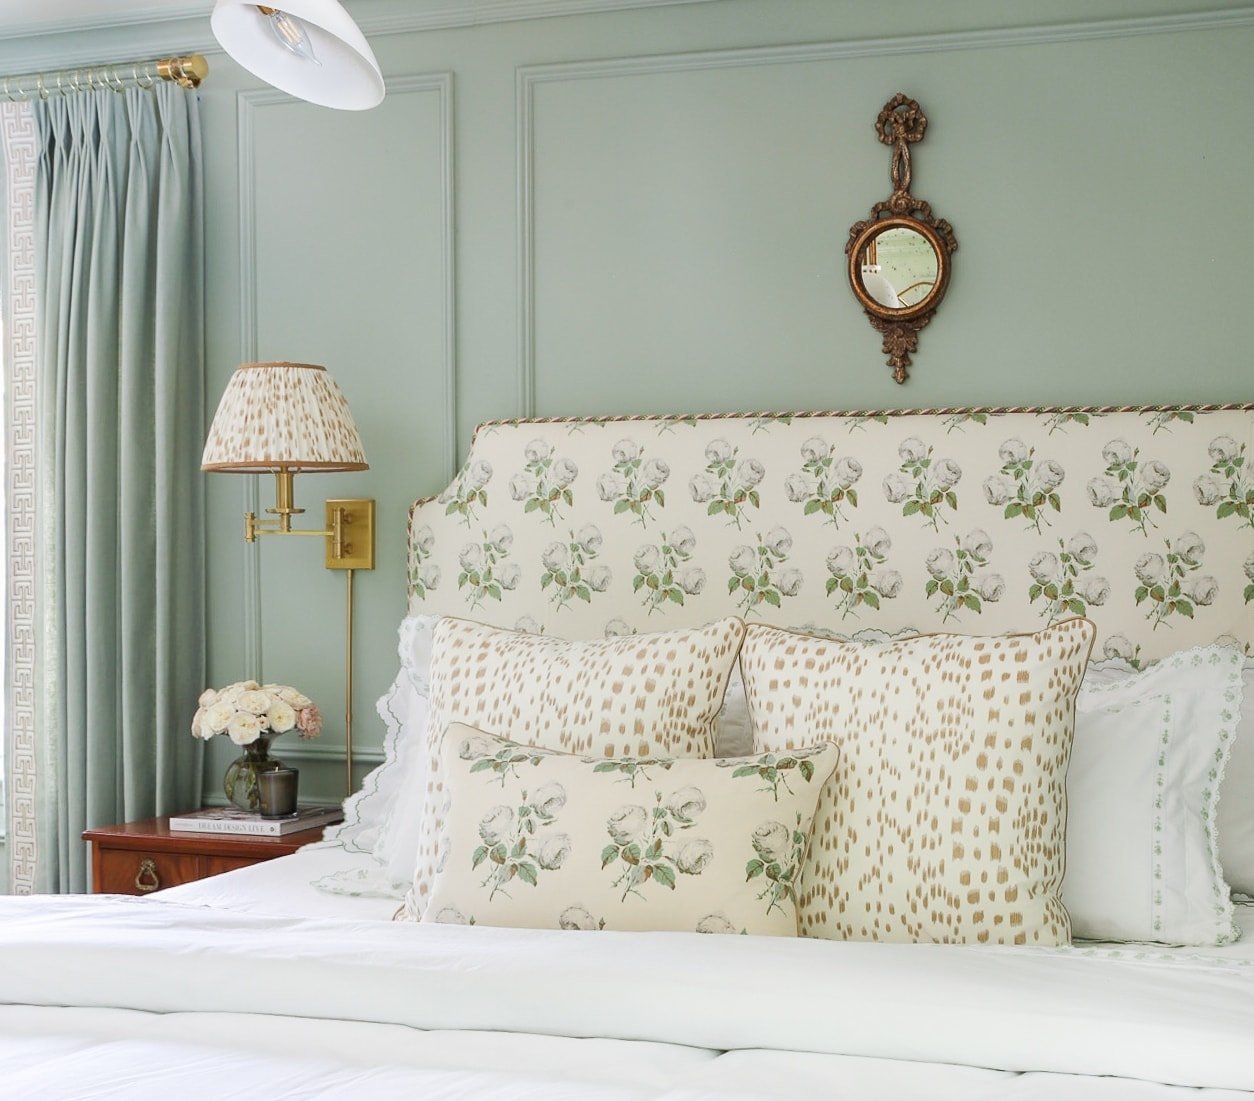
The wall space behind a headboard can be tricky. I’ve never been satisfied with a dinky little mirror above our bed, it just never felt right. But a half tester canopy feels luxurious, layered, cozy and engulfing. It helps to soften a room and provides a sense of visual balance.
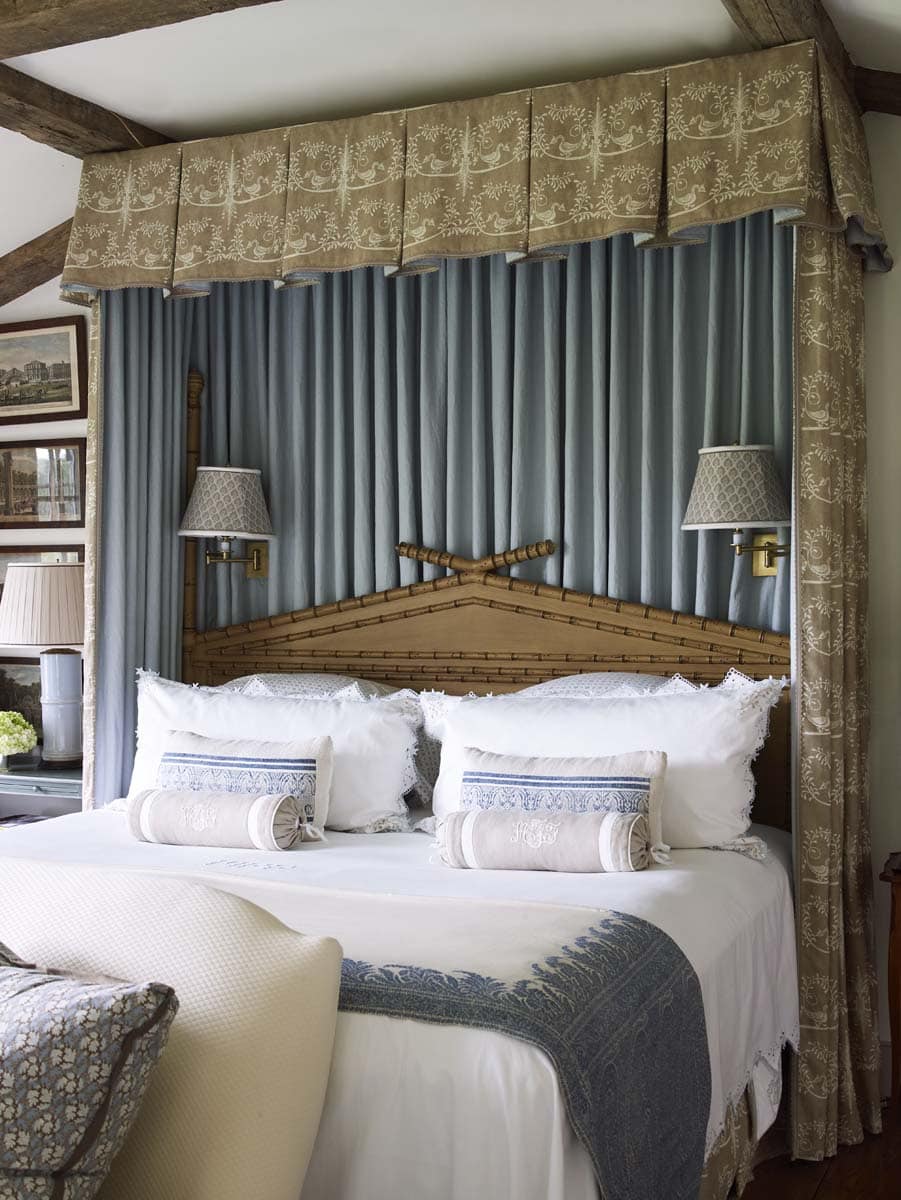
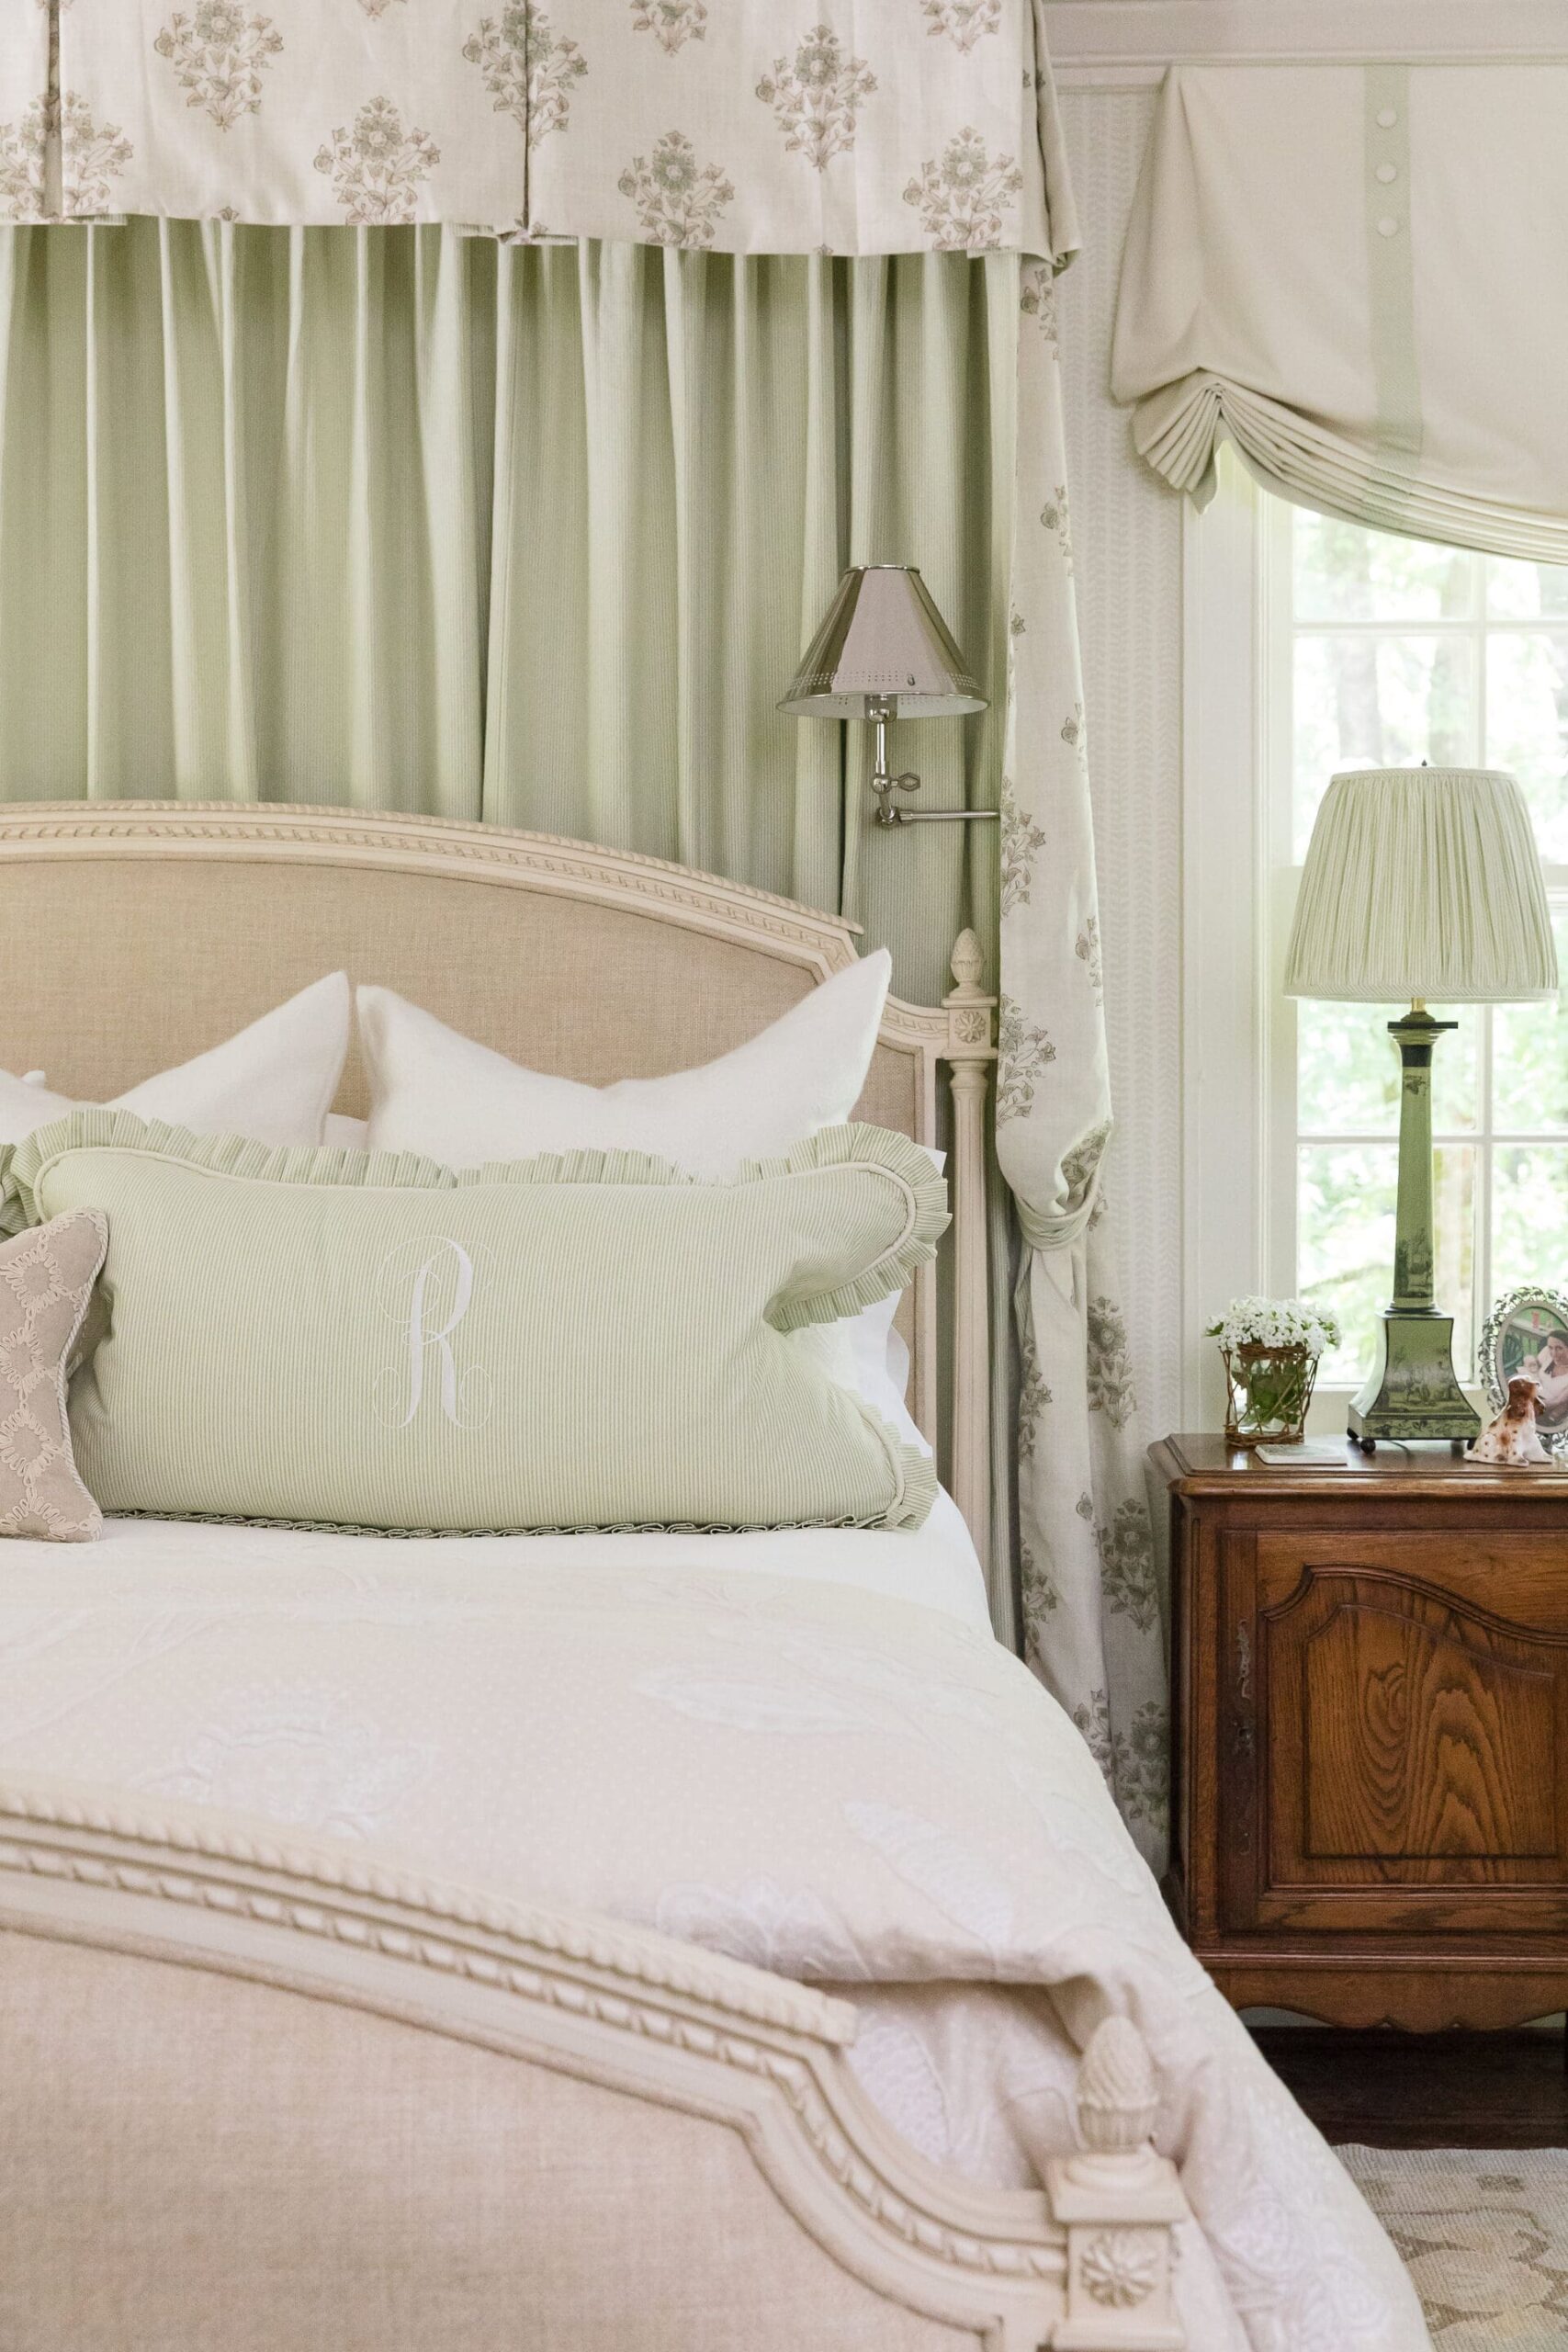
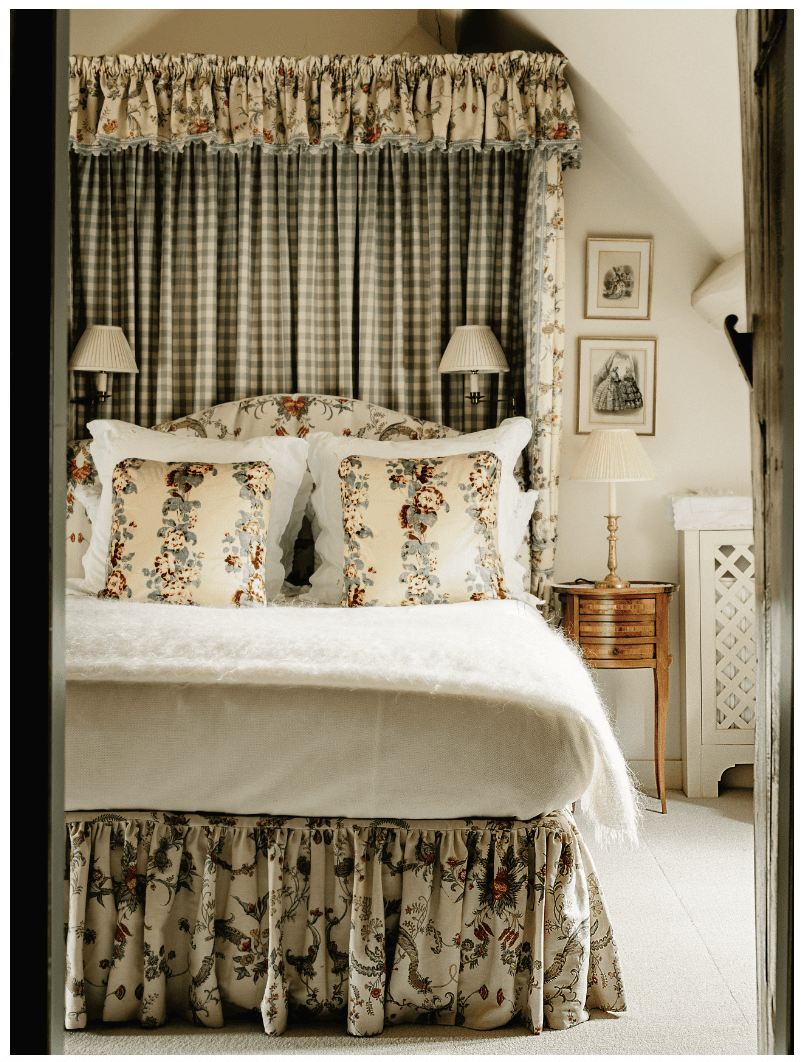
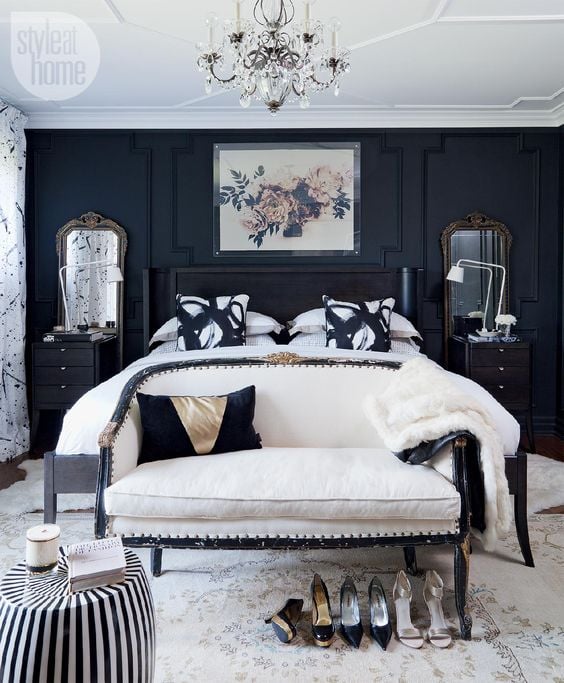
Half tester canopy inspiration:
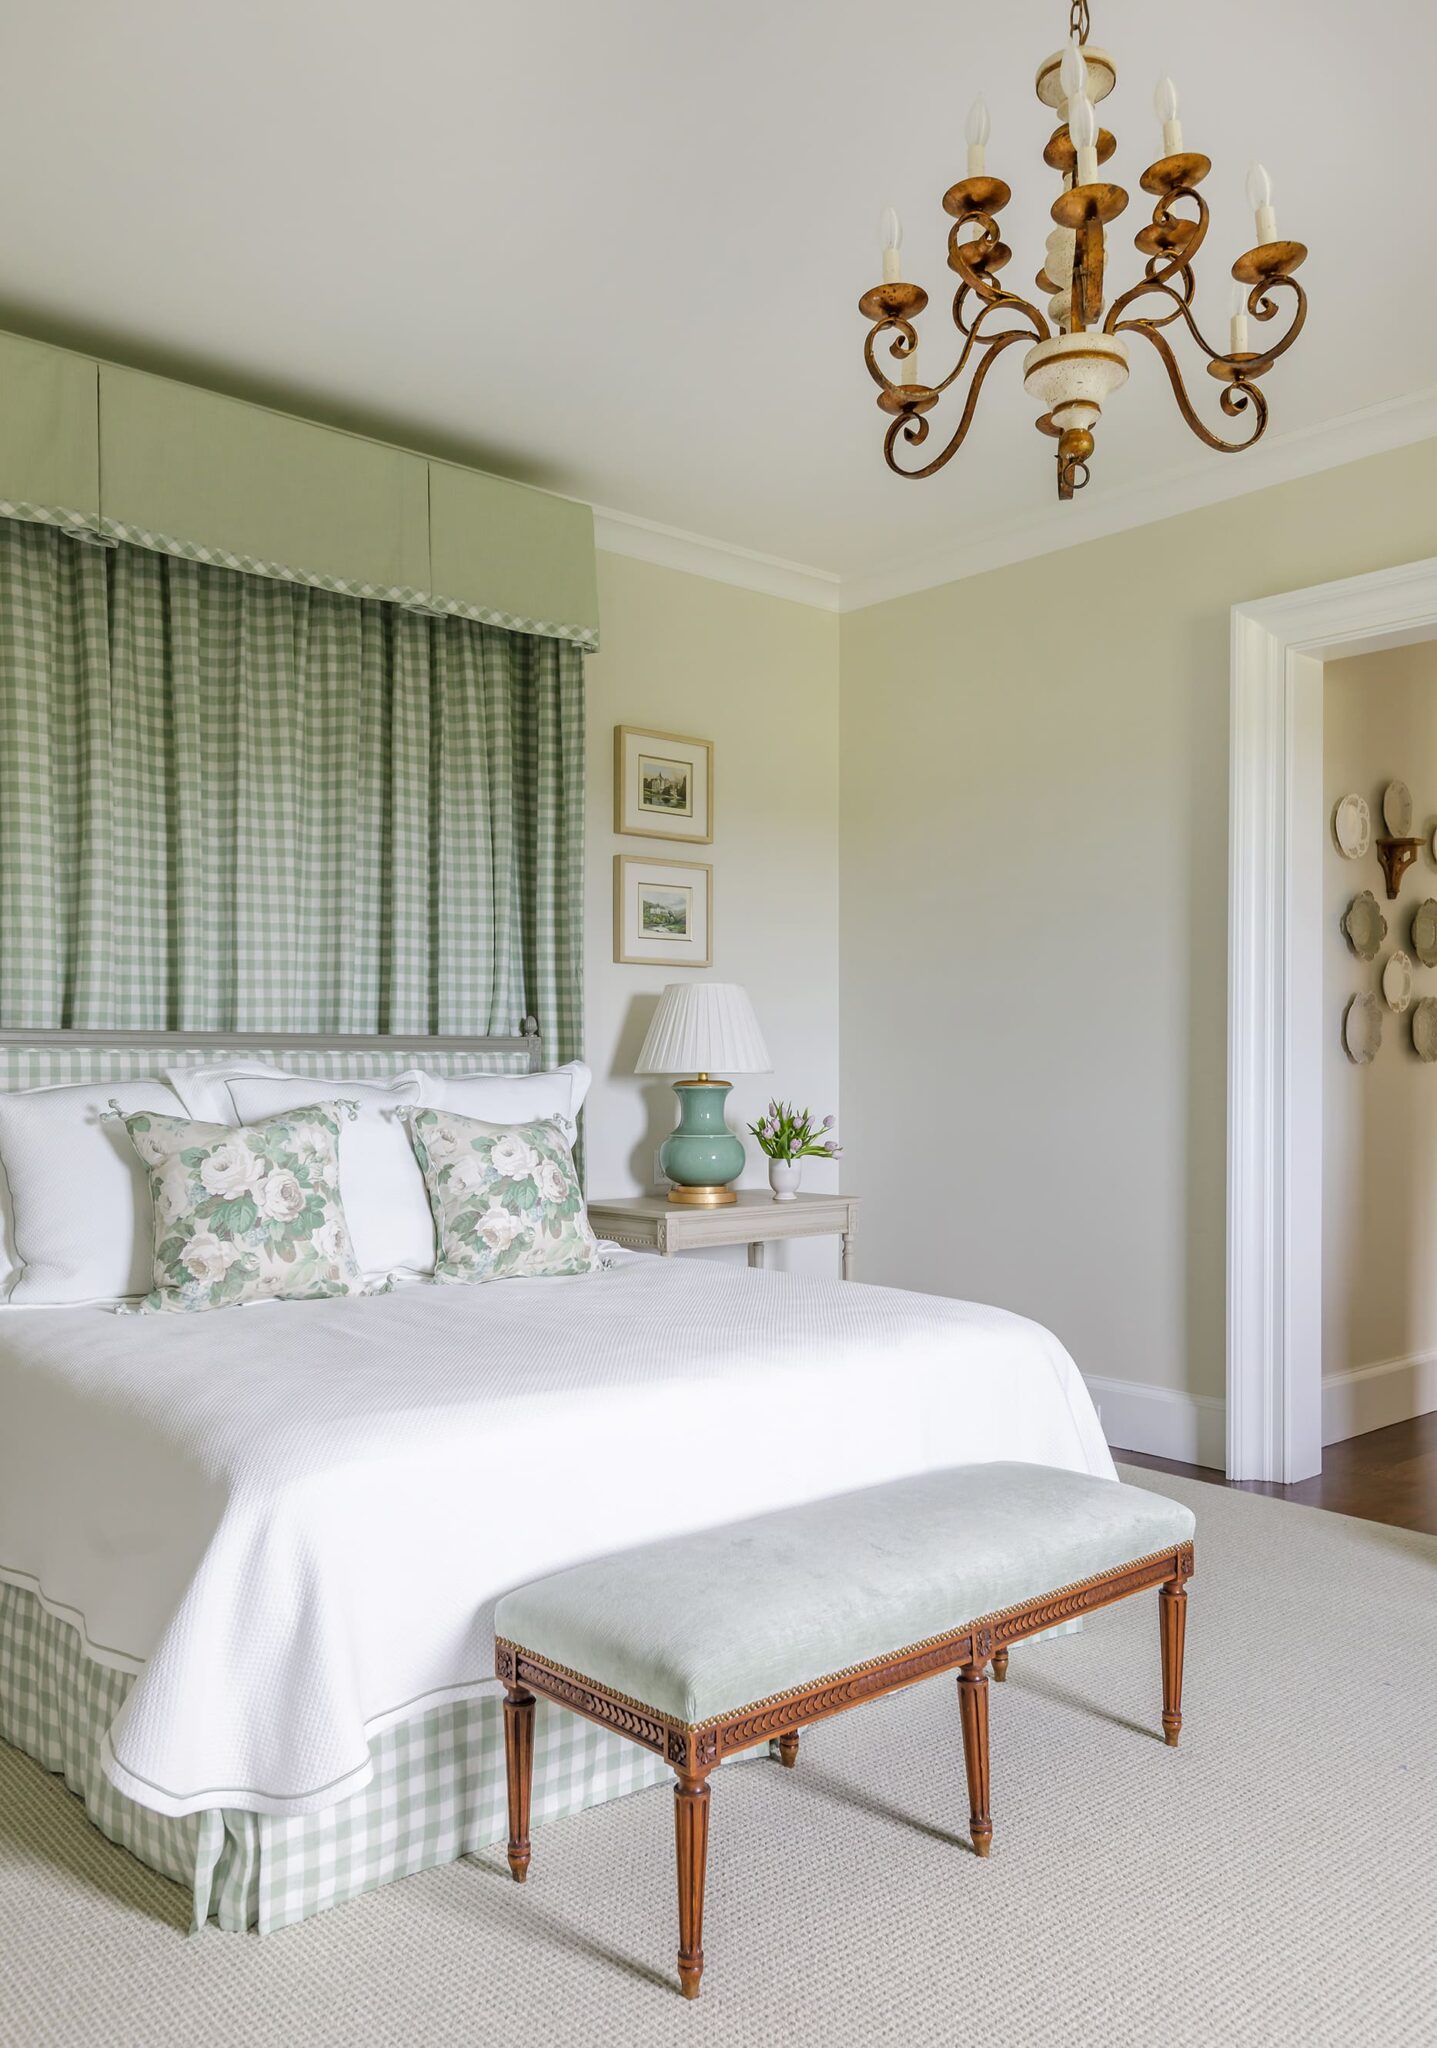
Via William Huff
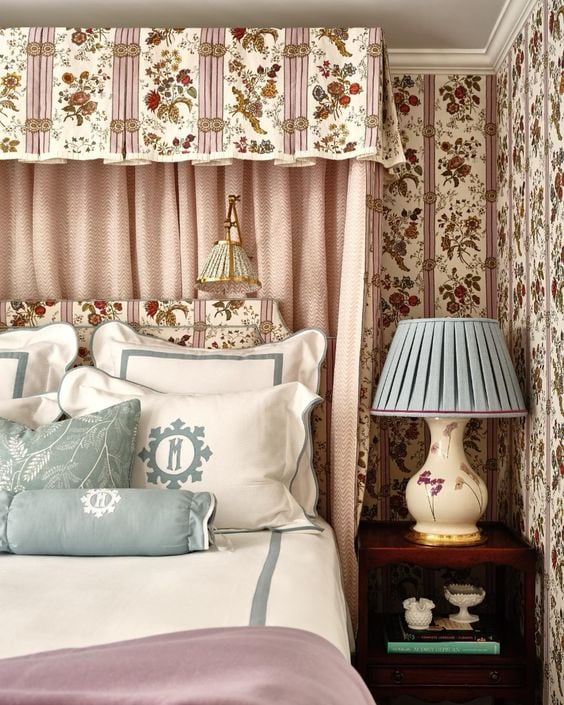
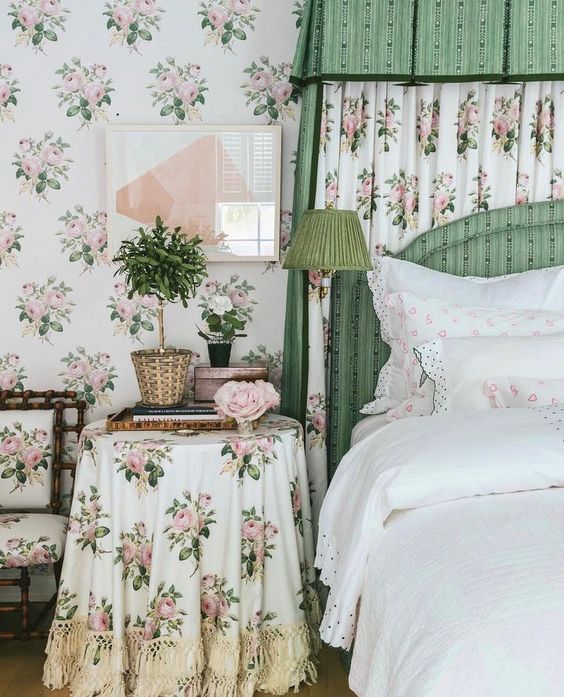

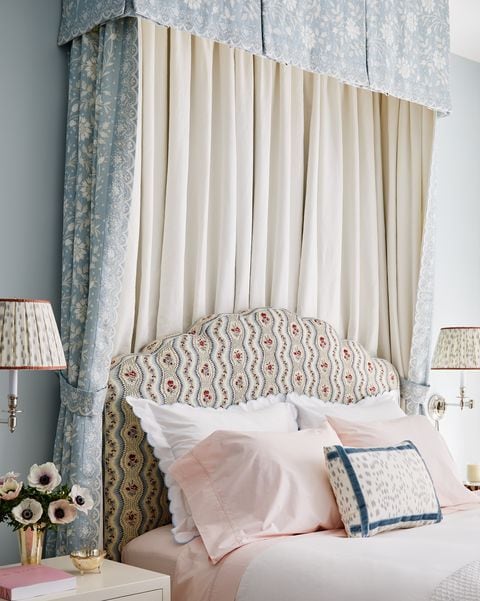
Via Katie Davis


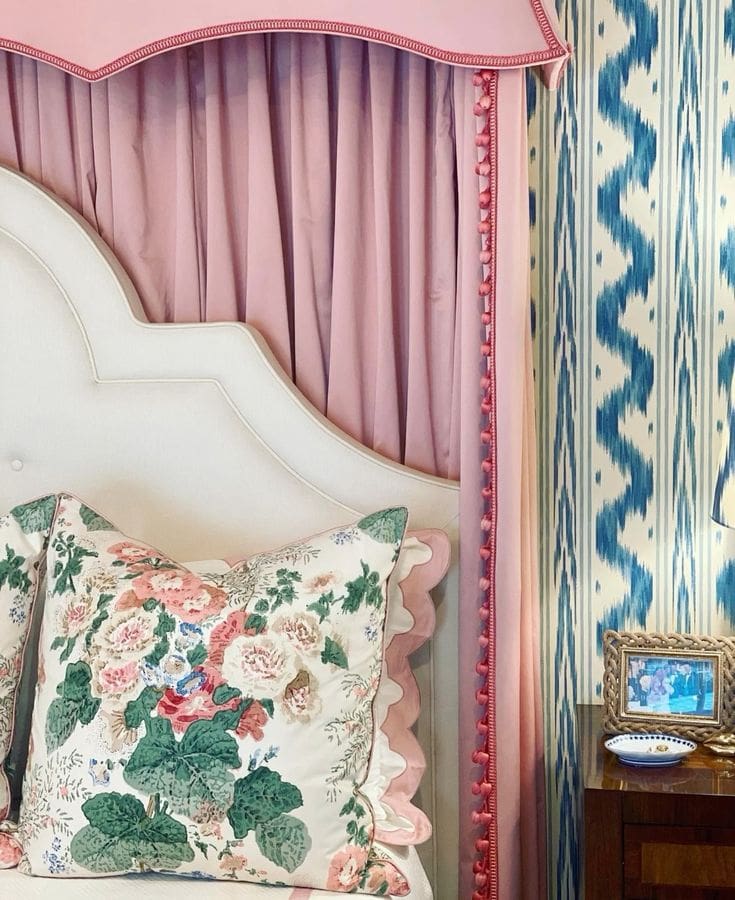
Via Hillary W Taylor

Via Alison Hammatt

Via Paloma Contreras

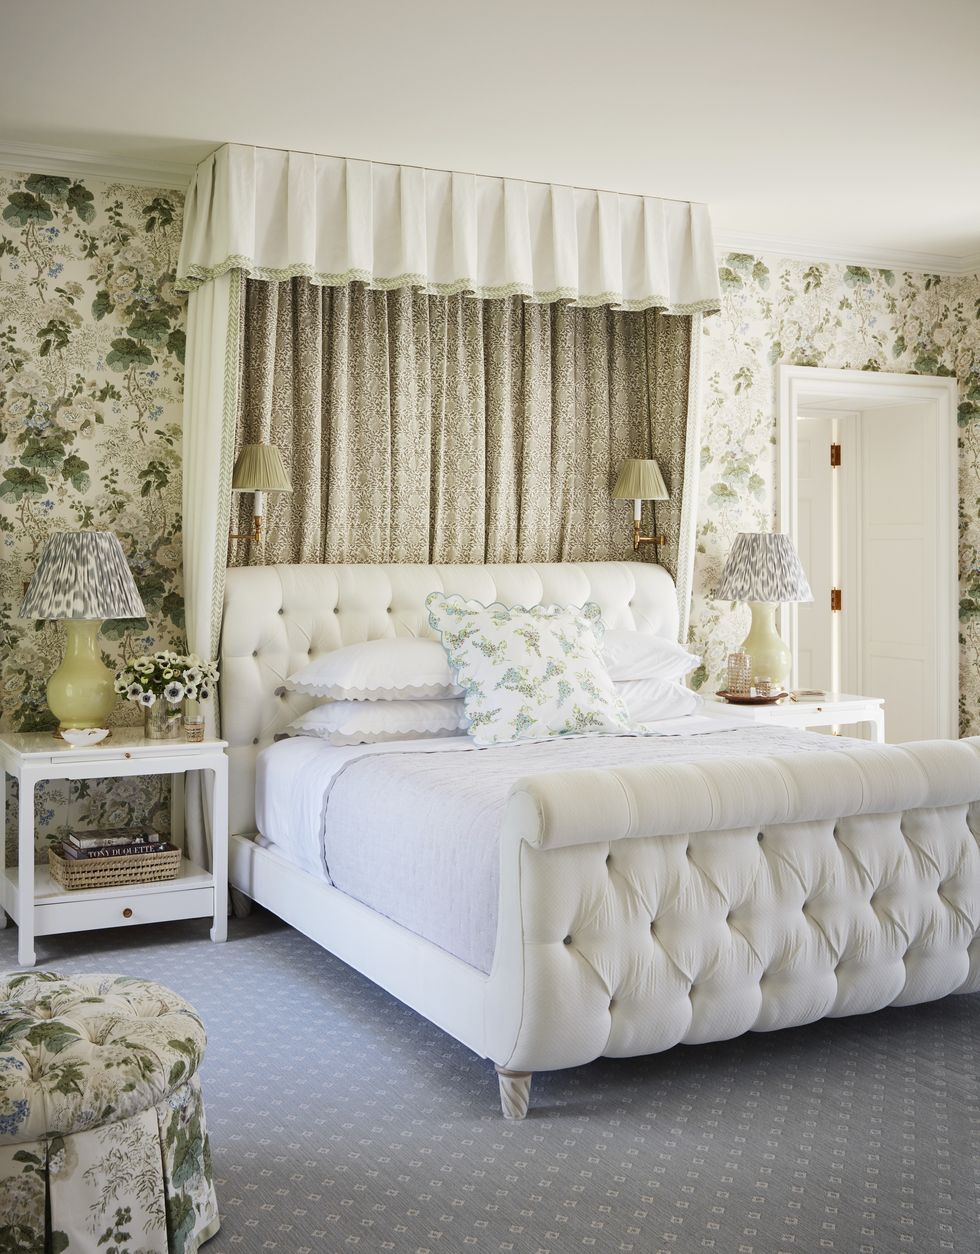
Via Ashley Whittaker
Via Shea Lubecke
Via Mark Anthony Fox
Via Henry & Co
Source uknown (please let me know if you know the original designer)
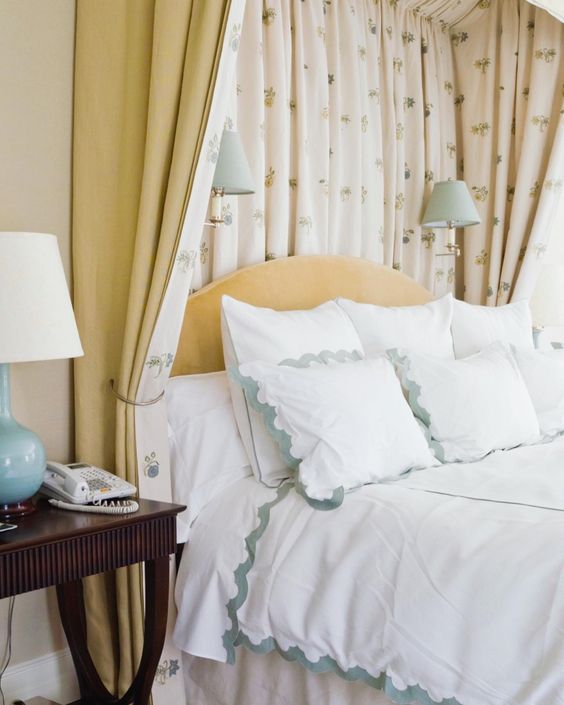
Via LeeAnn Thornton

Via Katie Davis
How much does it cost to make?
I’ve received three quotes so far. I should first mention that there’s quite a bit of labor and fabric involved, so I knew it would be pricey, but I wasn’t anticipating for it to be as pricey as the quotes I received.
The first two quotes were between $6,500-$7,500, and another was $3,900. Those prices include the fabric (about 10 yards of Bowood, and about 20 yards of a striped linen fabric).
While Angelo and I are no longer in our DIY era…I think we may try building this ourselves. I’ve seen some DIYer’s make half testers by using curtains for behind the bead (like, ready to hang curtains from Pottery Barn). The tricky part would be the valence, so maybe I could hire a professional for that.
What are your thoughts on half tester canopies? Would you ever consider one?
Have a great week!
xo
Alisa

I have been doing research myself on half testers, so your blog post comes at the right time! I’m also thinking of making my own due to cost. An older book that has great information talks about building pelmets for windows that could easily be adapted for something over the bed on page 111 here https://archive.org/details/carolinewreyscom0000wrey/page/110/mode/2up. It would be great to see how you tackle the project, I hope you DIY it!
Thank you for the great wealth of inspiration for half tester. If you are considering doing the entire half tester DIY, you might check out https://thesoutherngail.com on her blog )and perhaps on Instagram. She DIY’d a canopy/curtain for her bedroom on Fall 2022 OCR, and it looks like she gave fairly good instructions on how she did it.
Can’t wait to see what you do. It will look beautiful, I know. Love everything that you do!
Sorry, didn’t realize I was “replying” to Alice’s comment.
Never have I EVER needed anything as much as I need a half-tester canopy:) Beautiful!
Stumbled upon this the other day! She has far more crafting skills than I but hopefully this helps!
https://missmustardseed.com/half-canopy-tutorial/
We made one ourselves and used it for 20 years. It was beautiful and I loved it. It was not expensive at all at the time and I did not use expensive fabric. It was pale but silk which we also used on the custom headboard we made.
I did not have issues with dust or spiders. I vacuumed and it went to the ceiling.
I made one that turned out beautifully. It is important to remember that they look best in rooms with high ceilings. It really isn’t that difficult to do, with basic carpentry, upholstery, and sewing skills.
Renee Cusano has an excellent and doable tutorial on Instagram. She has made several and instructions include the exacts steps to make a half tester that is very professional looking.
I highly recommend!
Once I’m not in it and make my bed.., I’ll try to get a photo to you.. but I totally cheated.. I had a big window opposite the entry to my tiny room with a big window and wooden pelmet over it. I have a high backed French inspired headboard and couldn’t be bothered taking down the curtains I had up before trying the new ones on top then the other new ones on top of that and then took down the canopy hanging from the roof- squished that over the top of the pelmet and pulled it out to either side intending to do something with it once I had made my bed.. stepped back and thought wow! It looks like a proper princess bed…. Now if I ever finish my study, I’ll tweak it this a way.. the trick to it sitting right was the curtains are sitting over layers of other curtains with the final ones on a curtain rod but put on top of the pelmet pulled to the back. Strangely they stay perfectly- but I’d staple gun then as wanted then remove the rod. And ensure all fabric lies flat.
Then I’d get the same fabric ie extra curtain and do large softly gathered pleats and start stapling it with about 10 inches hanging down and 2 inch over the top, so it lays flat and I ended up with a ruffle the same length as the pelmet with the curtains gathered under it, then I’d get cardboard and thin batting and trace top outline of pelmet, lightly glue batting to it then stretch same spare curtain over it and glue edges down on wrong side. Trim and cut corners and curves as needed to ensure no bunching, then glue it down or easier yet attach wall hanging sticky Velcro things to top of pelmet and underneath of top I just made and press it down so it’s all perfectly neat. With enough fluffed out and gathered curtain behind the bed board it has almost the same effect.
And if I won on the pokies again- I’d pay someone the $7k instead 🙂
My dream is to kidnap or entice 🙂 a french interior decorator and have them frenchify my entire house. Hmmm one can dream !
Alisa, I absolutely love how you’re embracing your space with such creativity—half tester canopies bring so much charm and warmth, especially paired with a pattern like Bowood! It reminds me of how even the smallest touches, like a cozy curtain or layered fabric, can make a room feel intentional and timeless—just like how choosing the right sides or shake from a cookout menu can totally elevate a casual meal into a comforting experience. And honestly, DIYing it sounds like a fun challenge, especially when the custom route can rival [url=https://cookoutmenu-prices.com//target-page]CookOut prices[/url]
for a full table’s worth of food!
Alisa, I absolutely love how you’re embracing your space with such creativity—half tester canopies bring so much charm and warmth, especially paired with a pattern like Bowood! It reminds me of how even the smallest touches, like a cozy curtain or layered fabric, can make a room feel intentional and timeless—just like how choosing the right sides or shake from a cookout menu can totally elevate a casual meal into a comforting experience. And honestly, DIYing it sounds like a fun challenge, especially when the custom route can rival CookOut prices
for a full table’s worth of food!
Half tester canopies add such a refined and cozy touch to a bedroom — love how they balance elegance with comfort.
Half tester canopies add such a timeless touch to a bedroom — it’s amazing how a small detail can transform the whole atmosphere.
good information