A gallery wall is a great way to create a statement in any room while showcasing your personality and interests. And if you’re like me and have no patience – it’s also a fabulous way to create a plethora of unnecessary holes in your walls.
After a few weeks of trying to determine how to decorate the new black walls in my office, I decided that a galley wall would be a perfect fit. For a project that wasn’t meticulously planned or measured, I suppose it turned out halfway decent.
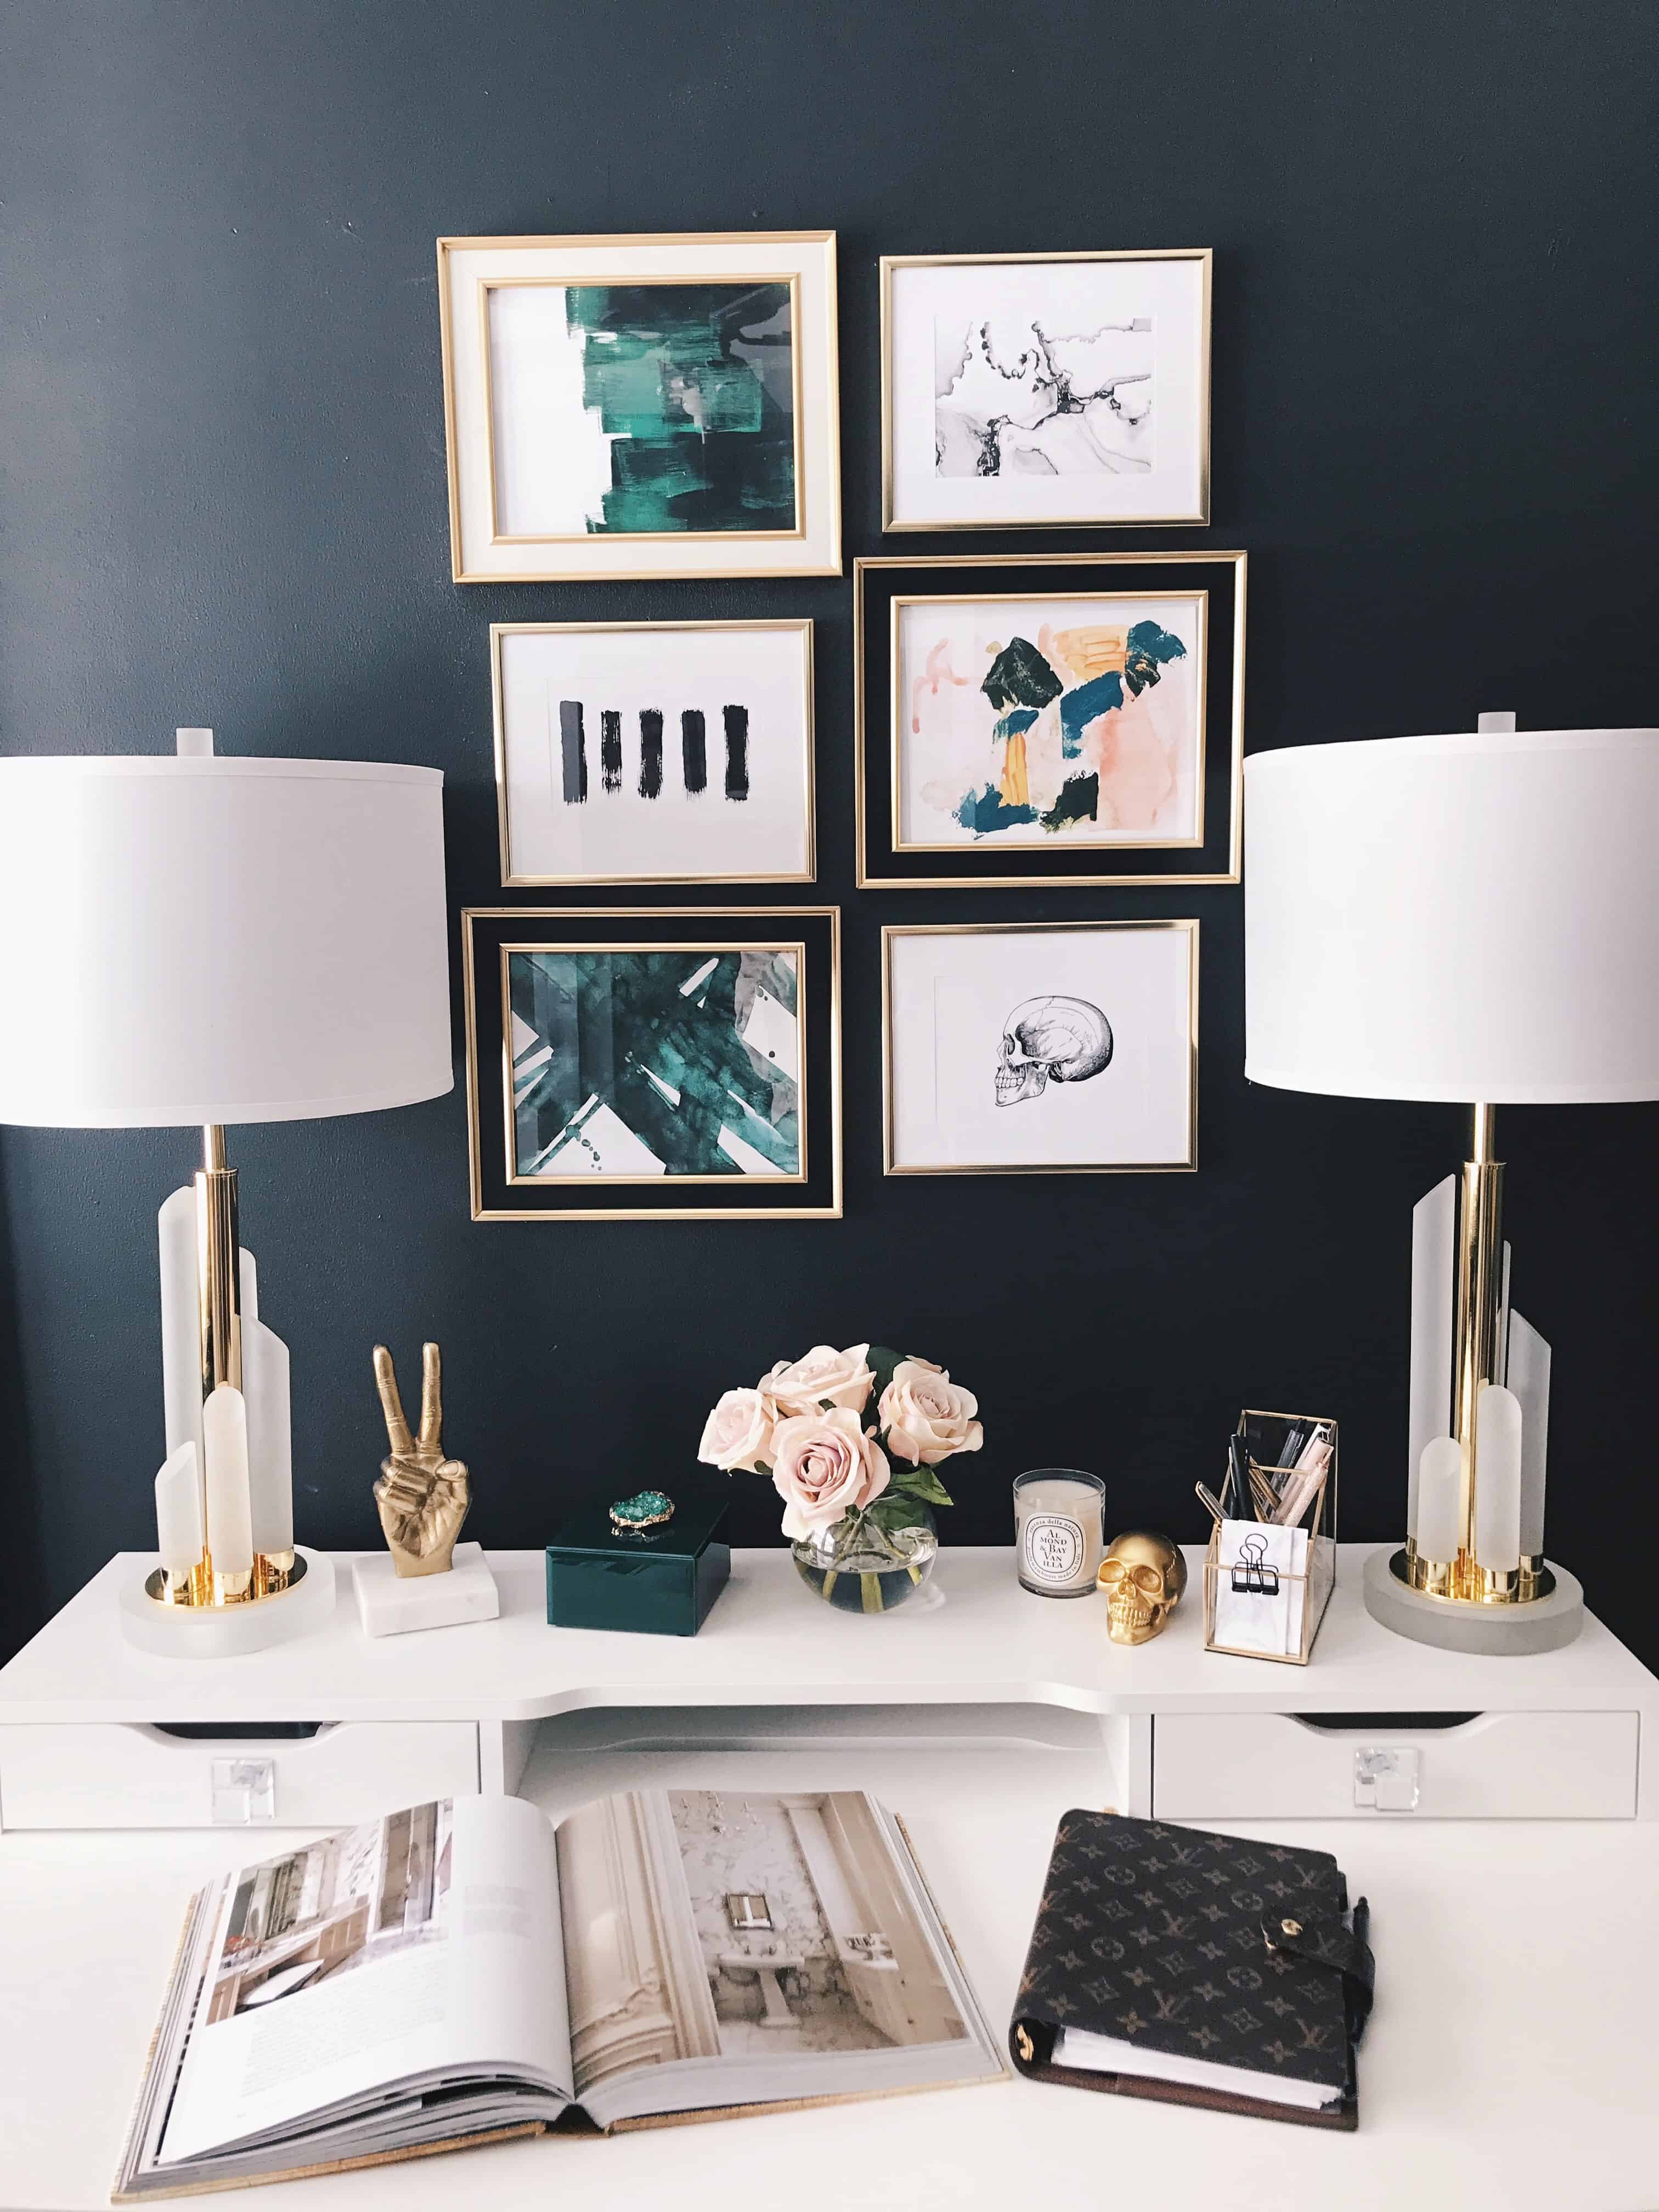
I want to be hypocritical for a second and emphasize that if you want your gallery wall to turn out more than halfway decent, it should be meticulously planned and does require a massive amount of patience.
It should look and feel cohesive and curated and you certainly won’t find everything you want for your gallery wall overnight. With a weee bit of patience, you can create and display your own gallery wall that makes a statement, reflects your personality and inspires you.
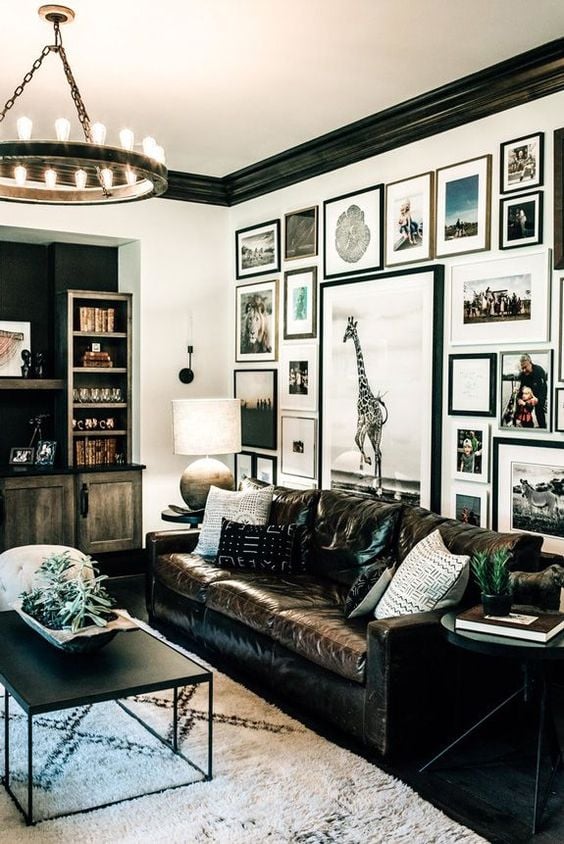
Some of the gallery walls that inspired me (via Pinterest):
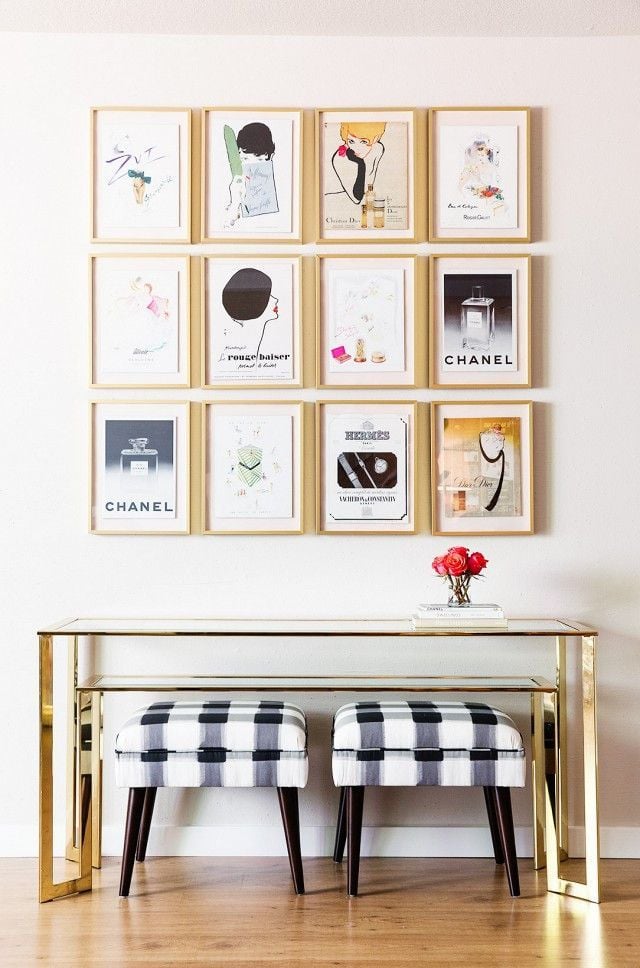
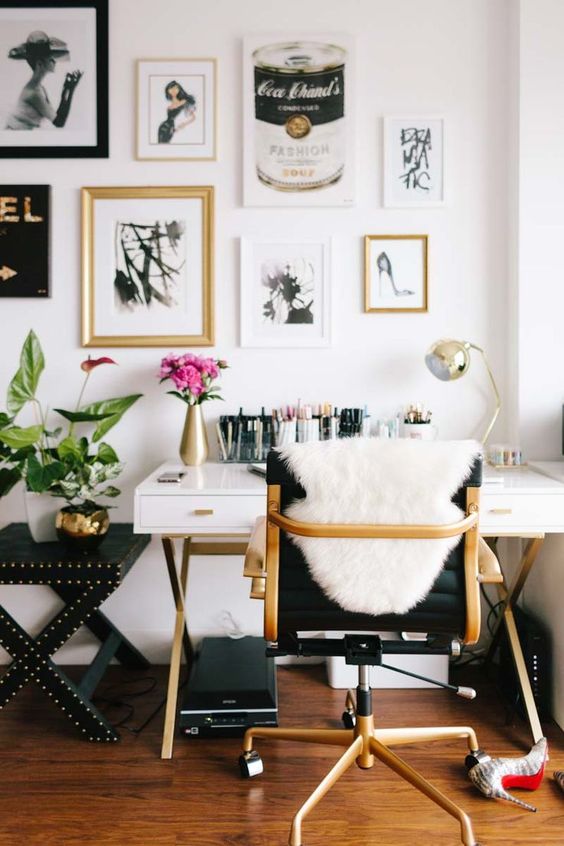
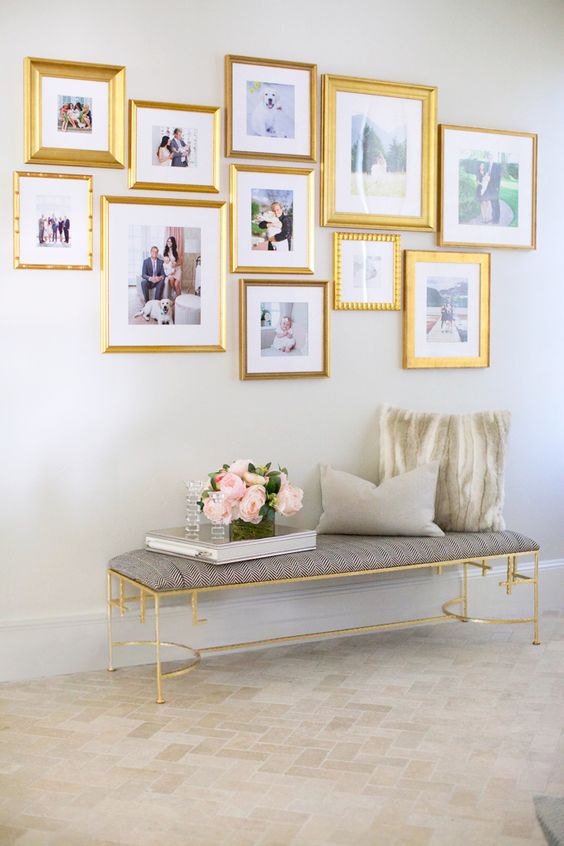
Today I’m so excited to share a few tips to creating and displaying your own (affordable) gallery wall!
Choose a theme/color scheme and start searching for art
A gallery wall is only as good as the art you have in it. When searching for art, try thinking about the color scheme you want and the kind of art you’re drawn to. I knew I wanted to go with a green, black & white theme and since we’re talking about affordability, I found all my prints on Etsy, for under $8 each and printed them at home on plain white paper. I typed keywords like printable abstract art, printable green watercolor art, etc. and I had a ton of options to choose from.
Bonus tip – most of these shops offer a discount if you buy 3 or more prints!
Here’s a list of a few Etsy shops I’ve purchased my art from and would definitely recommend:
x OhFinale
Determine the gallery wall layout
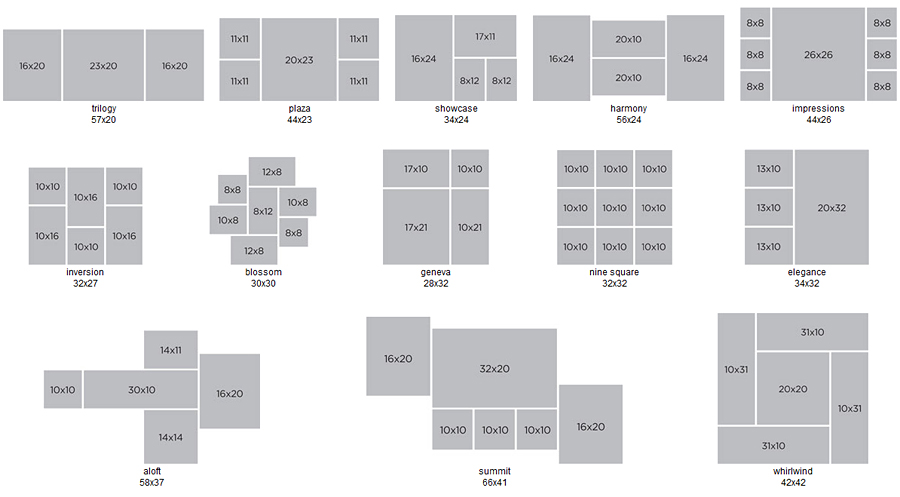
I had decided on one layout and found myself standing in Home Goods scratching my head, wondering if made sense for the wall size. To avoid confusion and indecision, I recommend measuring the wall first and then choosing some layouts you like.
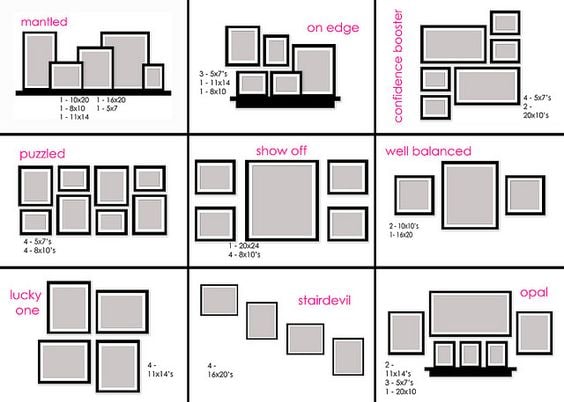
I used diagrams I found on Pinterest to determine my layout:
I ended up choosing the “puzzled” layout pictured above.
Find your frames
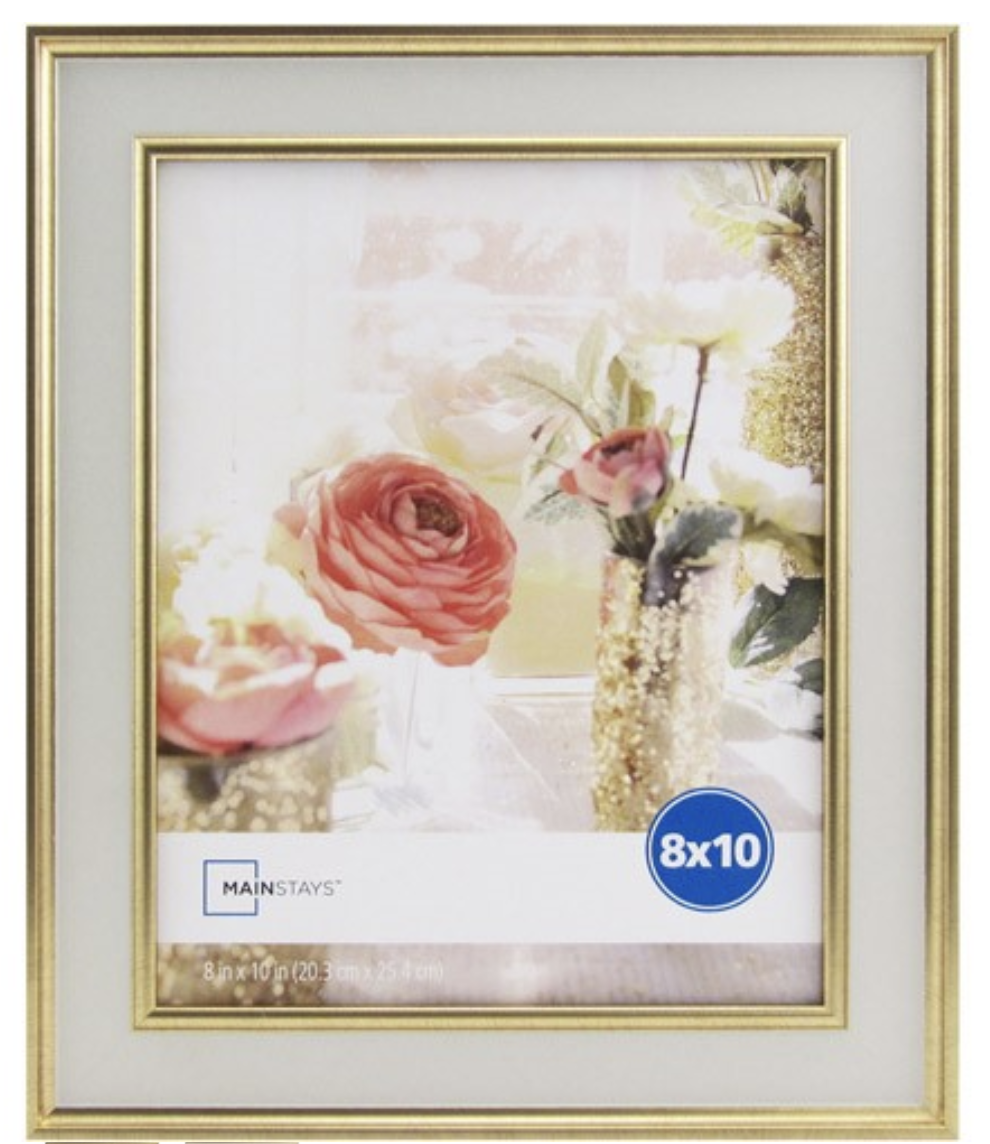
Once you’ve chosen your layout, it’s time to find frames (I told you this requires patience). I personally like visual cohesion, so I searched for neutral frames (gold, white, black) that matched/complimented the art while also flowing with my masculine glam office theme. Don’t be afraid to play with different frame colors, styles and materials.
Again sticking to the topic of affordability, I purchased my frames at WalMart and Wayfair.
Total cost for 6 frames: < $50
Lay the frames out before hanging on your wall
If, hypothetically, I had any patience, this is what I would have done:
Grab a large piece of kraft/tissue paper and with the art in each frame, lay your frames out the exact way you want them displayed on your wall. Not only does this give you an idea of what the frames will look like next to each other before slamming nails in your wall, but it’s the perfect time to play around with the art. Maybe you thought one print would look great next to the other but now you’re having second thoughts. Again, creativity and patience is key.
Something else you need to determine is how far apart the frames should be. I spaced my frames about 1.5 inches apart, which I think looked best for my wall. Remember, they’re supposed to compliment each other – not be too close that they compete with each other or be too far away that one would wonder if they’re sitting with the same group of friends. Is Vicky sitting with Kelly, Monica, Amanda, and Courtney? Or is Vicky sitting by herself? Don’t let Vicky sit by herself.
Once the frames are laid out in the exact way you want – trace them on the paper and tape the paper to the wall. **Rule of thumb – the center of the gallery wall should be at eye level – approx. 55-60 inches from the ground.
Take a step back and ask yourself – how does it look on this wall? Is it too close to the furniture or the ceiling? Does the proportion of wall to the frames look OK? Snap a photo of the wall and see how it looks on camera. If you want to prevent excessive and unwanted holes, this step is necessary.
Hang your Gallery Wall
With the paper taped to the wall, mark a spot where each nail should be placed. Then, directly through the paper, hammer a nail into each marked hole. Ready for this next step?
(Carefully) tear the paper off the wall and HANG YOUR FRAMES.
Last step optional but highly recommended: pour yourself a glass of vino for your excruciatingly patient efforts.
My TL;DR (too long; didn’t read) Recap:
x Choose a color scheme/theme – I found all of my art on Etsy and printed on my home computer
x Measure your wall and then determine the layout of your frames
x Pick your frames and don’t be afraid to play around with styles, colors and textures
x Lay out the frames on a large piece of paper and draw an outline around each frame. Tape the paper to the wall, ensuring the center of the gallery wall is at eye level.
x Hang your gallery wall and pour yourself a glass of vino for all your hard work and patience
I always love hearing from you and if you use this post to create a gallery wall I would be *ecstatic* if you shared!!! <3

Loving your blog! Loving it so much that I’ve come all the way back to 2018 and so glad I did. Please tell me where you get those gorgeous lamps on your desk? I’ve looked through the shop your home and can’t find them.
Wow thank you so much!!! Ugh, unfortunately they were a home goods find!!! I’m sorry.
Home Goods for the win! You’ve got me on a hunt now, girlfriend. Your blog is fab!
Nice Blog
GTA San Andreas Game APK is a popular open-world action game for Android players. It offers a large map, engaging missions, and free-roam gameplay. Players can explore cities, complete tasks, and enjoy story mode easily. The controls are simple and the game runs smoothly on most devices.