WEEK 1
If you’re new around here, welcome! I’m Alisa Bovino and I’m an interior design blogger + student, full-time marketer, serial DIYer, and secondhand furniture stalker. Grab a glass of (bo)vino and follow along as my husband and I renovate our main bathroom over the next few weeks for the Spring 2020 One Room Challenge™ . Stay tuned for the final reveal on June 25th!
Previous ORC’s Fall 2018 | Spring 2019 | Fall 2019
This week I’m sharing a recap of our main bathroom demo, which happened a few weeks ago and lasted over the course of about a week or so. Seeing a room in its bare-bone form is intriguing to me. It’s like performing house surgery. You open up the walls, take a look at what’s going on inside, hope there’s no serious issues, maybe move some things around, and stitch em’ back up.
As I mentioned last week, this bathroom layout isn’t changing. We thought through and considered every possible scenario.
We could have trimmed down the width of wall that separates the vanity and shower by a few inches, but then the vanity would stick out past the wall and look weird, so we decided to leave the wall (and I was not opting for a more narrow vanity when we barely have any storage to begin with). We also considered cutting the wall down to sit flush with the vanity and installing glass where the shower plumbing is, but, I’m not crazy about the idea of exposed plumbing. And don’t get me started on the *obstruction* to the right of the vanity is where our second set of (completely unnecessary) stairs runs through – we can’t knock that down either. The scenario list goes on and on and on…but I won’t bore you with the “what -ifs”
I swear whoever built this bathroom made it so that the future owners couldn’t escape the floor plan or any visual obstruction no matter how hard they tried. It’s a floor plan escape room. Except there’s no way out.
Here’s a reminder of the where we started before demo:
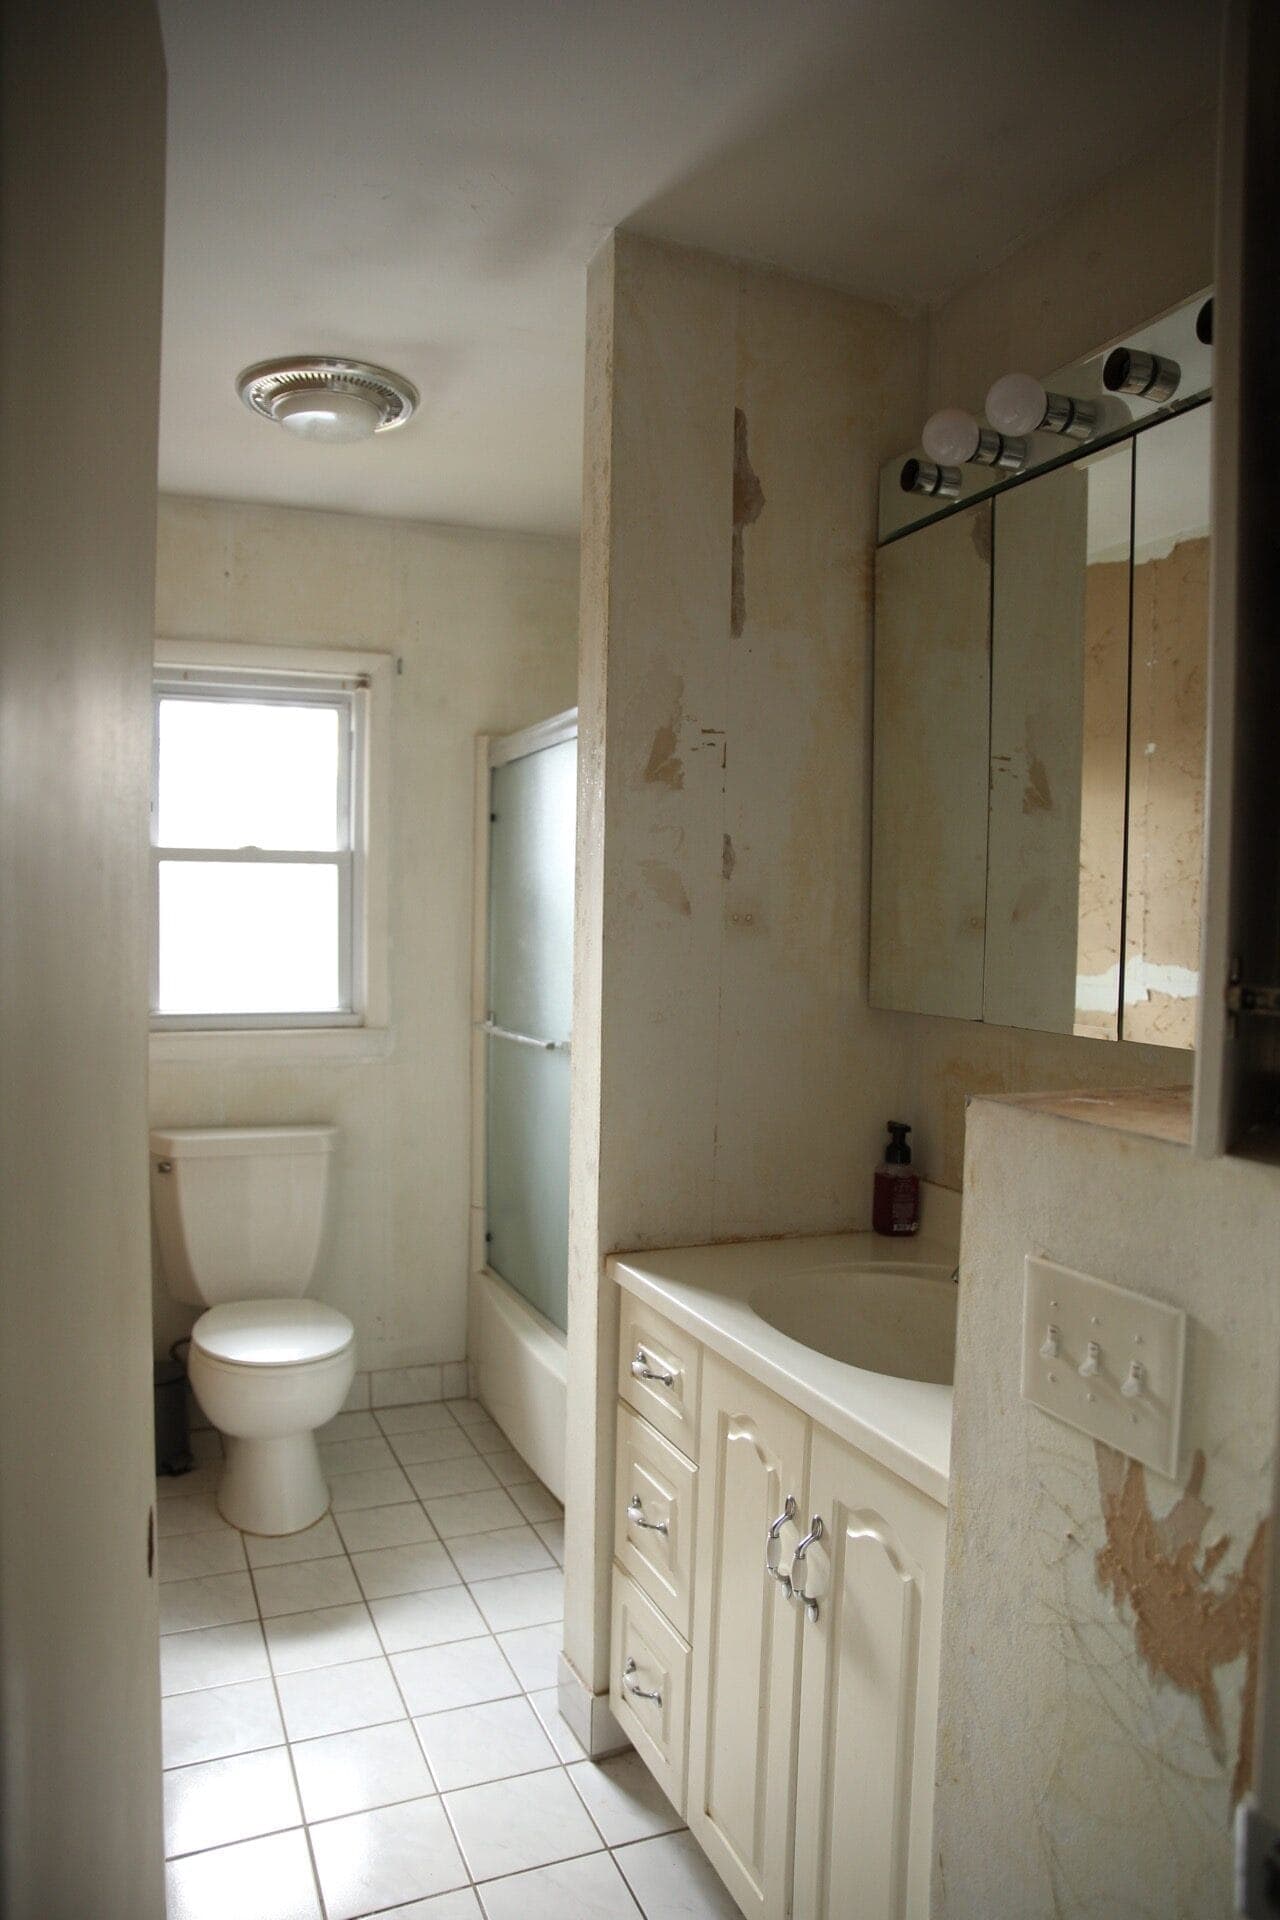
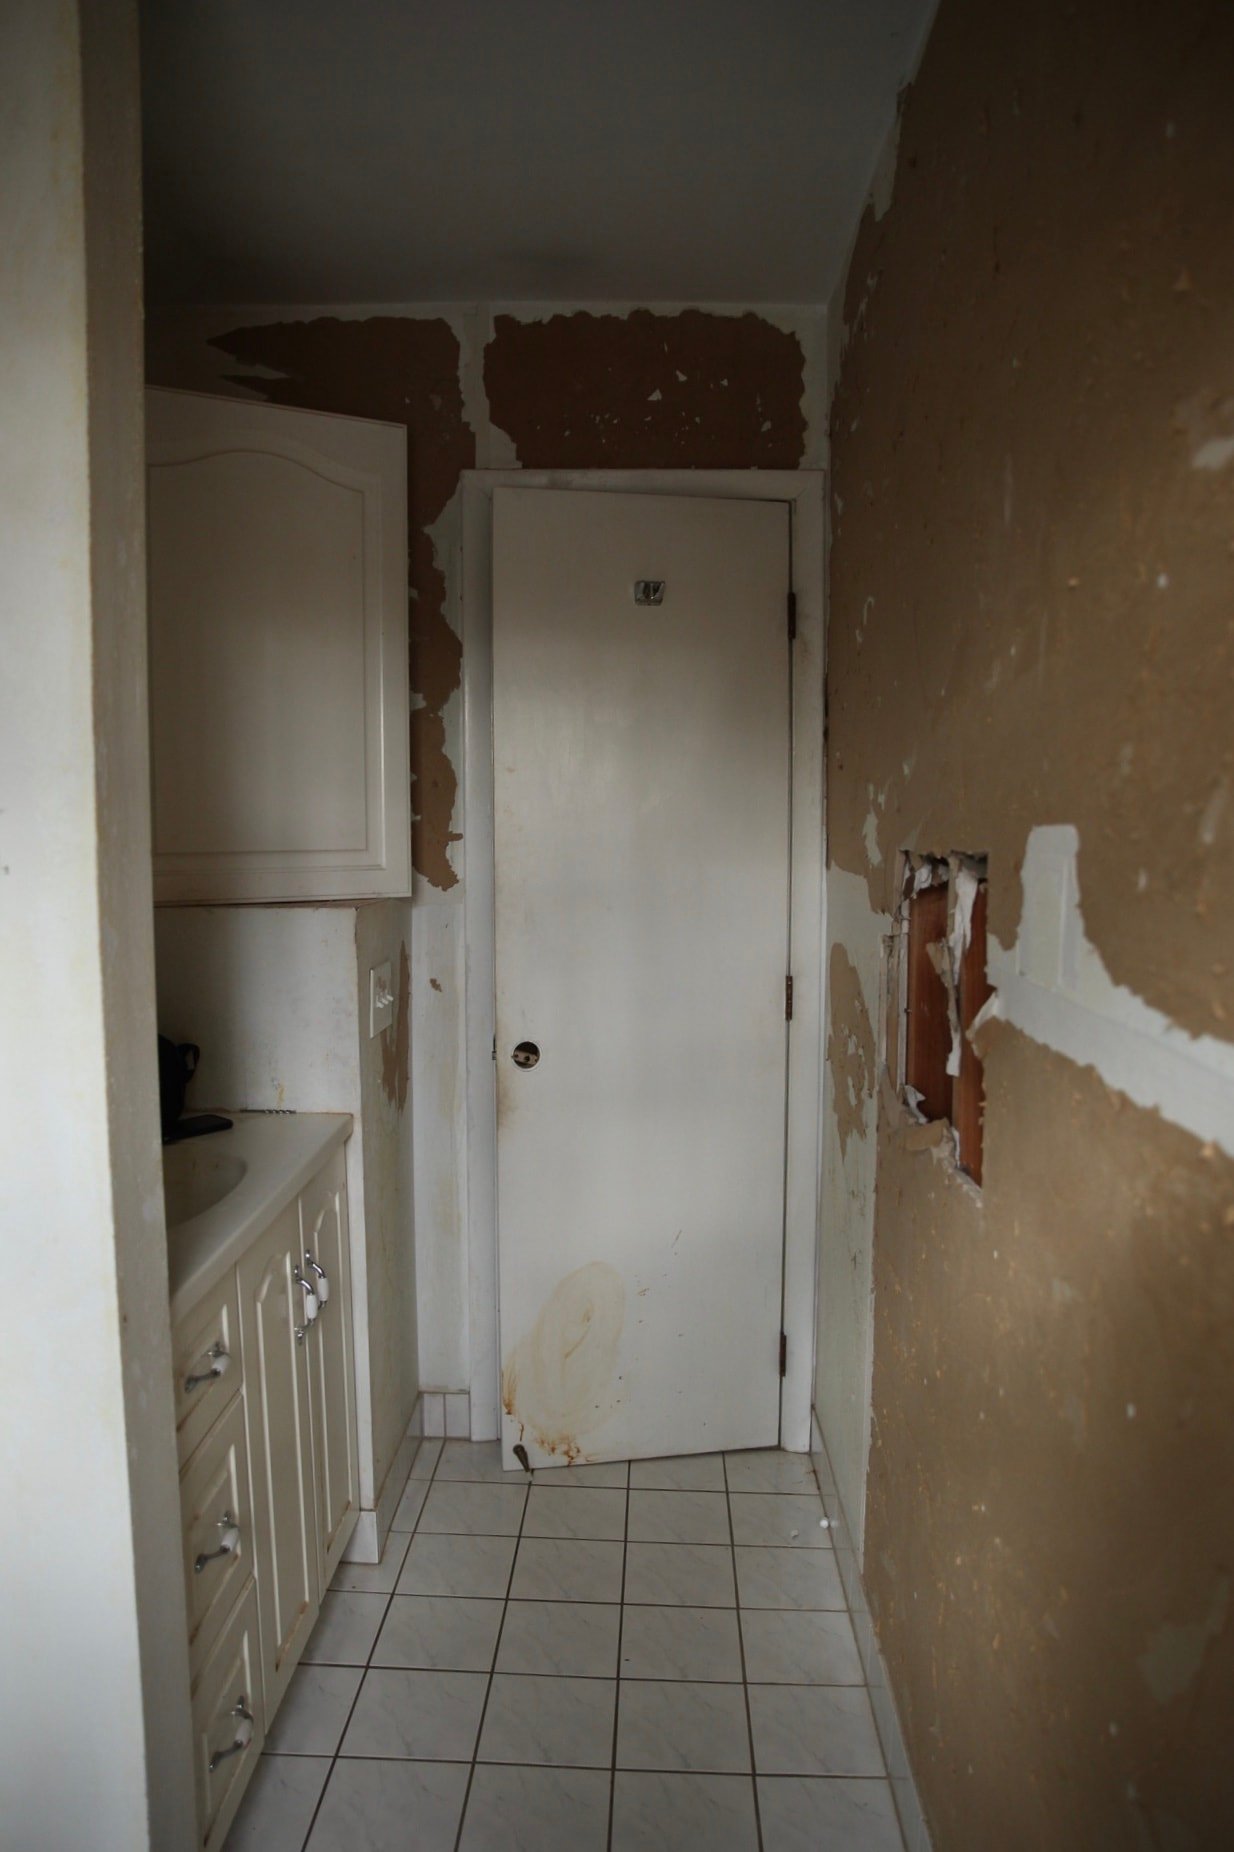
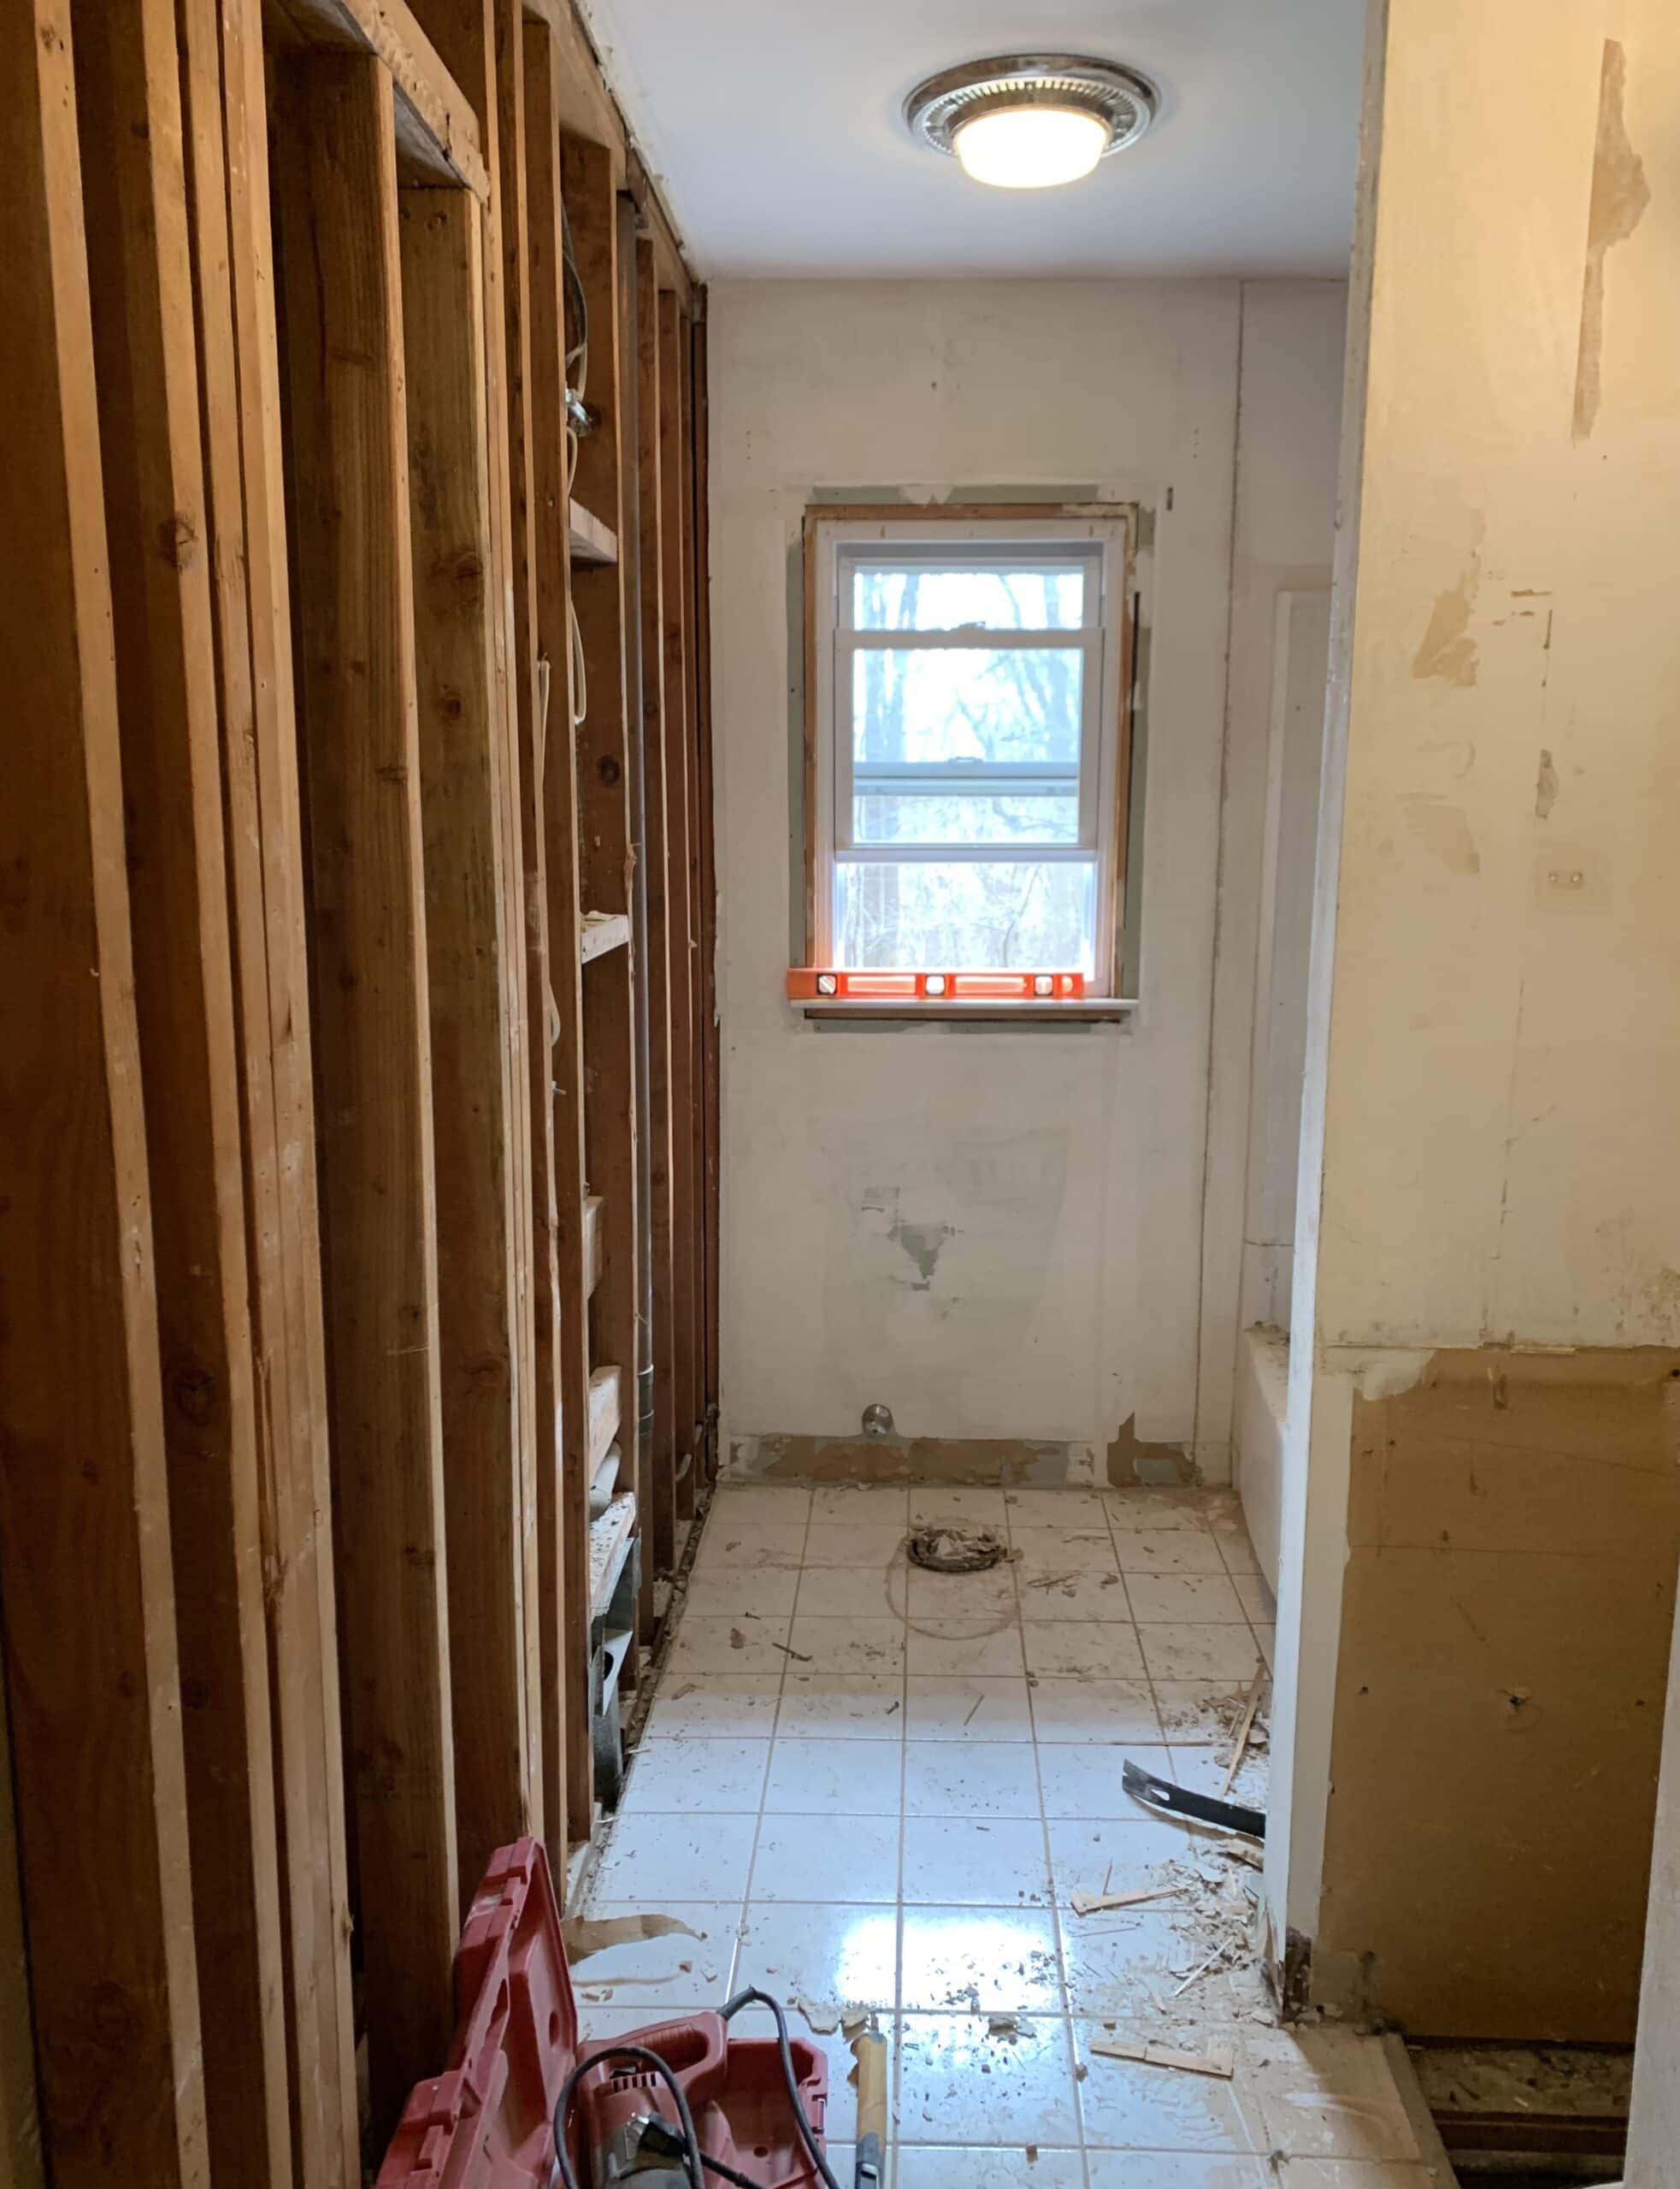
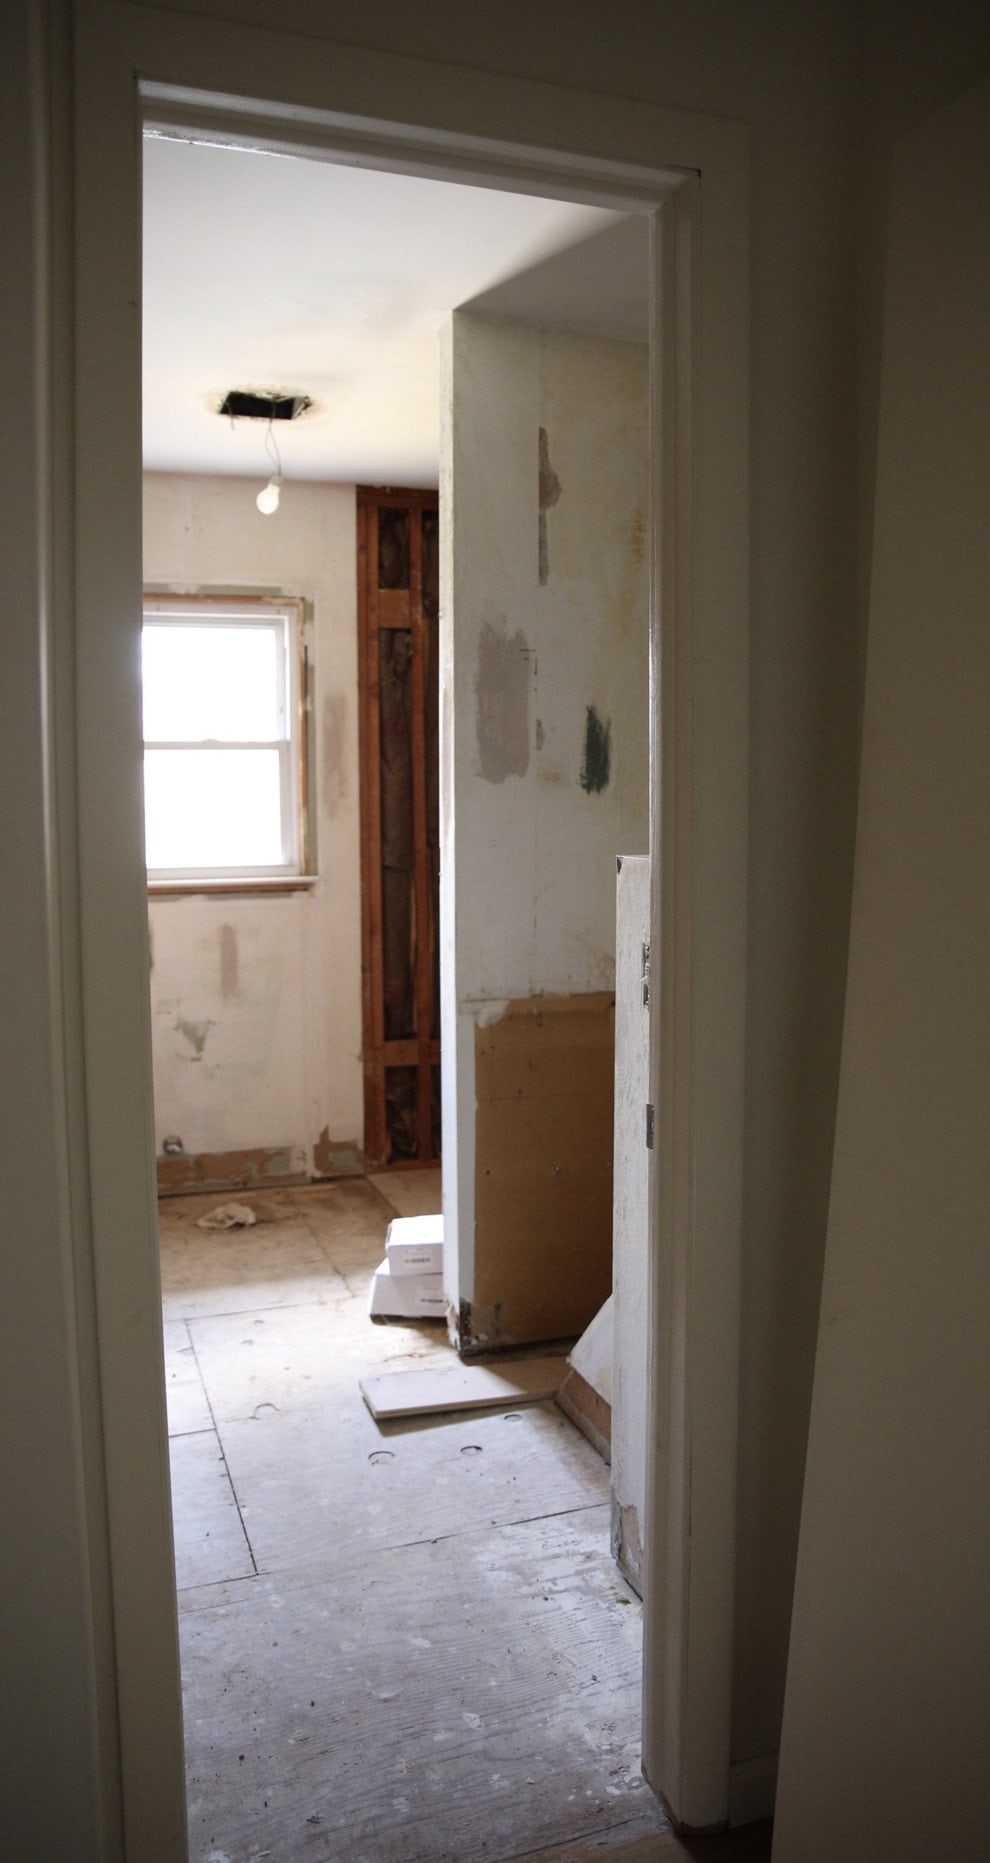
Without further ado….here’s our bathroom in all of its exposed entirety
THE DEMO
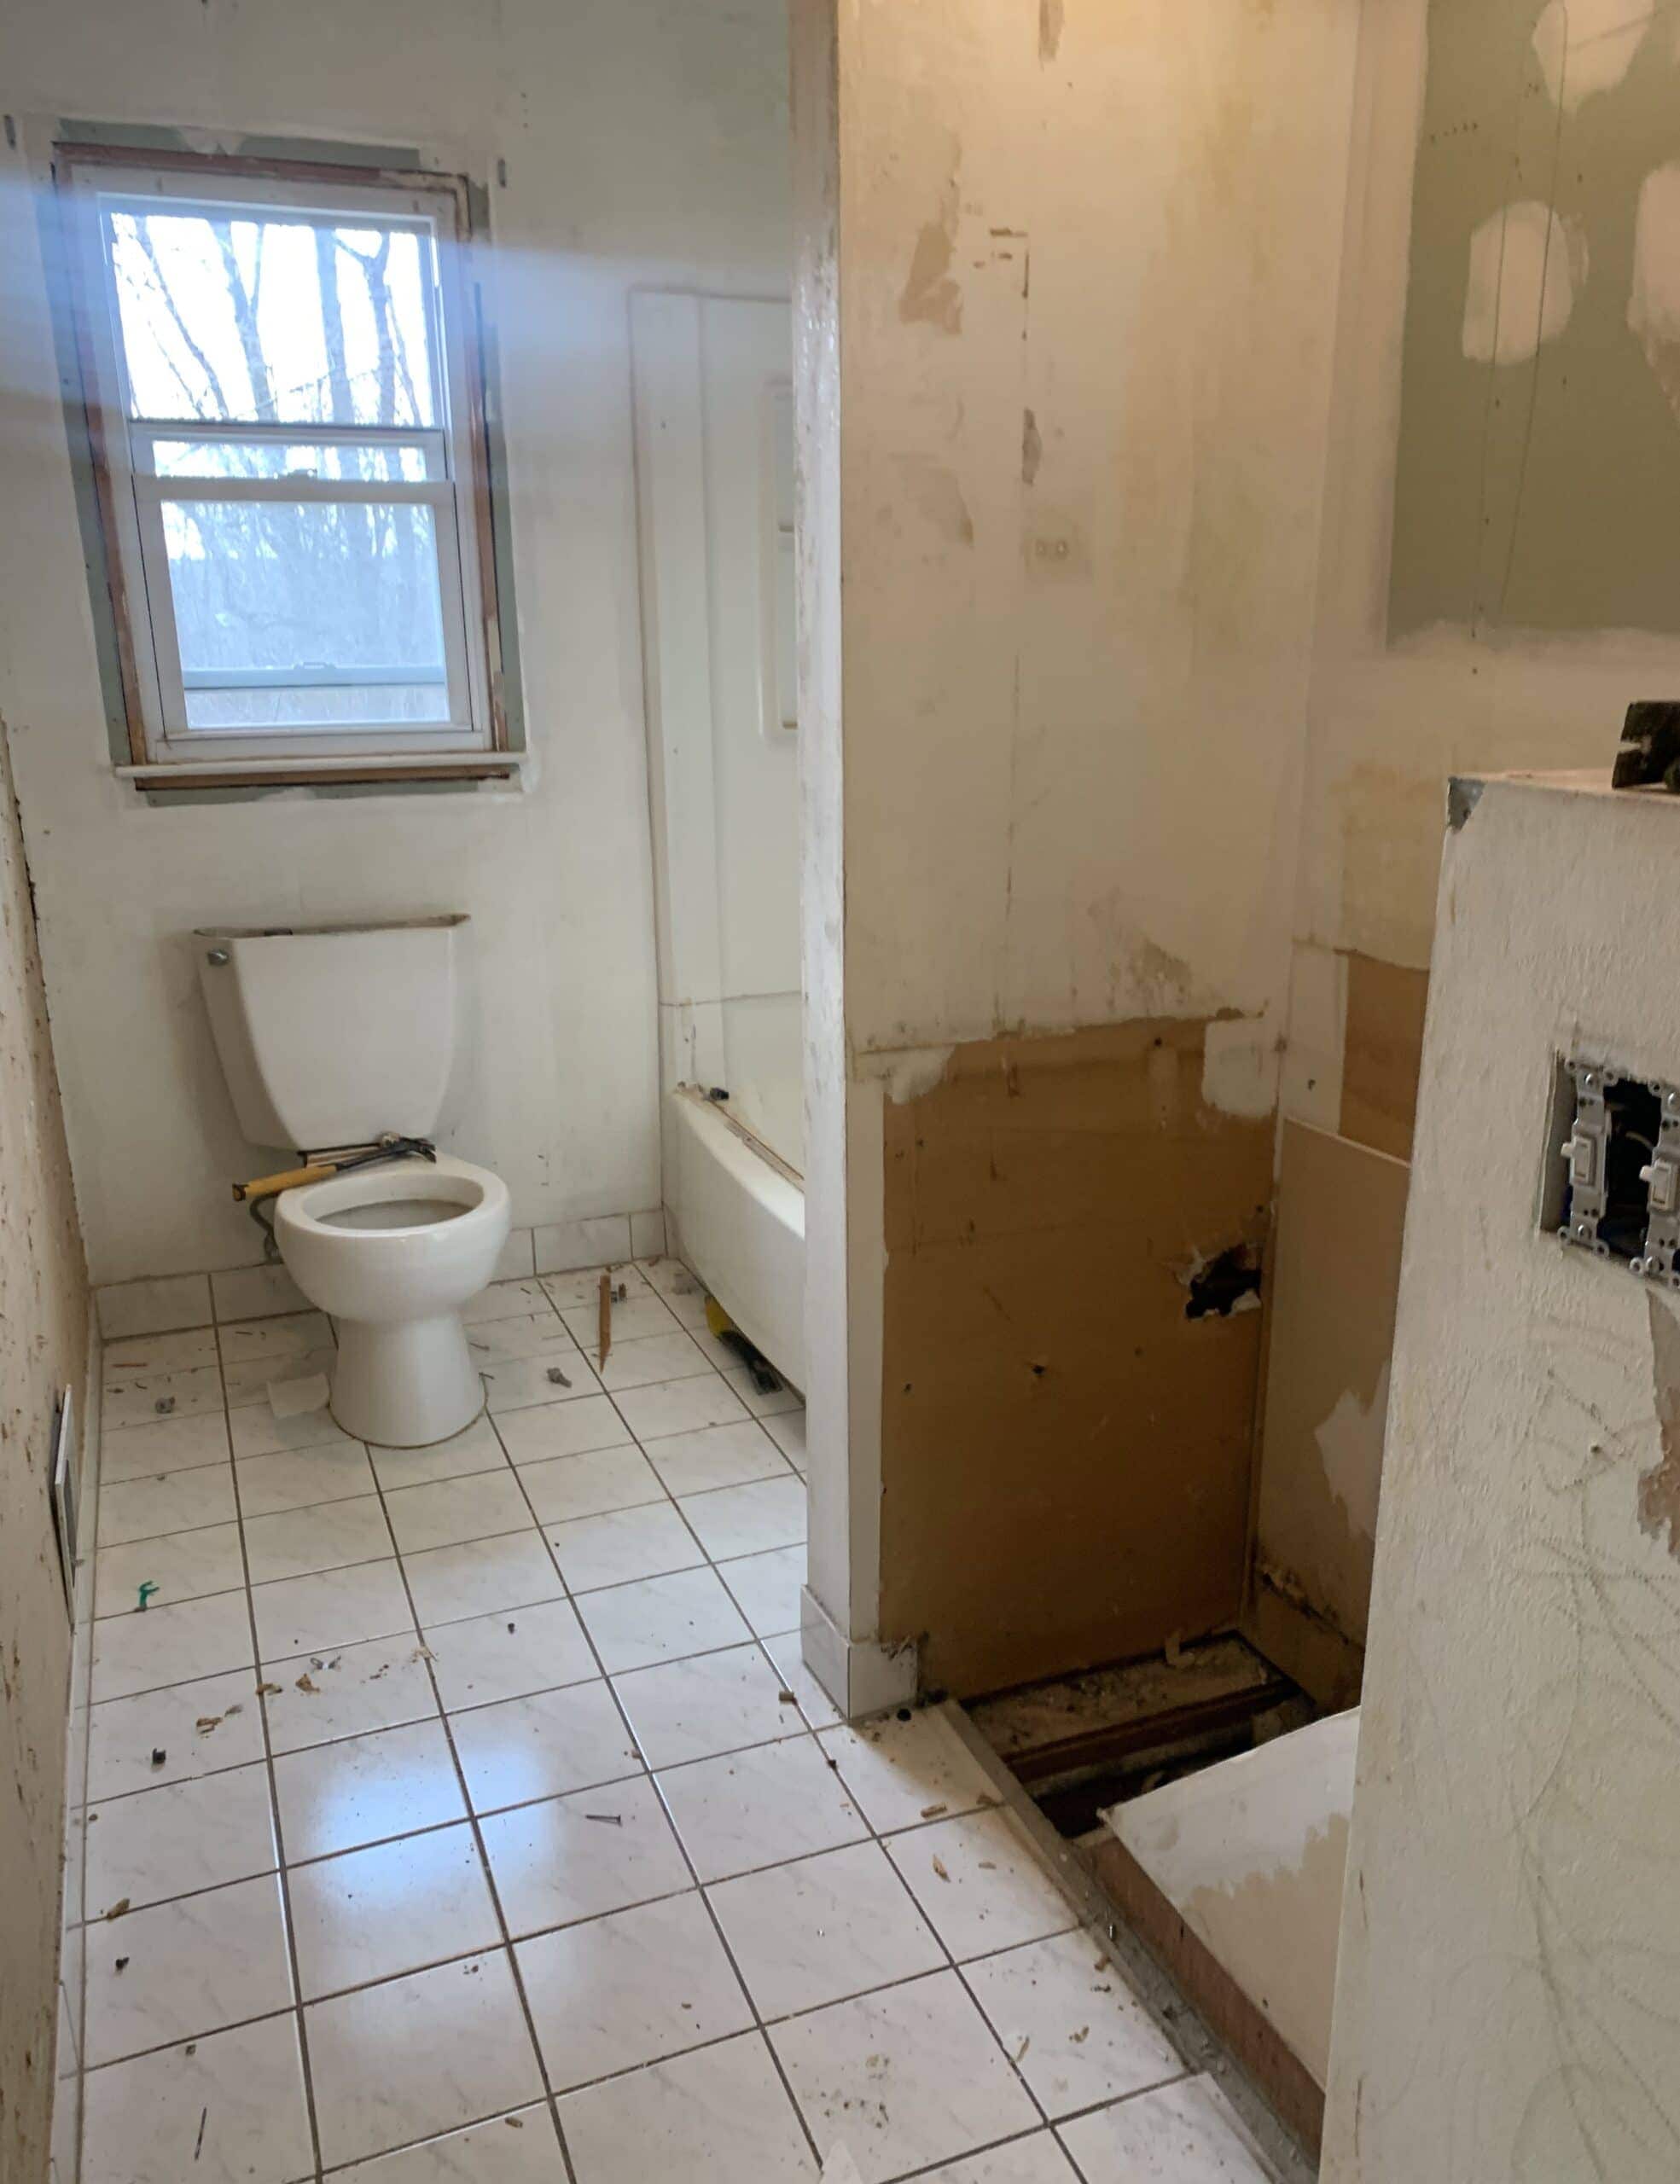
The first thing to go was the vanity. We just had to see what was going on under there, and we weren’t really surprised. We knew our second set of stairs was running right underneath this part of the bathroom, therefore requiring us to customize the vanity. And by customize I mean Angelo will have to use his wood-working magic and cut a section off our new vanity.
This stair protrusion essentially cuts our vanity storage in half, but I’ll probably use whatever space we have on the right side of the vanity for storing ugly things like cleaning products.
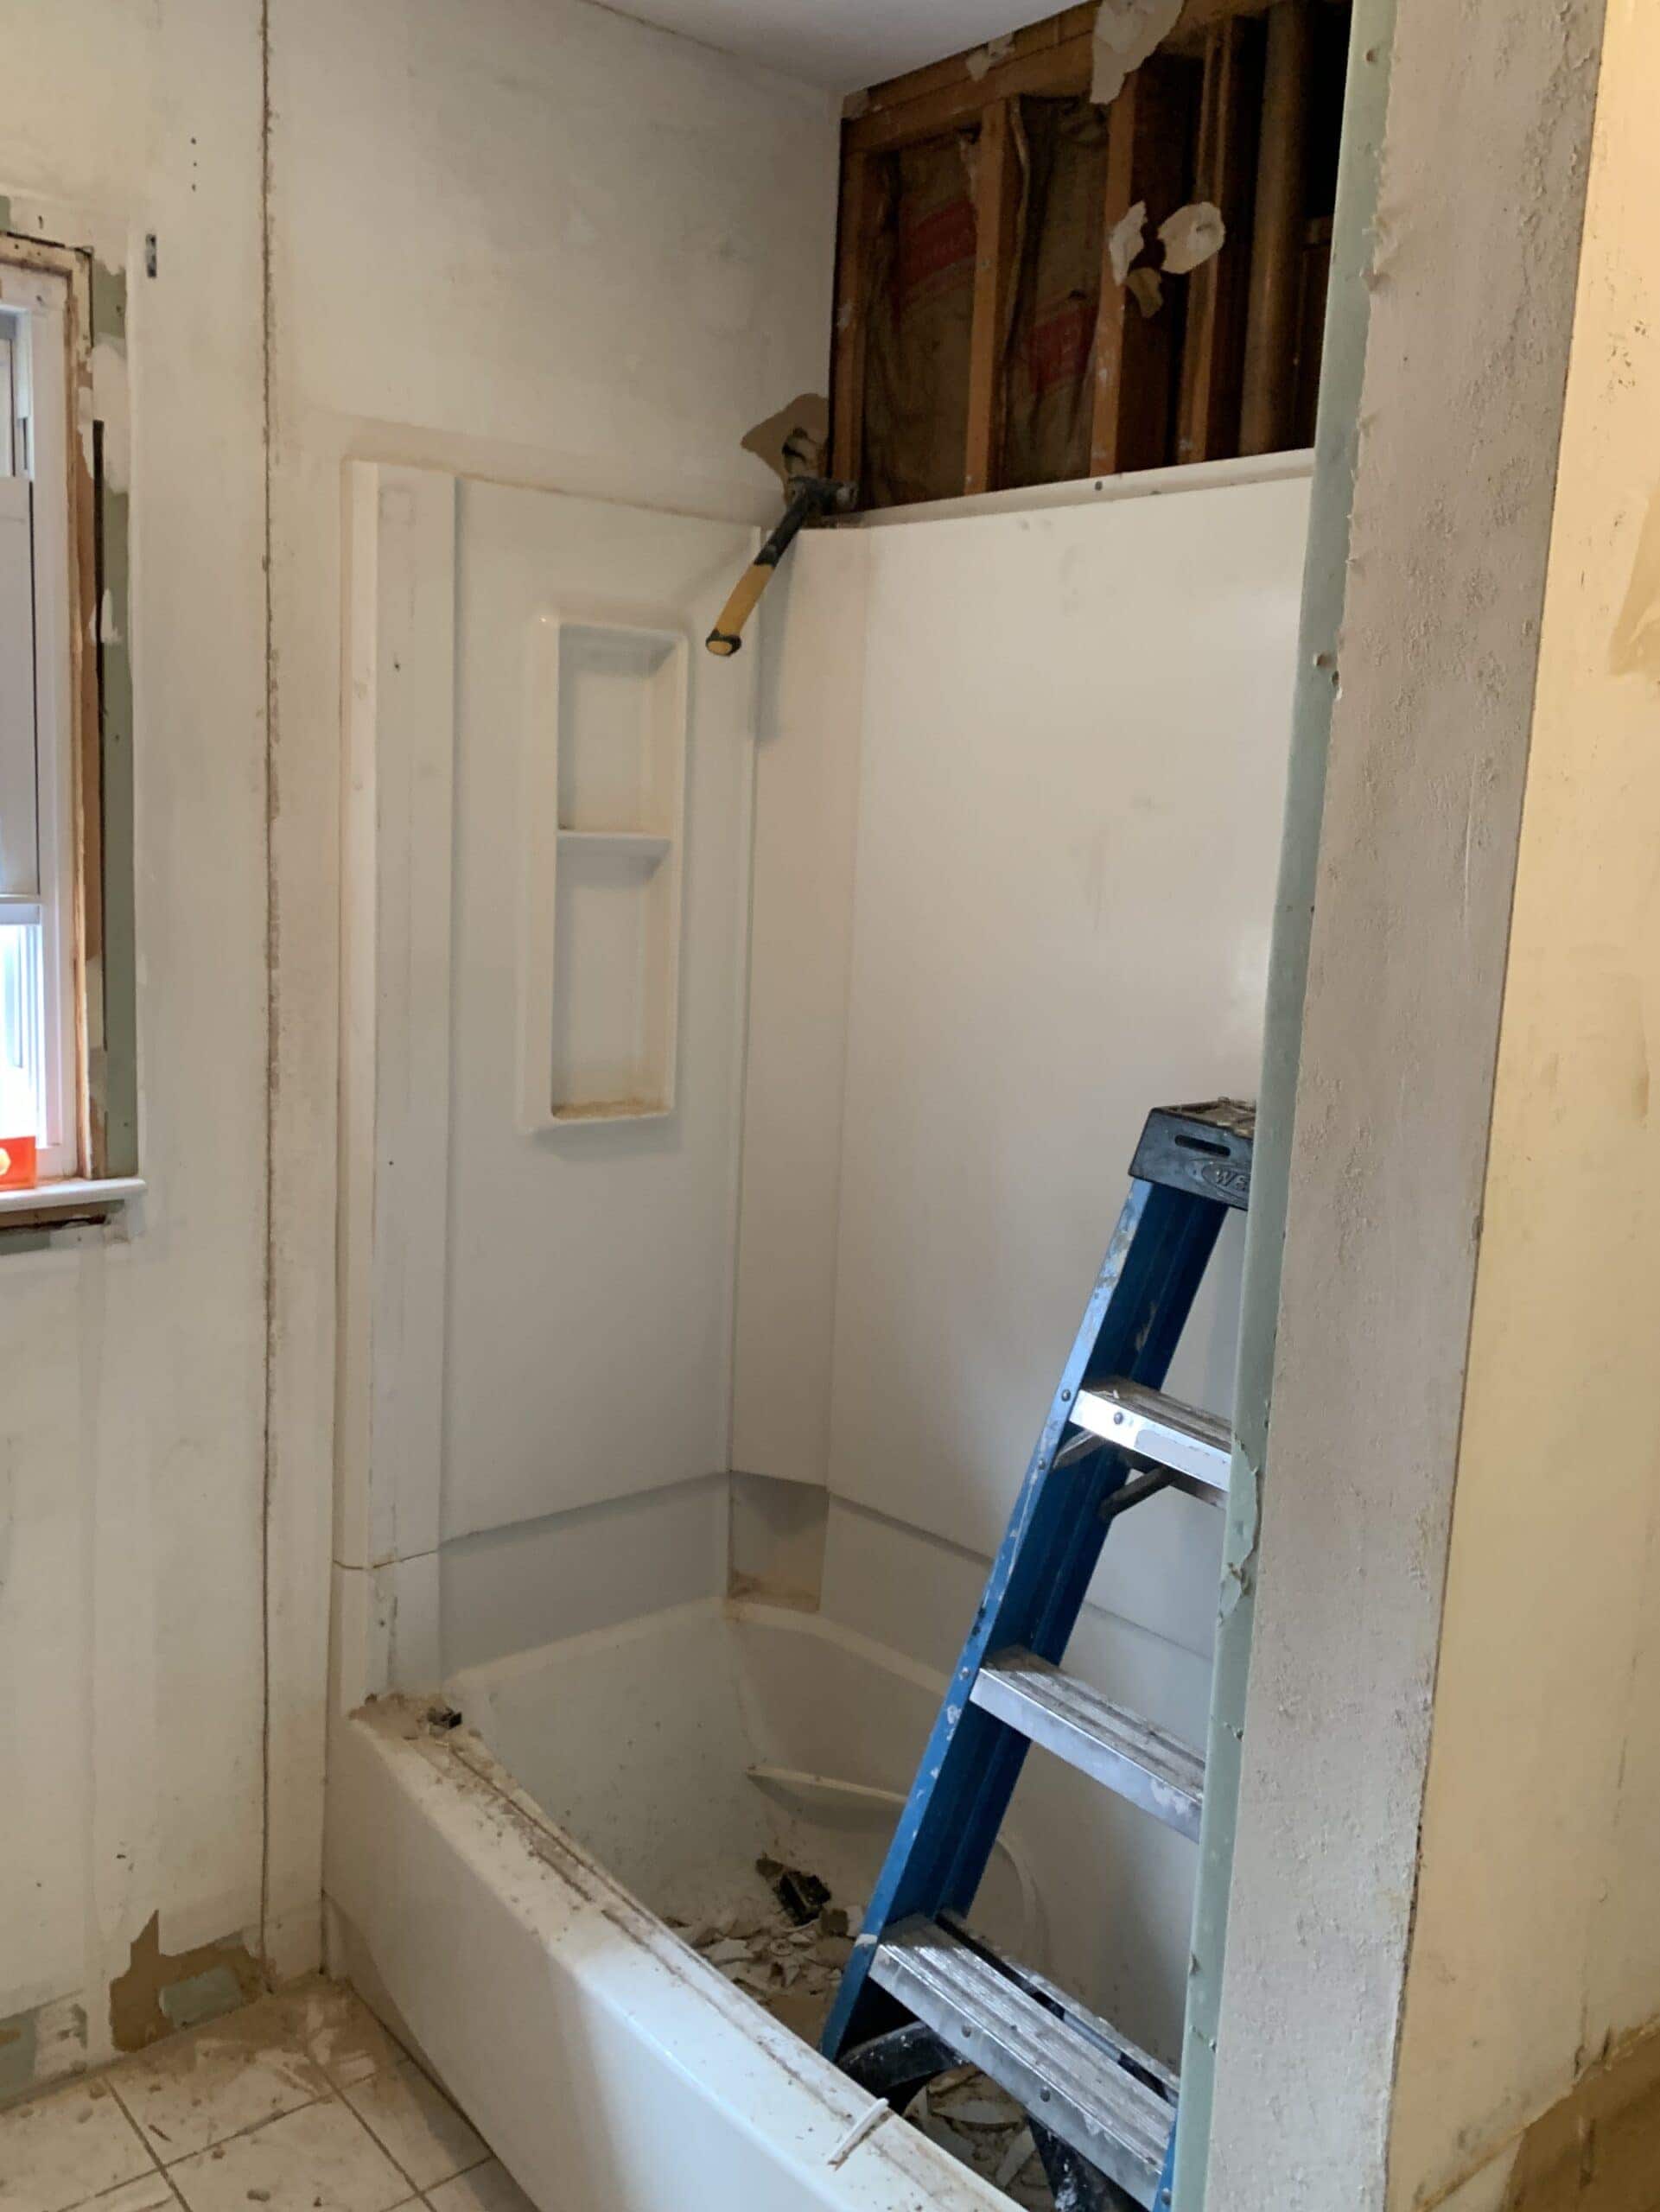
The previous owner(s) had a thing for fiberglass surround showers/tubs. I could not despise them more. They are impossible to keep clean and I always felt like I was showering in a gross plastic bubble. The irony.
Needless to say, I was happy as hell to see this shower go. We’ll be installing this signature hardware alcove tub from Build.com and I am already dreaming about taking a bath. I actually can’t remember the last time I took one, but I have a feeling that it’ll be a great time to start taking baths regularly once this renovation is over.
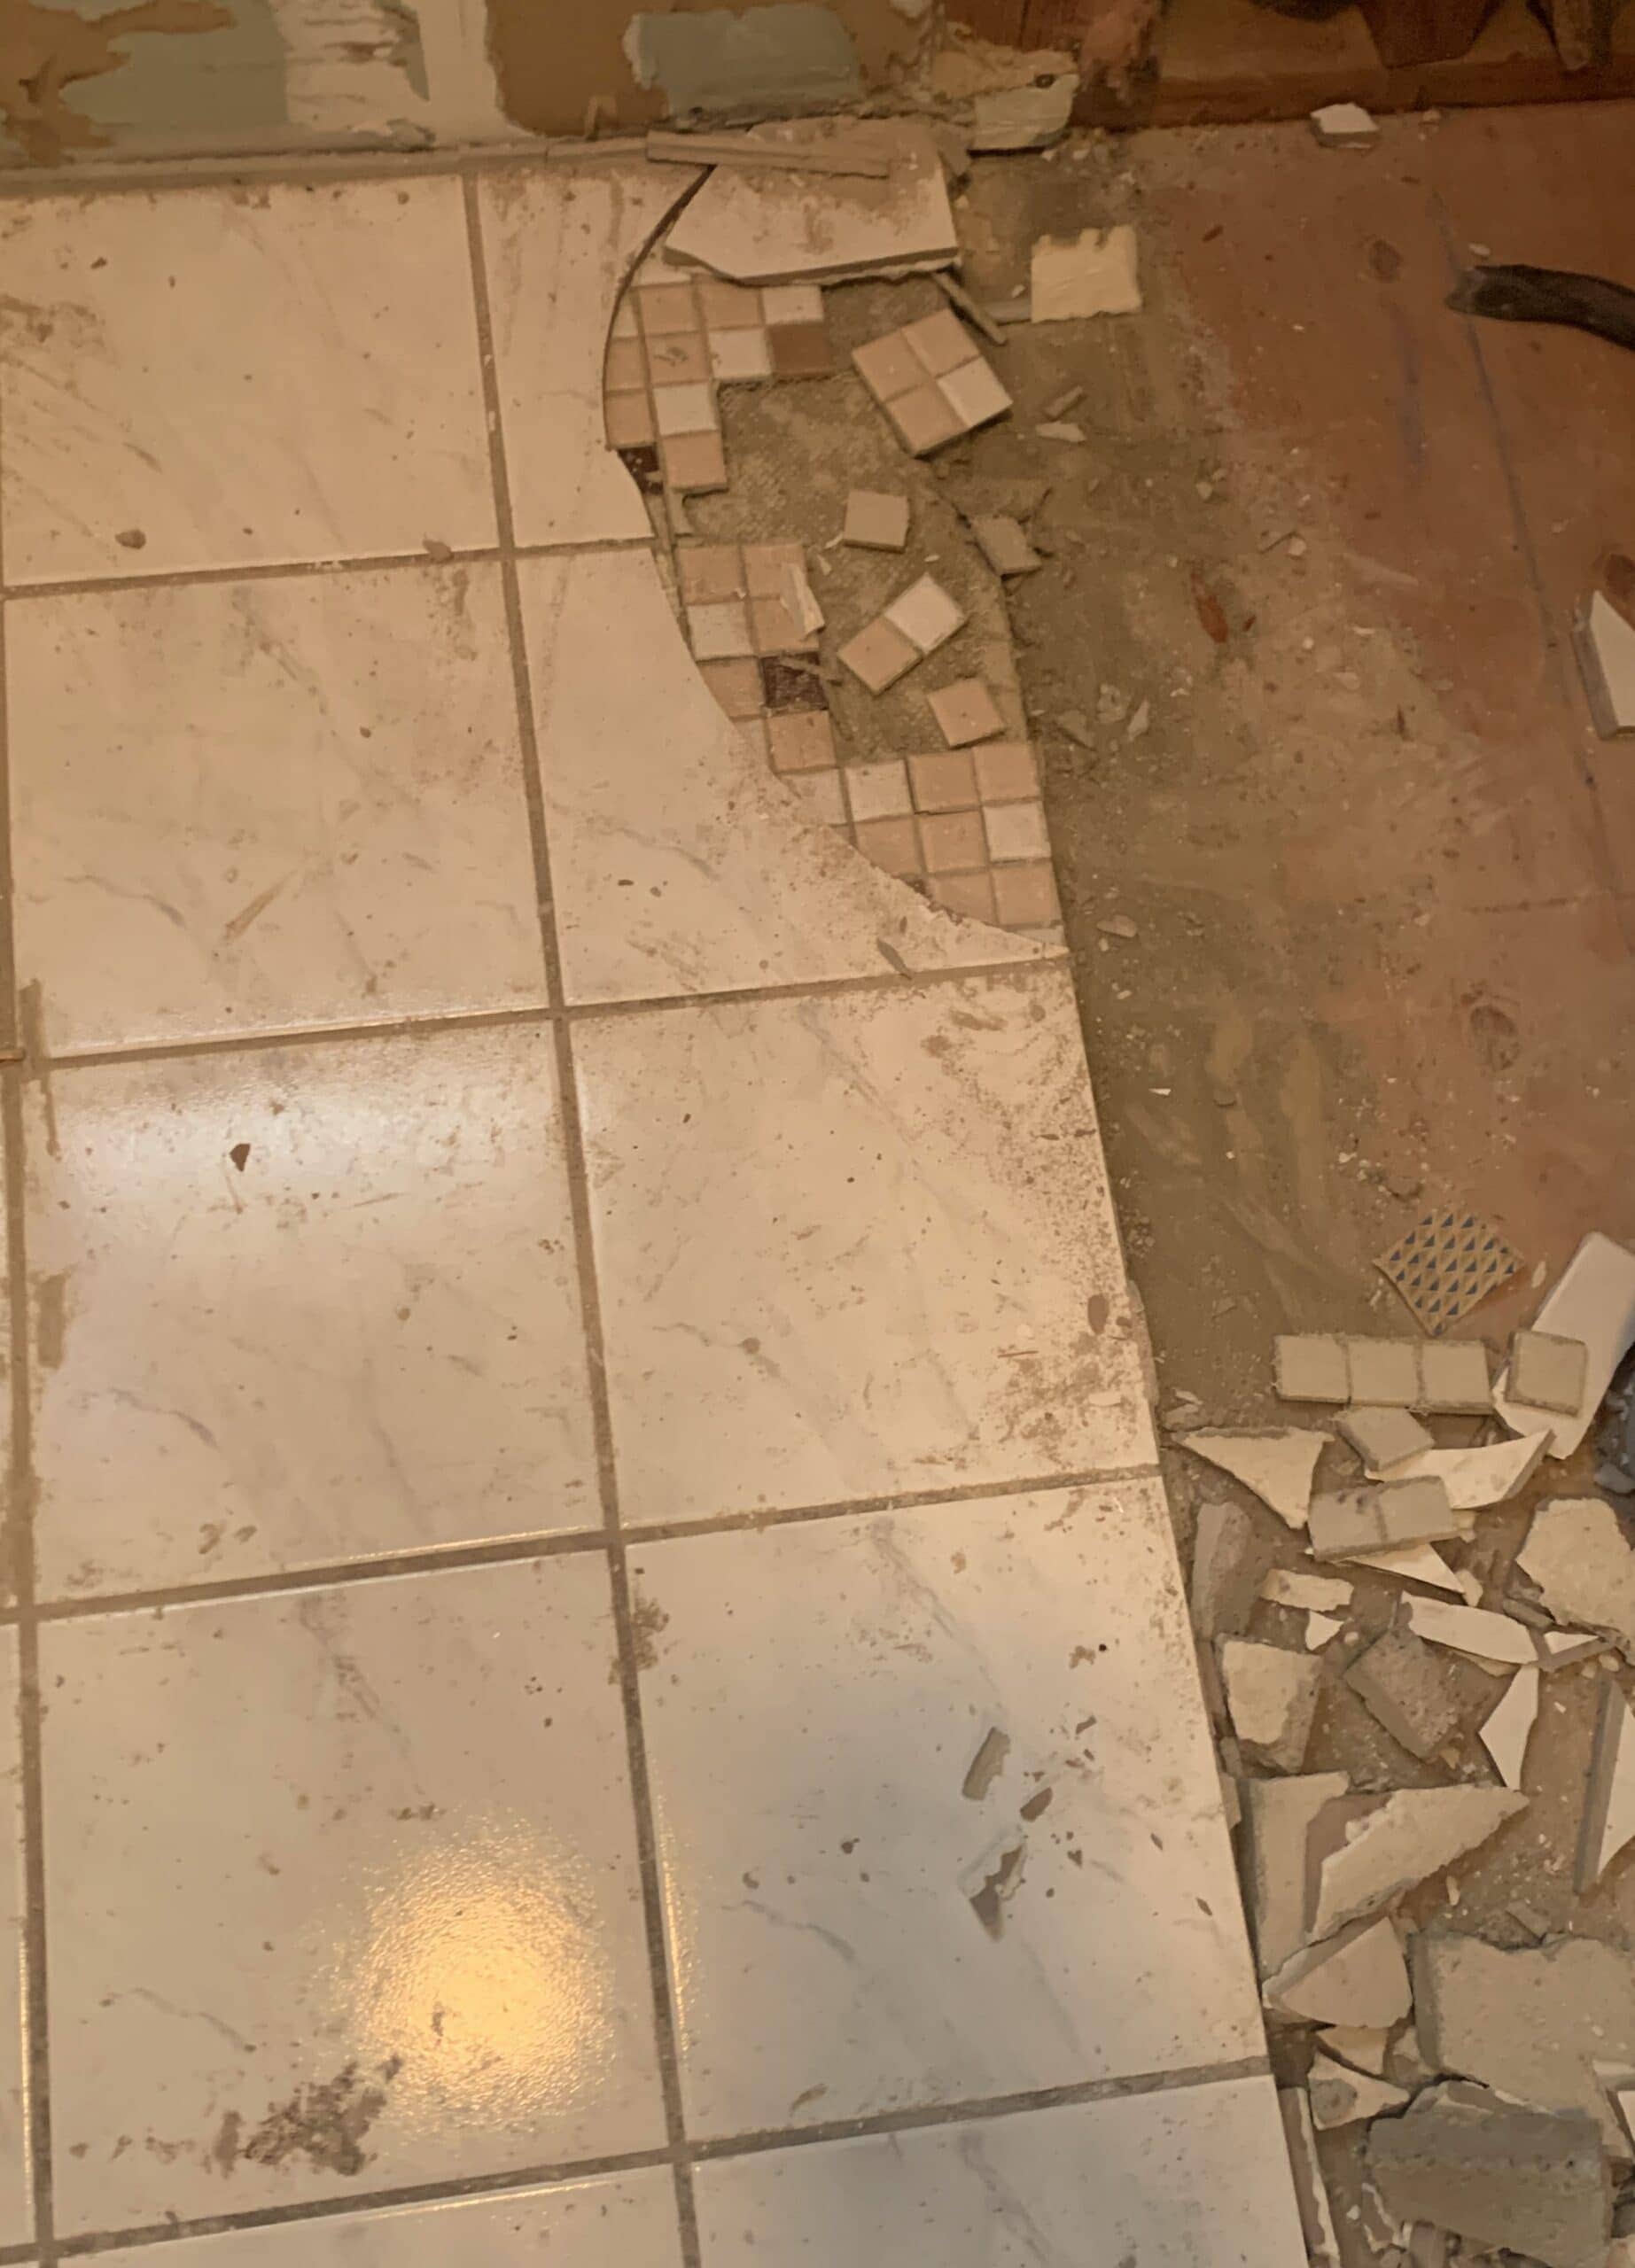
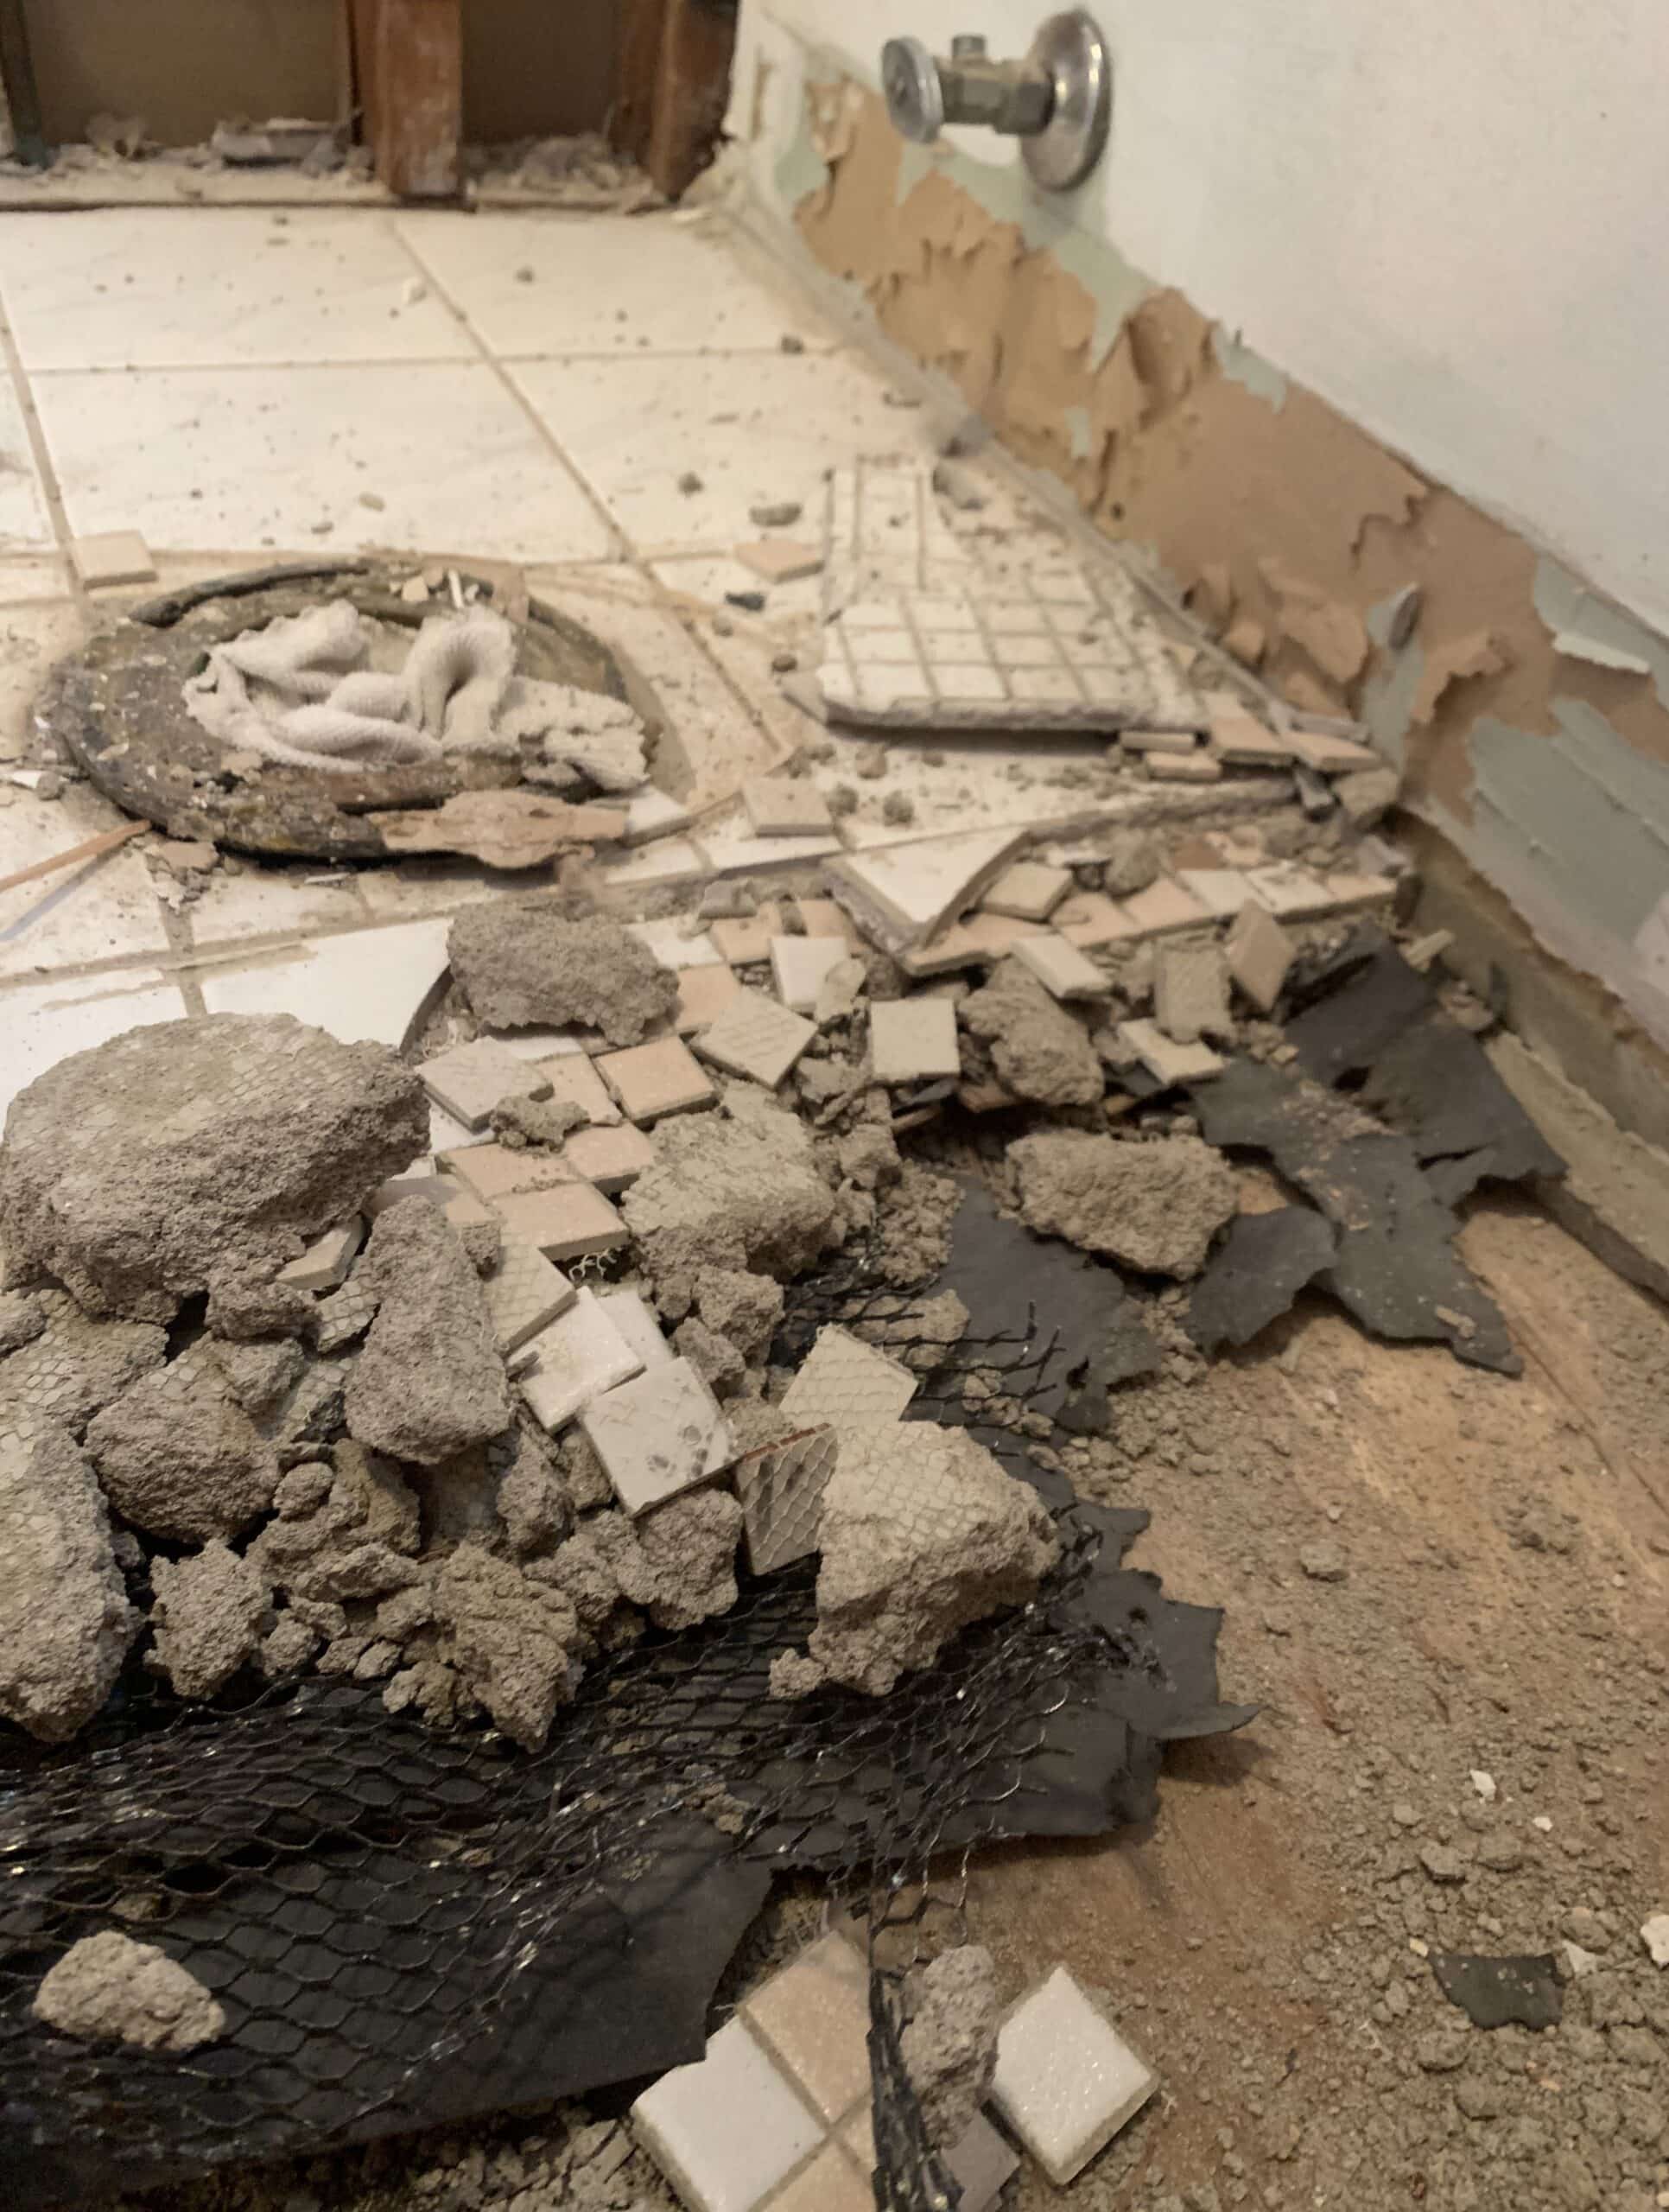
We assumed that previous owners had tiled the existing floor on top of another layer of tile because it just always seemed a little raised/bulky. We were right, because under the ceramic tile was small format pattern that was definitely original to when the house was built in the 60’s. And then under that….chicken wire and a thickkkkk slab of concrete.
The hardest part of the demo was removing the floor. It took a jackhammer and multiple hours to remove one section at a time.
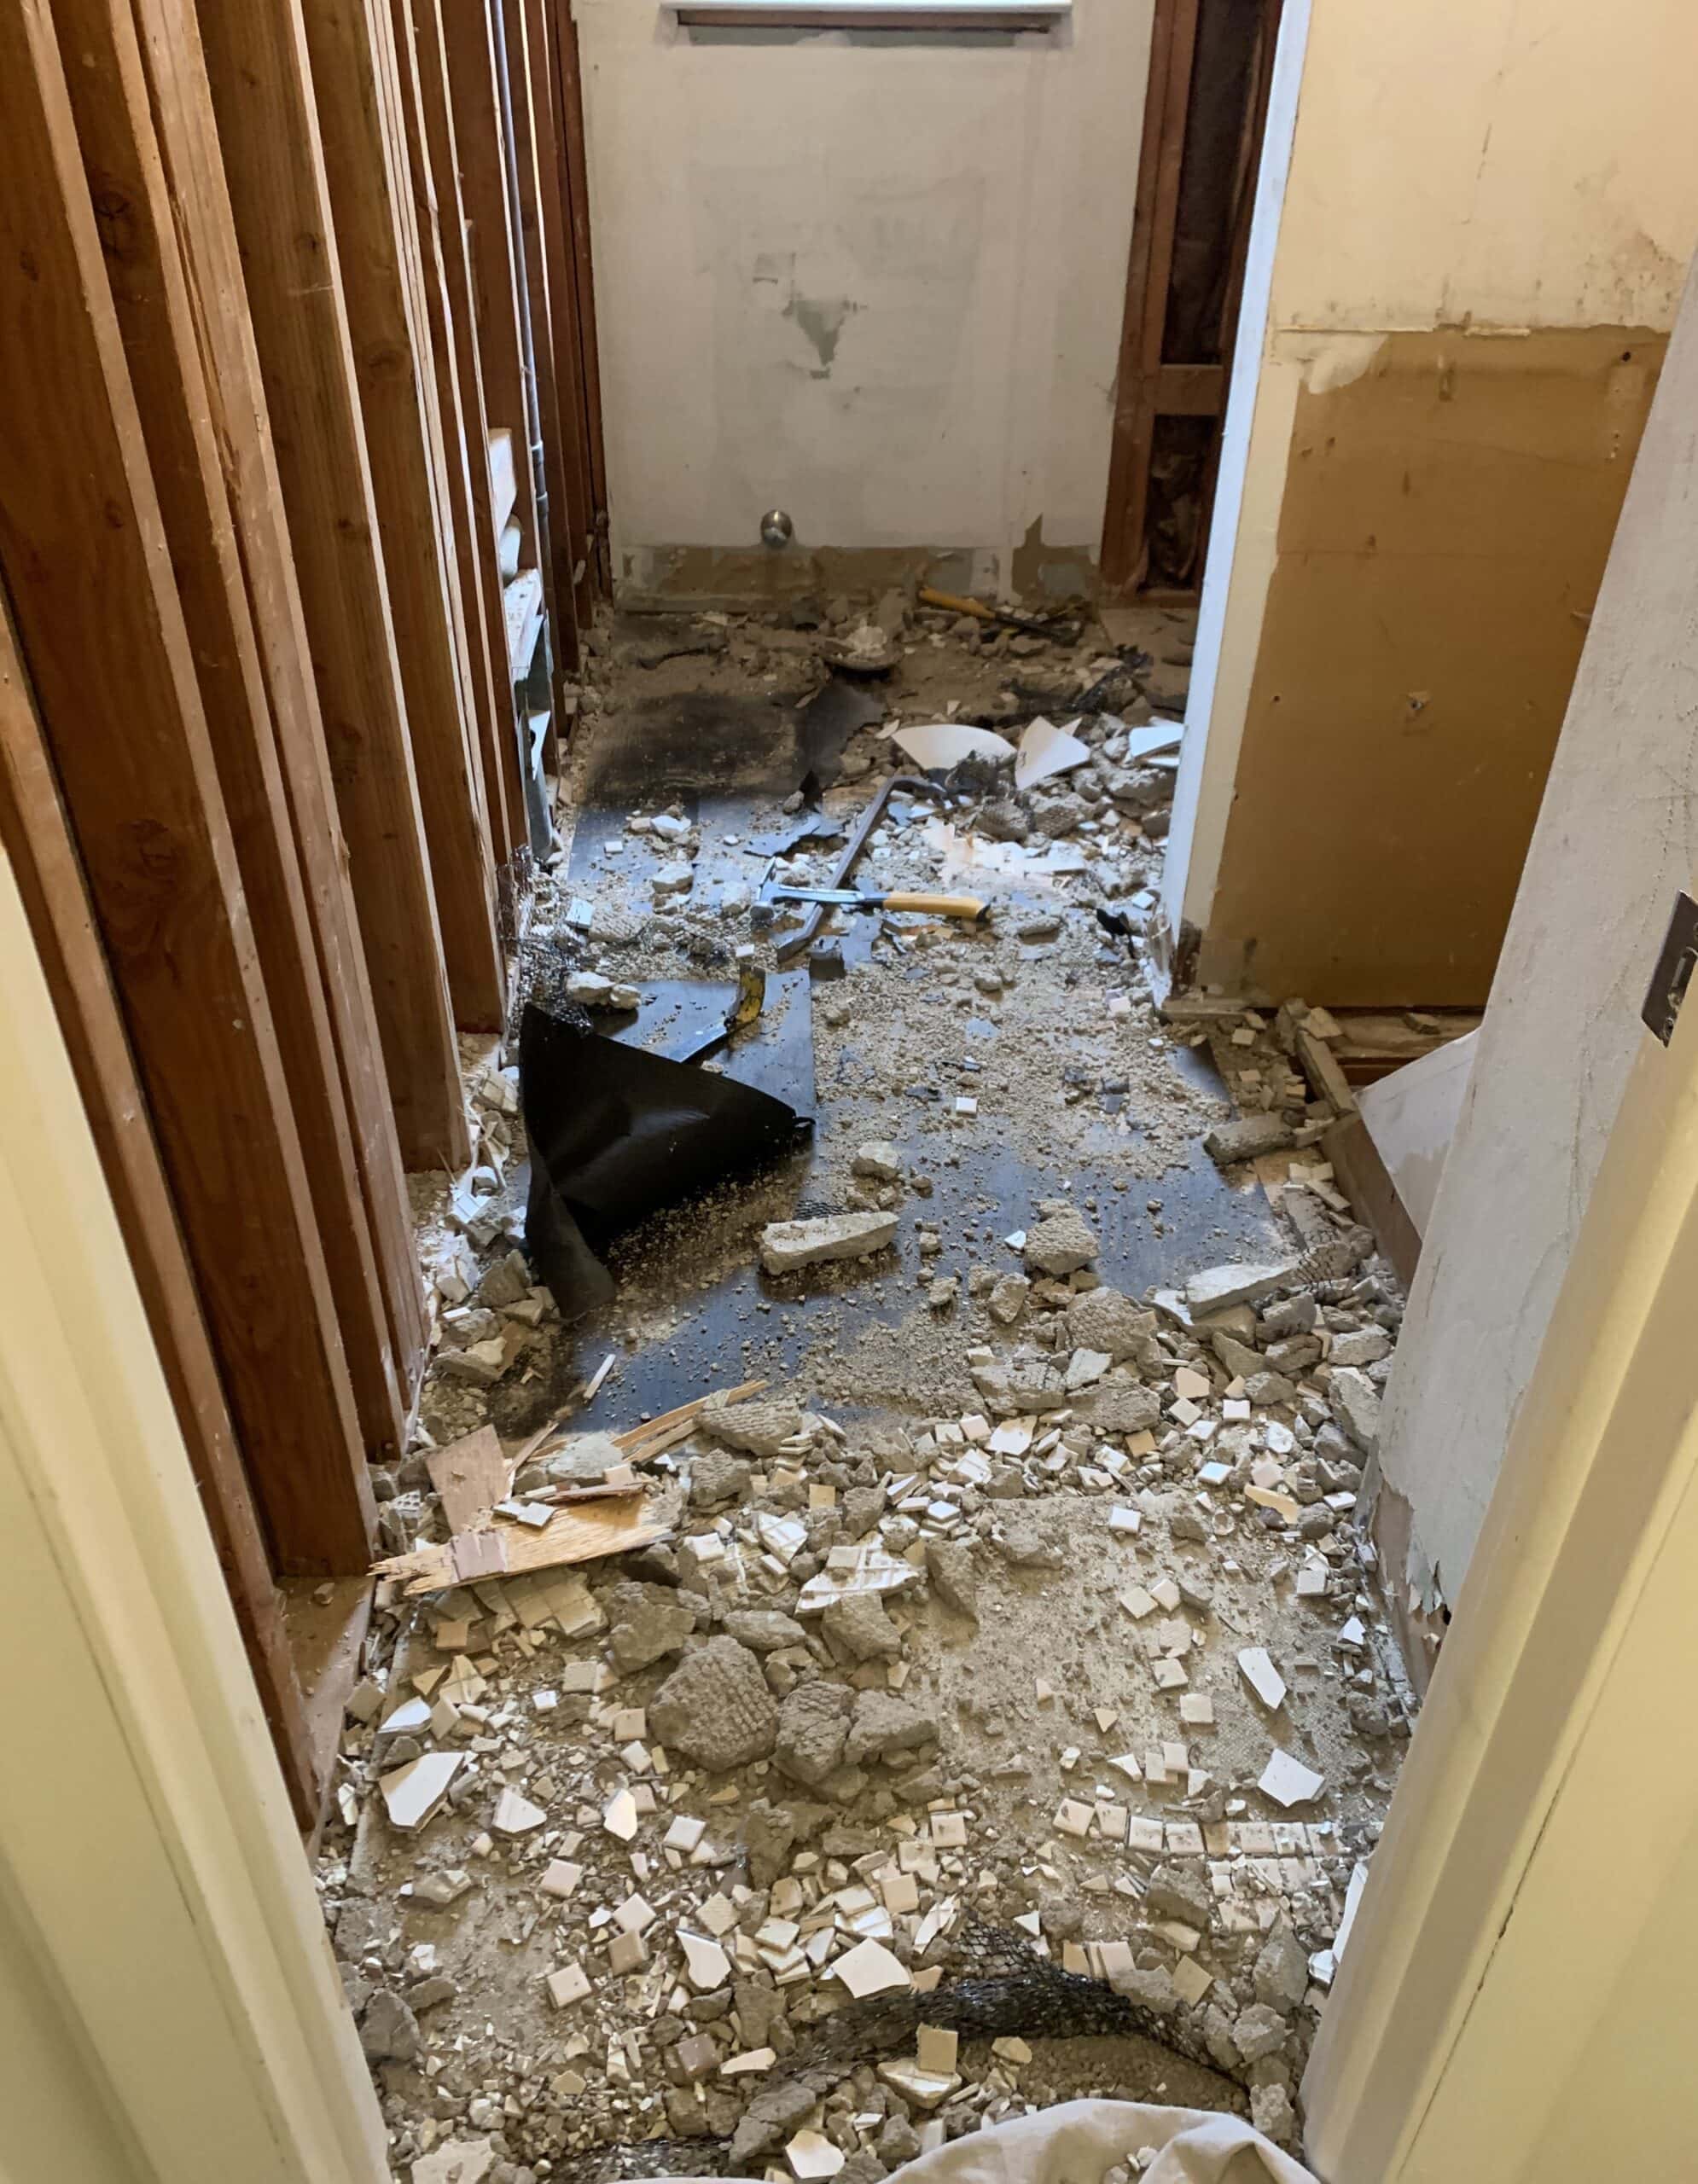
After hauling the final slabs of concrete out, the room was cleaned up and ready to start rebuilding. There were some few salvageable pieces of drywall that we planned to skim coat.
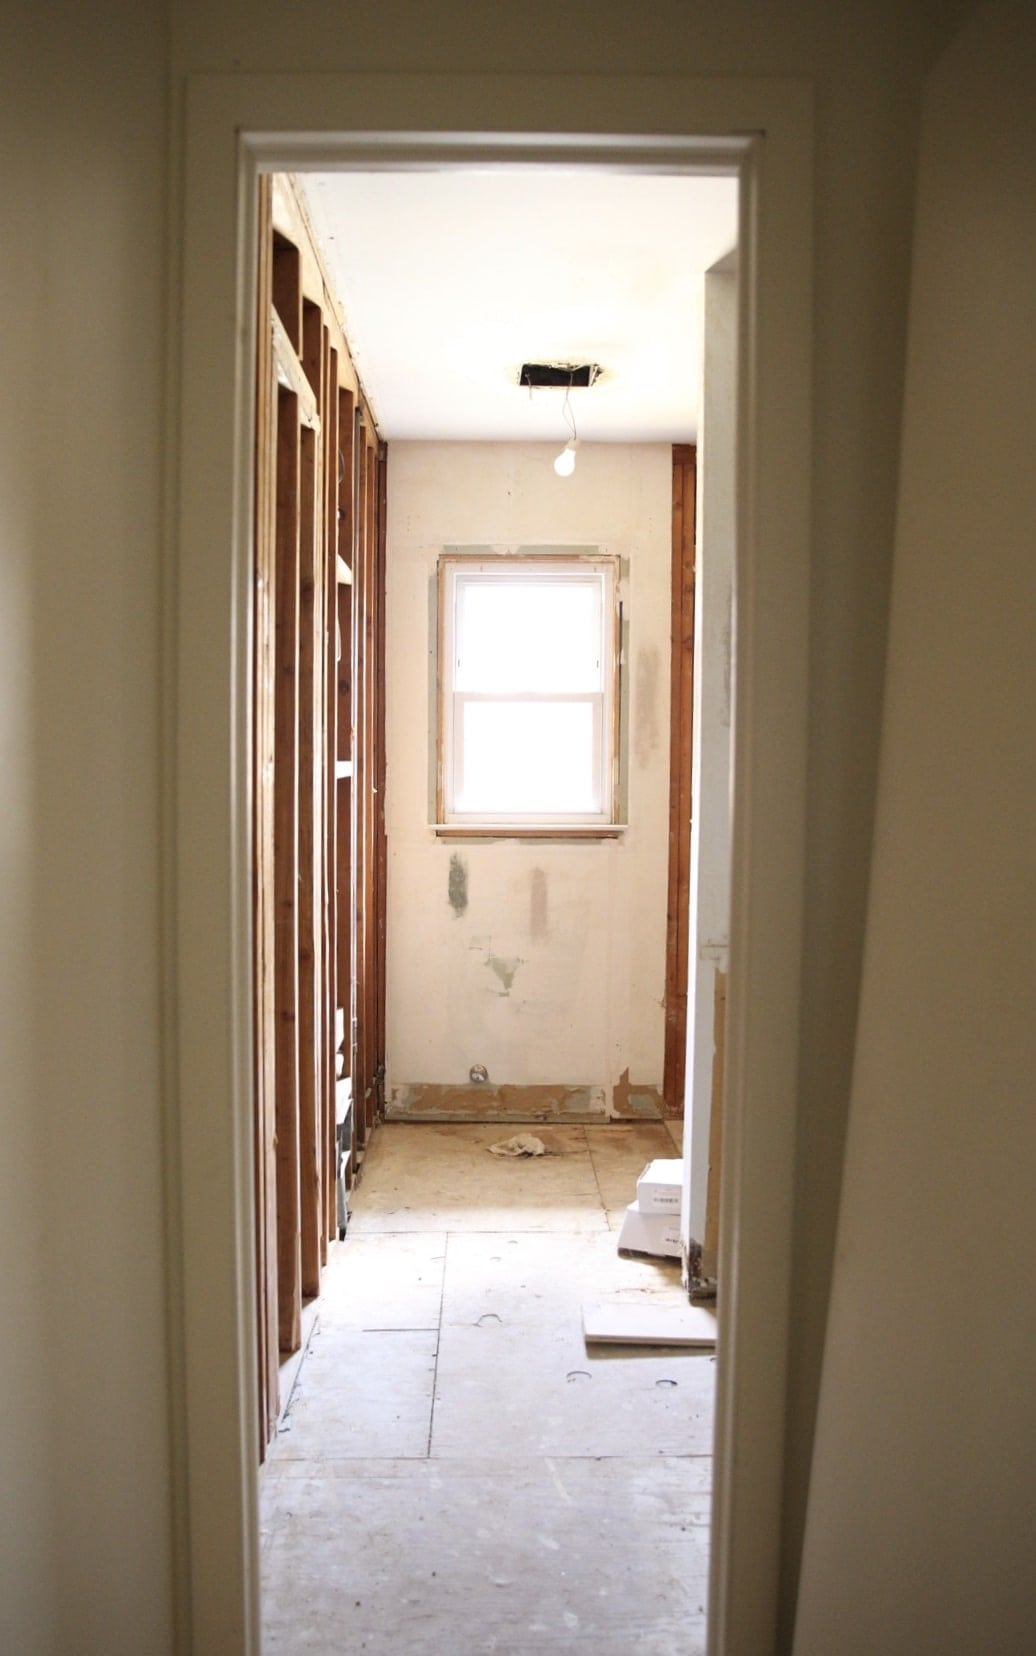
Peep my unstable-ass already swatching paint colors on the walls. L.O.L.
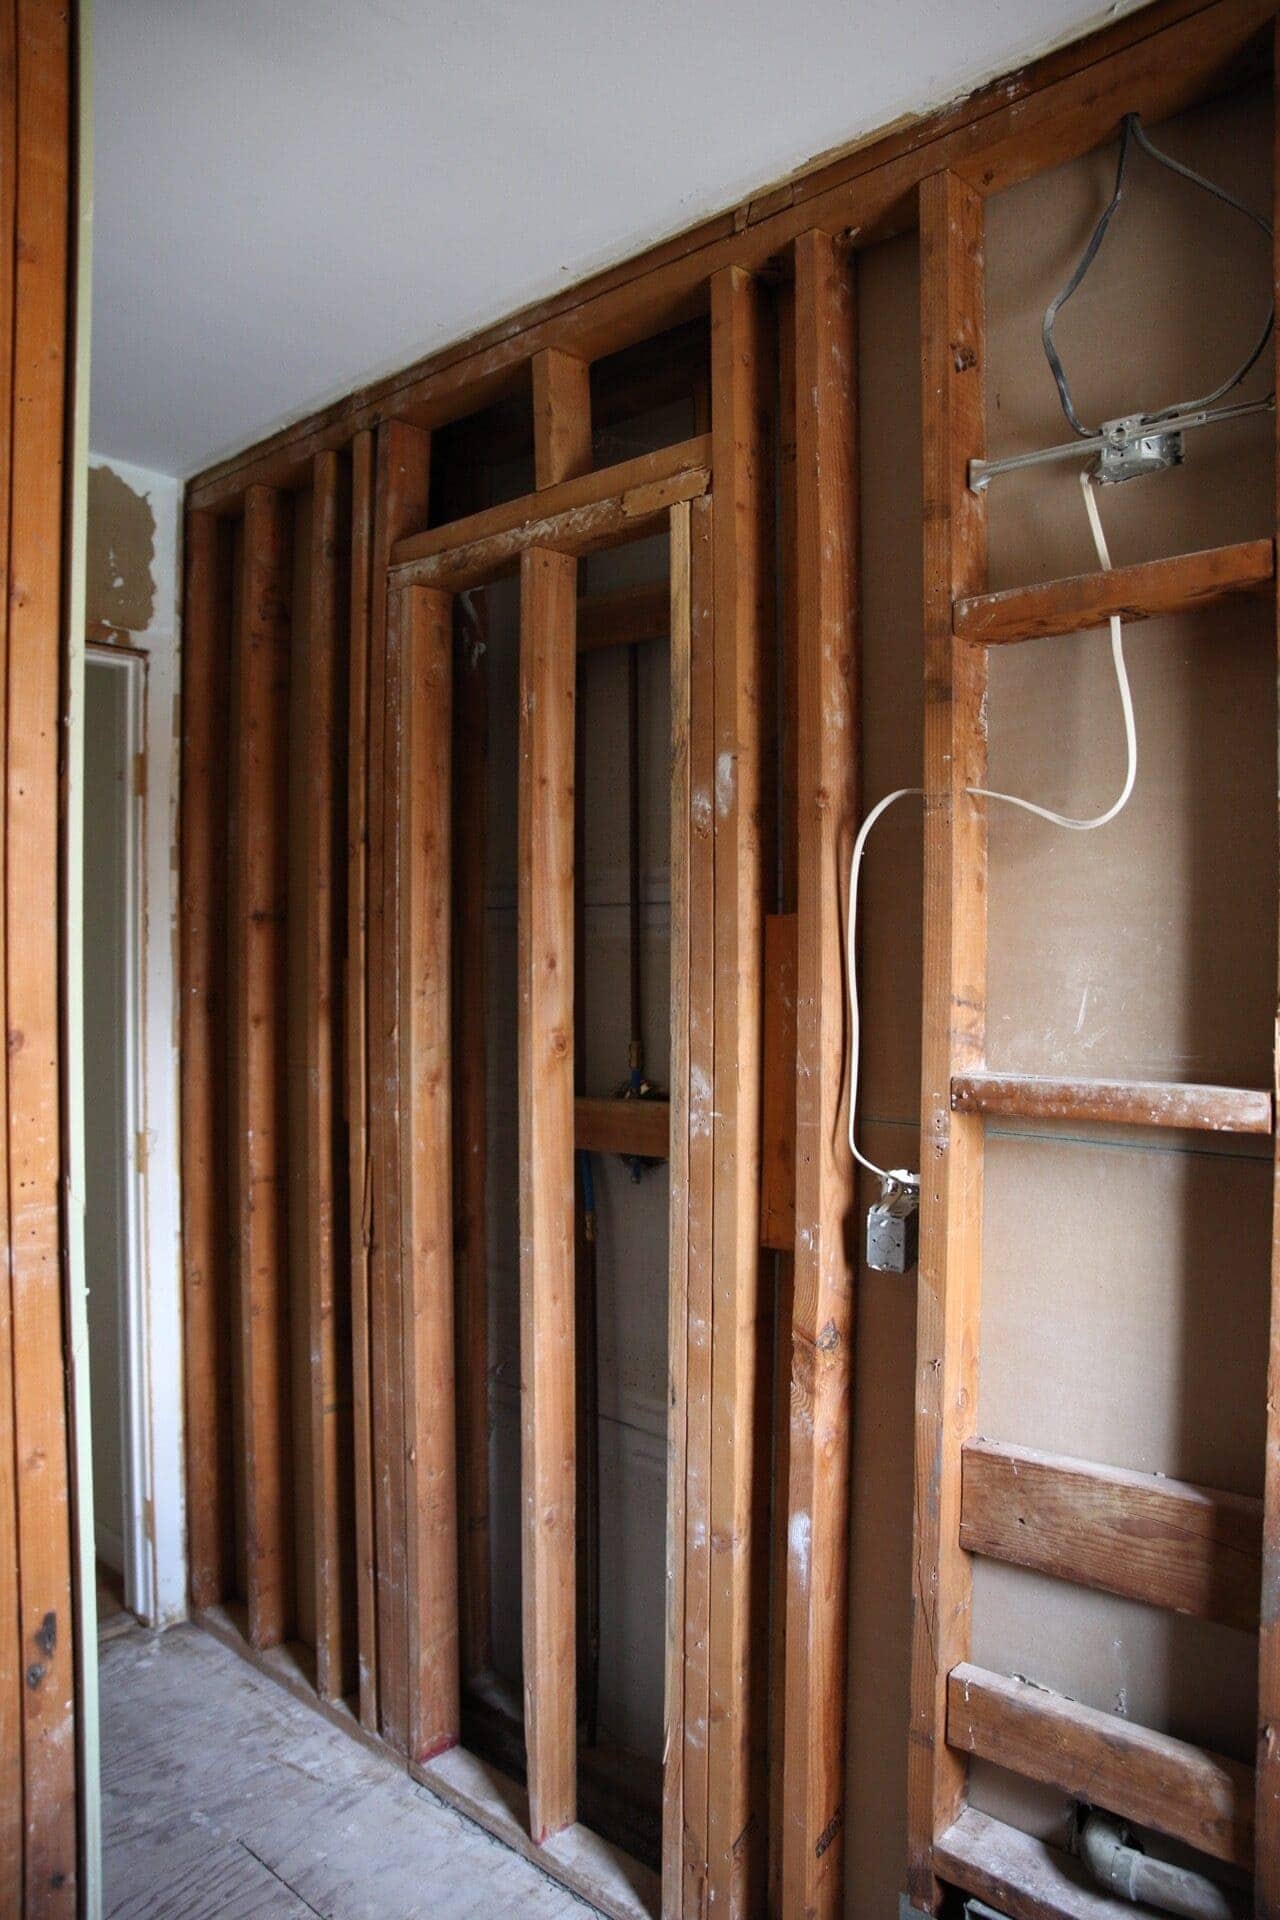
It looks as though this area was framed out for a doorway, which is weird because the master shower is right through the studs (you can see the plumbing line). Surely the builder wasn’t planning on having a door that led to a shower, but then again, who knows what this guy was thinking.
Angelo and I will plan to use this space to build a recessed cabinet that sits flush with the wall and will be framed out by molding!
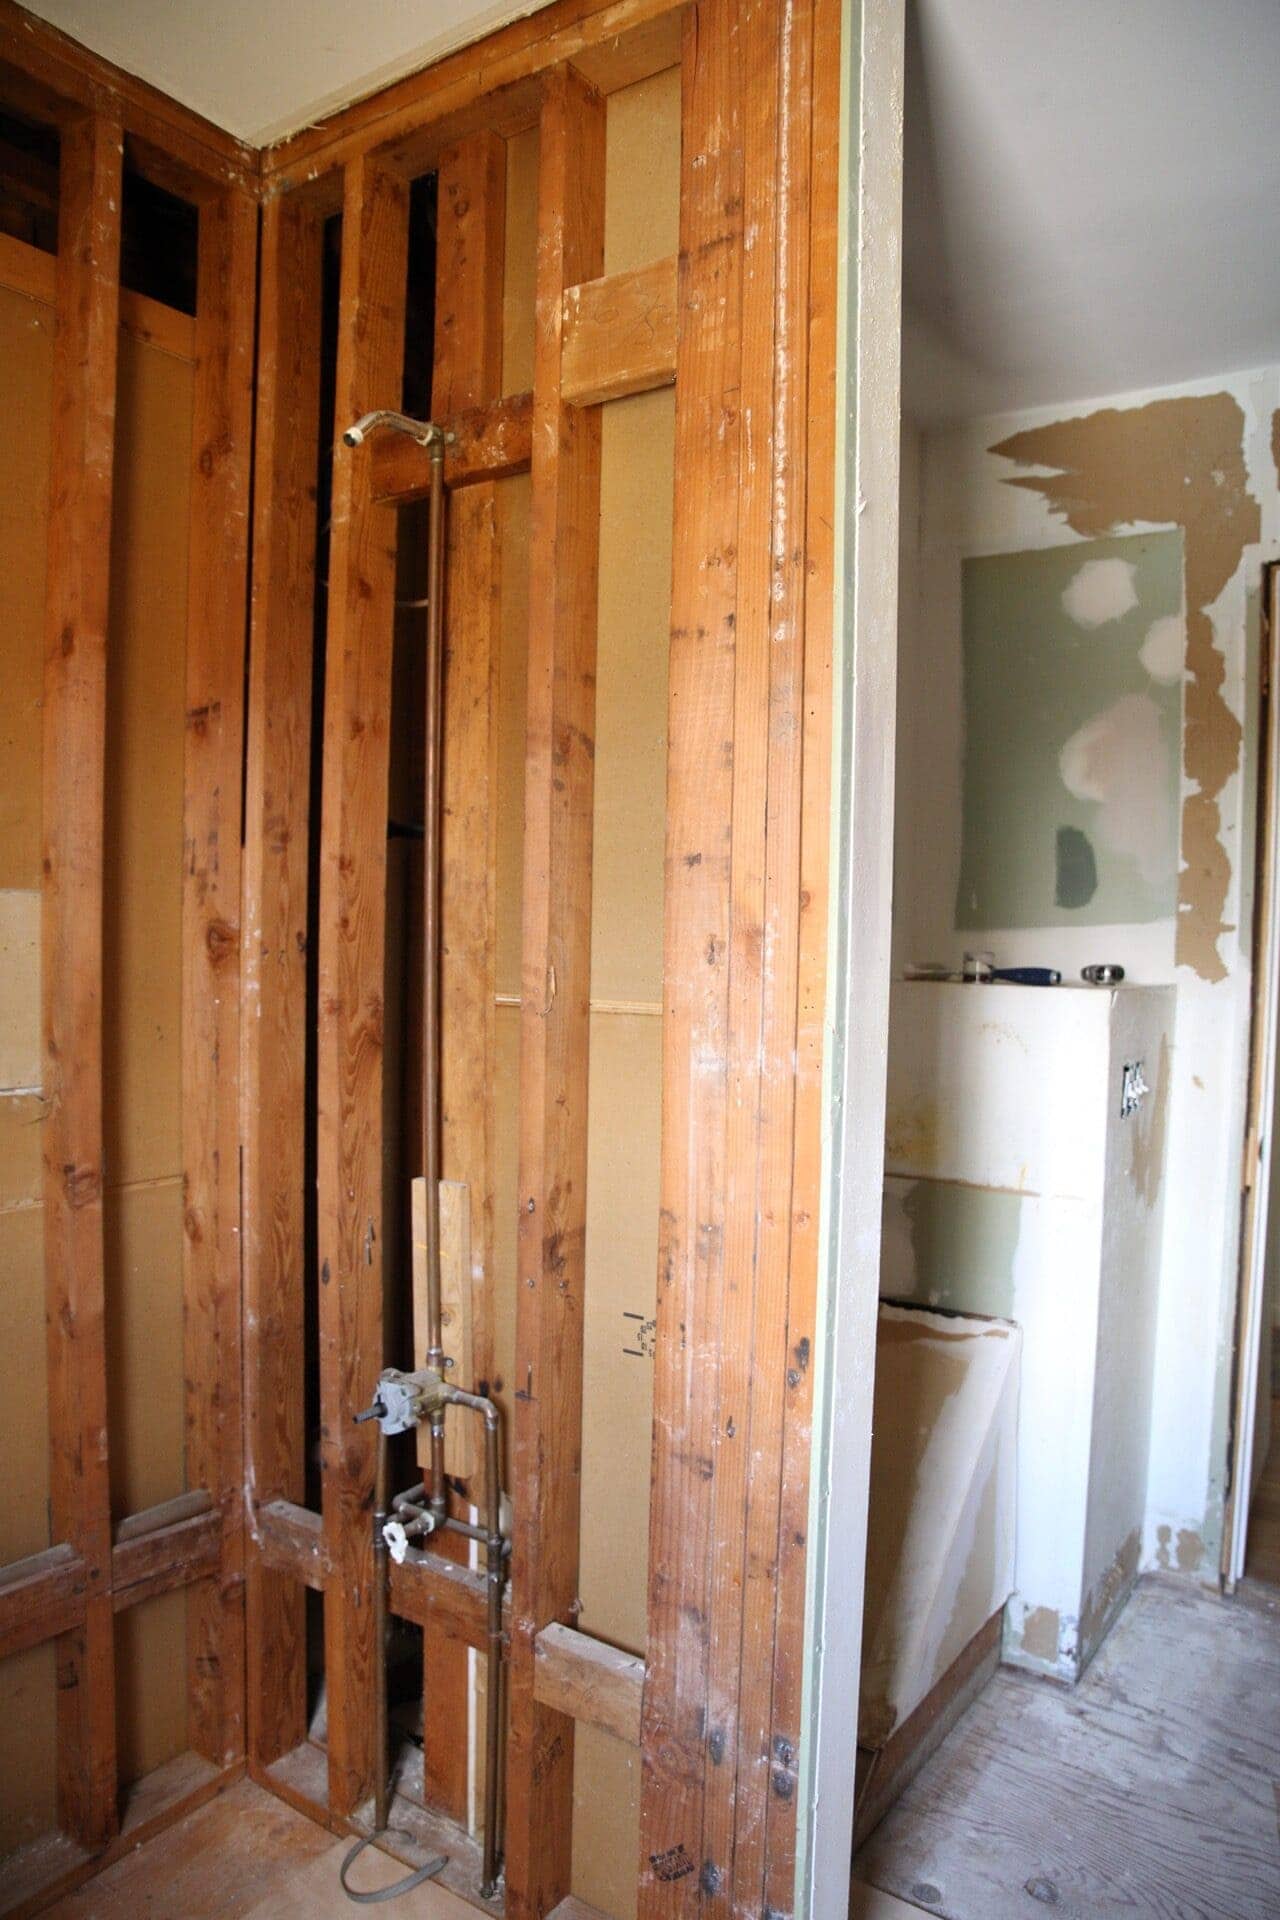
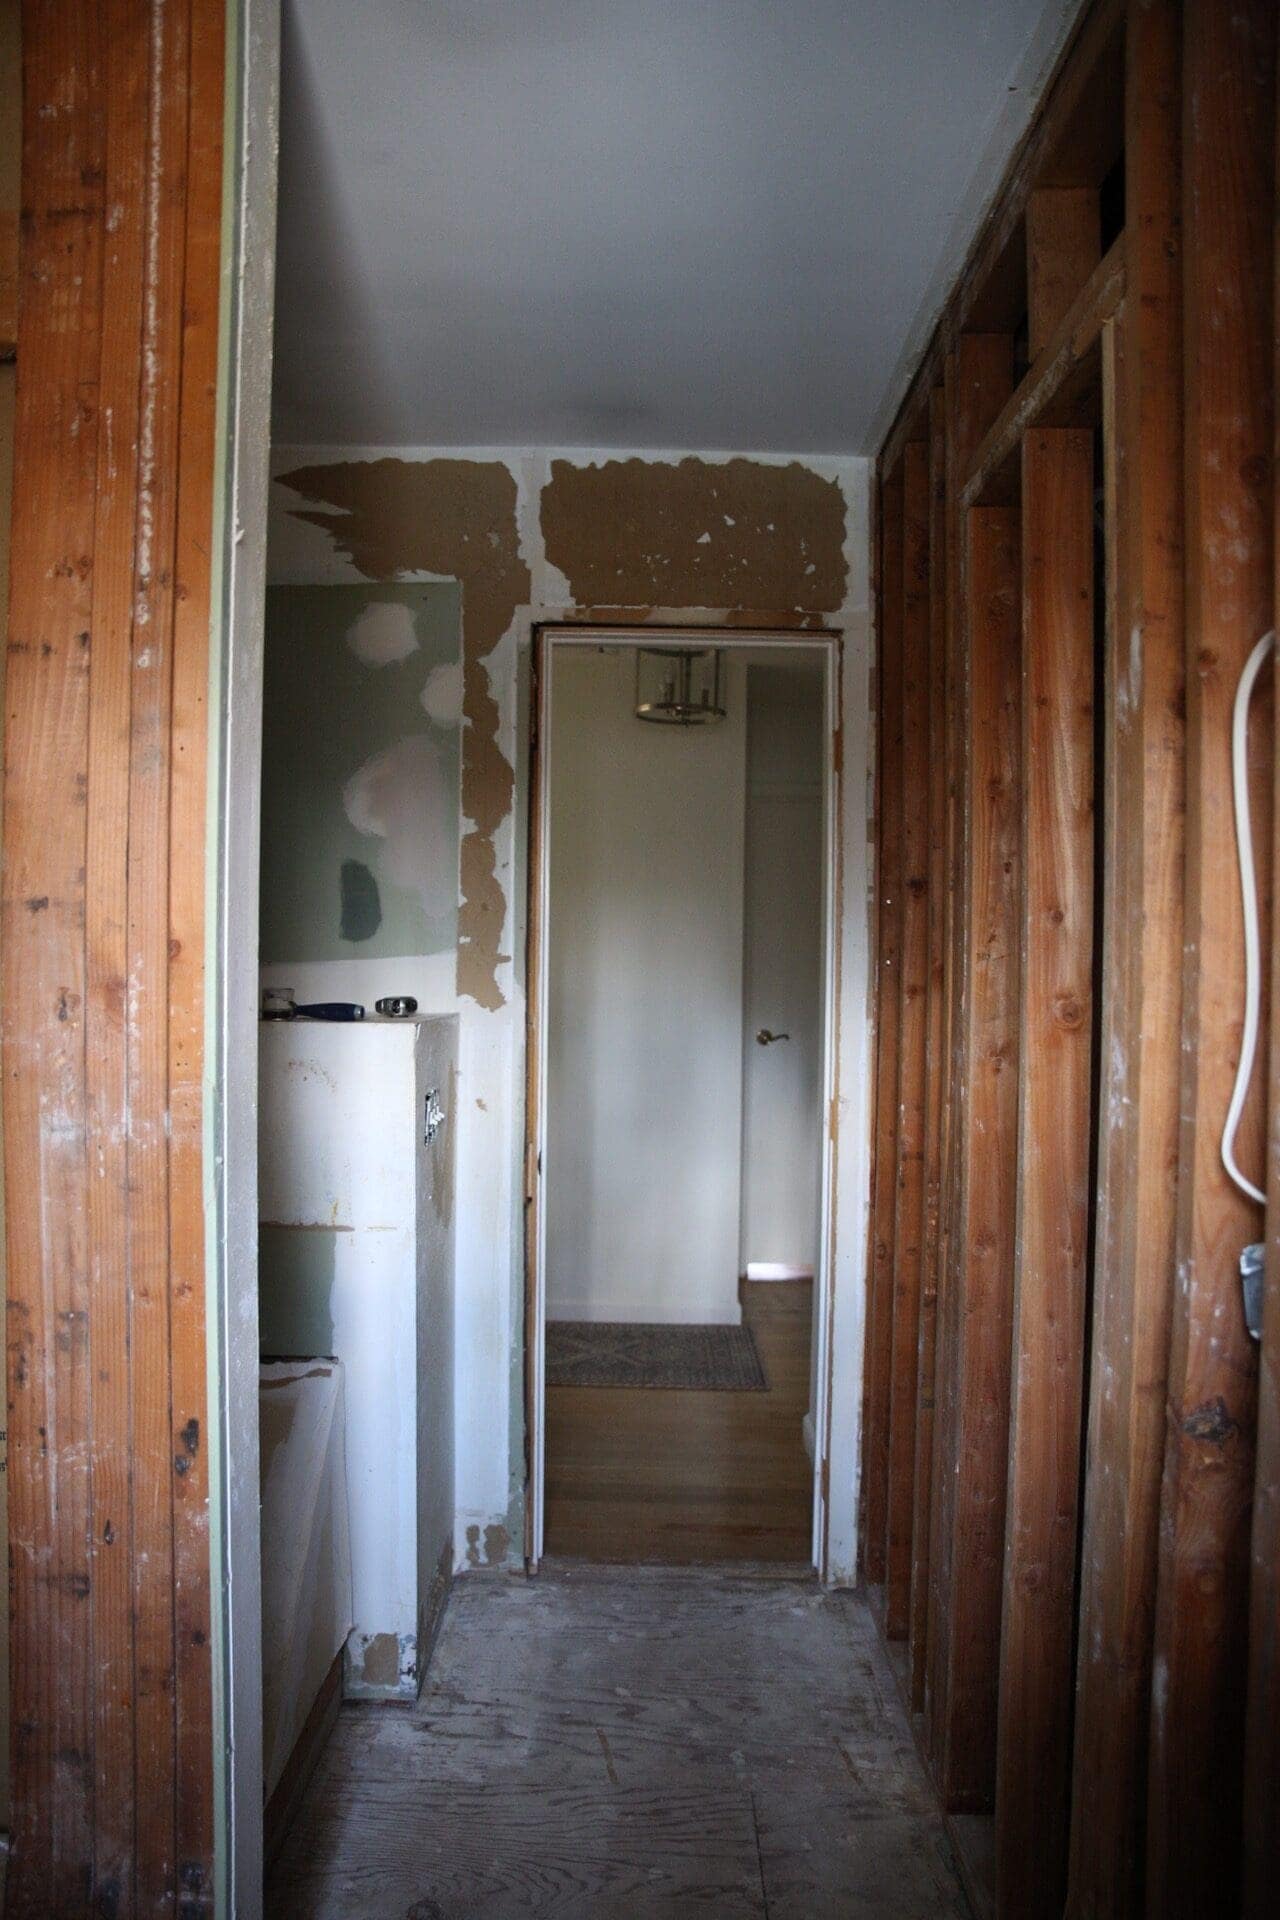
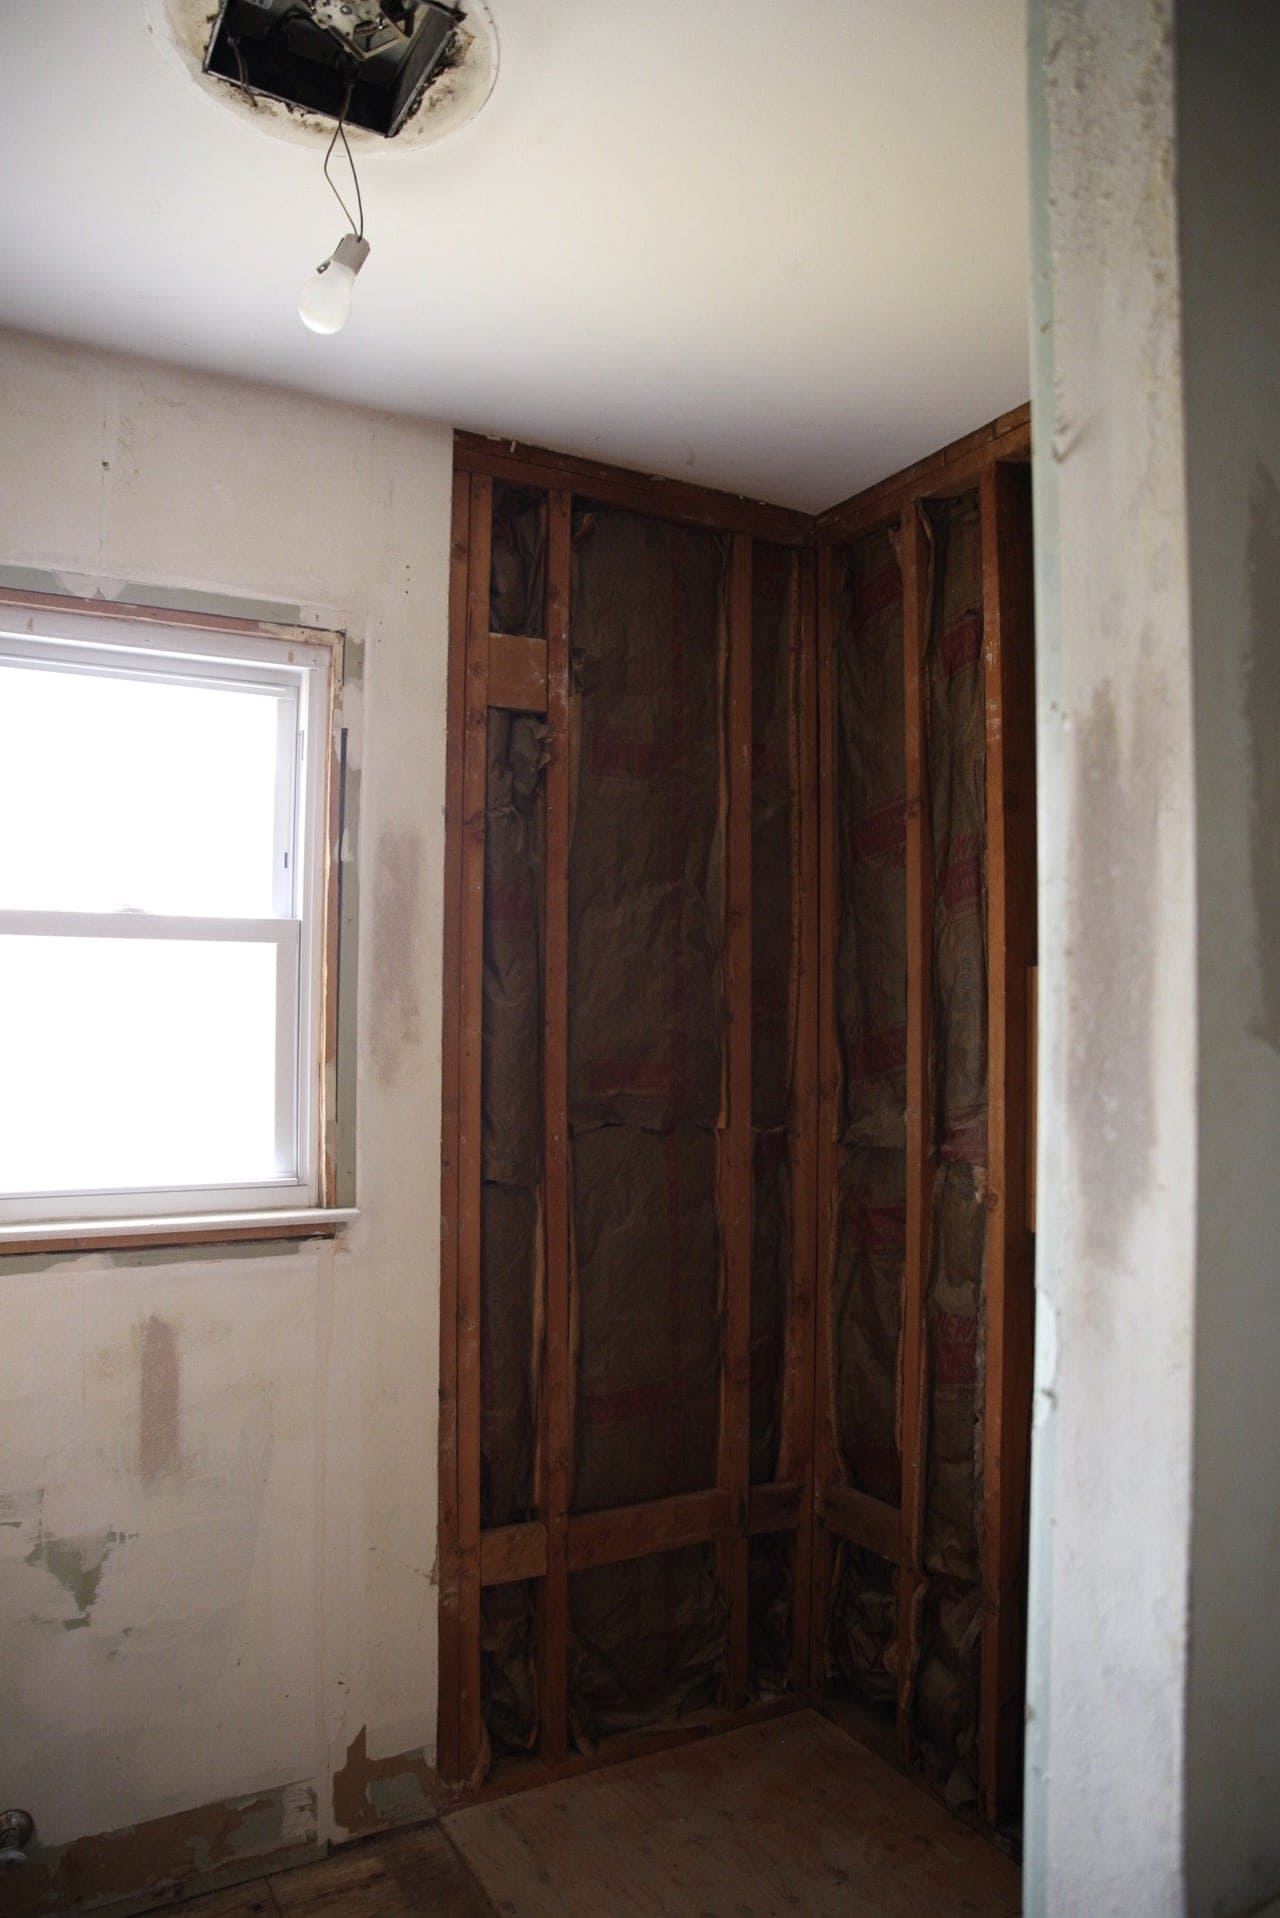
And just like that, we’re ready to begin building this room back up! Next week is the tub install, adding mold-resistant drywall, hardie board around the tub and on the floors, electrical and plumbing.
Here’s the full to-do list, which I’ll be sharing each week to keep track of what we’ve accomplished thus far and how much more we still have to go!
- Take measurements and before photos – DONE
- Gut bathroom – DONE
- Install mold-resistant sheetrock on walls – plan for week 3
- Install bathtub – plan for week 3
- Close seams, spackle, and sand – plan for week 3
- Install hardie board on floor and around tub – plan for week 3
- Frame out shower niche – plan for week 3
- Rough in plumbing + electrical – plan for week 3
- Build and install tub apron
- Waterproof shower walls and tub apron
- Install lighting and exhaust fan
- Build and install recessed linen cabinet
- Install tile on floor
- Install tile around tub tub walls
- Install tile on tub apron
- Grout shower walls, floor and tub apron
- Seal all stone
- Install vanity, vanity top, sink and faucet
- Fabricate vanity countertop
- Install toilet
- Install door
- Install shower fixtures
- Install molding
- Paint 2-3 coats on walls
- Install curtain rod and hang shower curtain
- Install roman shade
- Install open shelving
- Add finishing touches
- Photograph room
- REVEAL
Be sure to follow the other featured designers below and check back next week for more progress photos and design details!
A Glass of Bovino | Beginning in the Middle | Beth Diana Smith | Clark + Aldine | Coco & Jack
Deeply Southern Home| Design Maze | Dwell by Cheryl | Erika Ward | Home Made by Carmona
House of Hipsters | Hunted Interior | Kandrac & Kole | Kate Pearce | Katrina Blair | Liz Kamarul
Veneer Designs | Rambling Renovators | Renovation Husbands | Studio Plumb | Media BH&G



Alisa!! I am sure it was so painful to peel back the layers everywhere in this bathroom only to uncover something even more unimaginable but LOOK AT THAT BLANK CANVAS!! I love it already … so clean and open, and ready for your geniuses to turn it into a sensation bathroom that echos but not mimics your master bath!
CAN’T WAIT TO SEE IT ALL!
wow, thank you so much, Tim! 🙂
Um. Chicken wire and concrete? So…it was a bomb shelter? *shakes head* You must be so relieved already! I can’t wait to see what color you choose! And I’m scared/intrigued to see your mirror-cutting experiments. Be careful!!!
HAH! most definitely a bomb shelter. Will definitely be cutting the mirror with caution! Thanks Peggi!
Yaaaas! This is my favorite part! Tear it up!
HELL YASSSS !!!
It’s gonna be great! I’m so excited to see it unfold.
thanks Arli!! 🙂
Wow you’ve done so much already!! I’ve never done a complete gut like this because I know how hard it is but you’re killin it girl! Keep up the awesome work. I can’t wait to see how this space turns out!
Thanks so much Jordan!
It’s got to get worse in a bathroom before it can get infinitely better! Good bye tired old stuff!
totally! thanks Leslie!!
Even stripped down to the studs it already looks so much better…I cannot wrap my head around the stairs running under the vanity! So nutty
haha! I also can’t wrap my head around it!
Well I know my favorite part – the secret staircase you uncovered! The chicken wire floor *almost* tops it though. I can’t wait to see what you do this week – this is going to be such an amazing change!
HAHA! Thank you Michelle!! 🙂
Love reading about reno projects! thanks for sharing.
Looks like you’ve got a great project in front of you. Good bones to work with and a blank canvas now. Looking forward to seeing what it looks like when completed.