I gotta be honest – when the idea to make a burl coffee table that I had no luck finding on Facebook Marketplace popped into my head, it was very….derp derp here’s a silly-ass idea that I definitely haven’t fully thought through.
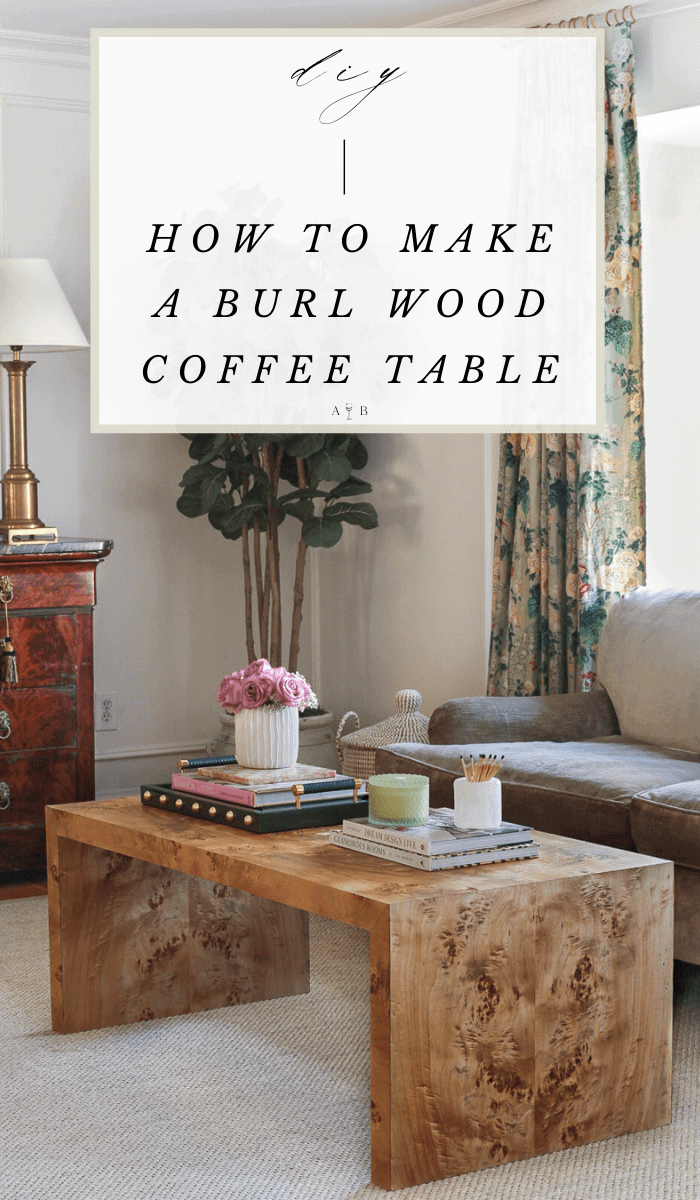
But here we are, a few weeks later, and we have a new burl coffee table in our living room along with a tutorial for you to create one yourself.
Before we dive in, I want to say that building a table from scratch is not a project for beginners, and this wouldn’t have been possible without Angelo and I working together. With that said, you don’t have to build a table from scratch to make this.
If you can find a solid, high-quality waterfall style coffee/console table on Facebook Marketplace which you could sand down and apply veneer to, then you can skip the first few steps below and jump straight into oiling the burl step.
The only reason we built a table from scratch is because I couldn’t find a waterfall style table that fit the dimensions I needed for our living room. So we went the ~ handcrafted bespoke ~ route.
One more thing, l’ve also recapped each step along with videos in my “DIY BURL TABLE” IG story highlights.
HERE’S WHAT WE USED:
- 2 Sheets of 24″ x 96″ paper-backed Burl veneer:
- If you google “large burl veneer sheets” you’ll find a plethora of options, but ultimately I ended up buying the large sheets of veneer from this eBay store because it was the cheapest for the size I needed and I like the look of Exotic Mappa burl. If two sheets of veneer is out of your budget, you can still make an end table, a small coffee table or a narrow console table with one sheet of veneer. Get creative!
- MDF:
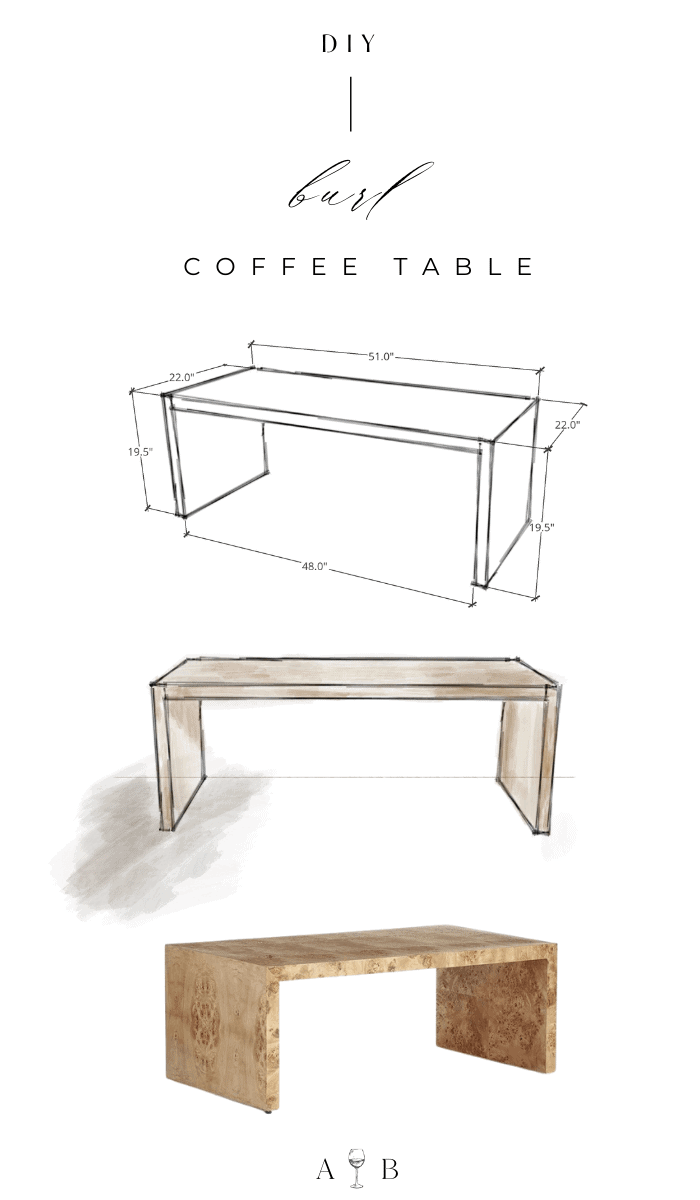
- I wanted our table to be 2″ thick and the ~approximate~ dimensions shown above, so we bought:
- one 3/4″ thick 4 ft x 8 ft sheet of MDF (cut into 3 pieces to fit into my car)
- one 3/4″ thick 2 ft x 4 ft sheet of MDF (can’t find it online, but our Home Depot had it)
- one 1/2″ thick 2 ft x 4 ft sheet of MDF
- I wanted our table to be 2″ thick and the ~approximate~ dimensions shown above, so we bought:
- This table saw (an industrial-size table saw would have made this project a lot easier)
- Wood glue
- Clamps
- Box cutter
- Danish Oil Finish
- Howard Citrus Shield Paste Wax – this was used in place of a poly/lacquer topcoat
- Howard Feed n Wax
- Lint free cloths
- 0000 Steel wool
- Ryobi Router
- This flush trim bit for the router
- Contact cement
- Mini foam roller
- Small paint tray
The total cost for us to build this table was $525.
This cost doesn’t include what we already had, which was the table saw, router, flush-trim bit, box cutter, wood glue, lint-free cloths, steel wool and paint roller.
Just want to point out that cost of this table new is $1300-$3600 online.
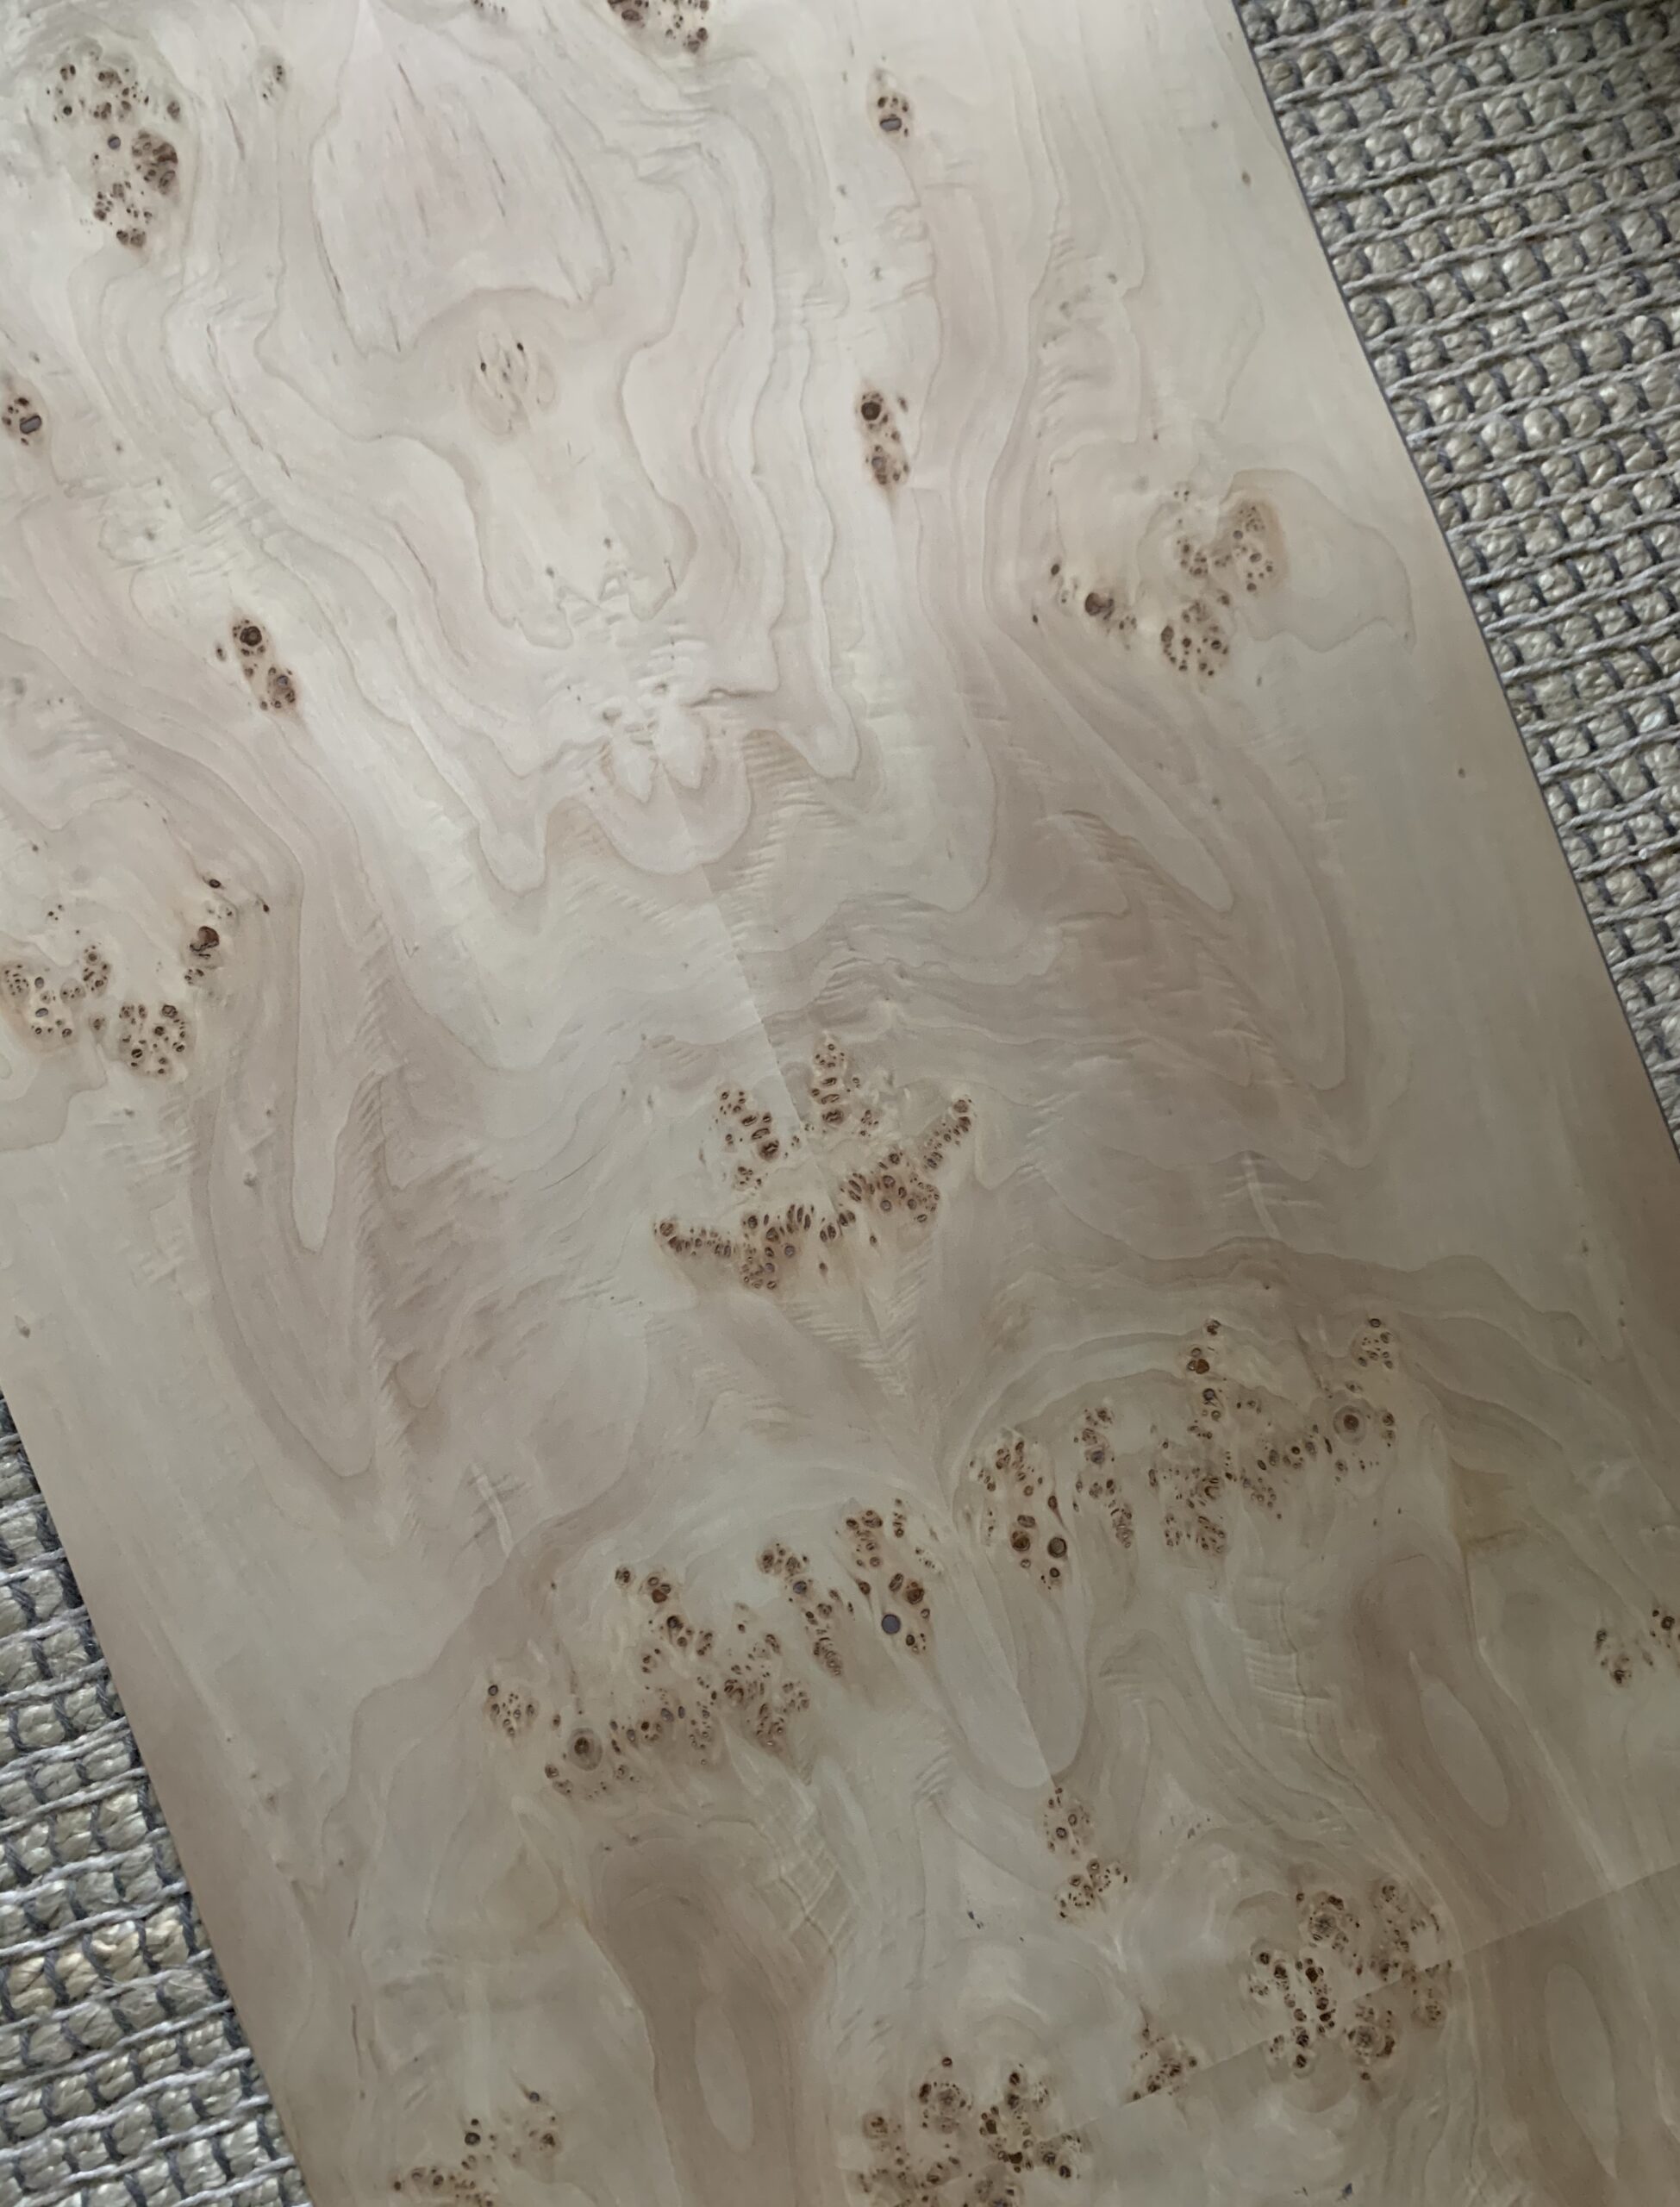
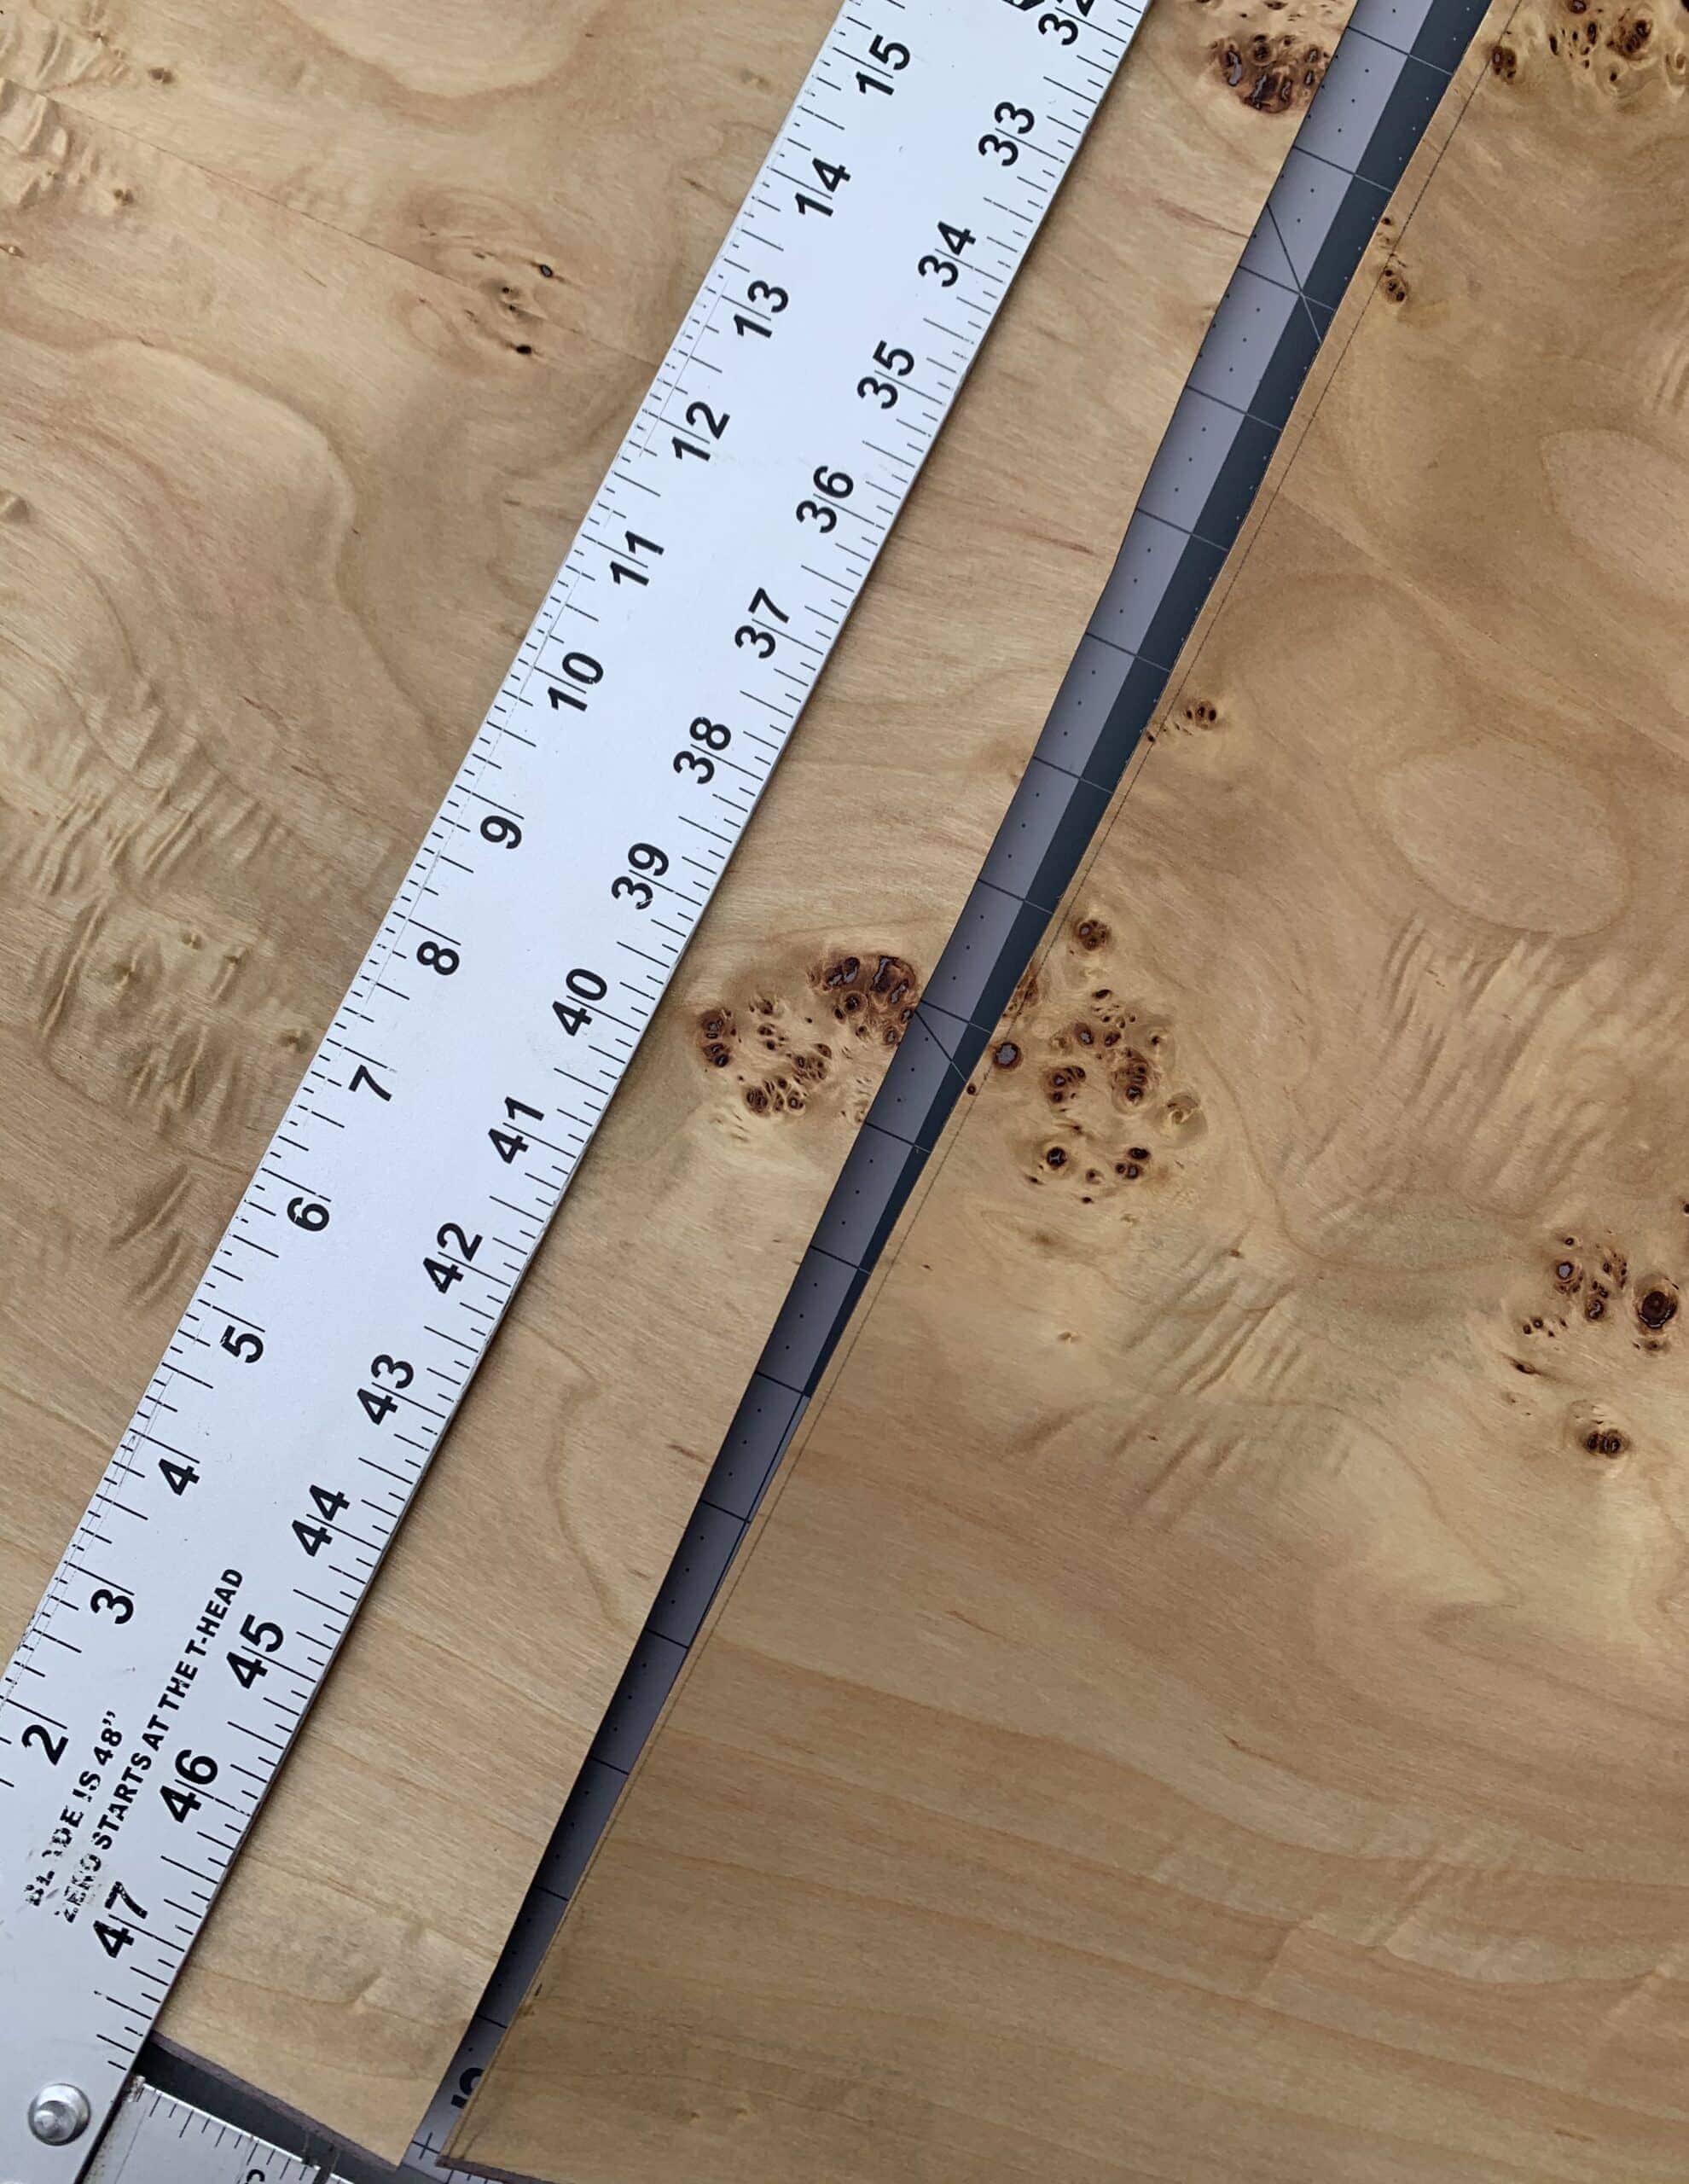
The raw veneer after taking it out of the box & rolling it out
CUTTING & GLUING MDF
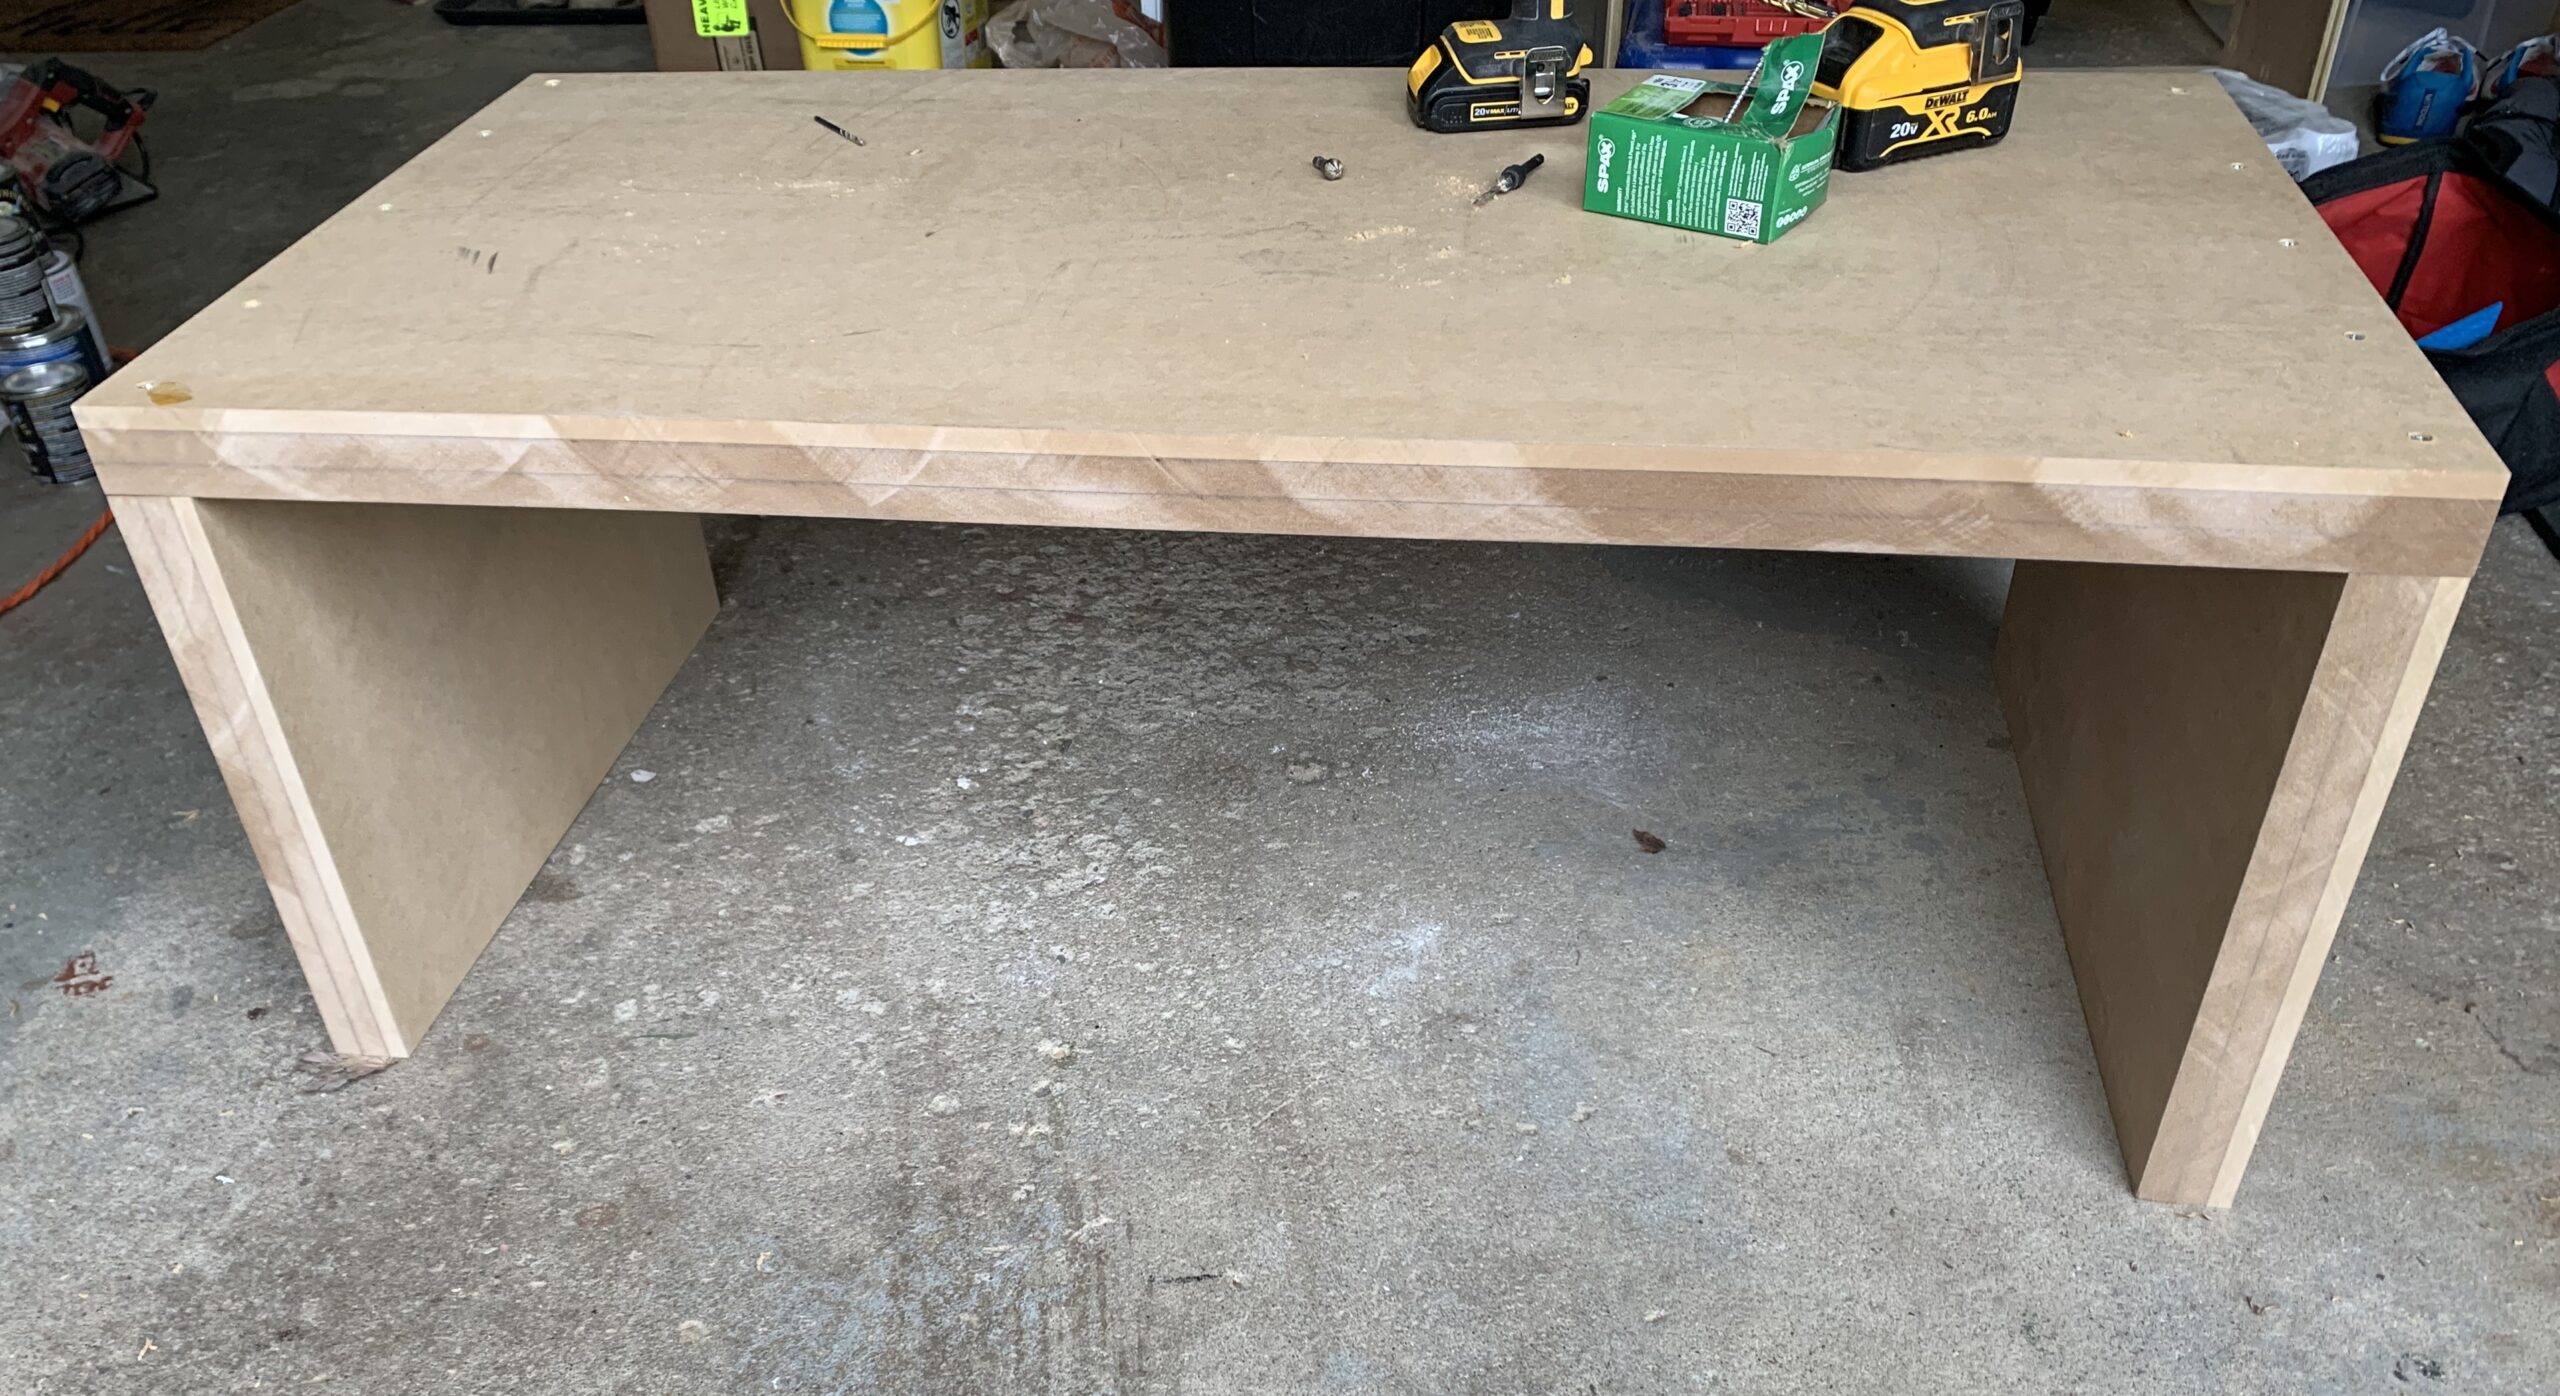
Once we decided on the size and thickness of the table, we purchased the MDF, cut each piece to APPROXIMATE size with the table saw, and glued the following pieces together using a lot of wood glue:
- 2 pieces of 3/4″ 24″x48″ + 1 piece of 1/2″ 24″x48″ (so 3 pieces totaling 2″ thick). This stacked piece would become our tabletop
- 2 pieces of 3/4″ 24″x48″ + 1 piece of 1/2″ 24×48″ (again, 3 pieces totaling 2″ thick). This stacked piece would become our right and left side of the table
*Note – I recommend cutting the pieces slightly larger than the coffee table size you want to allow for potential error when using the table saw. For example, the MAX size I wanted our coffee table is pictured in my sketch above. I would have been content with a coffee table that was a few inches shorter/wider/longer if we happened to mess up any of the cuts.
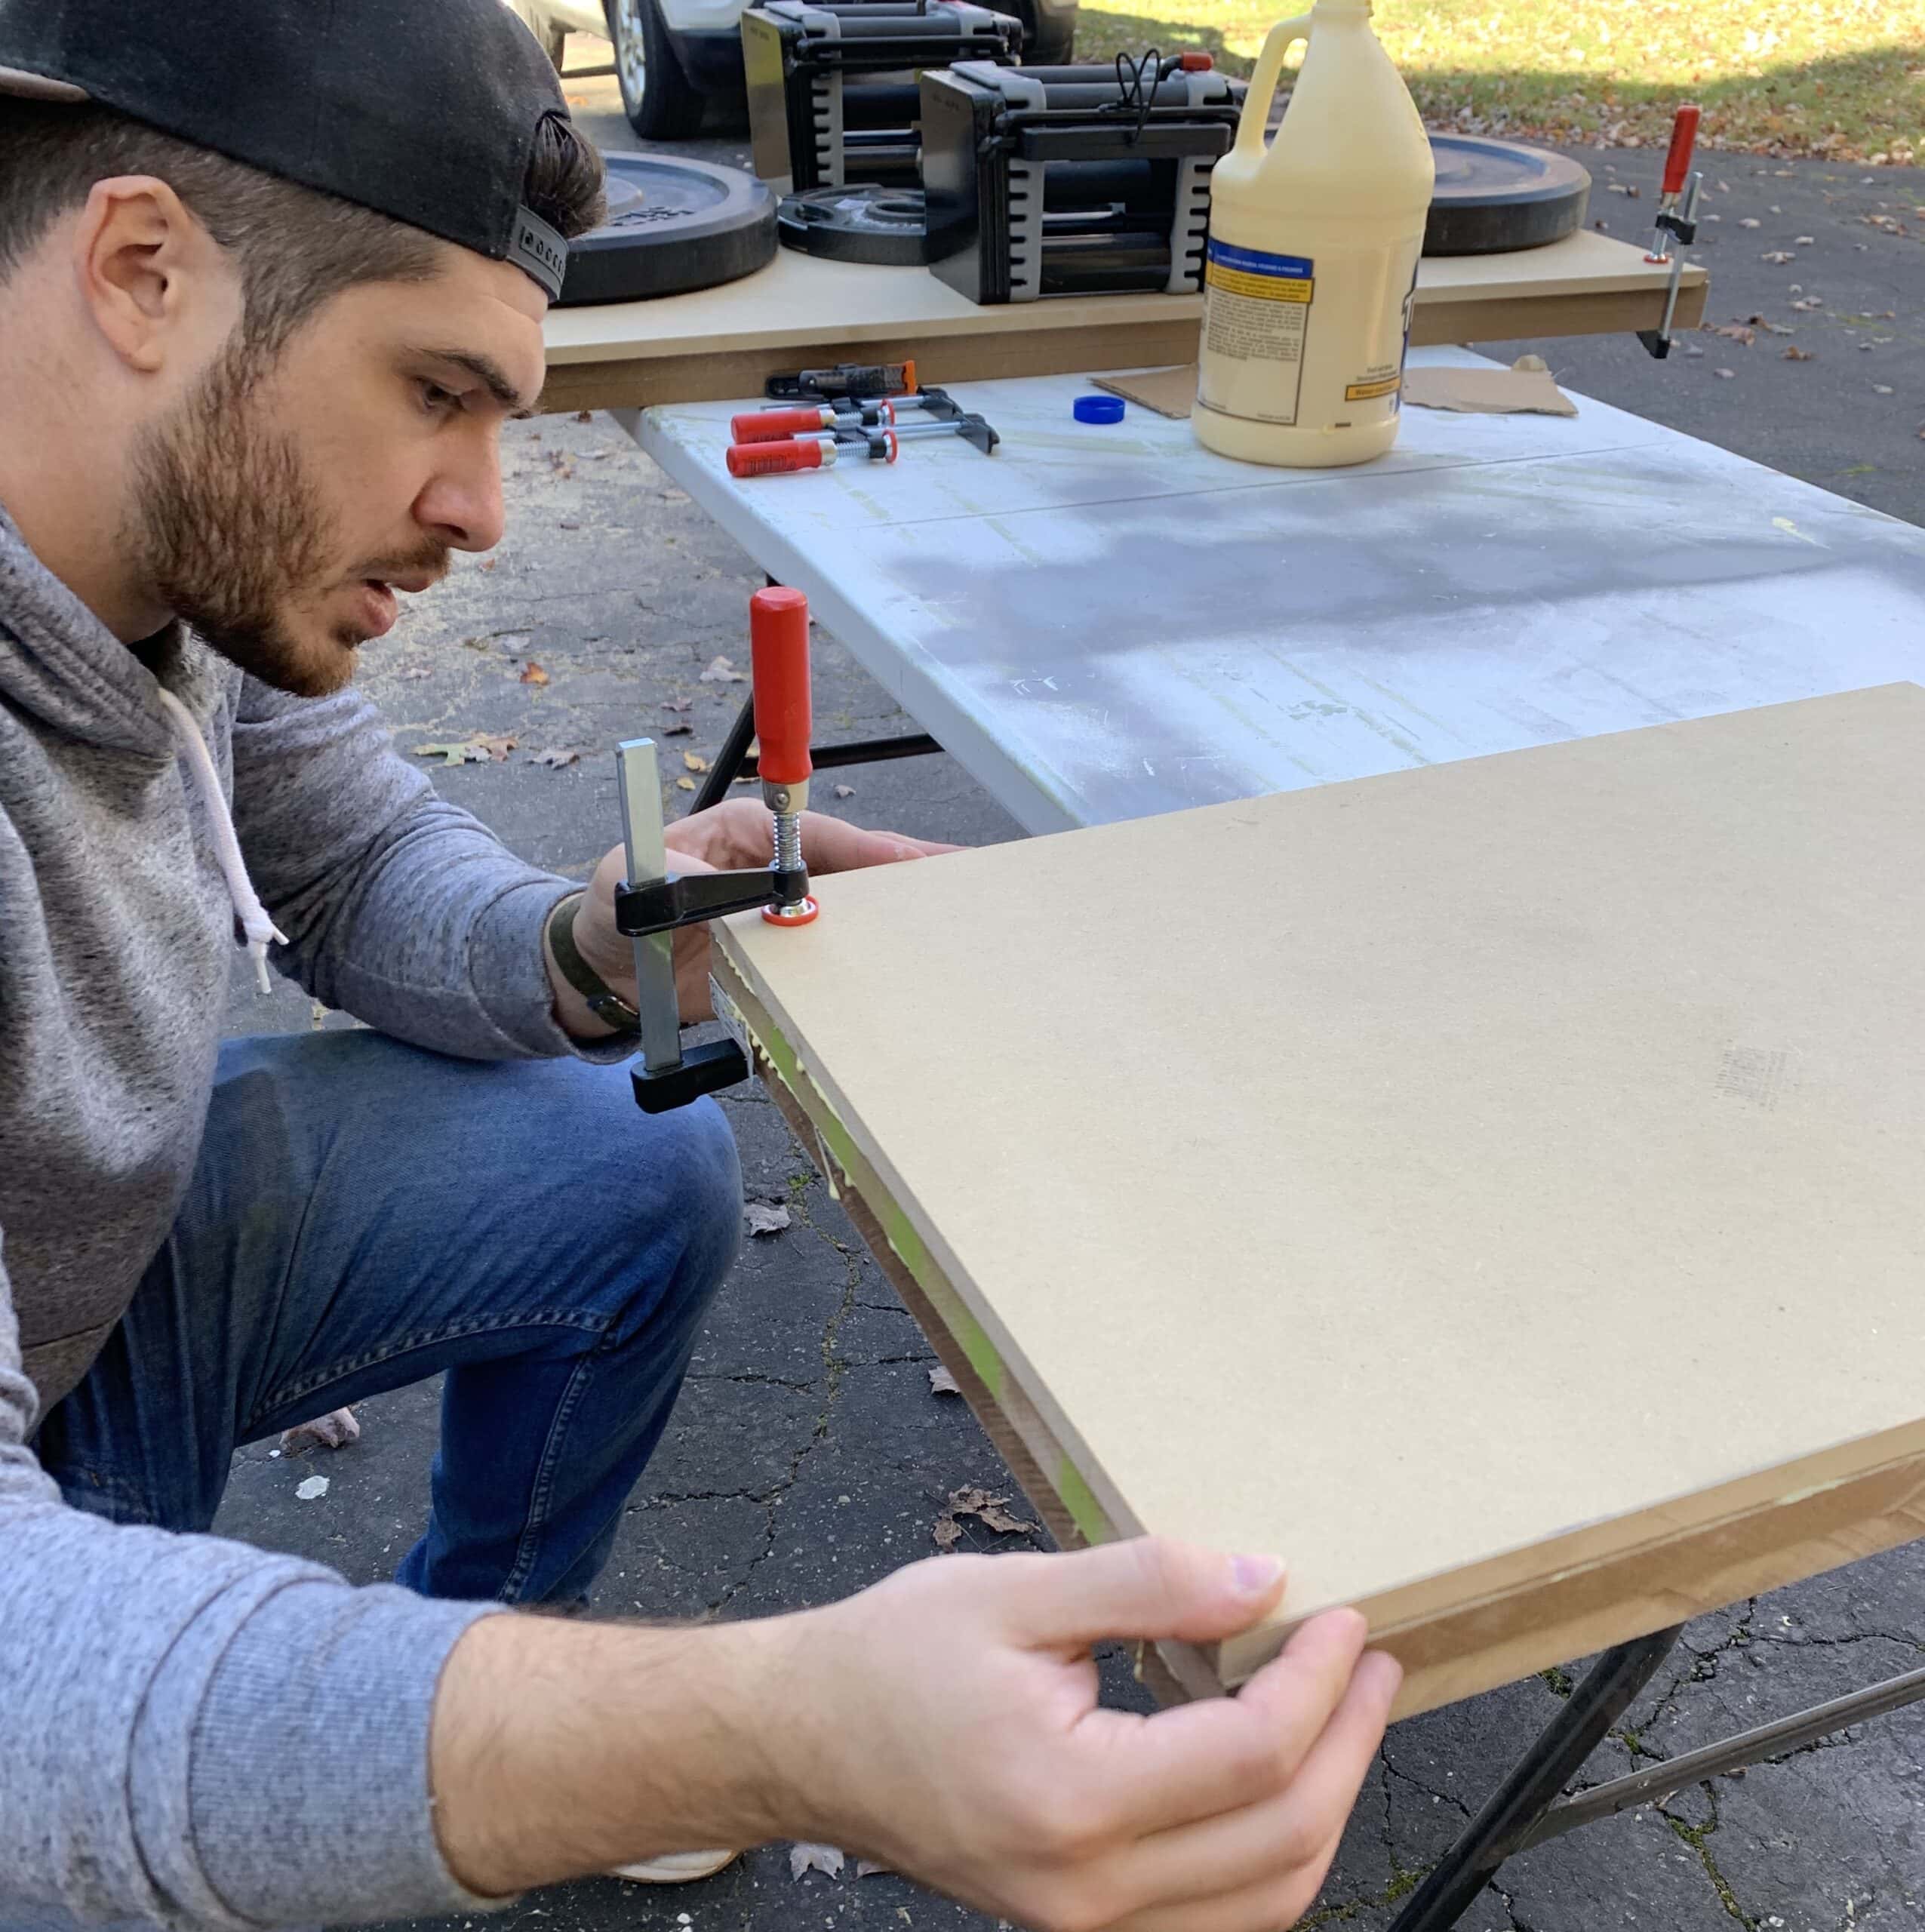
Since we were planning to cut the stacks to actual size after the glue dries, the glued pieces don’t have to be perfectly flush with each other (but as close to flush as possible is ideal). Once we glued the surface of each piece together, we used clamps and weights to hold everything down.
We waited 24 hours before making the official precise cuts for the coffee table with the table saw. This was done very carefully, since every piece needed to be the exact same width, and the R & L sides needed to be the exact same height. If you’re 1/8″ off, the sides of the table won’t be flush with each other.
The final size of the tabletop was 47.5″ long x 23.5″ wide, and the final size of the sides were both exactly 18.25″ high x 23.5″ wide.
We then attached the top to the right + left sides by using wood glue and countersinking the screws.
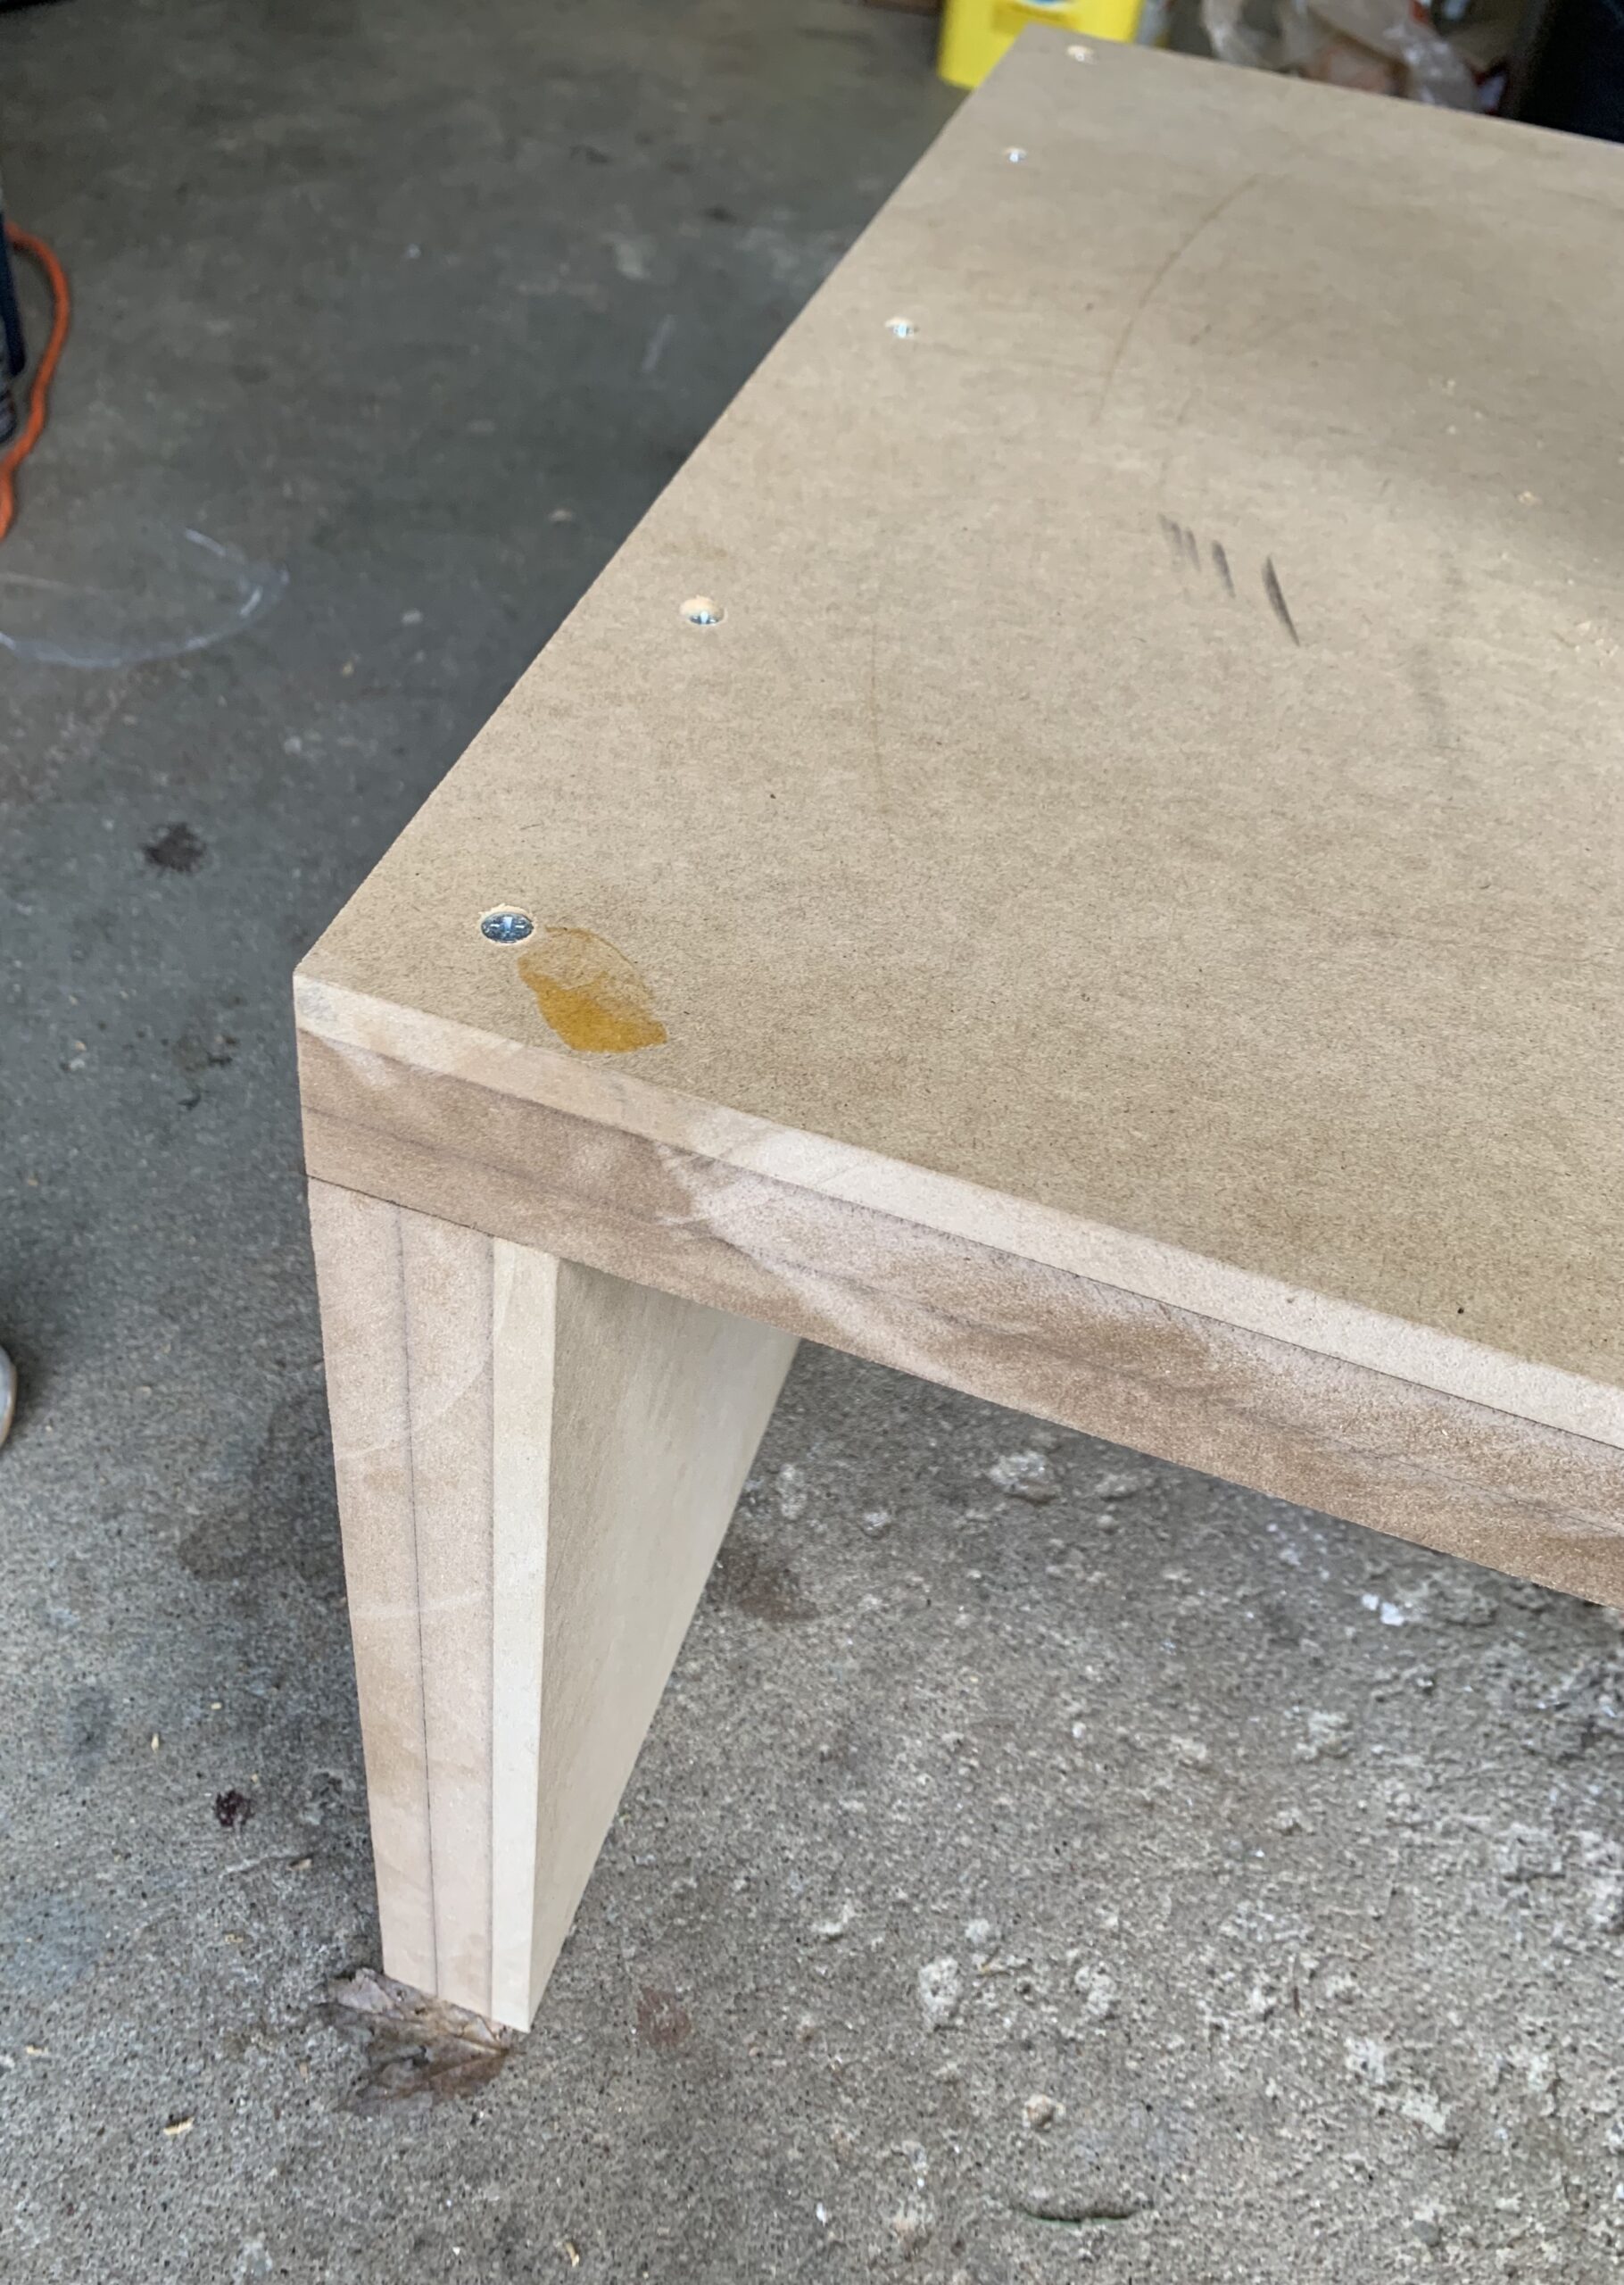
The top and sides were perfectly flush with each other!
OILING THE BURL
*You can do this step whenever. I applied 2 coats before we adhered the veneer to the table
I started applying the danish oil on the burl by rubbing on with a lint-free cloth and then wiping away excess after 5 mins. You have to wait about 8 hours or so before applying another coat. But the more coats, the better. Just make sure you wipe off excess
I lightly went over the veneer with 0000 steel wool between coats.

The danish oil really made the burl pop and added so much depth and color to a seemingly dull and neutral veneer.
ADHERING THE VENEER & TRIMMING THE EXCESS
We started with the undersides first, because they were the least visible. To cut the veneer, we used a box cutter and a cutting mat.
We didn’t pay too much attention to cutting a straight line because the veneer was going to be trimmed with the router anyway.
We generously rolled the contact cement to both surfaces (table and back of the veneer) and waited 15-20 mins until it wasn’t tacky, then placed the veneer on the MDF. This video was helpful.
**Note: ONCE THE VENEER MAKES CONTACT WITH THE MDF, YOU CANNOT ADJUST IT. IT IS CRUCIAL THAT THE INITIAL CONTACT OF VENEER TO MDF IS EXACTLY WHERE YOU WANT IT!
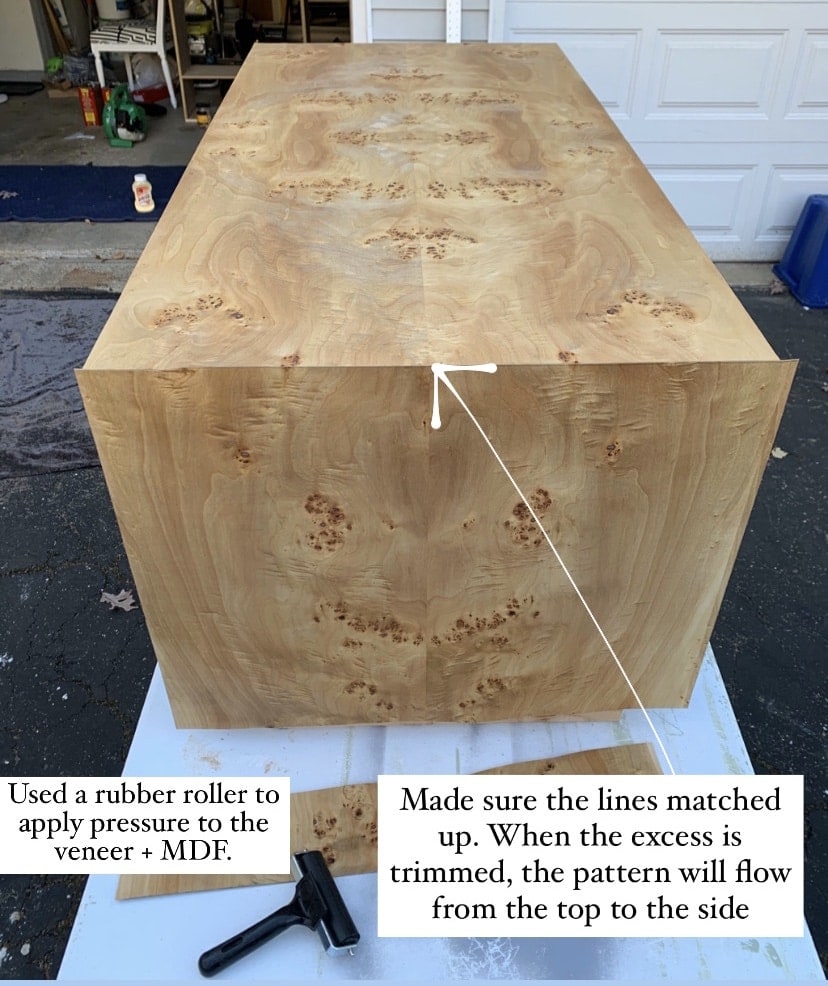
I used a rubber roller to apply pressure to the veneer to ensure it sticks and sticks forever and ever 🙂 you can use your hands and smooth it over too. But the more pressure, the better.
Angelo then used his router and flush trim bit to trim the excess so that the veneer was flush with the MDF. And. it worked like a charm!

I lightly went over the edges with 0000 steel wool to remove some excess veneer paper backing.
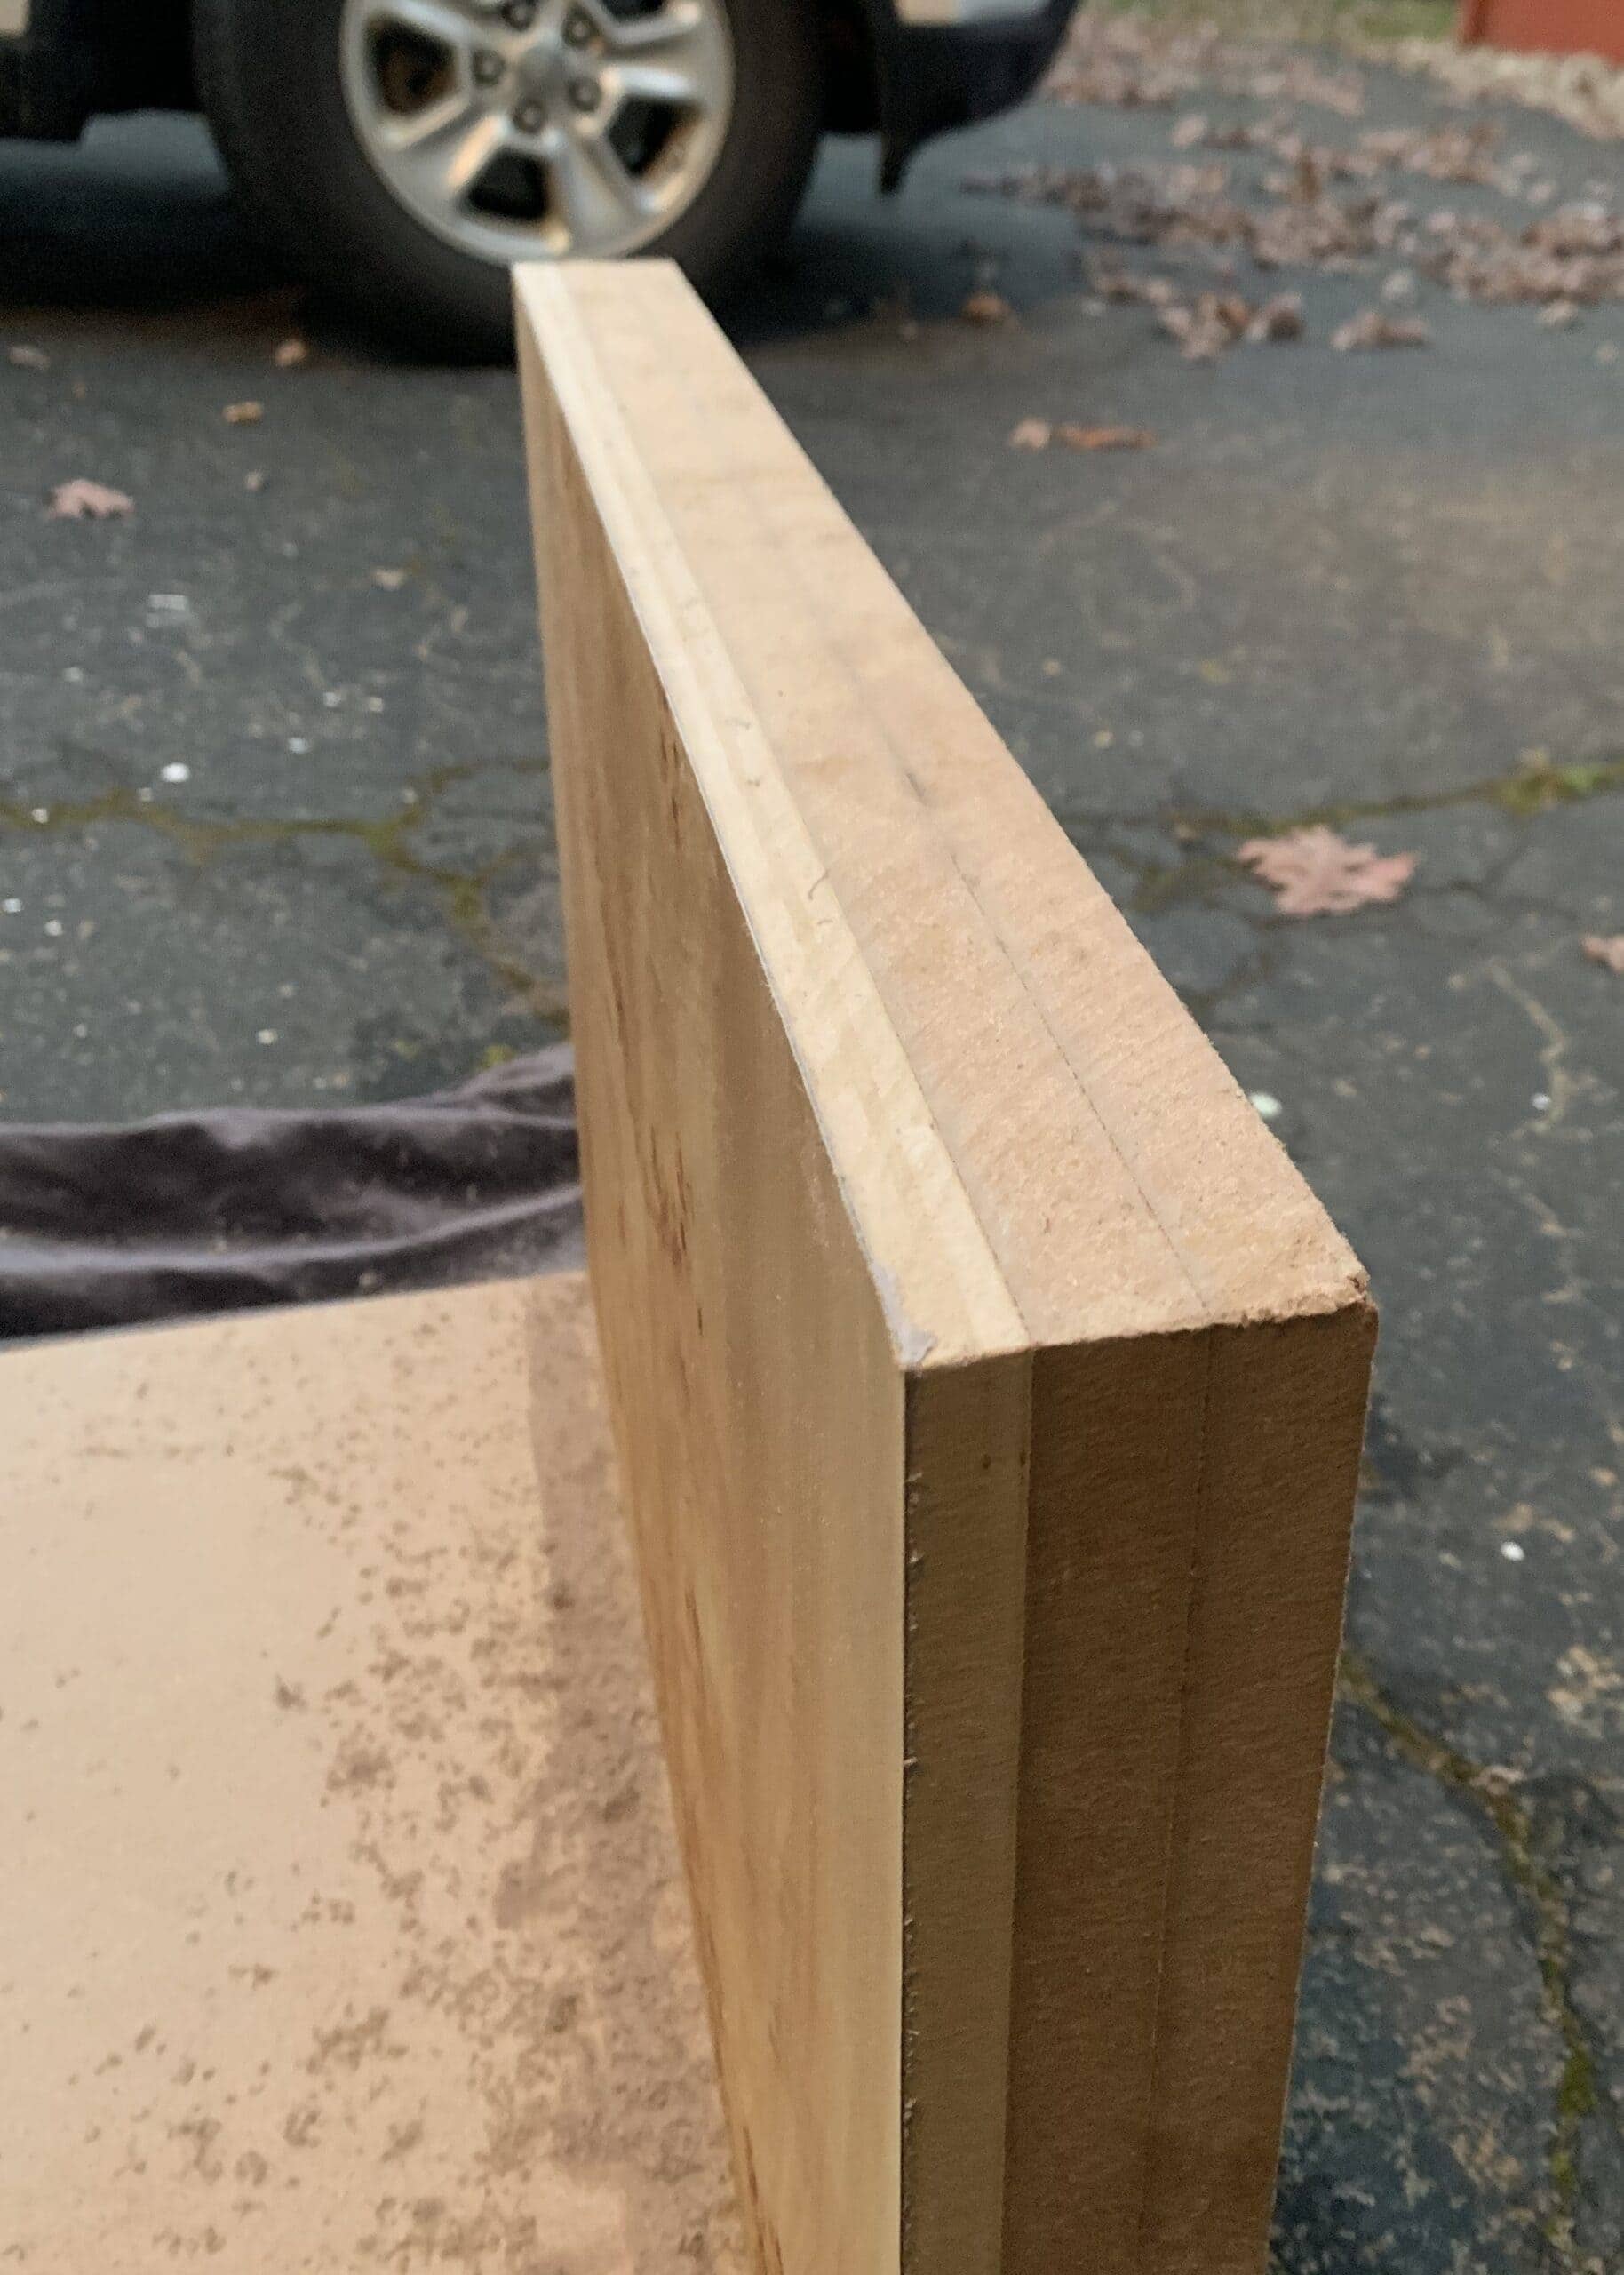
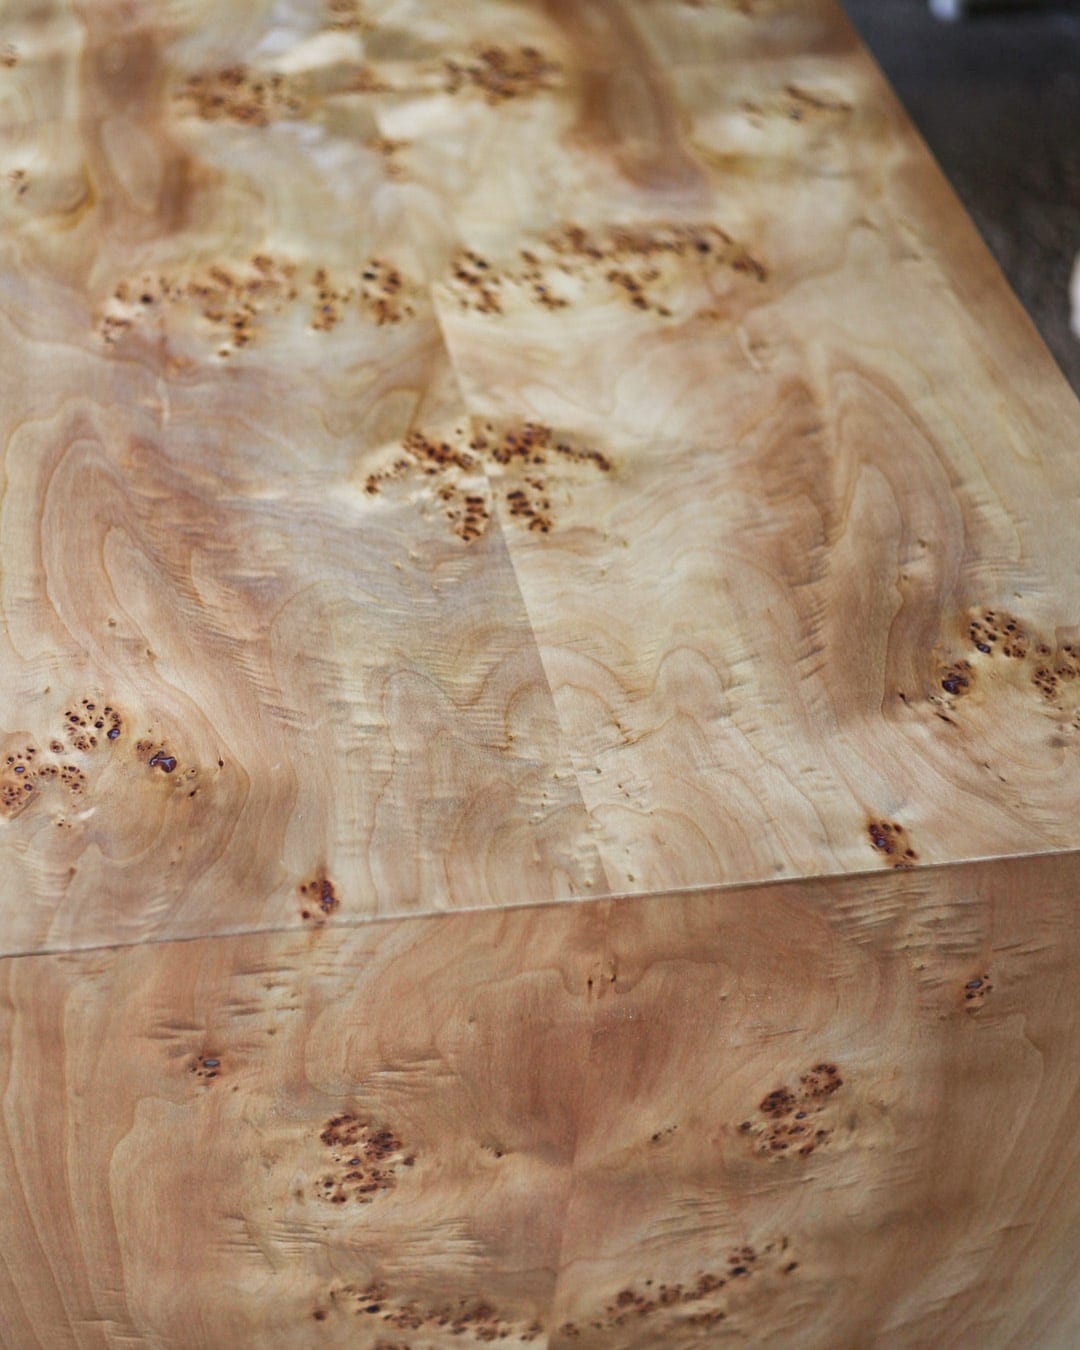
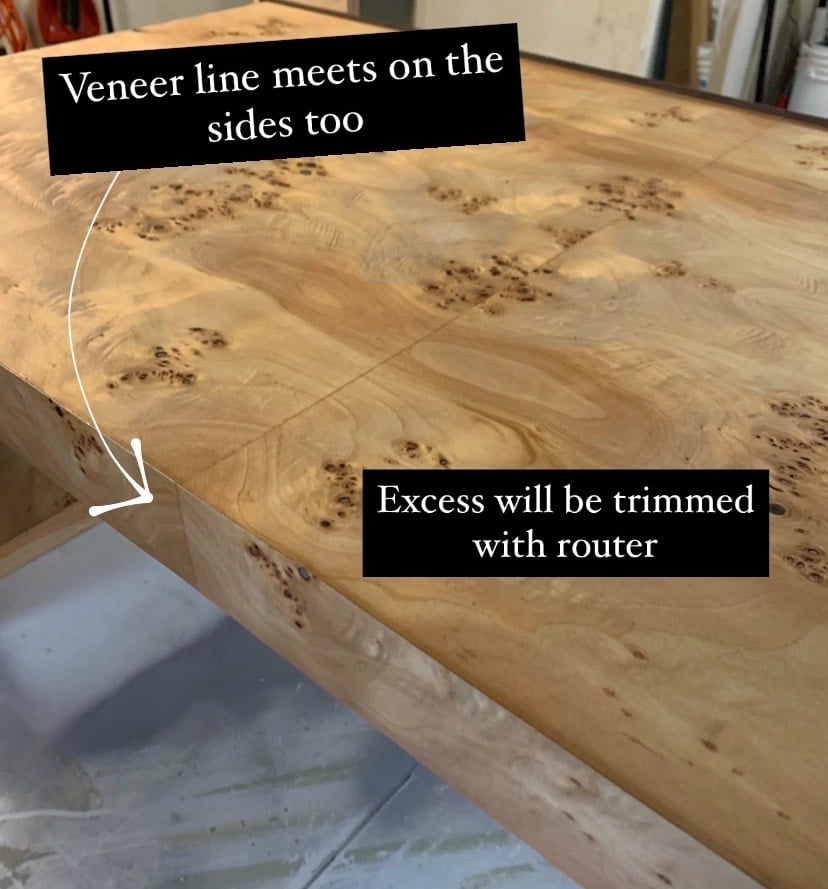
We flipped the table over and repeated the same thing for the tops and sides of the table. Since the top & side pieces are the most visible, we were extra careful to make sure the line in the veneer and the pattern lined up.
 Angelo was able to easily trim the excess veneer off the sides, but he had to take precaution with trimming the top R + L sides because the router bit could damage the top veneer.
After trimming the tops and sides:
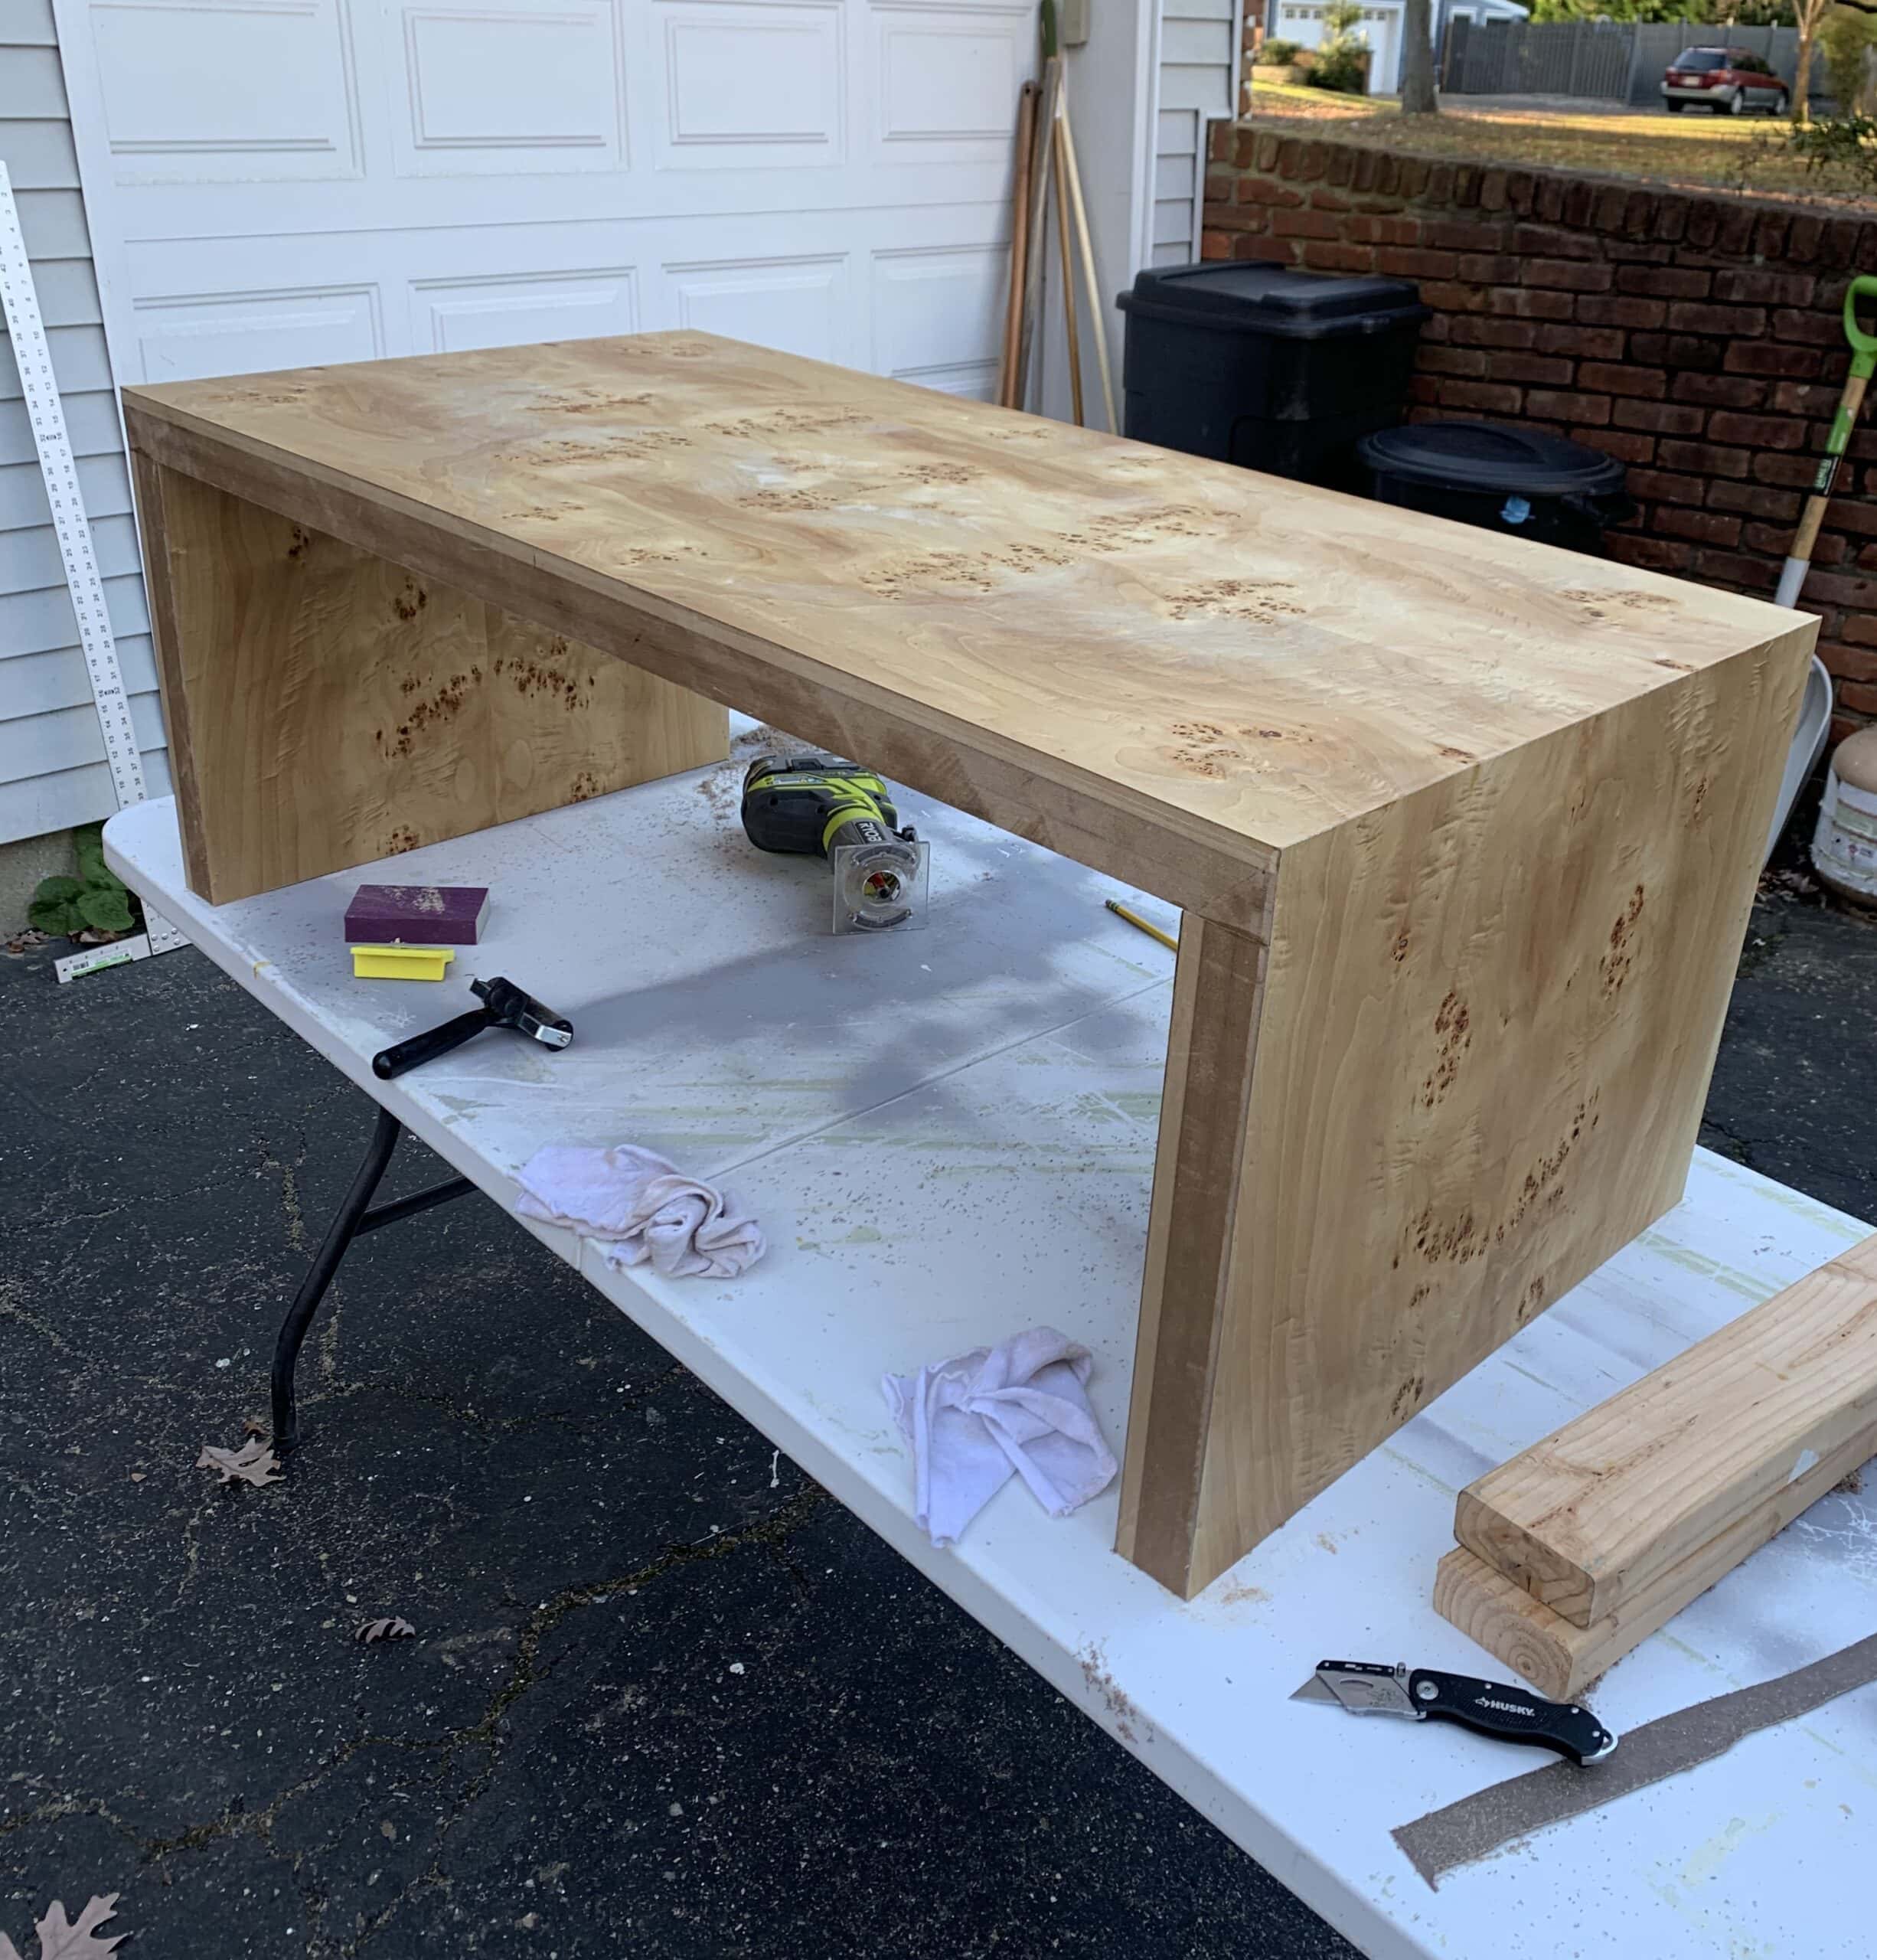
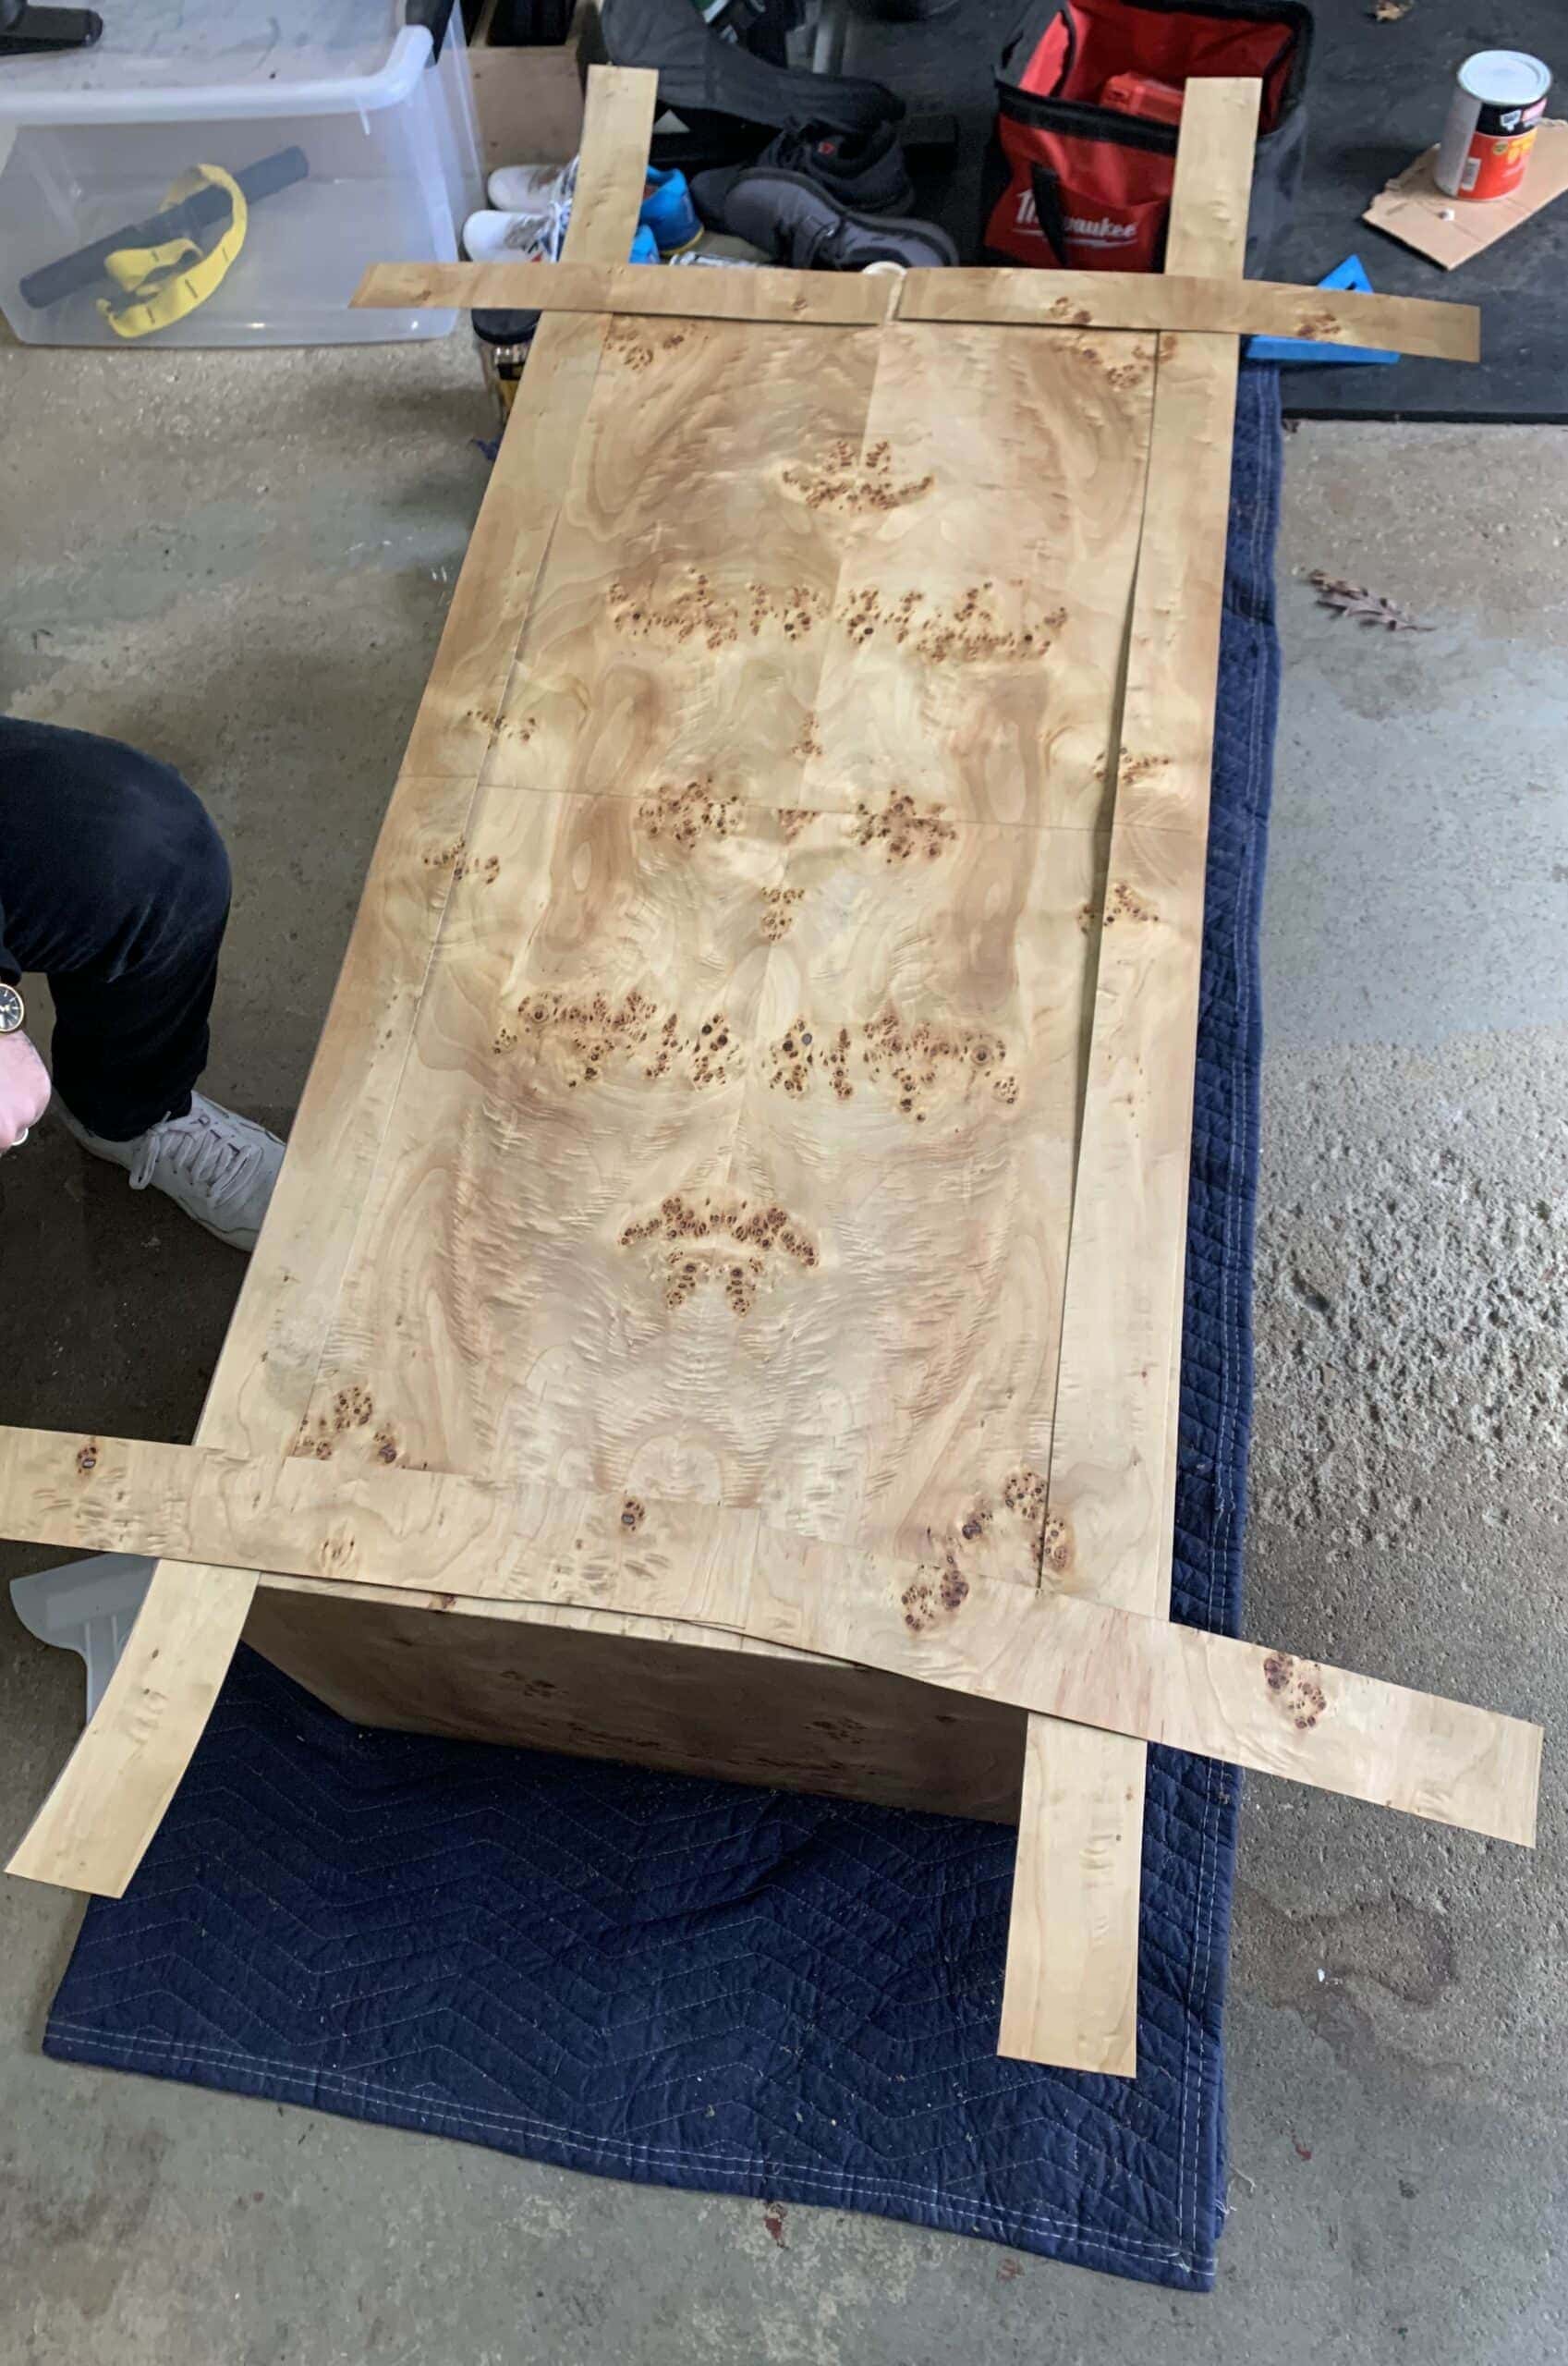
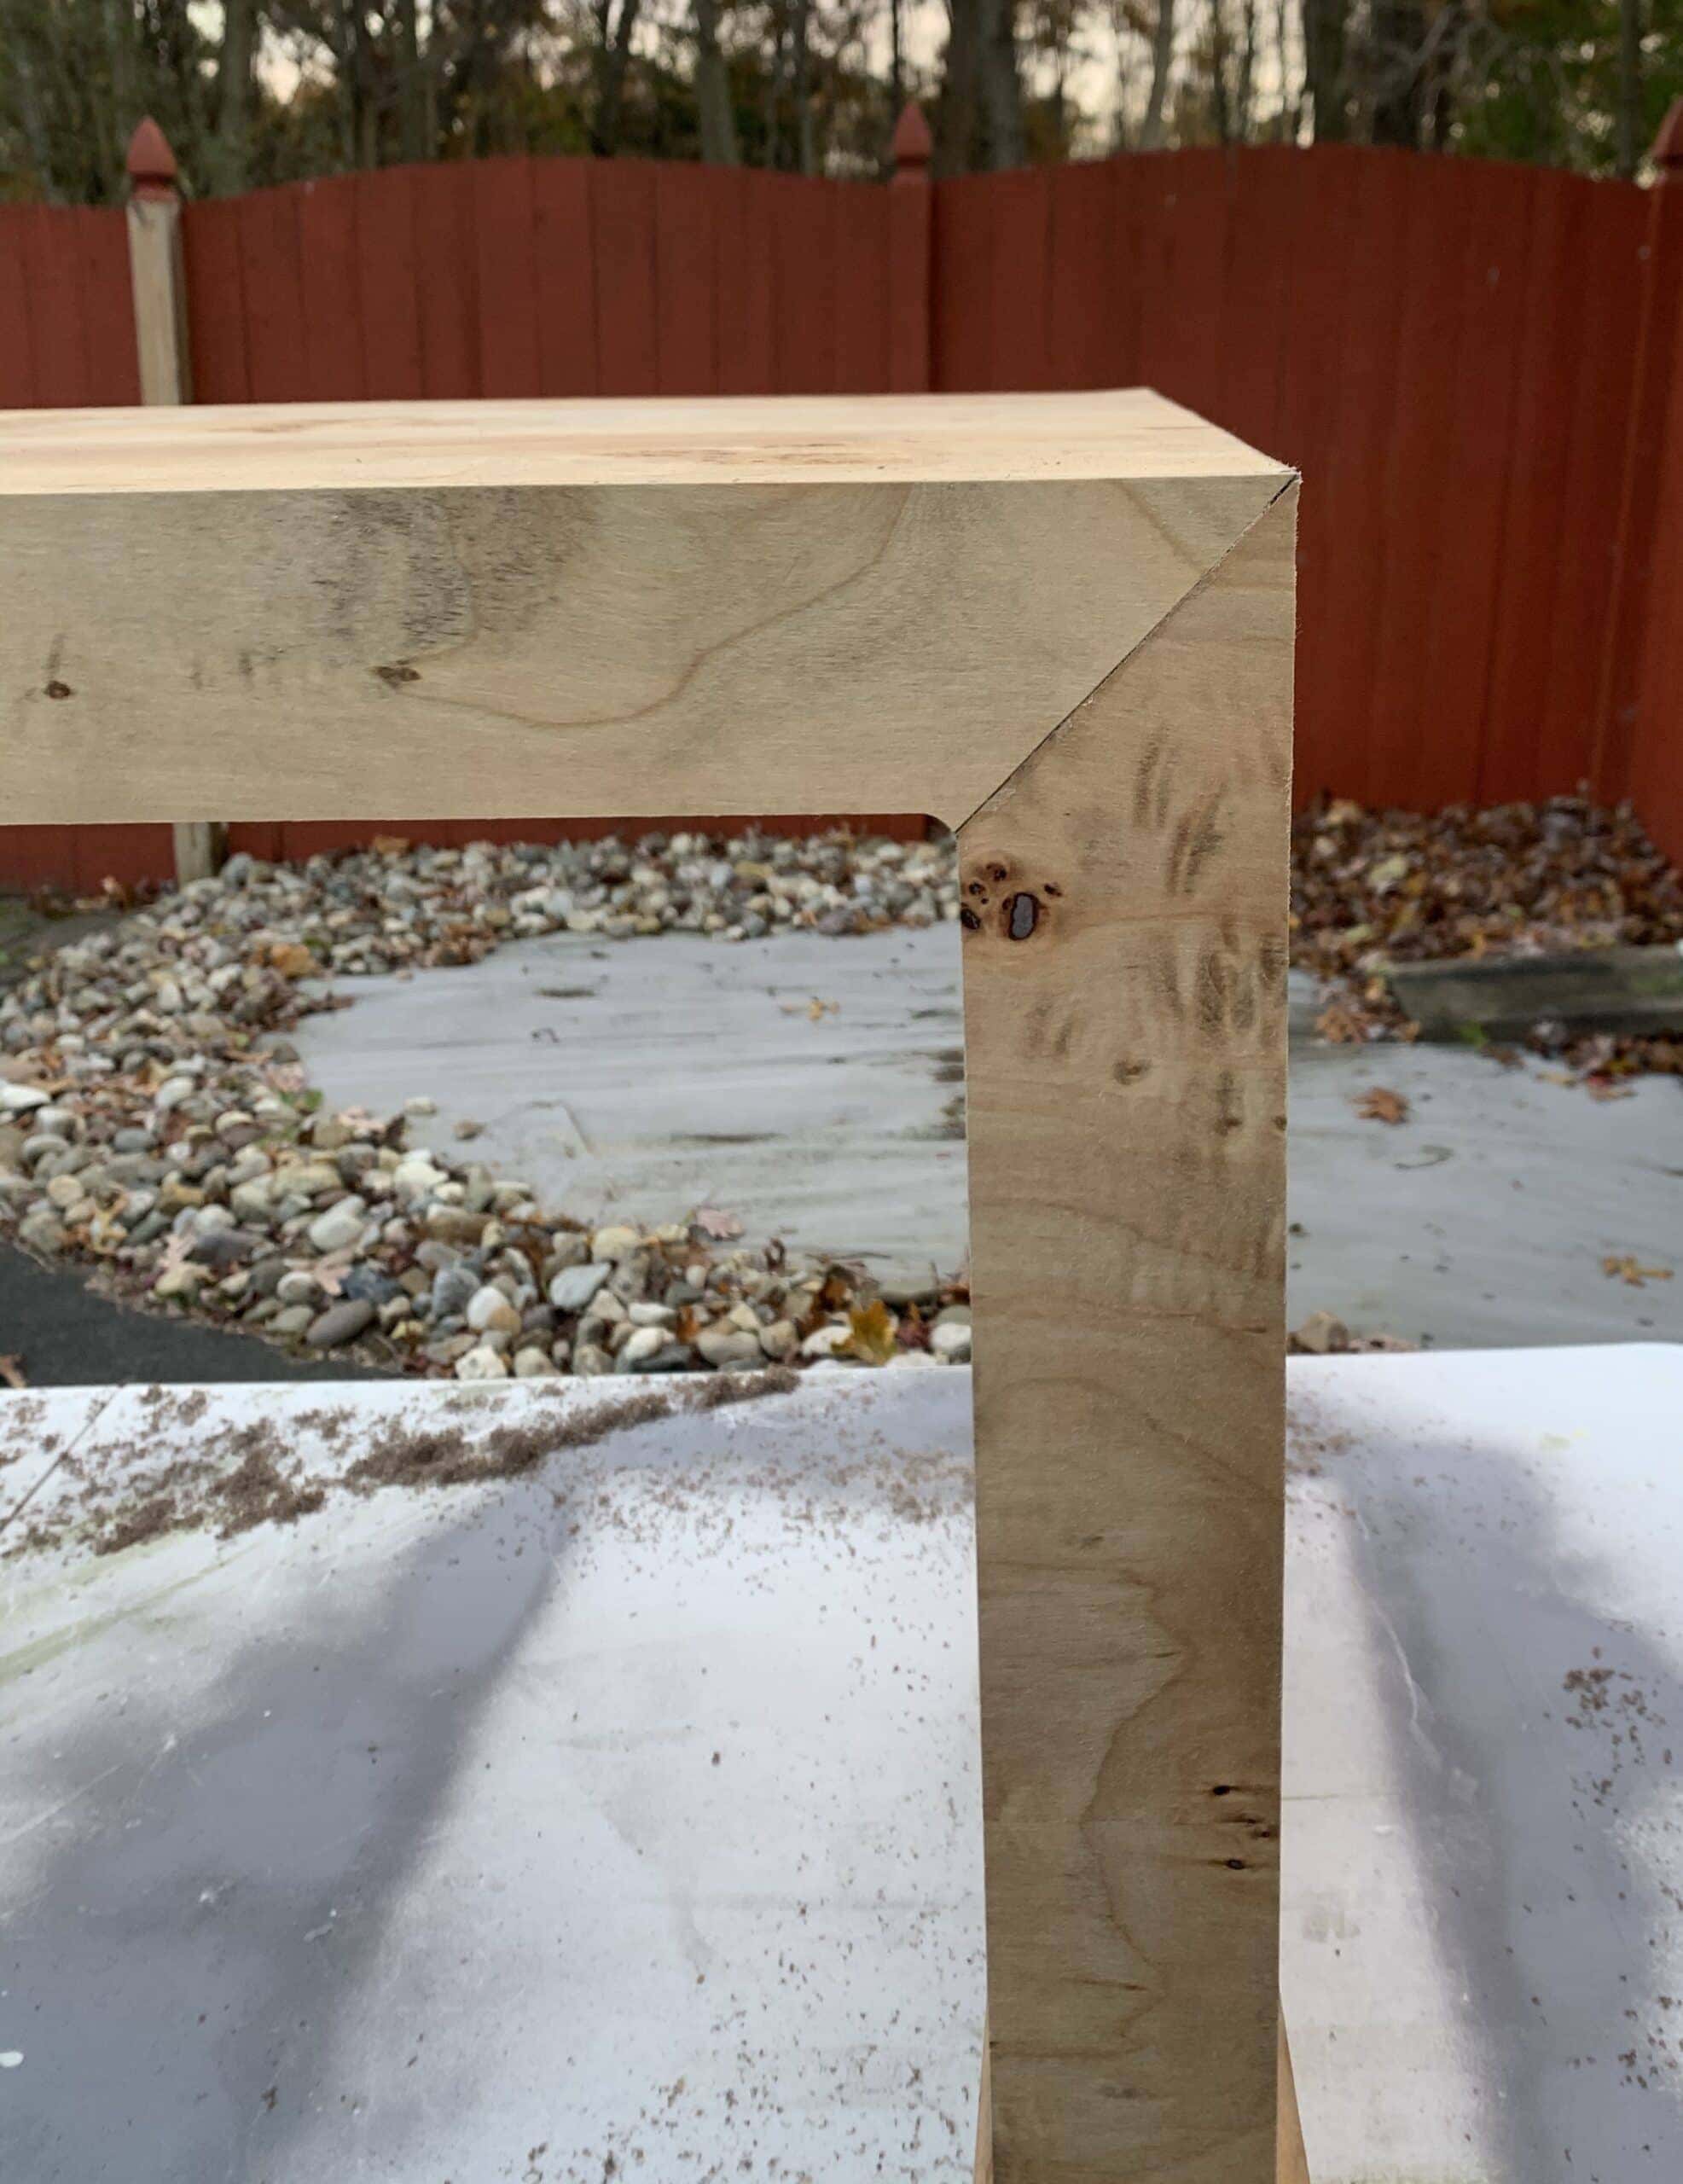
Applying the veneer to the edges was tricky. We had a 63″ x 24″ sheet of veneer left at this point, so we had plenty to cover the edges, but I was more concerned about cutting the pieces on a 45-degree angle so the corners would meet perfectly.
We trimmed the edges to approximate size, then cut the 45-degree angles using a protractor, a box cutter and a lot of force.
Trimmed edges….
FINISHING THE VENEER
Once all the veneer was adhered and trimmed, I finished the burl by applying:
- 1 more coat of Danish oil
- 3 coats of Wax to protect the top. I debated using poly or lacquer, but I was worried it would change the color of the burl and once that stuff is on, it’s on.
- 2 coats of the Feed n’ Wax – this really made the burl shine. I plan to apply this every few weeks/months to refresh shine
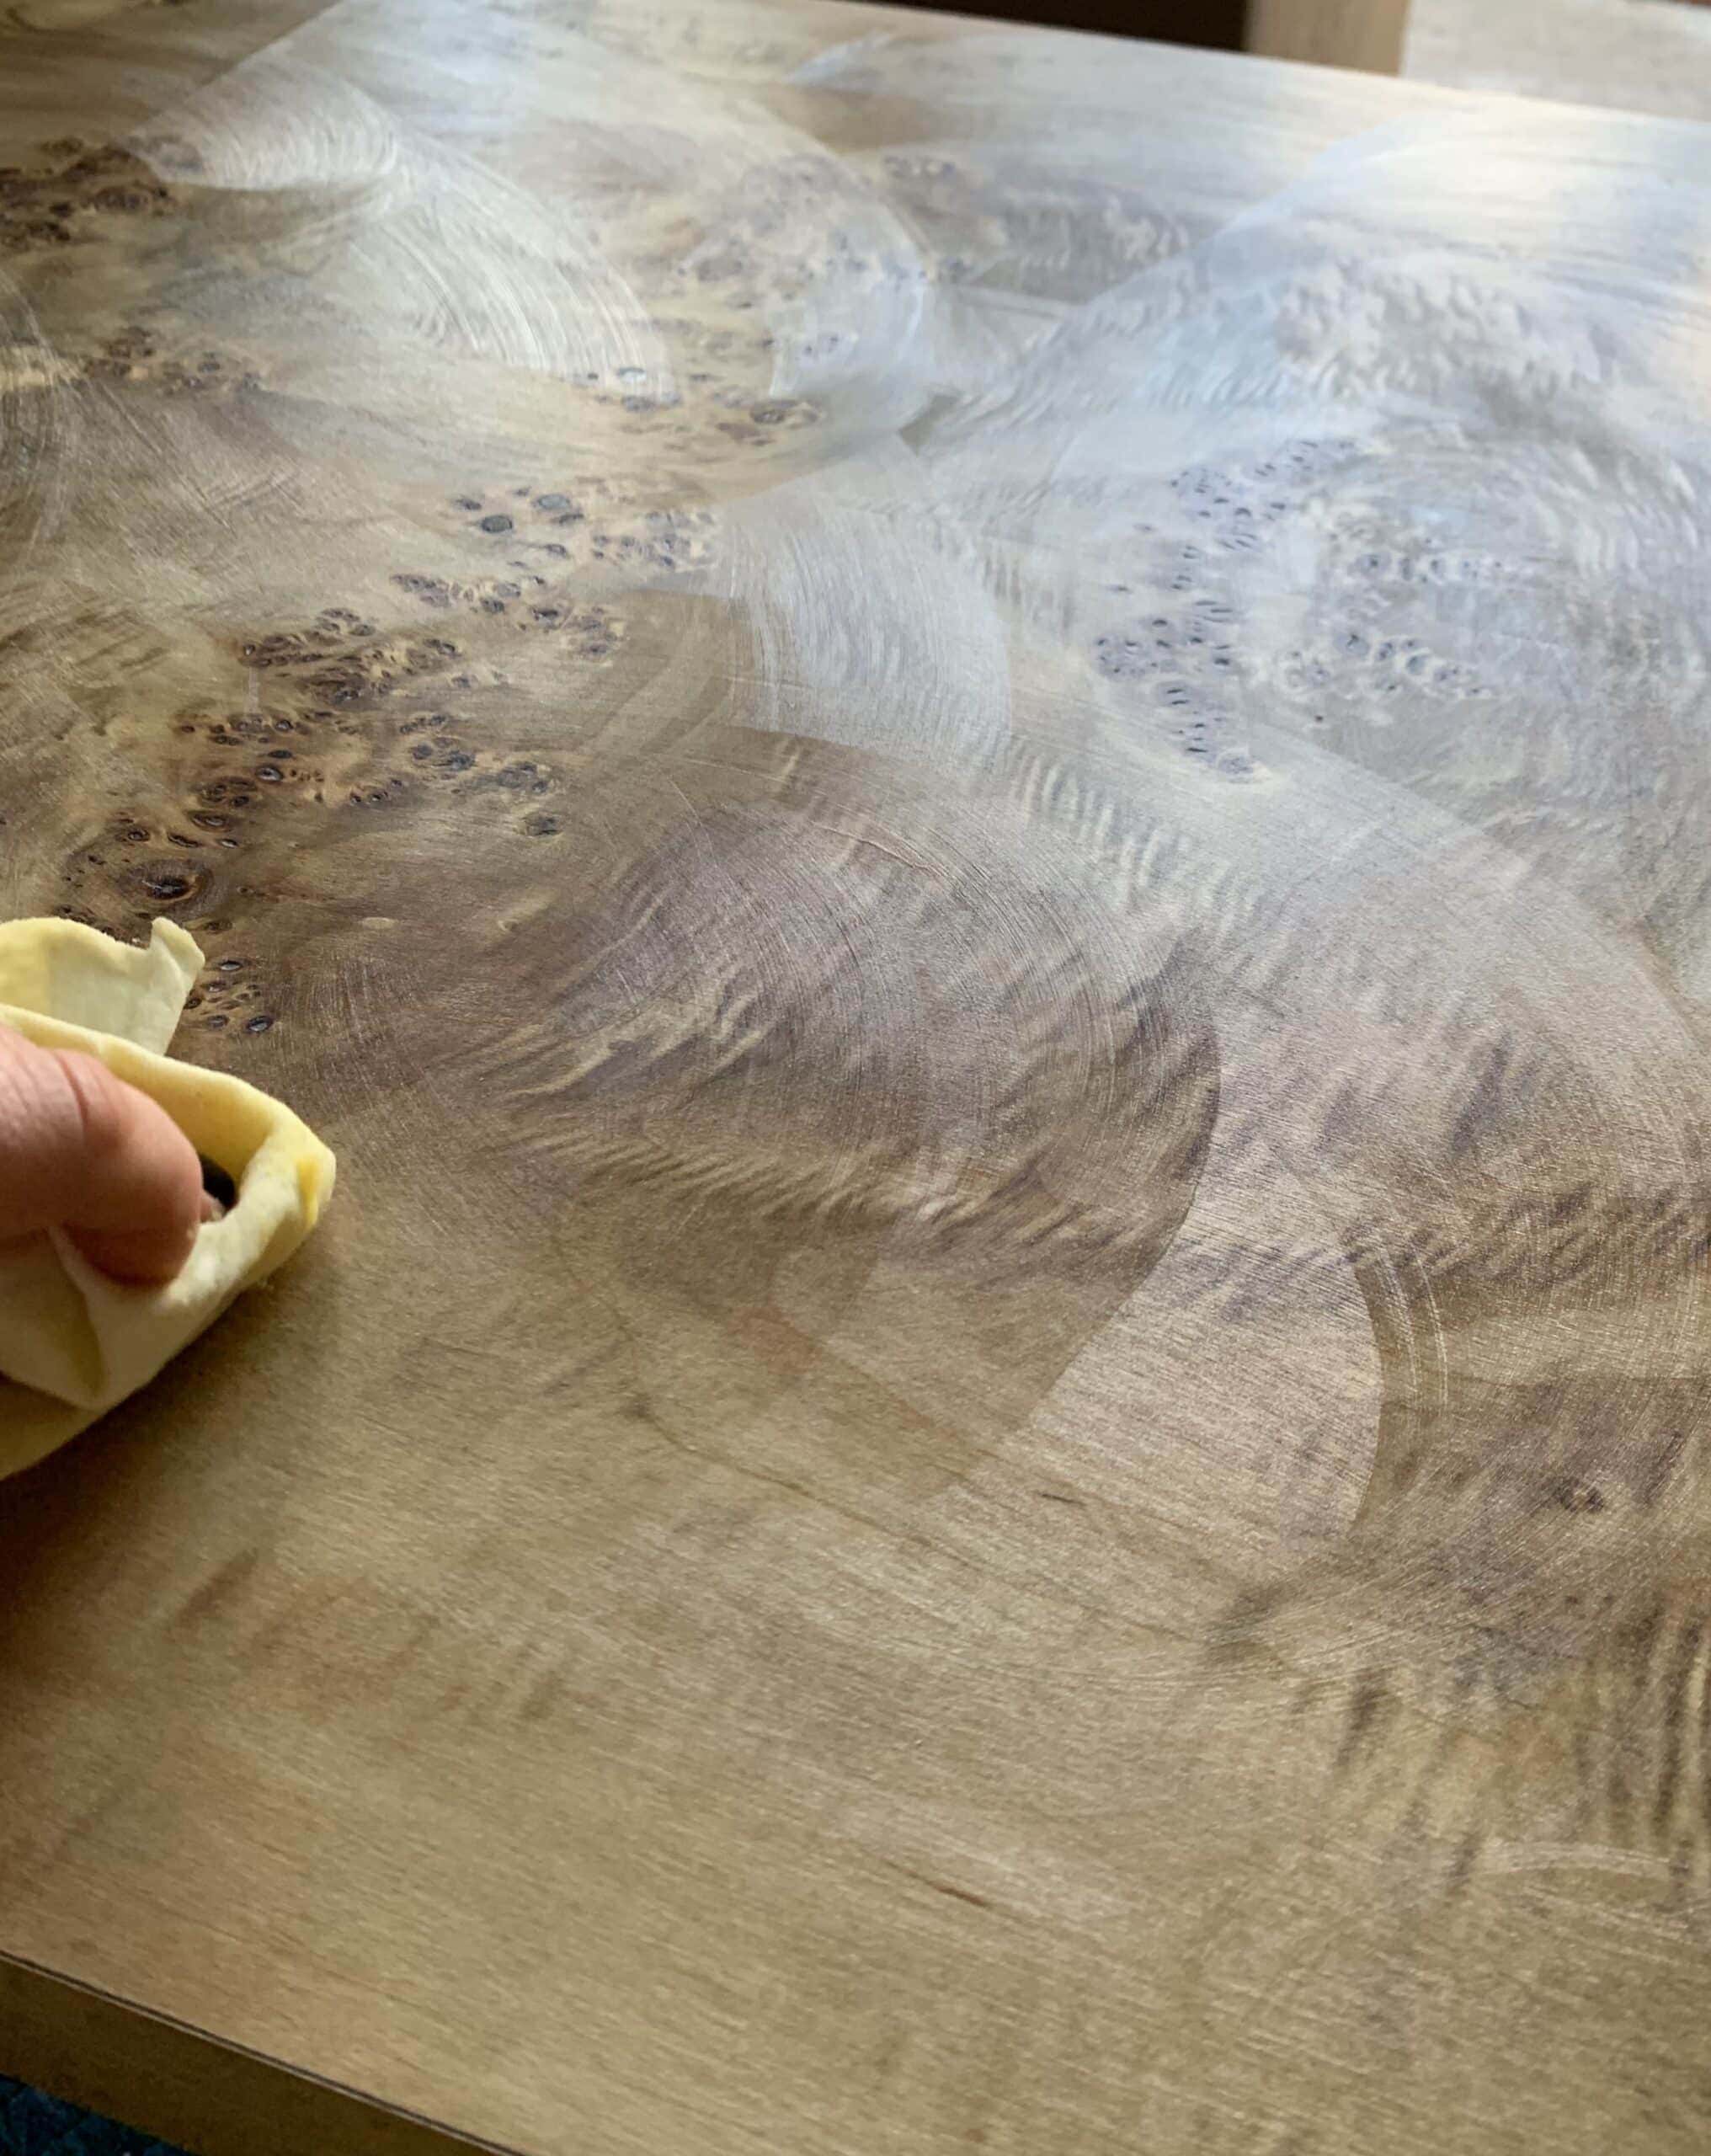
Applying the Wax
And voila. Ready for styling!!! WHAT A TIME TO BE A BURL COFFEE TABLE
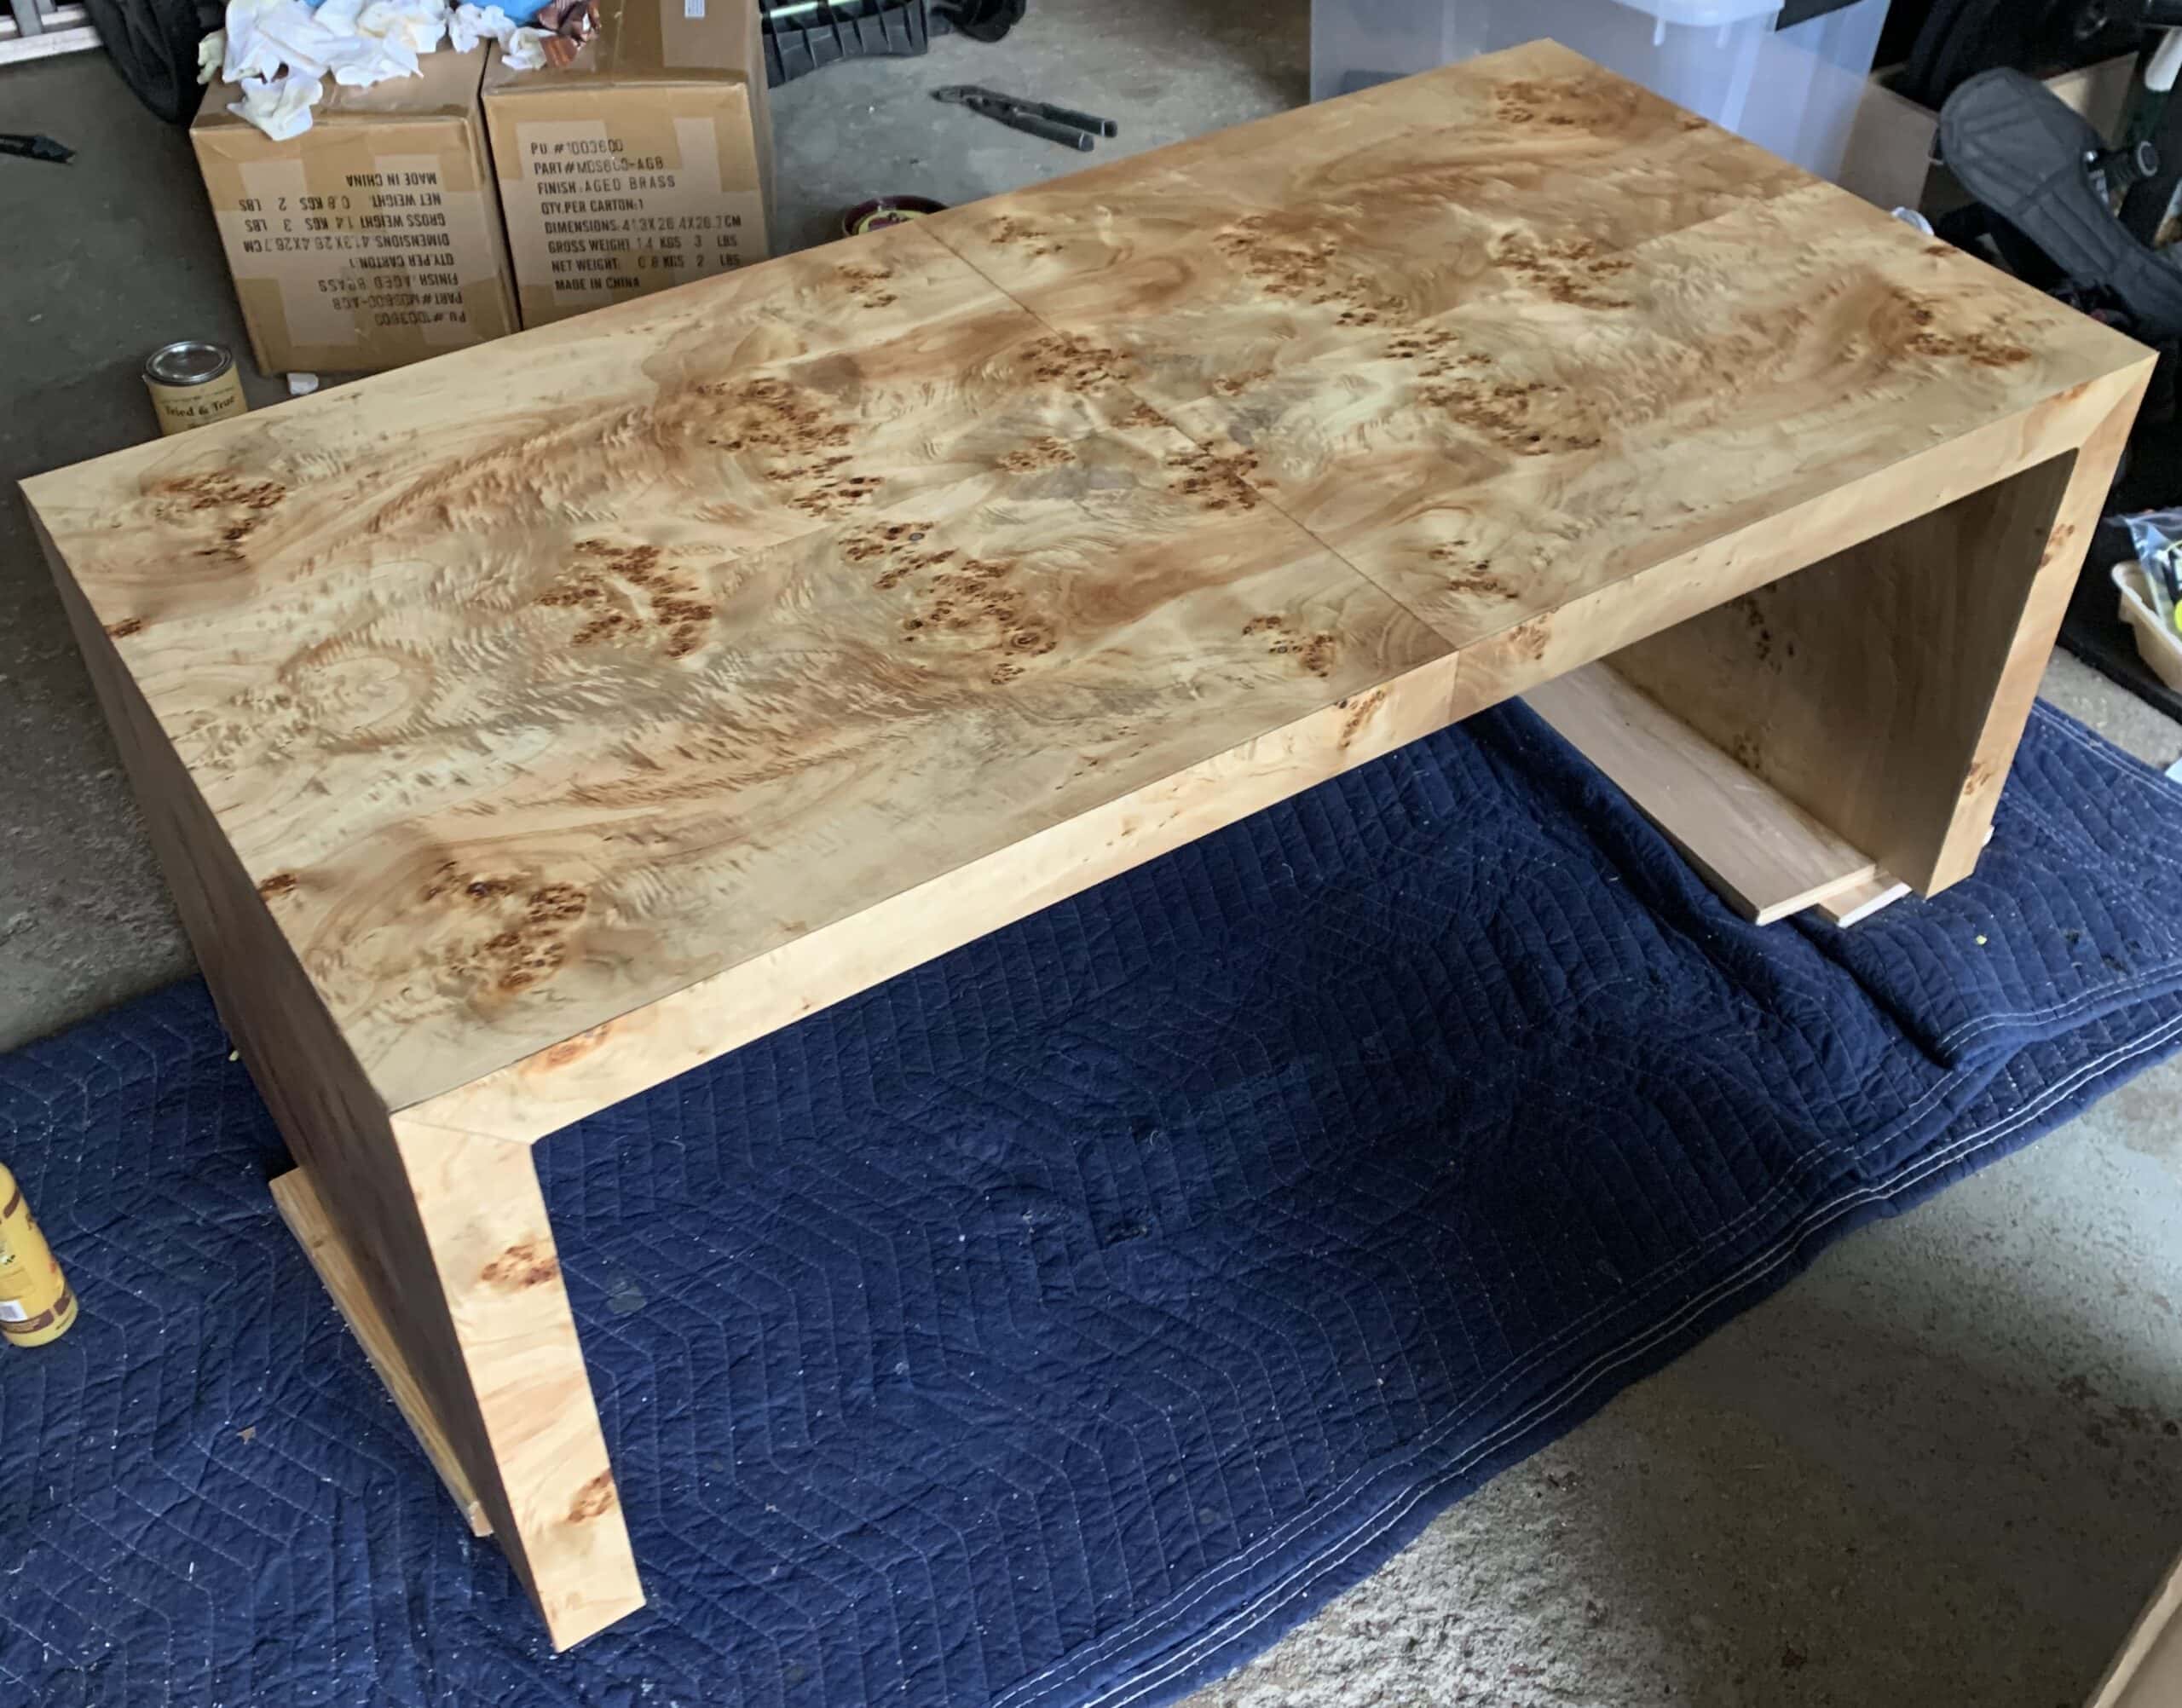
But seriously, how effin beautiful?!
THE FINAL PRODUCT
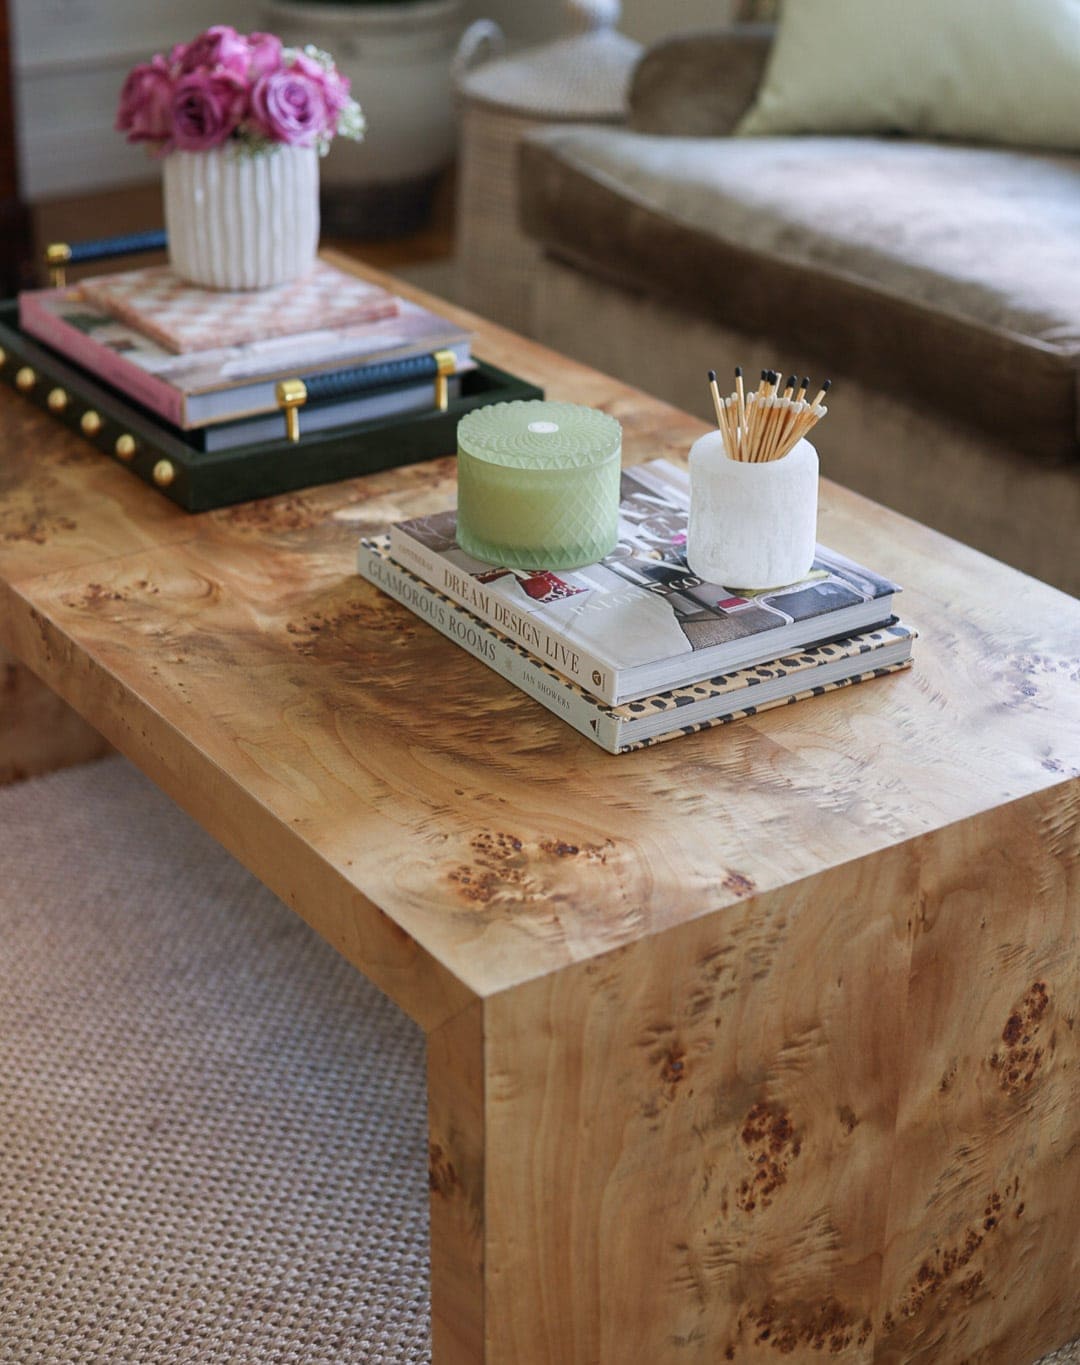
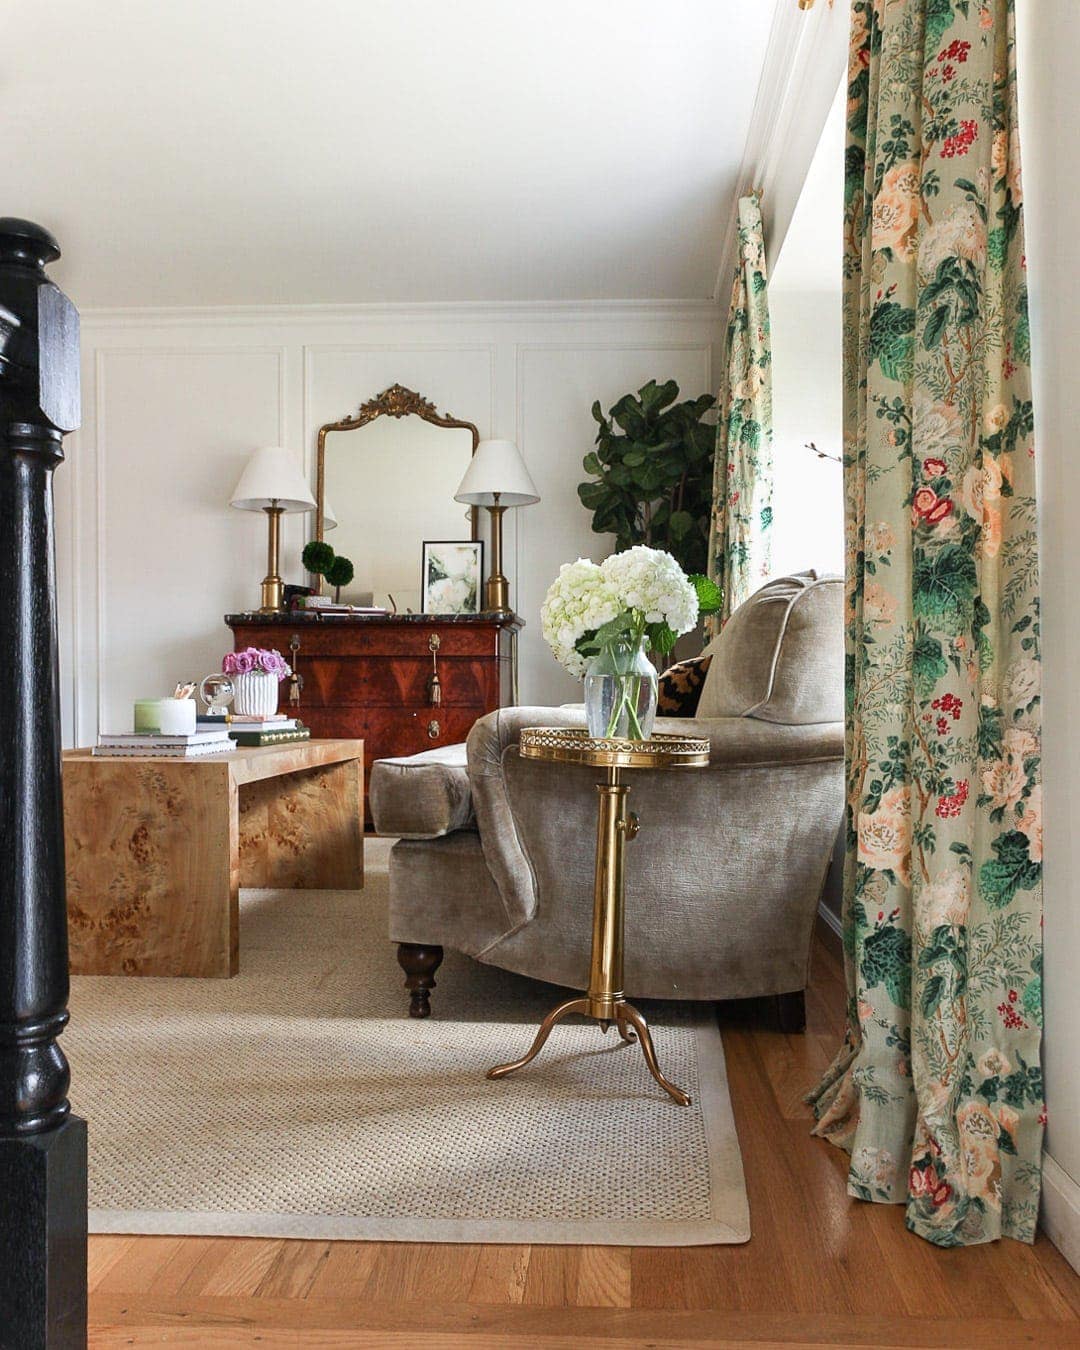
Our living room is nowhere near finished, BTW, but this room is coming together in a way that makes me so damn happy! Just wait for the built-ins. EEEEK
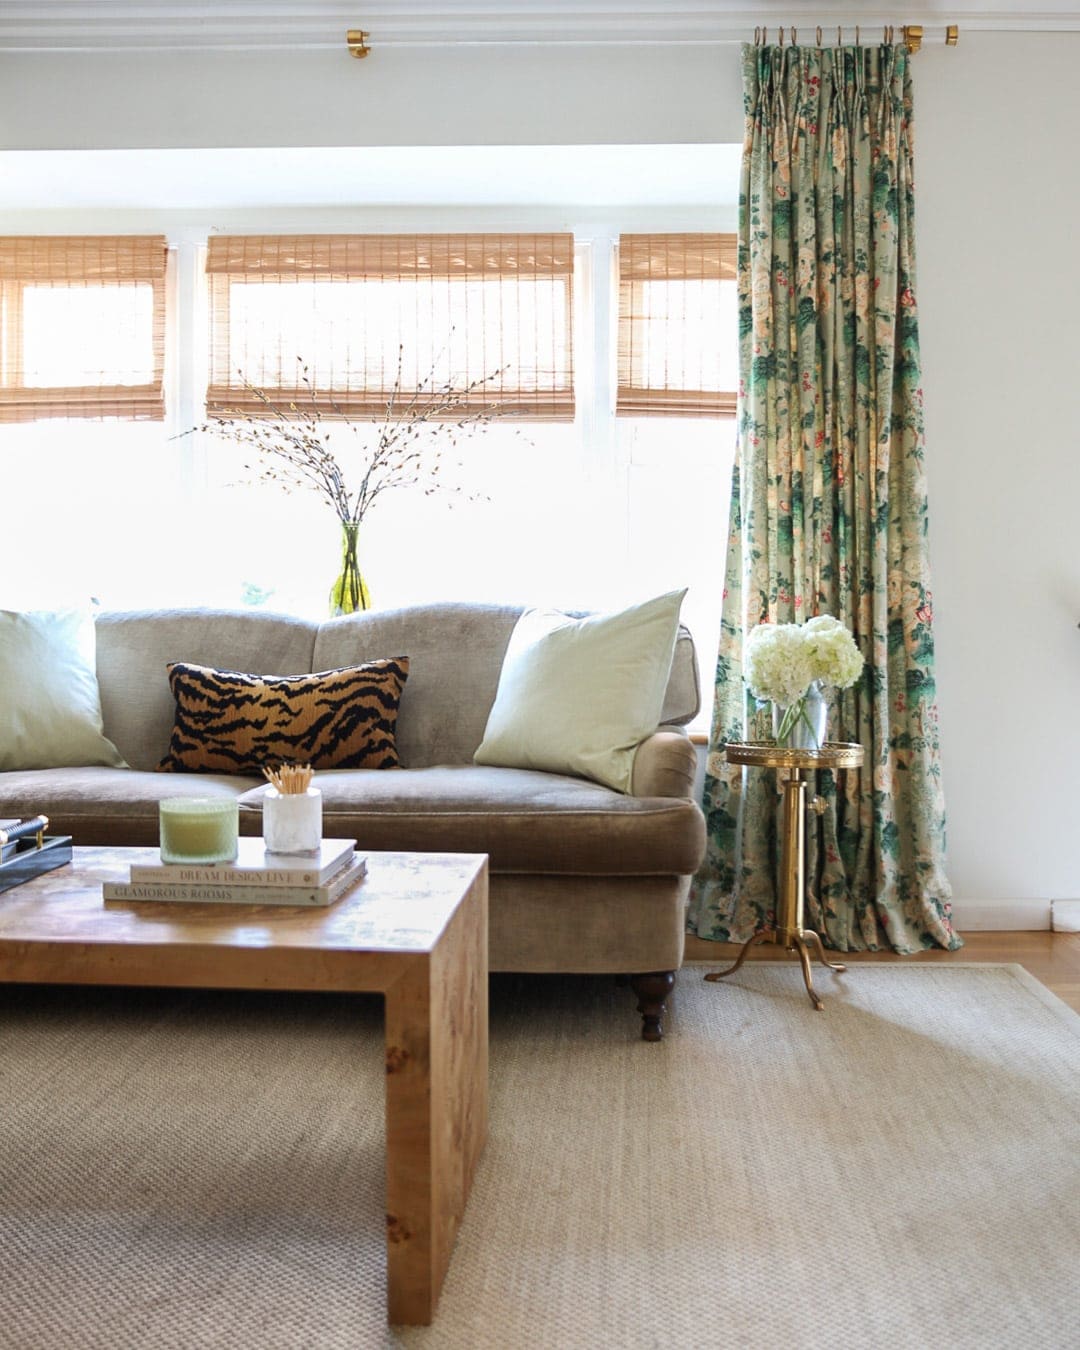
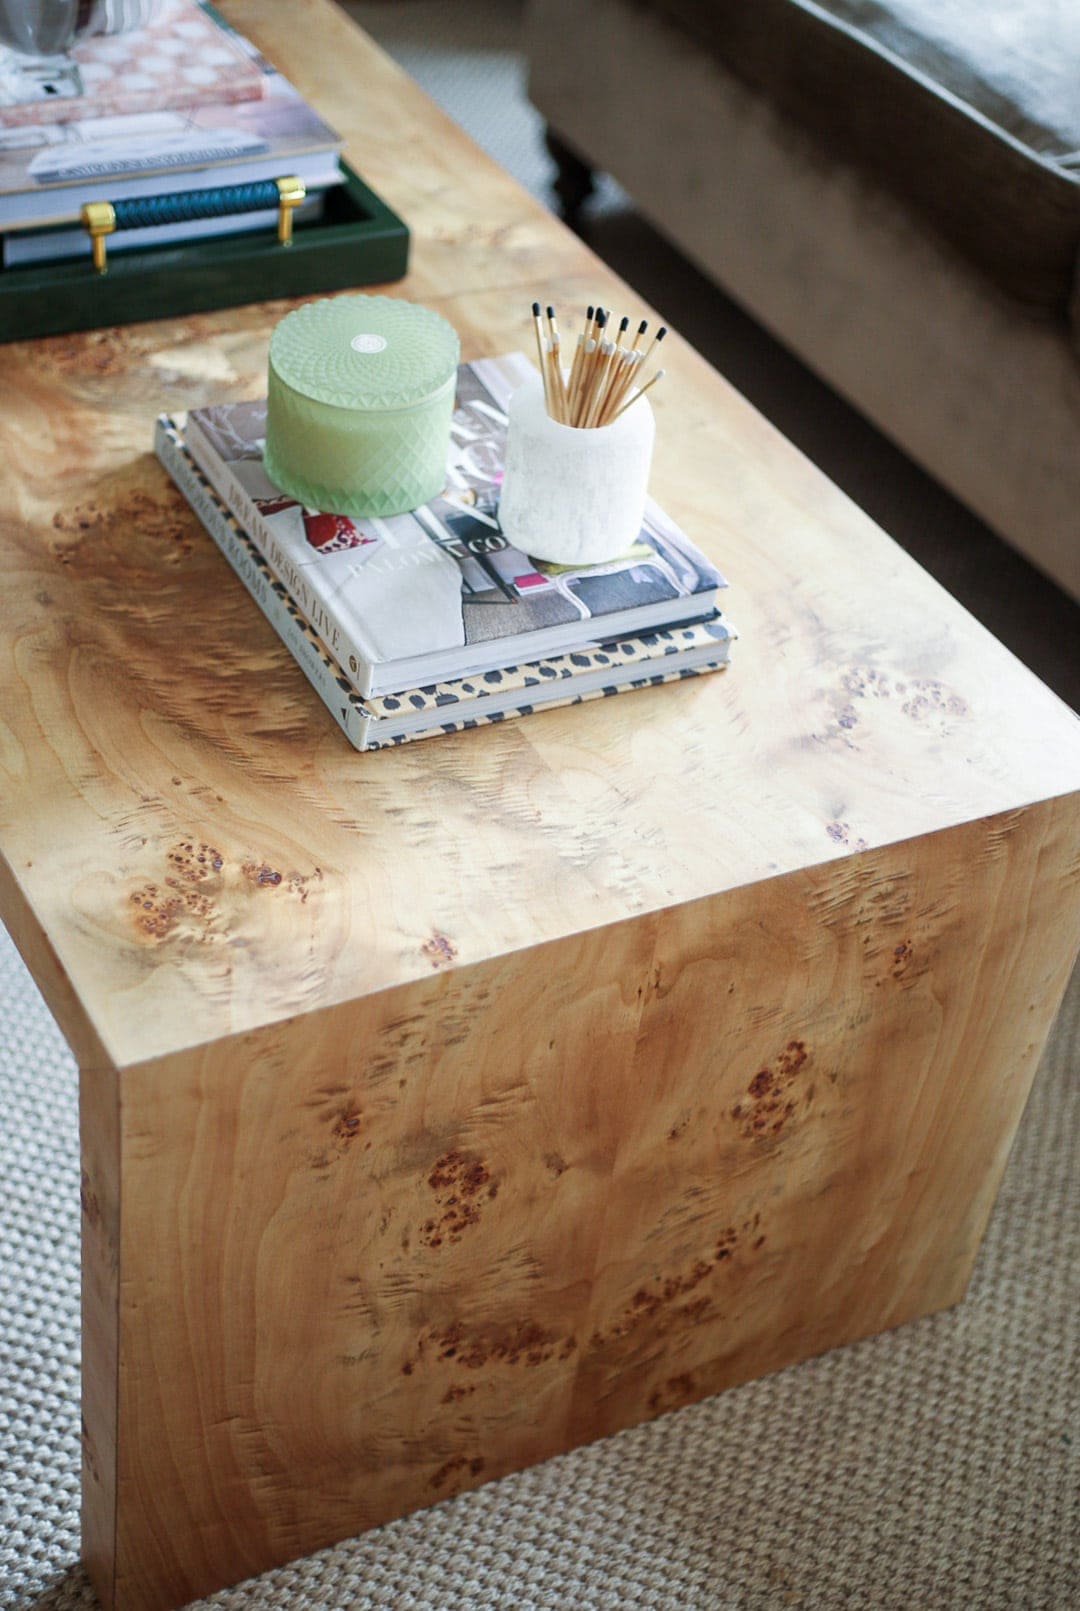
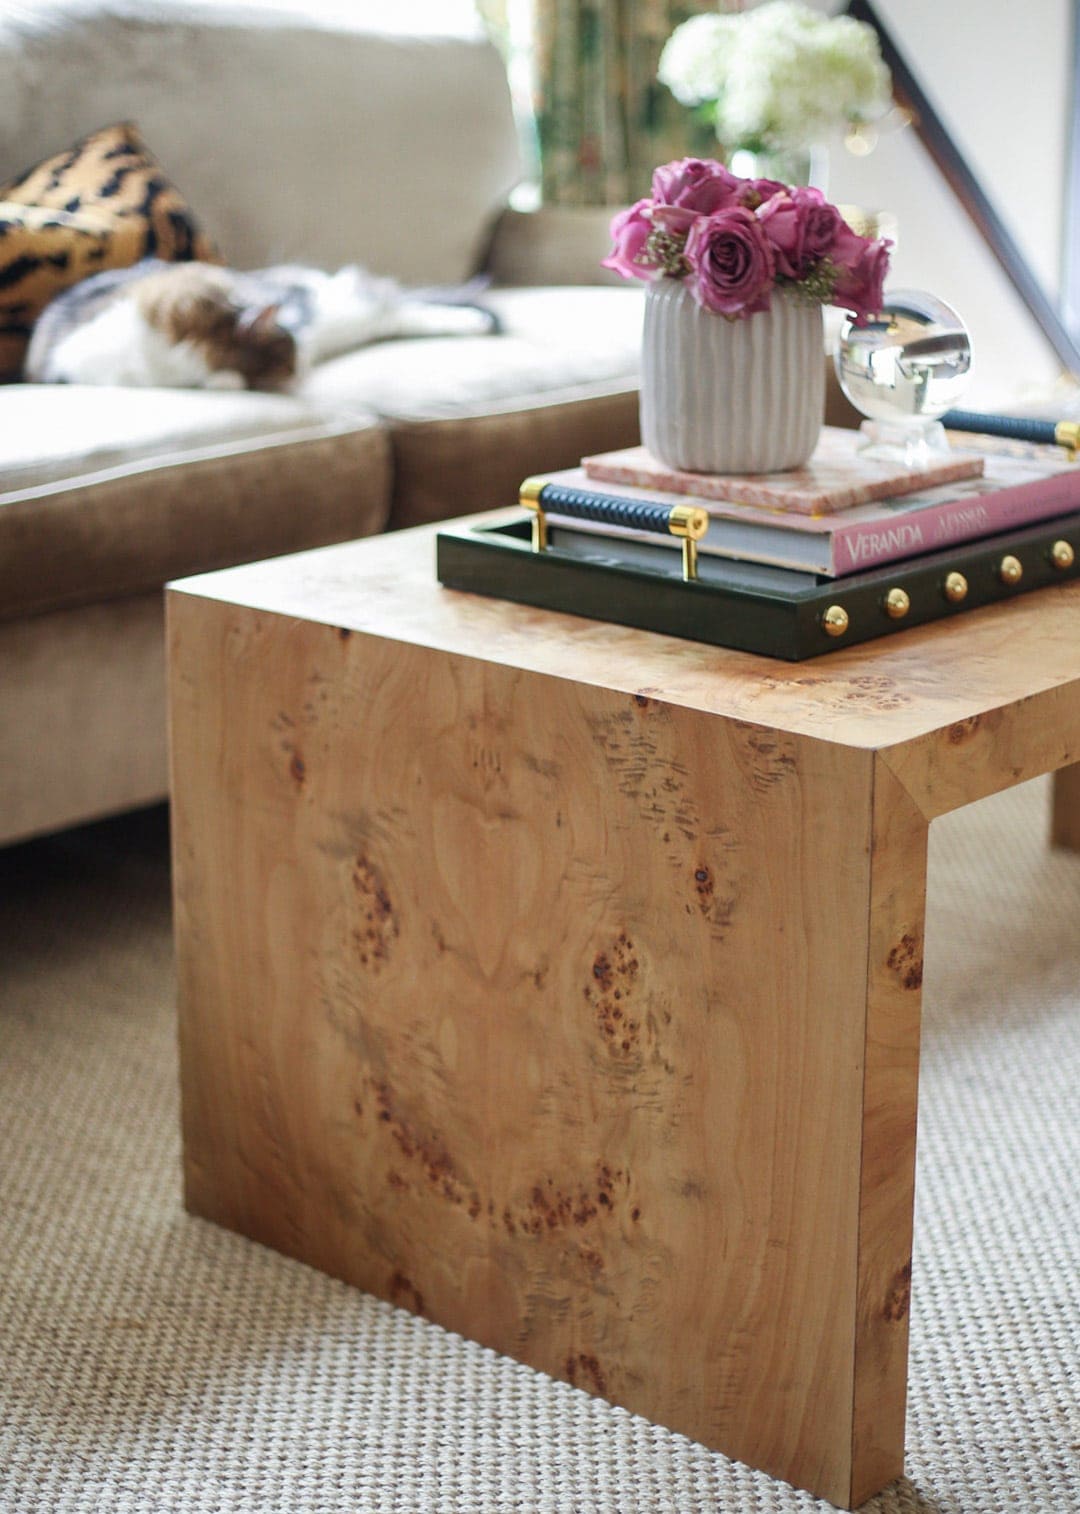
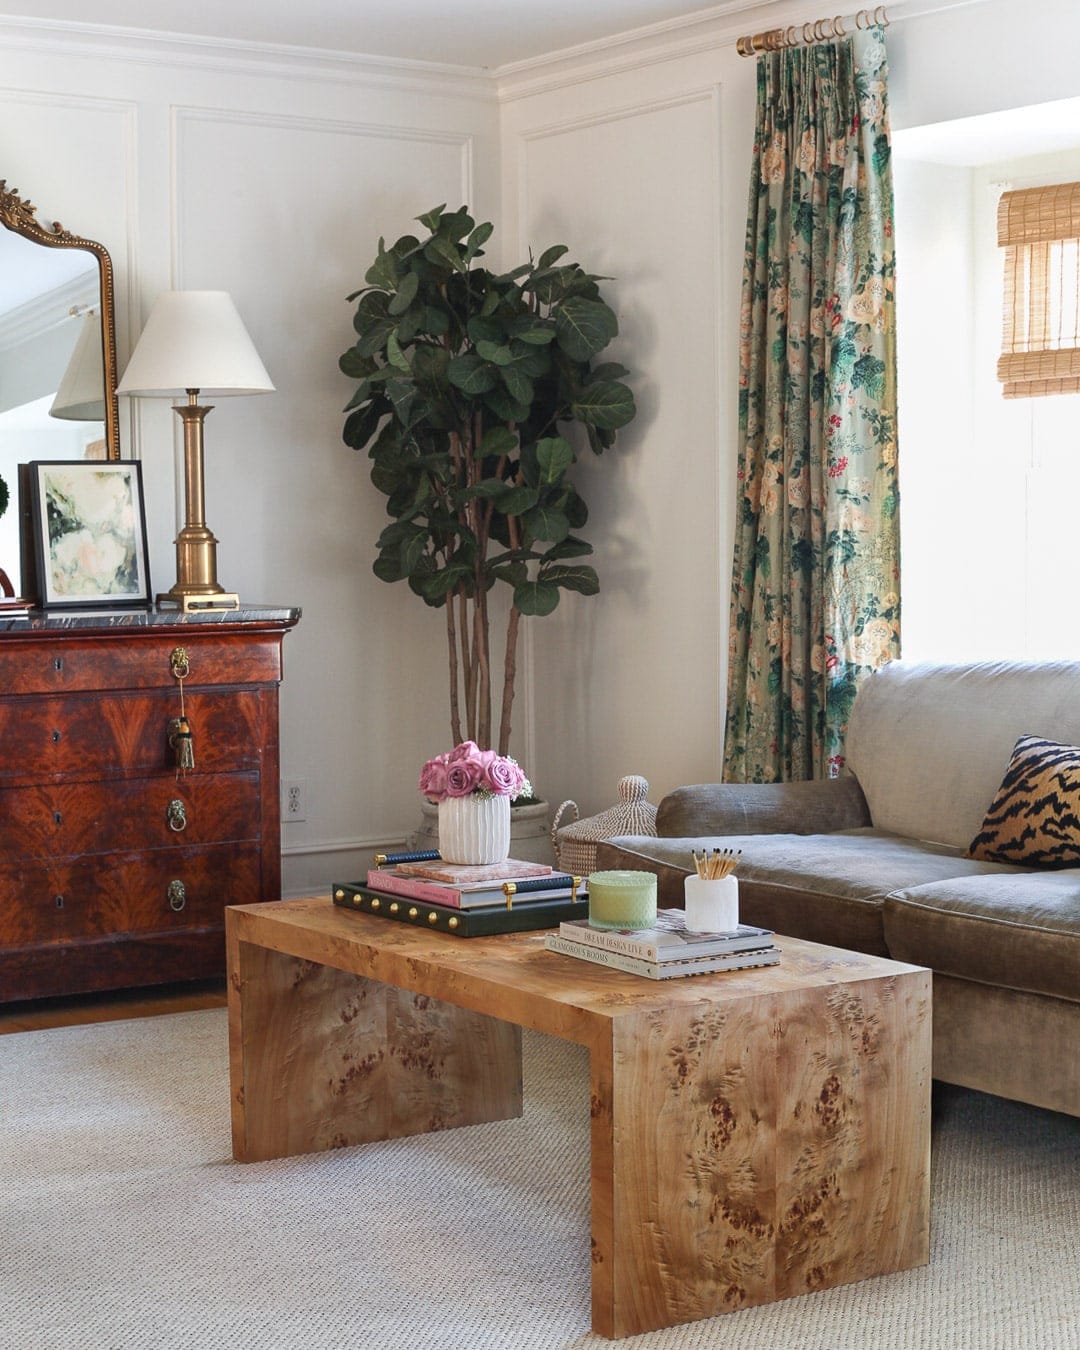
Compared to the tiered cane coffee table that was in this room for a hot sec, this table fits wayyy better in here size & scale-wise. We truly could not be happier with how this table turned out and it feels even better that we made it.
I hope this tutorial was helpful! Please leave a comment or email if you have any questions.
Not a DIY’er? Here are some beautiful burl items that caught my eye:

Wow! I may not ever be able to make this, but I so appreciate you laying everything out for anyone who wants to replicate the look. you and your husband did a marvelous job. time to quit your day jobs!
I’m so impressed that you guys made this piece. It’s a thing of timeless beauty. The golden tones of the burl next to that love seat are so gorgeousl!
Thank you very much Tracey!! We are so happy with it 🙂
I’ve been waiting for this blog post since I don’t have Instagram. I’m building a parsons-style dining table and veneering with burl but the burl I sourced is in strips. Now I’m tempted to do a console table as well. So fun to see you go through the process. Gorgeous styling as usual!
This is absolutely beautiful! I cannot wait to see the built ins…..no pressure (ha). What were the final dimensions of the coffee table?
how is this table holding up? i am a huge fan of the look but i’m a little sketchy on the build process
Your table is gorgeous and inspired us to make a burl console table. We just received our veneer today and I’m wondering how you got yours to flatten out after unrolling from the shipping package. Helpful hints appreciated! 🙂
Oh yay! Good luck! I actually rolled it out and put one heavy book on both ends for a day or two. It never fully laid flat but it helped to flatten the curves.