Let me preface this post by saying my DIY pleated lamp shade did not turn out as good as I had hoped; at least compared to an actual professional pleated lampshade. After spending quite a bit of money on pleated lampshades in the past, I wanted to at least try and see if I could create the same custom lampshade look on a budget.
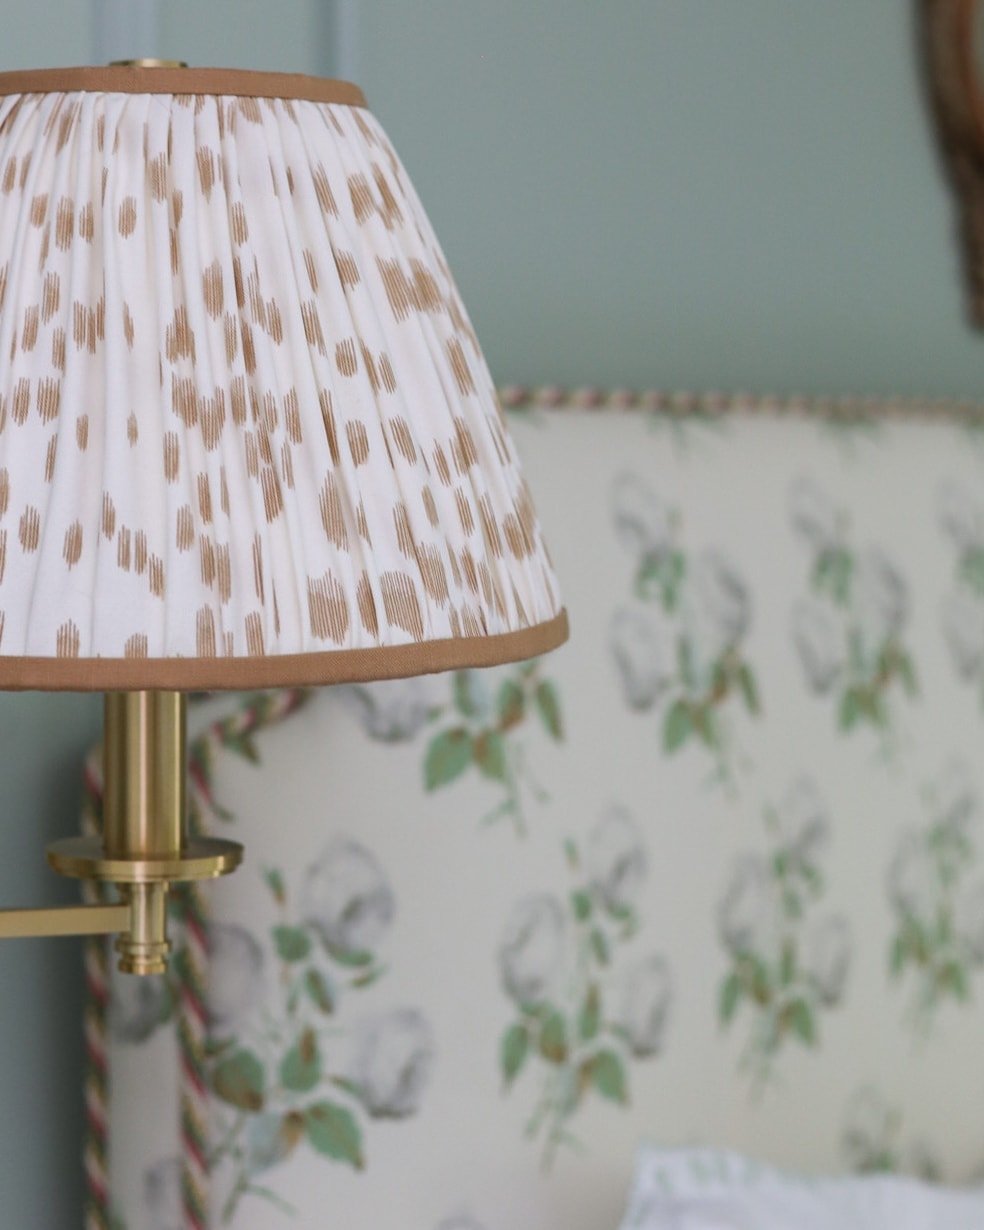
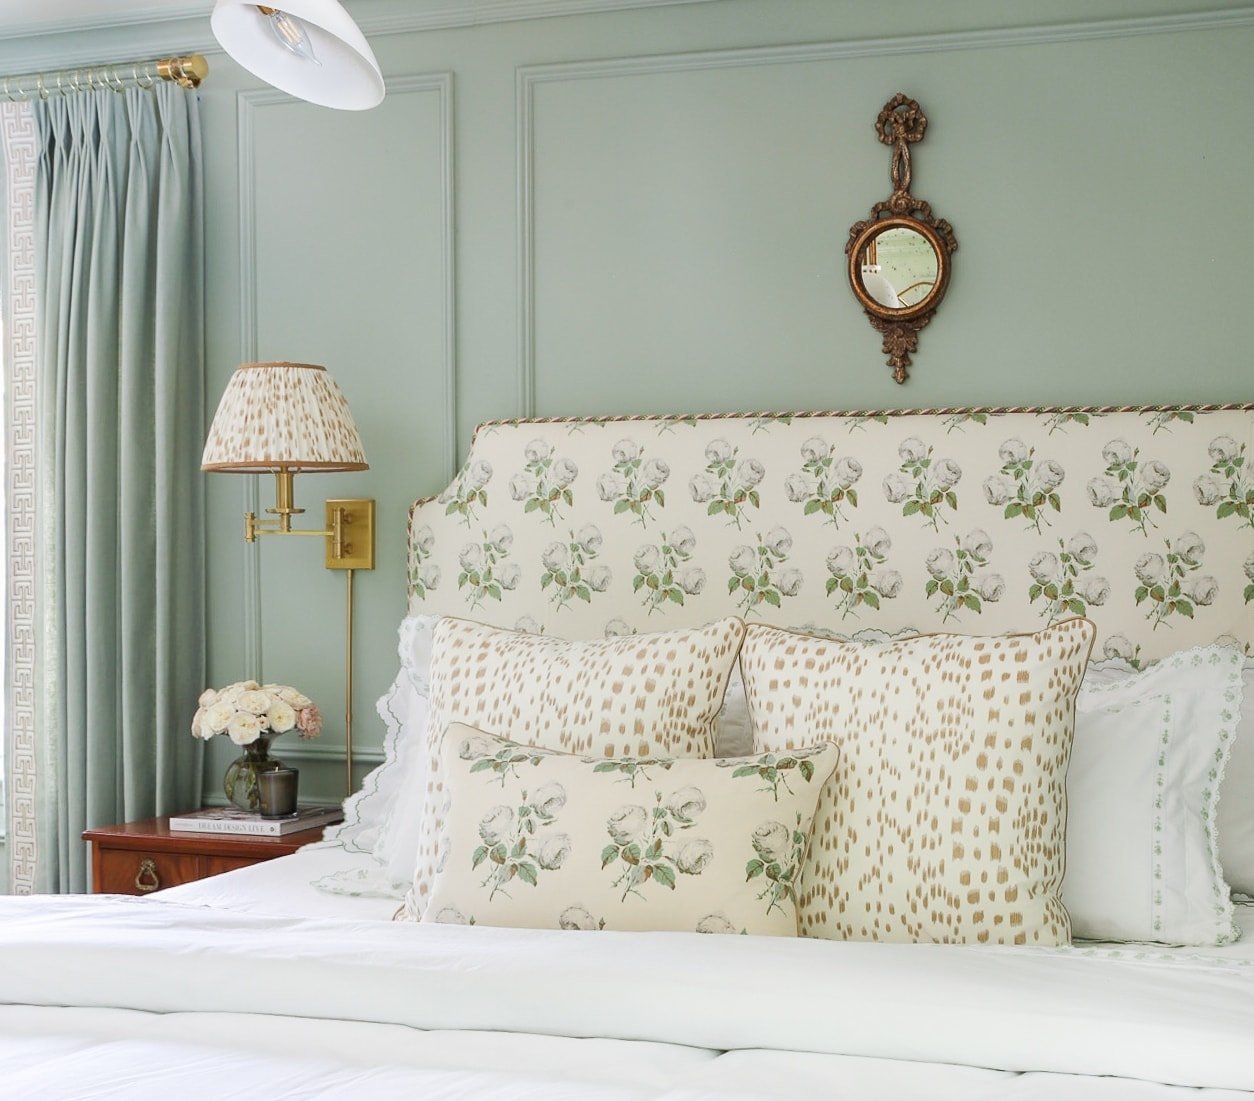
Pleated sconce shades in our bedroom
After attempting this DIY twice, I have a greater appreciation for custom lamp shades and can absolutely understand/justify their high cost.
But I’m still going to share a full tutorial, what didn’t work for me, and what I’d do differently next time (although I don’t think there will be a next time, LOL).
I originally used Wildflower Home’s tutorial and I think she did an excellent job with her DIY. I’ve come to realize I’m just not great at fabric-related DIYs.
For more info and videos on how I completed this tutorial, see my DIY Lampshade highlight on IG.
TOOLS AND MATERIALS:
- FABRIC: at least two yards if you’re planning on pleating a large shade (about 17″ wide at the bottom). For a smaller shade, you likely only need 1.5 yards. I like to err on the side of buying extra material just in case.
- HOT GLUE GUN: highly recommend this one because it’s cordless and easy to use
- HOT GLUE STICKS: A pack of at least 10
- LAMPSHADE: I got a basic one for $17 from AtHome
- BIAS TAPE: I used this thicker one for my large shade. You can find appropriately sized bias tape depending on your shade size at your local JoAnn or Michael’s (if you’re pleating a smaller shade, you’ll need a more narrow tape)
- SCISSORS
STEP-BY-STEP DIY PLEATED LAMPSHADE TUTORIAL
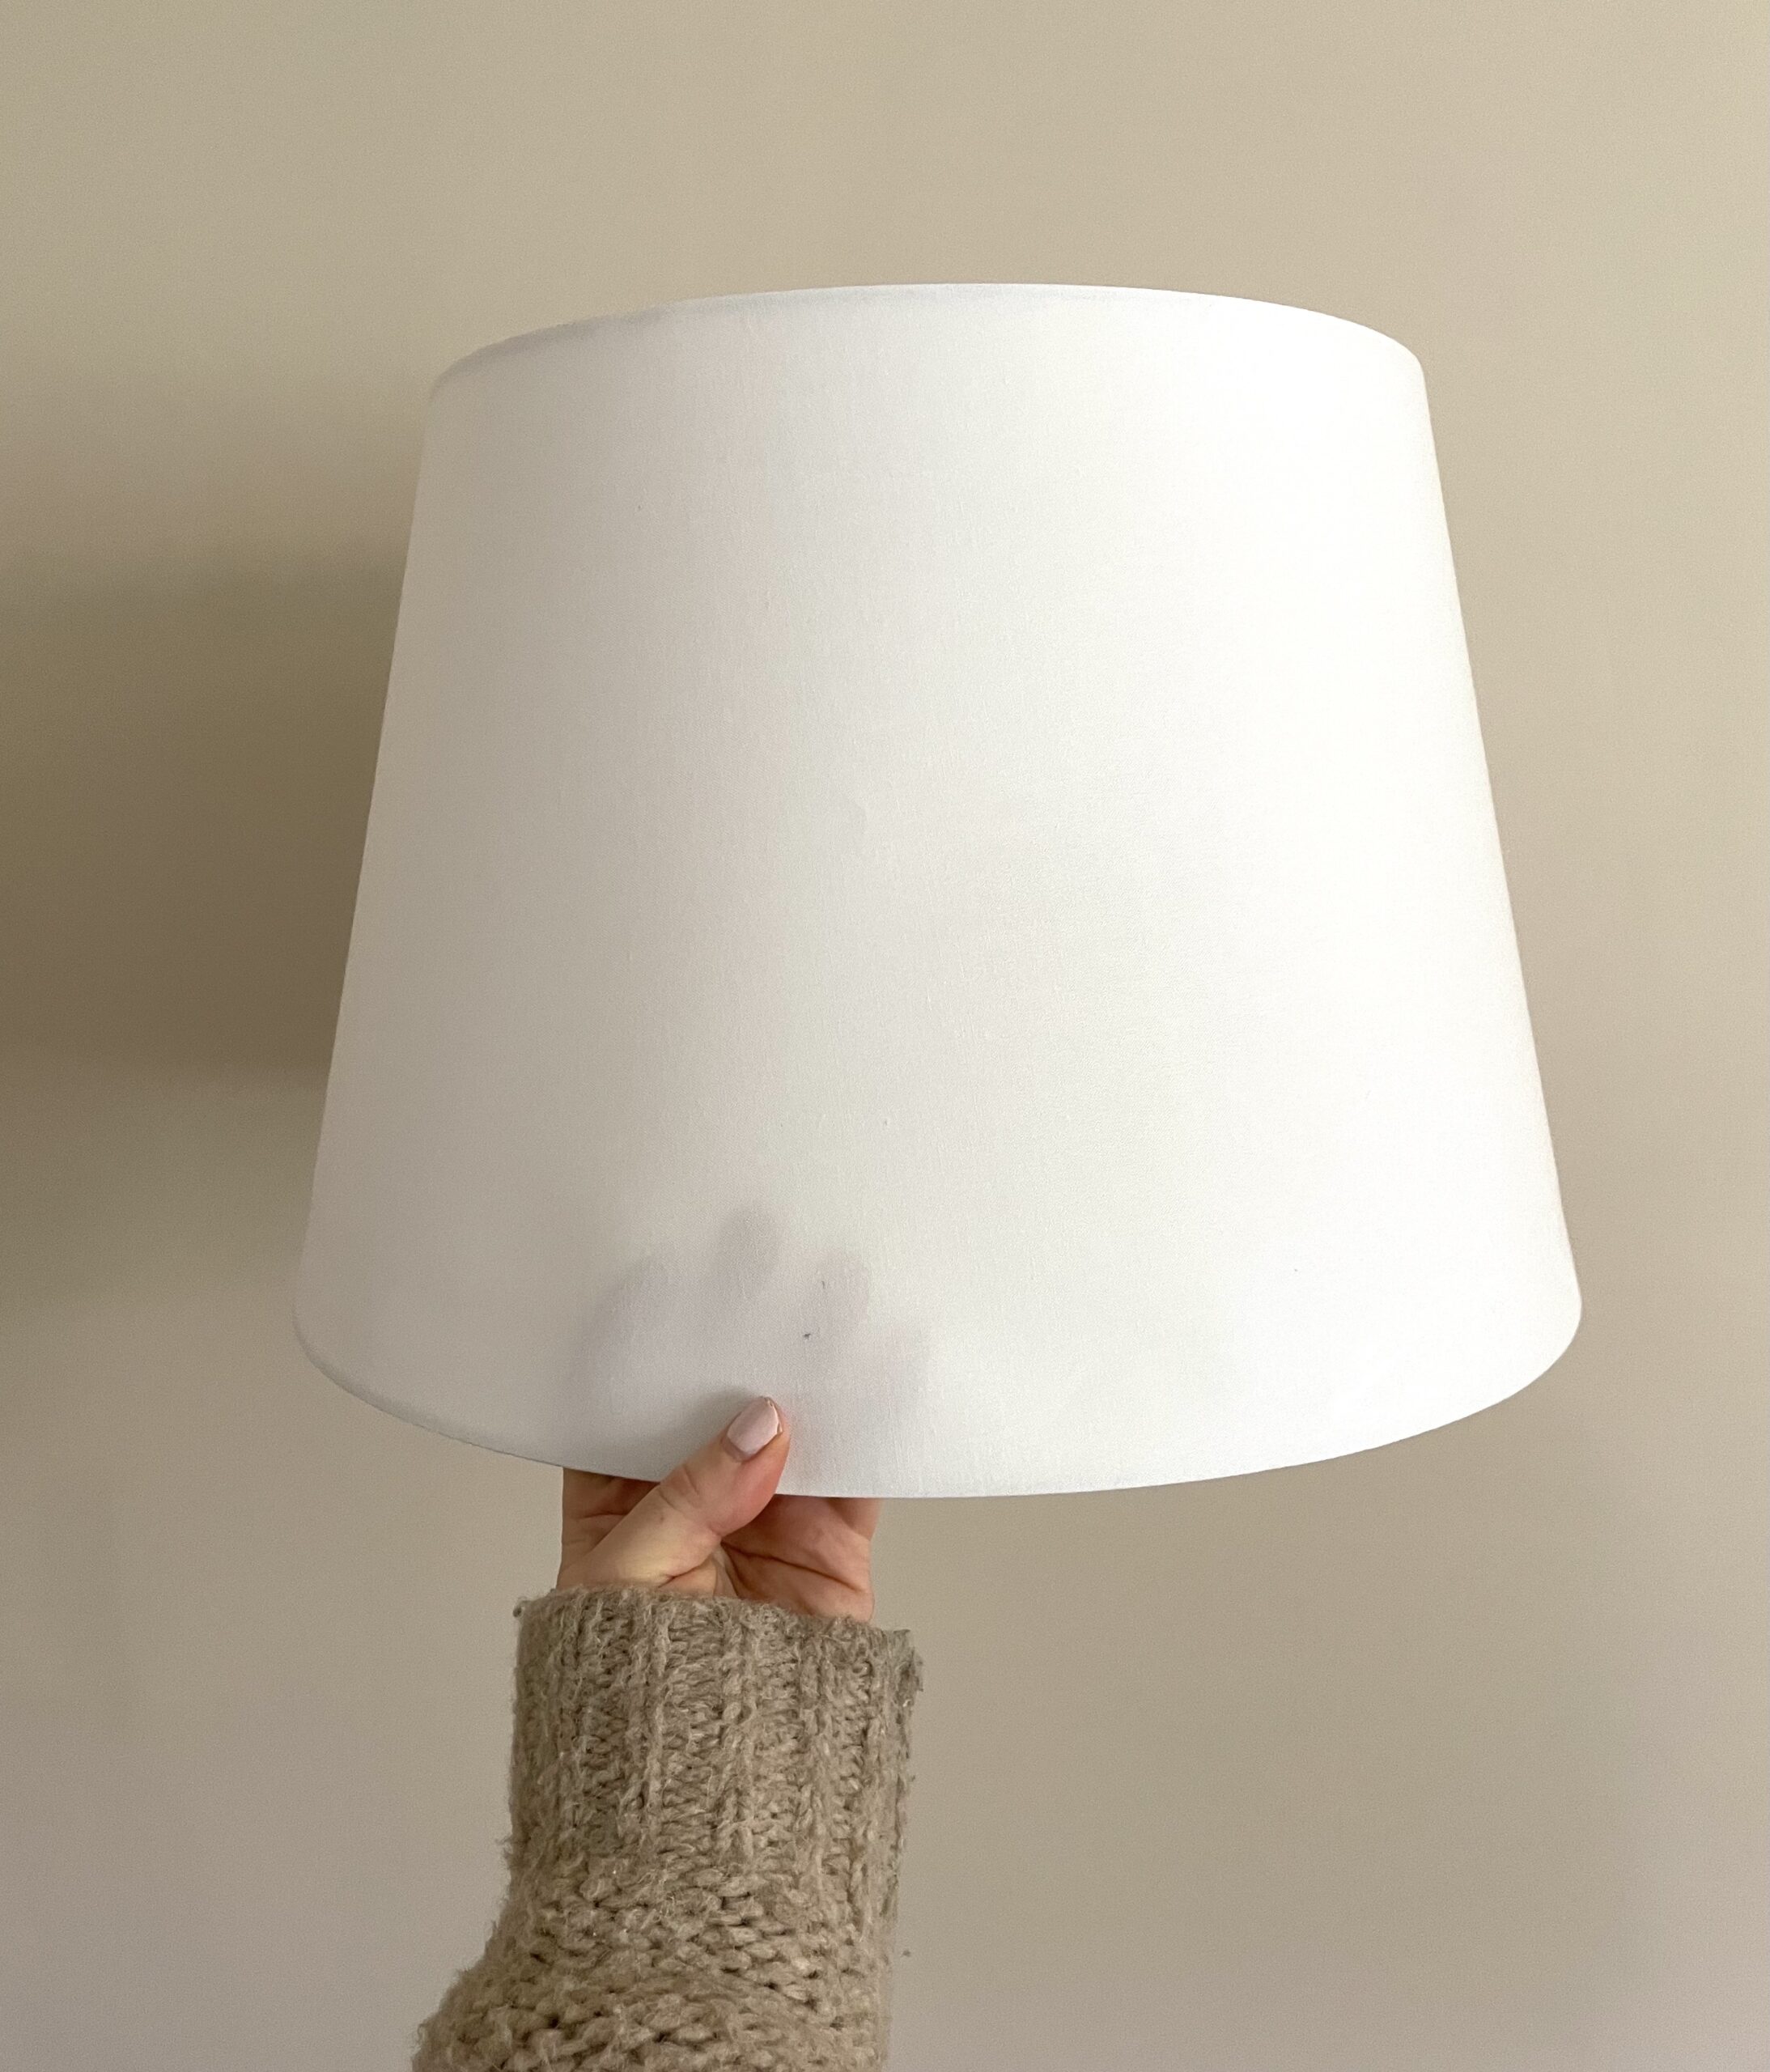
CUT YOUR FABRIC
Measure your lampshade from top to bottom, then cut the fabric to the size of the shade, with about 1-inch overhang on top and bottom. I just held my fabric up against the shade to figure out where I needed to cut.
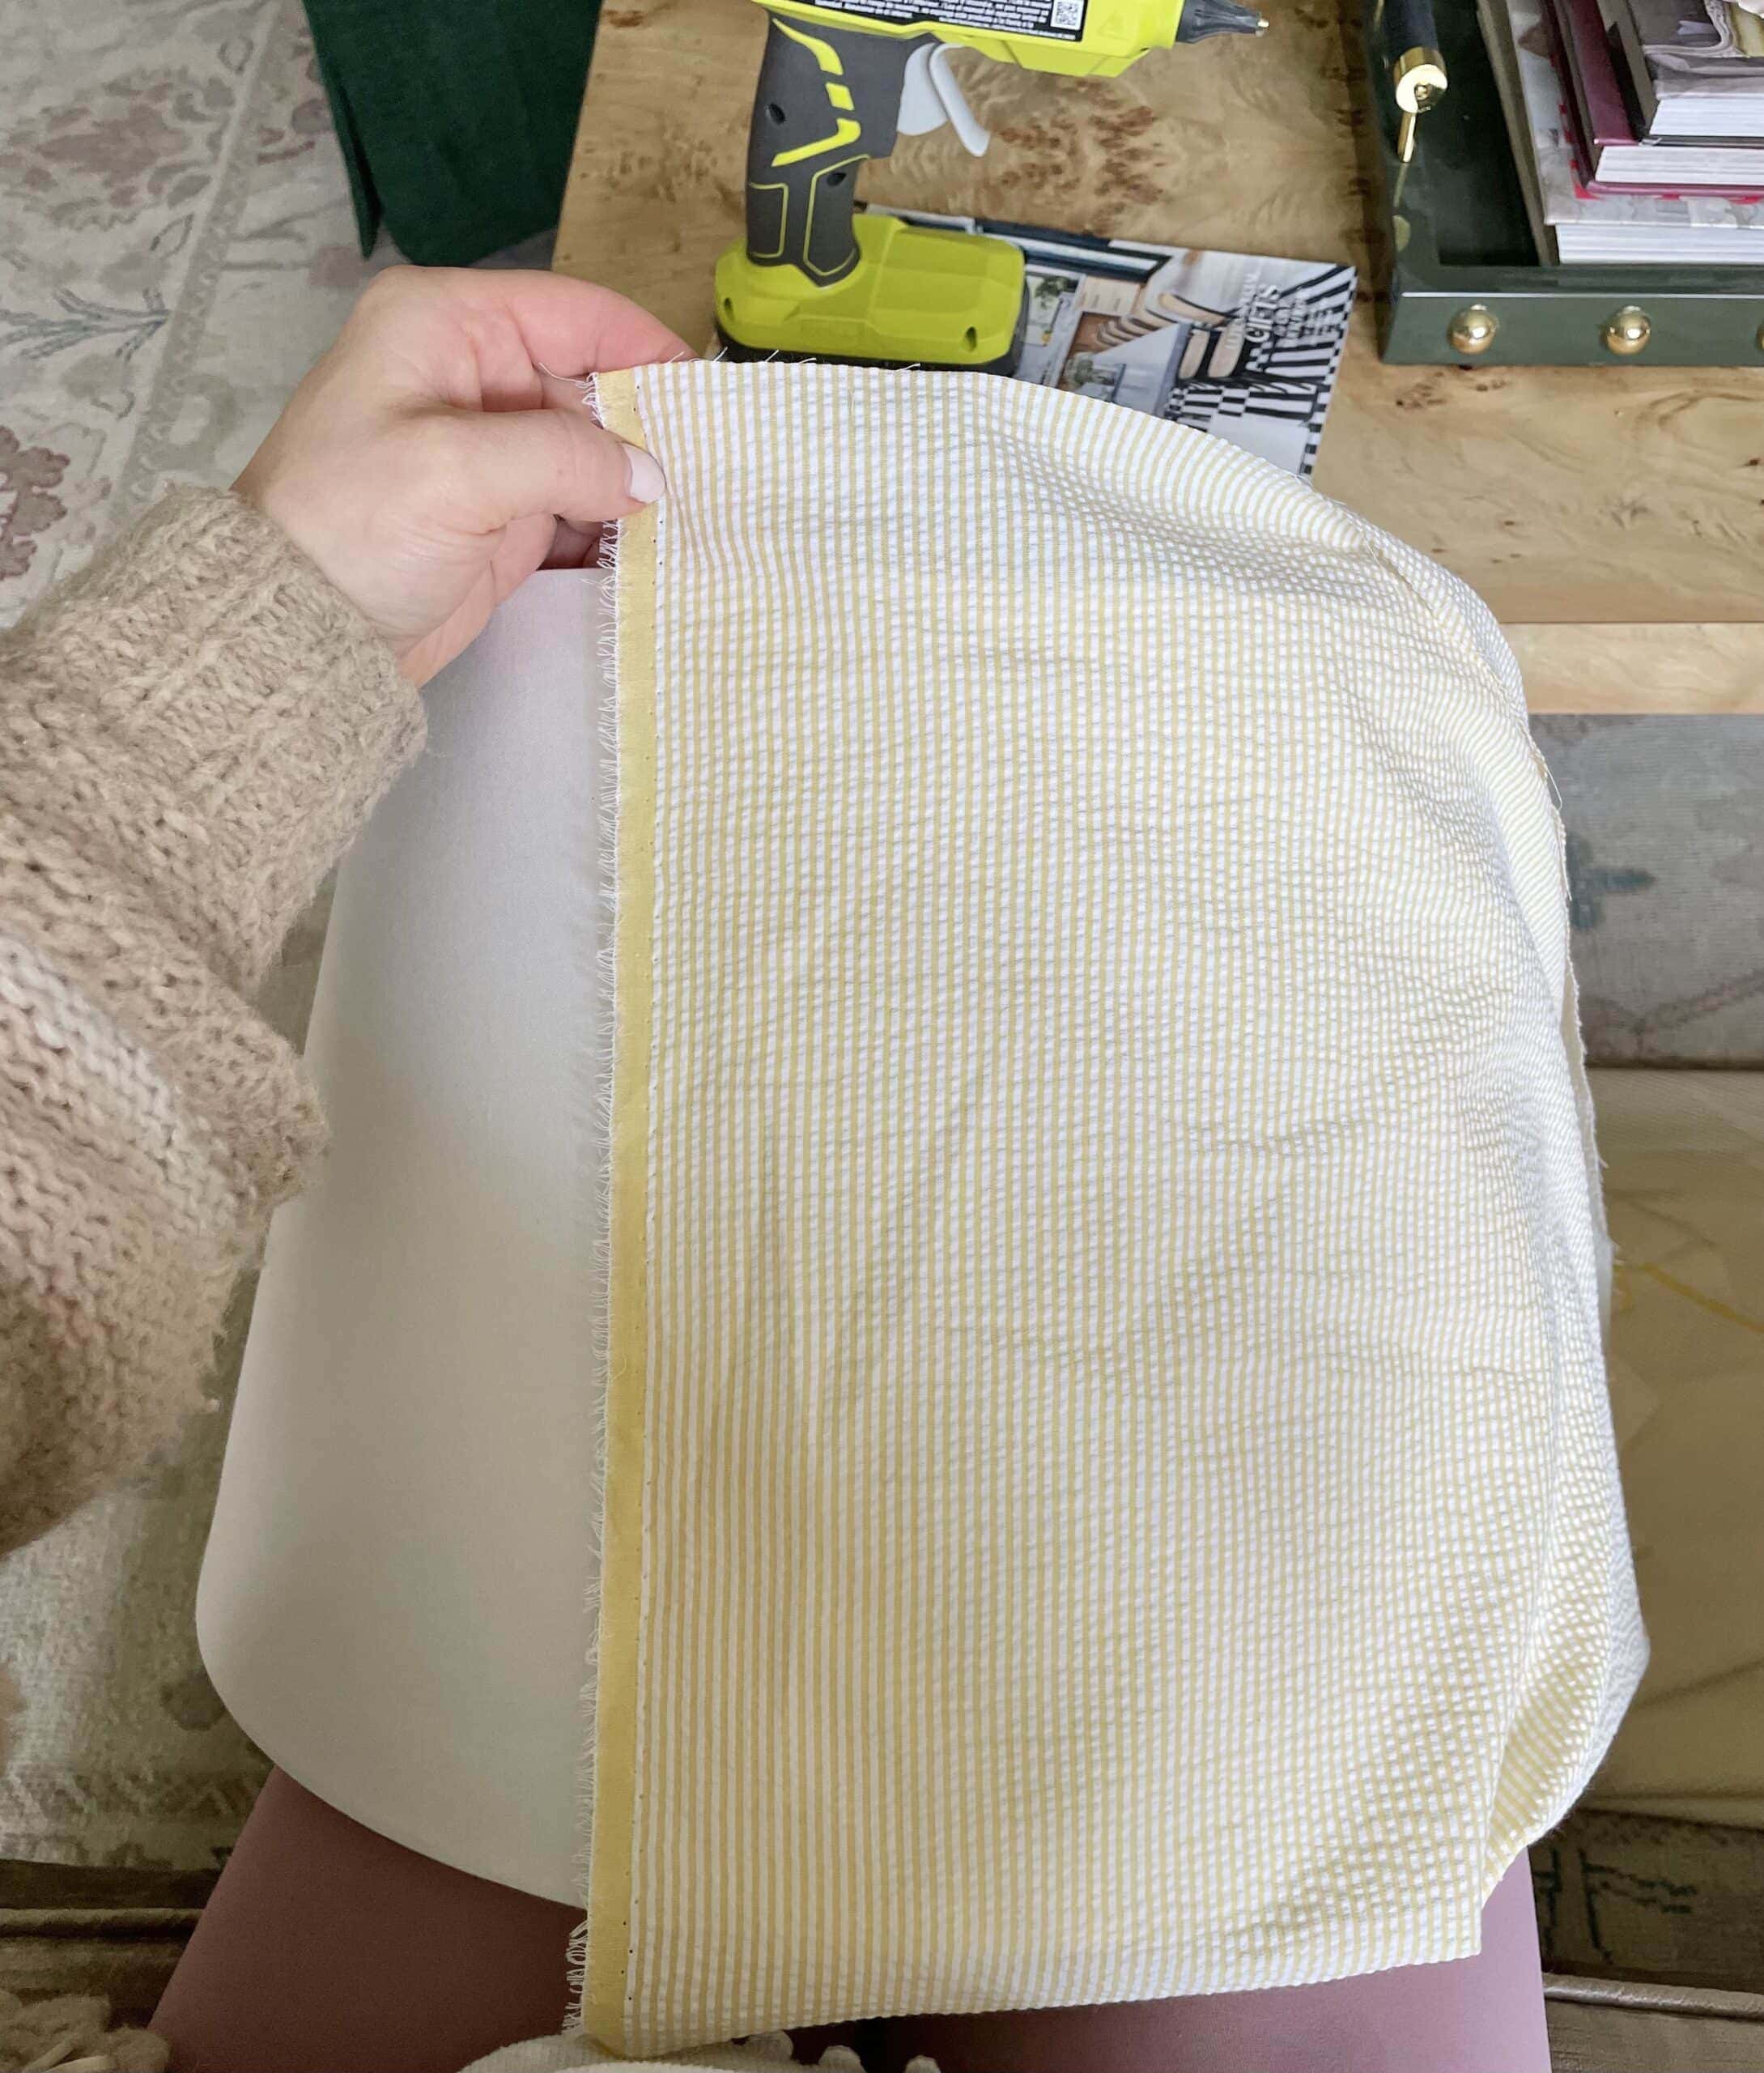
Use the first cut piece of fabric as a guide to cut a few more pieces. Depending on the size of your shade, you’ll need about 5-6 pieces total and some leftover for the trim (unless you plan to use a contrast trim/bias tape).
GLUE THE FIRST PIECE TO THE BACK OF THE SHADE
Run a line of hot glue down the back of the shade, then line up your fabric to the glue. Make sure your fabric is straight and not on an angle.
Press and hold to secure fabric to the shade.
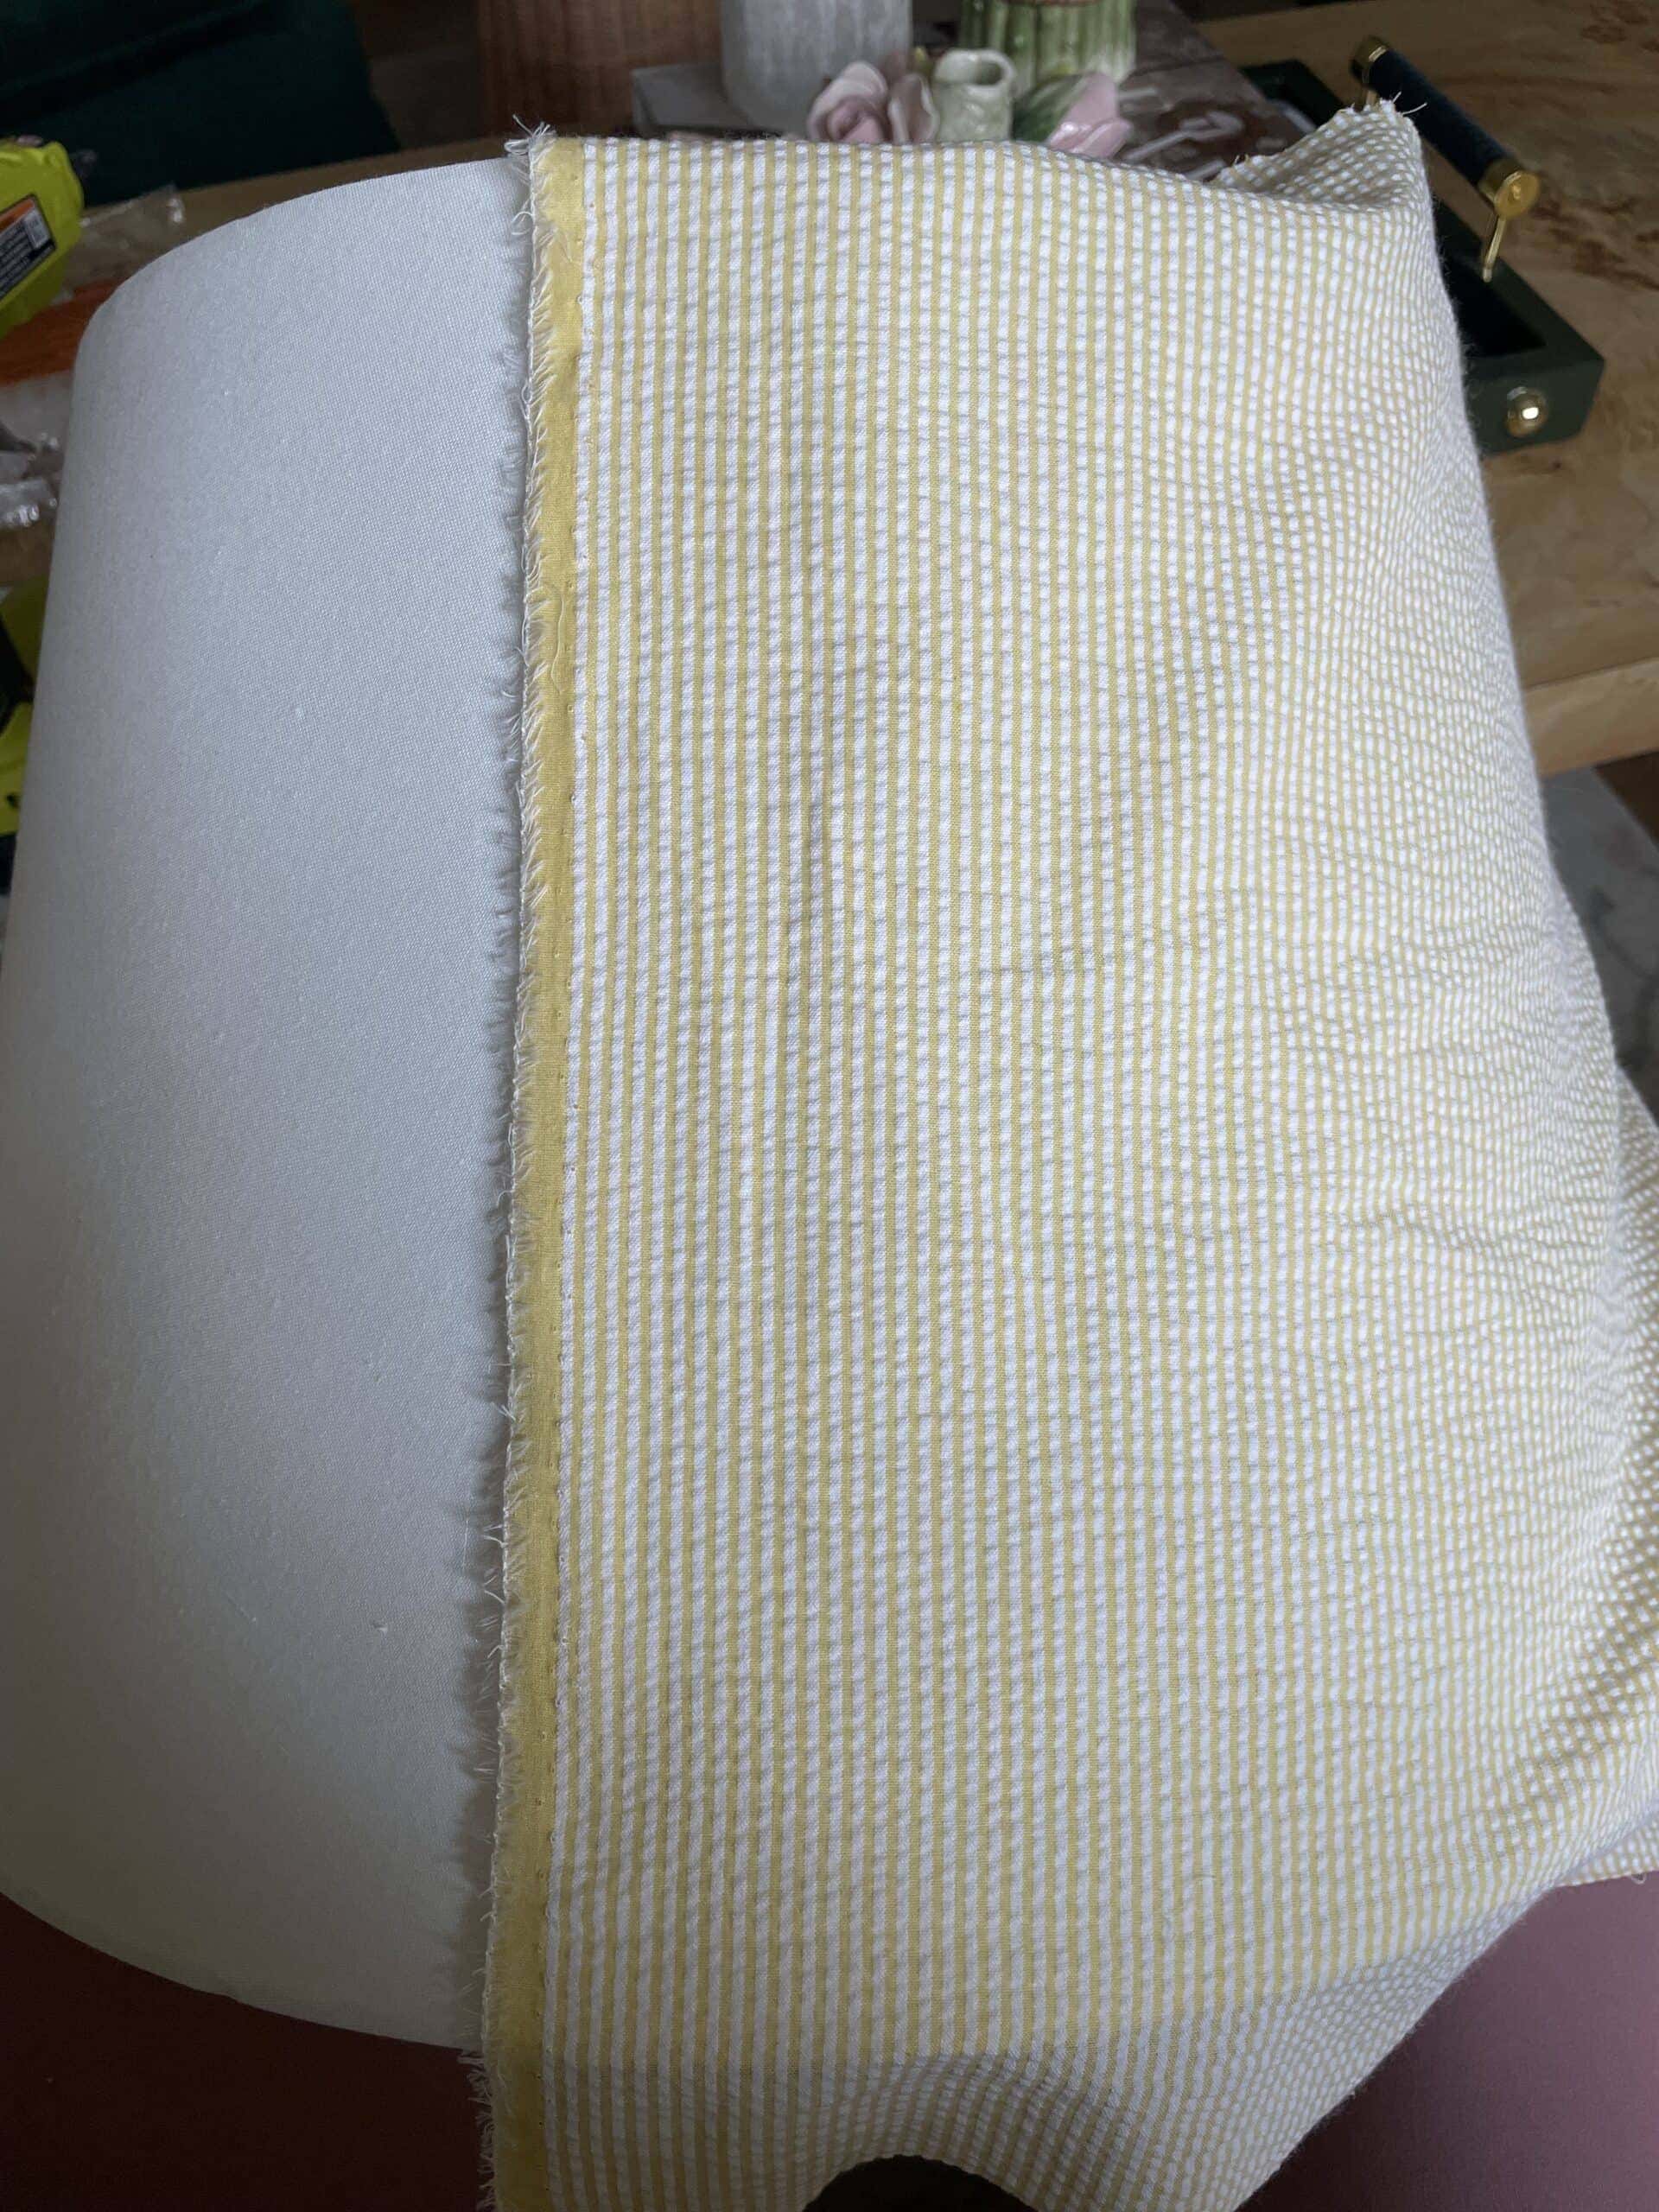
BEGIN PLEATING AND GLUING FABRIC TO THE TOP OF THE SHADE
Put a dot of hot glue on the fabric where you want the pleat to lie (depending on the pattern, maybe about one finger length), and then make a tiny fold in one direction. I placed the dot of hot glue right underneath the top rim (you don’t need much, just dot).
Hold it down firmly on top of the glue for a few seconds.
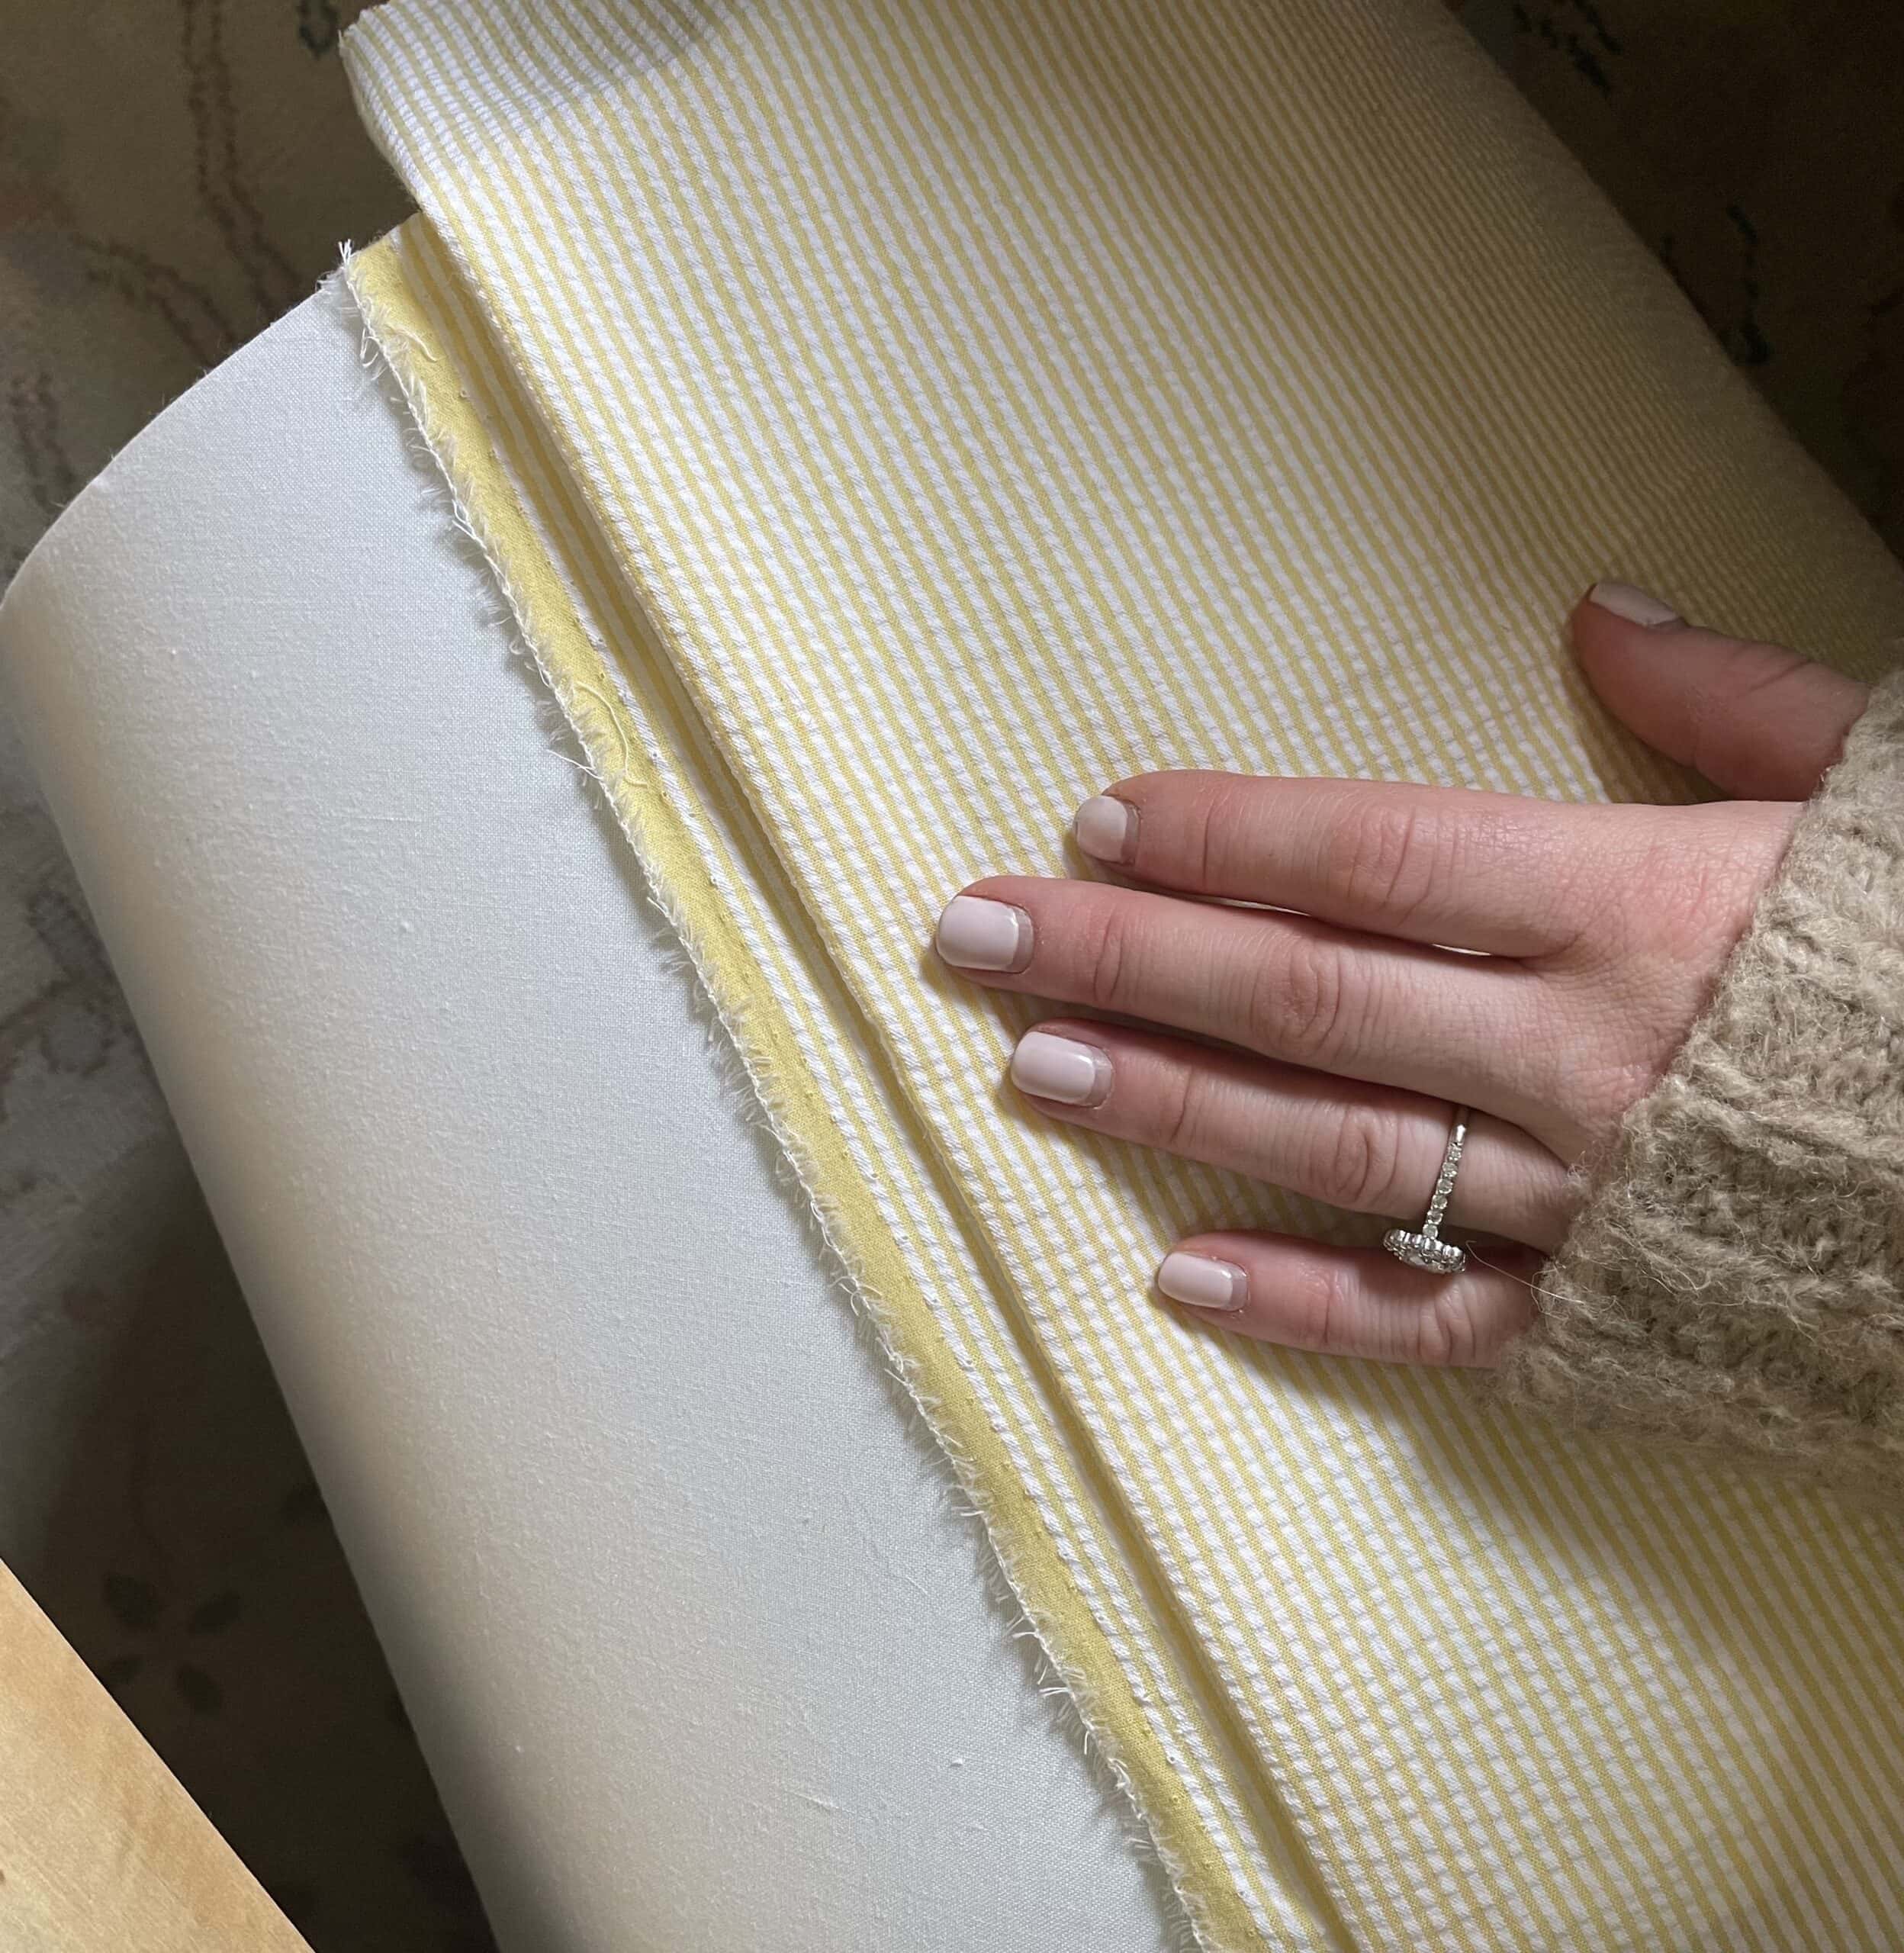
Only do this to the top, you’ll get to the bottom pleats soon.
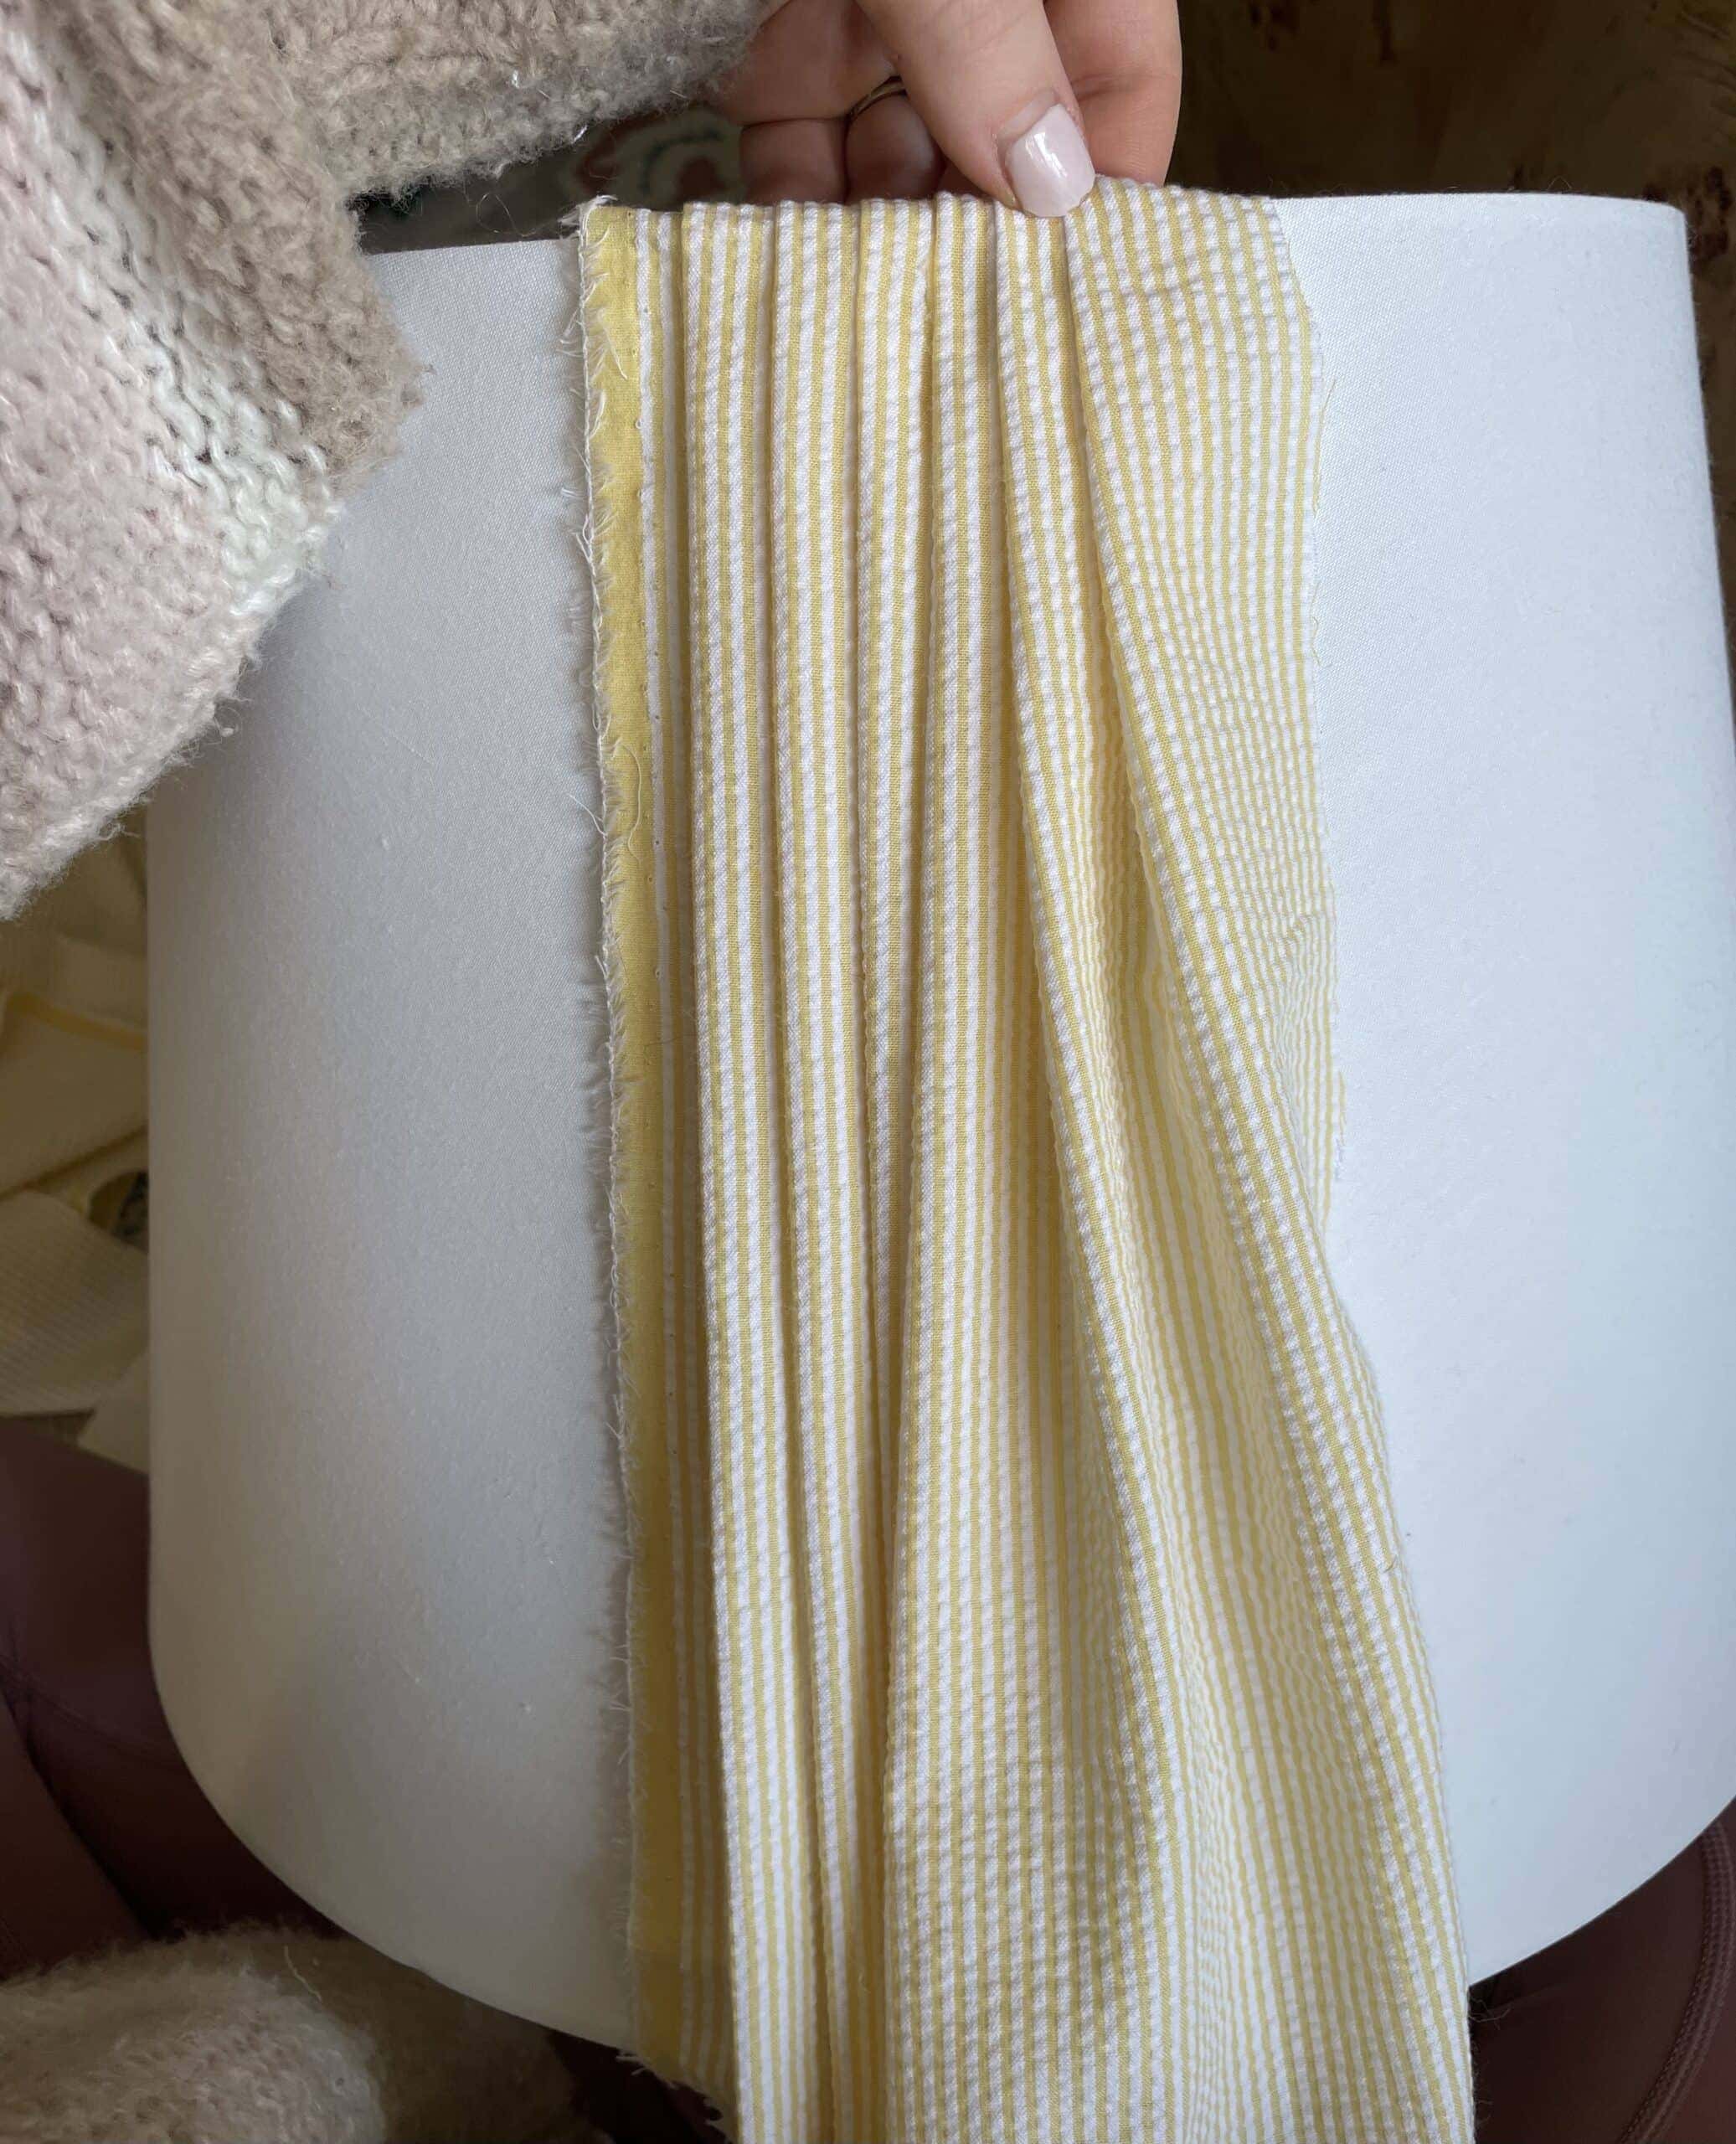
Repeat the folds until you reach the end of the length of the fabric and try to be as consistent as possible with each fold.
PLEAT AND GLUe FABRIC TO THE BOTTOM OF THE SHADE
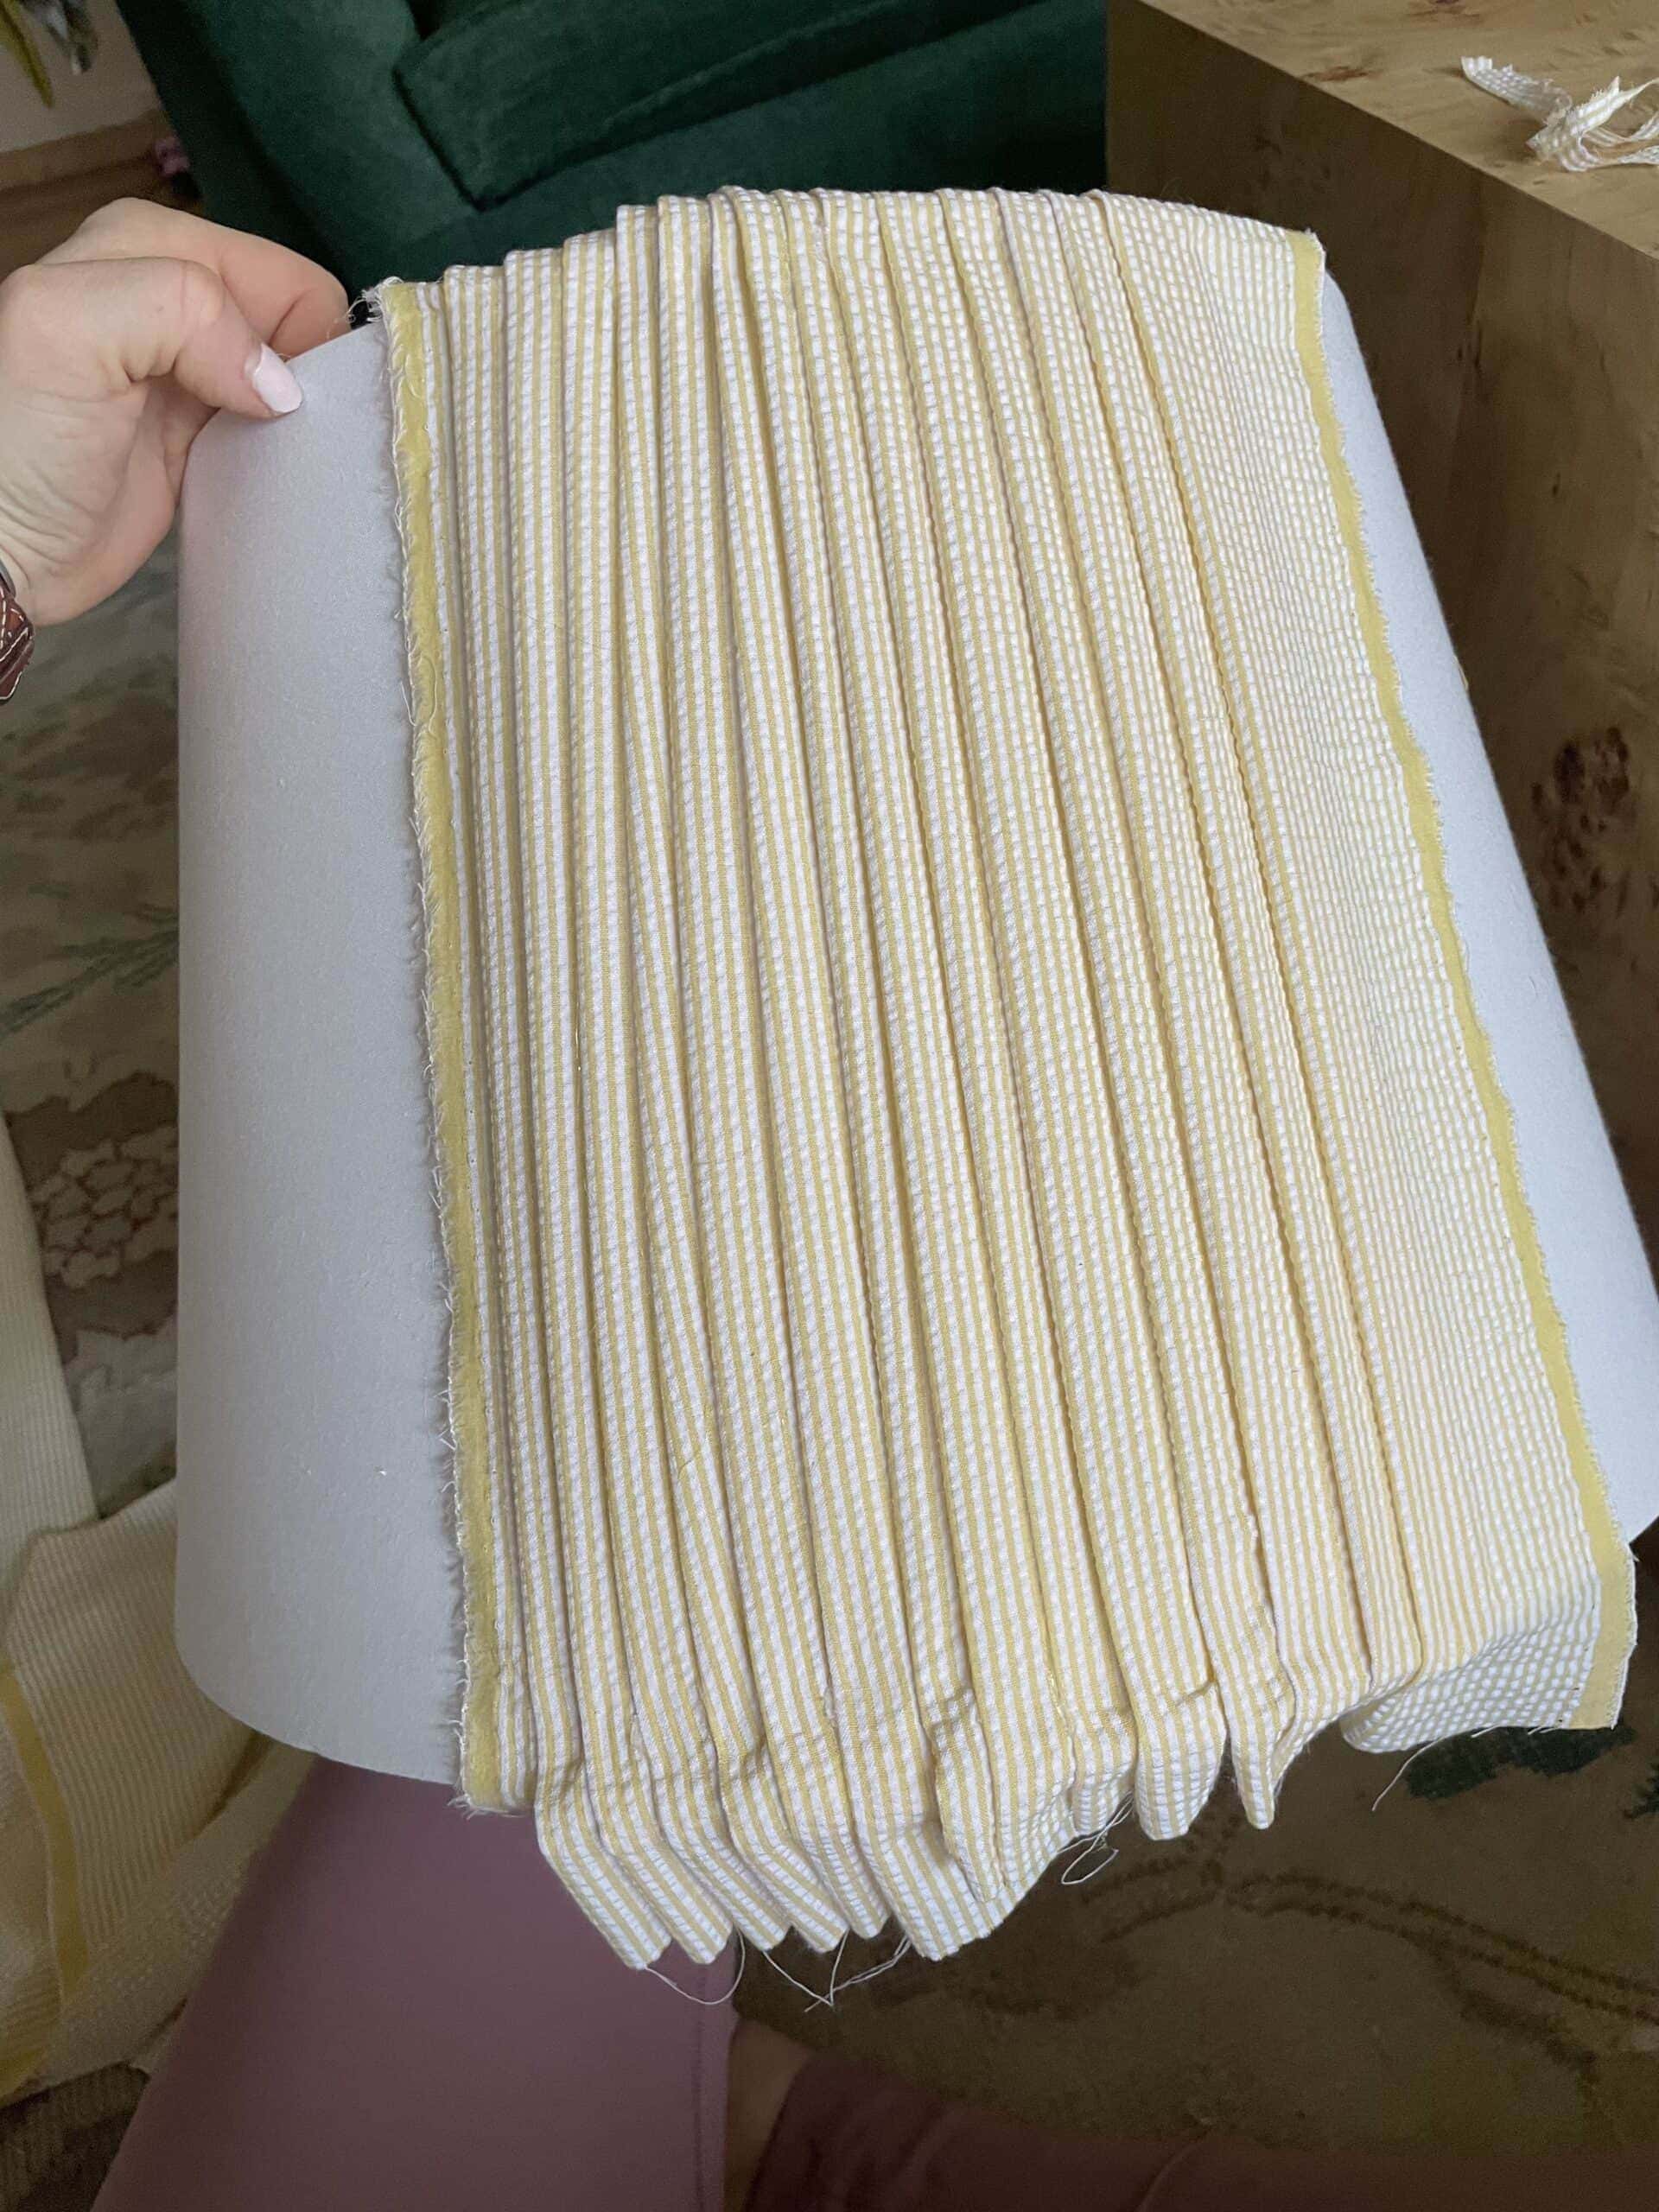
Once the pleats on the top are glued, begin making pleats on the bottom. It’s super important to pull the fabric tight while you’re gluing the bottom so the fabric stays in place and doesn’t look loose.
REPEAT THE PROCESS WITH YOUR SECOND LENGTH OF FABRIC
Once the first length of fabric is pleated and glued on the top and bottom, you can start with the next length of fabric.
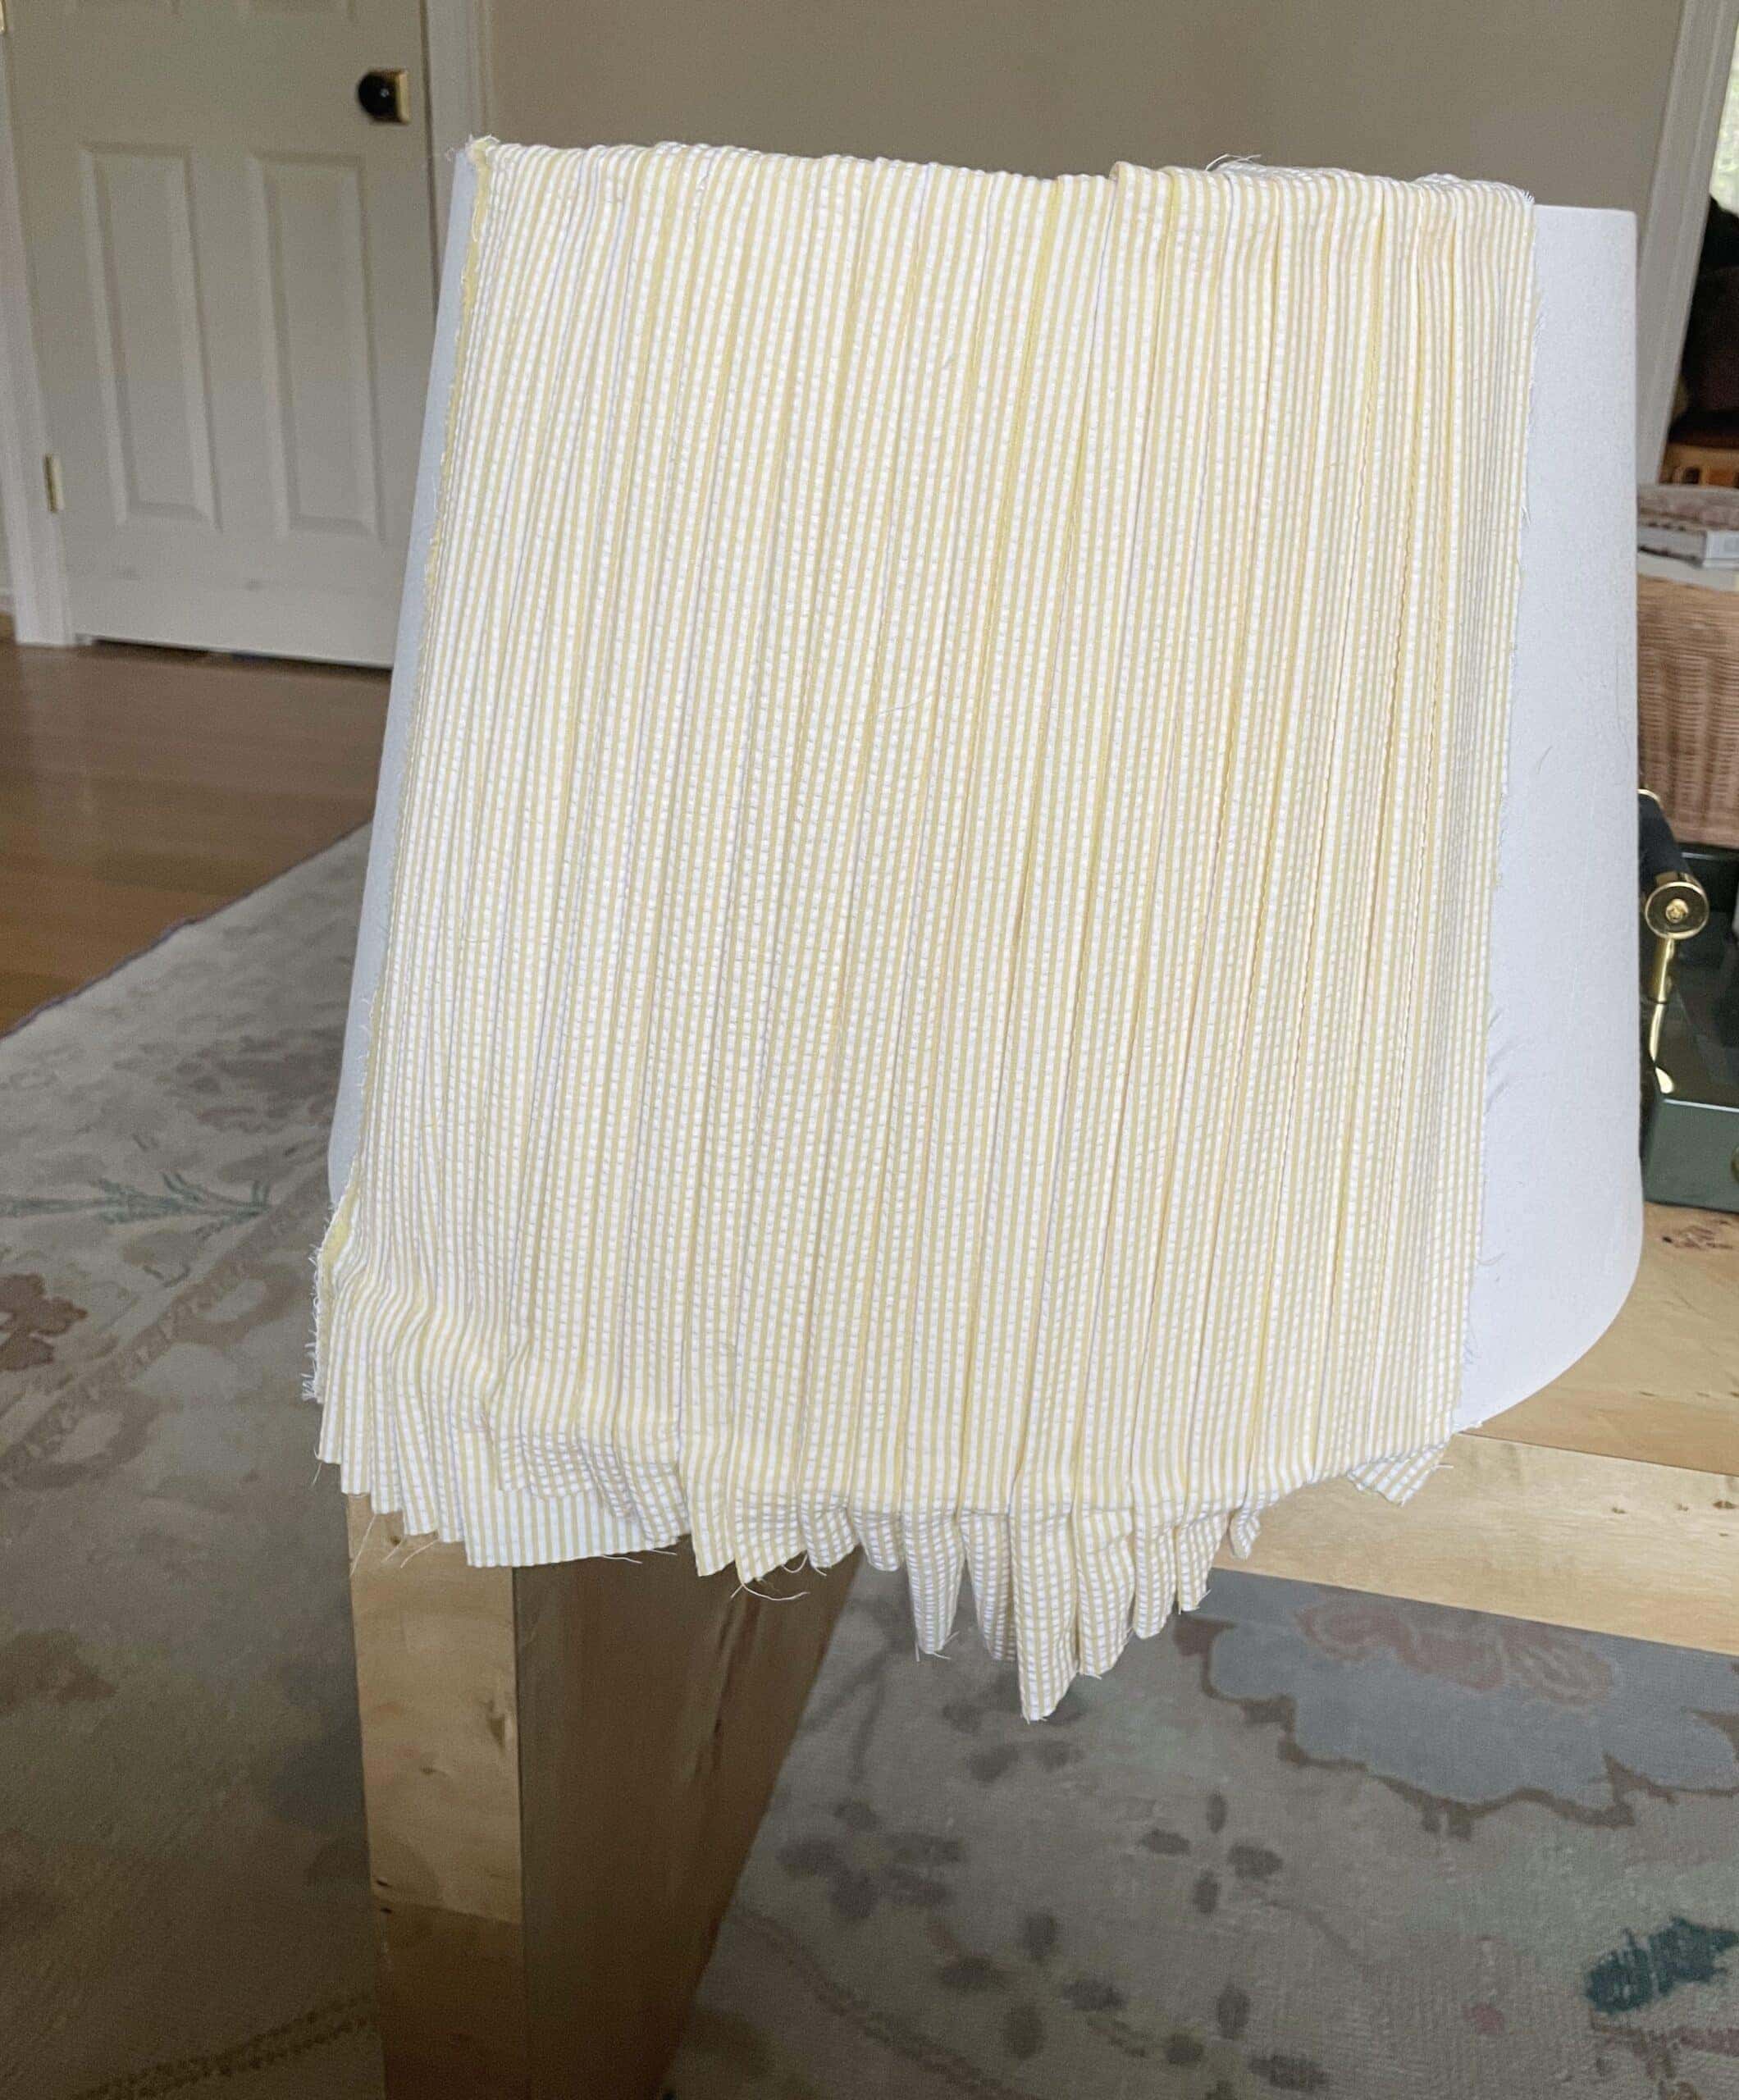
To add new lengths of fabric, you’re going to simply attach the last piece of fabric to the new fabric. Fold the end of the new piece under, place a line of hot glue along the edge of the new fabric, and blend it in with the other pleats.
Continue to pleat and glue around the shade until you end up where you started, making sure you’re pulling all your pleats tightly along the way and securing everything to the shade with hot glue.
TRIM THE EXCESS FABRIC
Trim off as much fabric as you can along the top and bottom rims. You want a clean edge to place your trim/bias tape on.
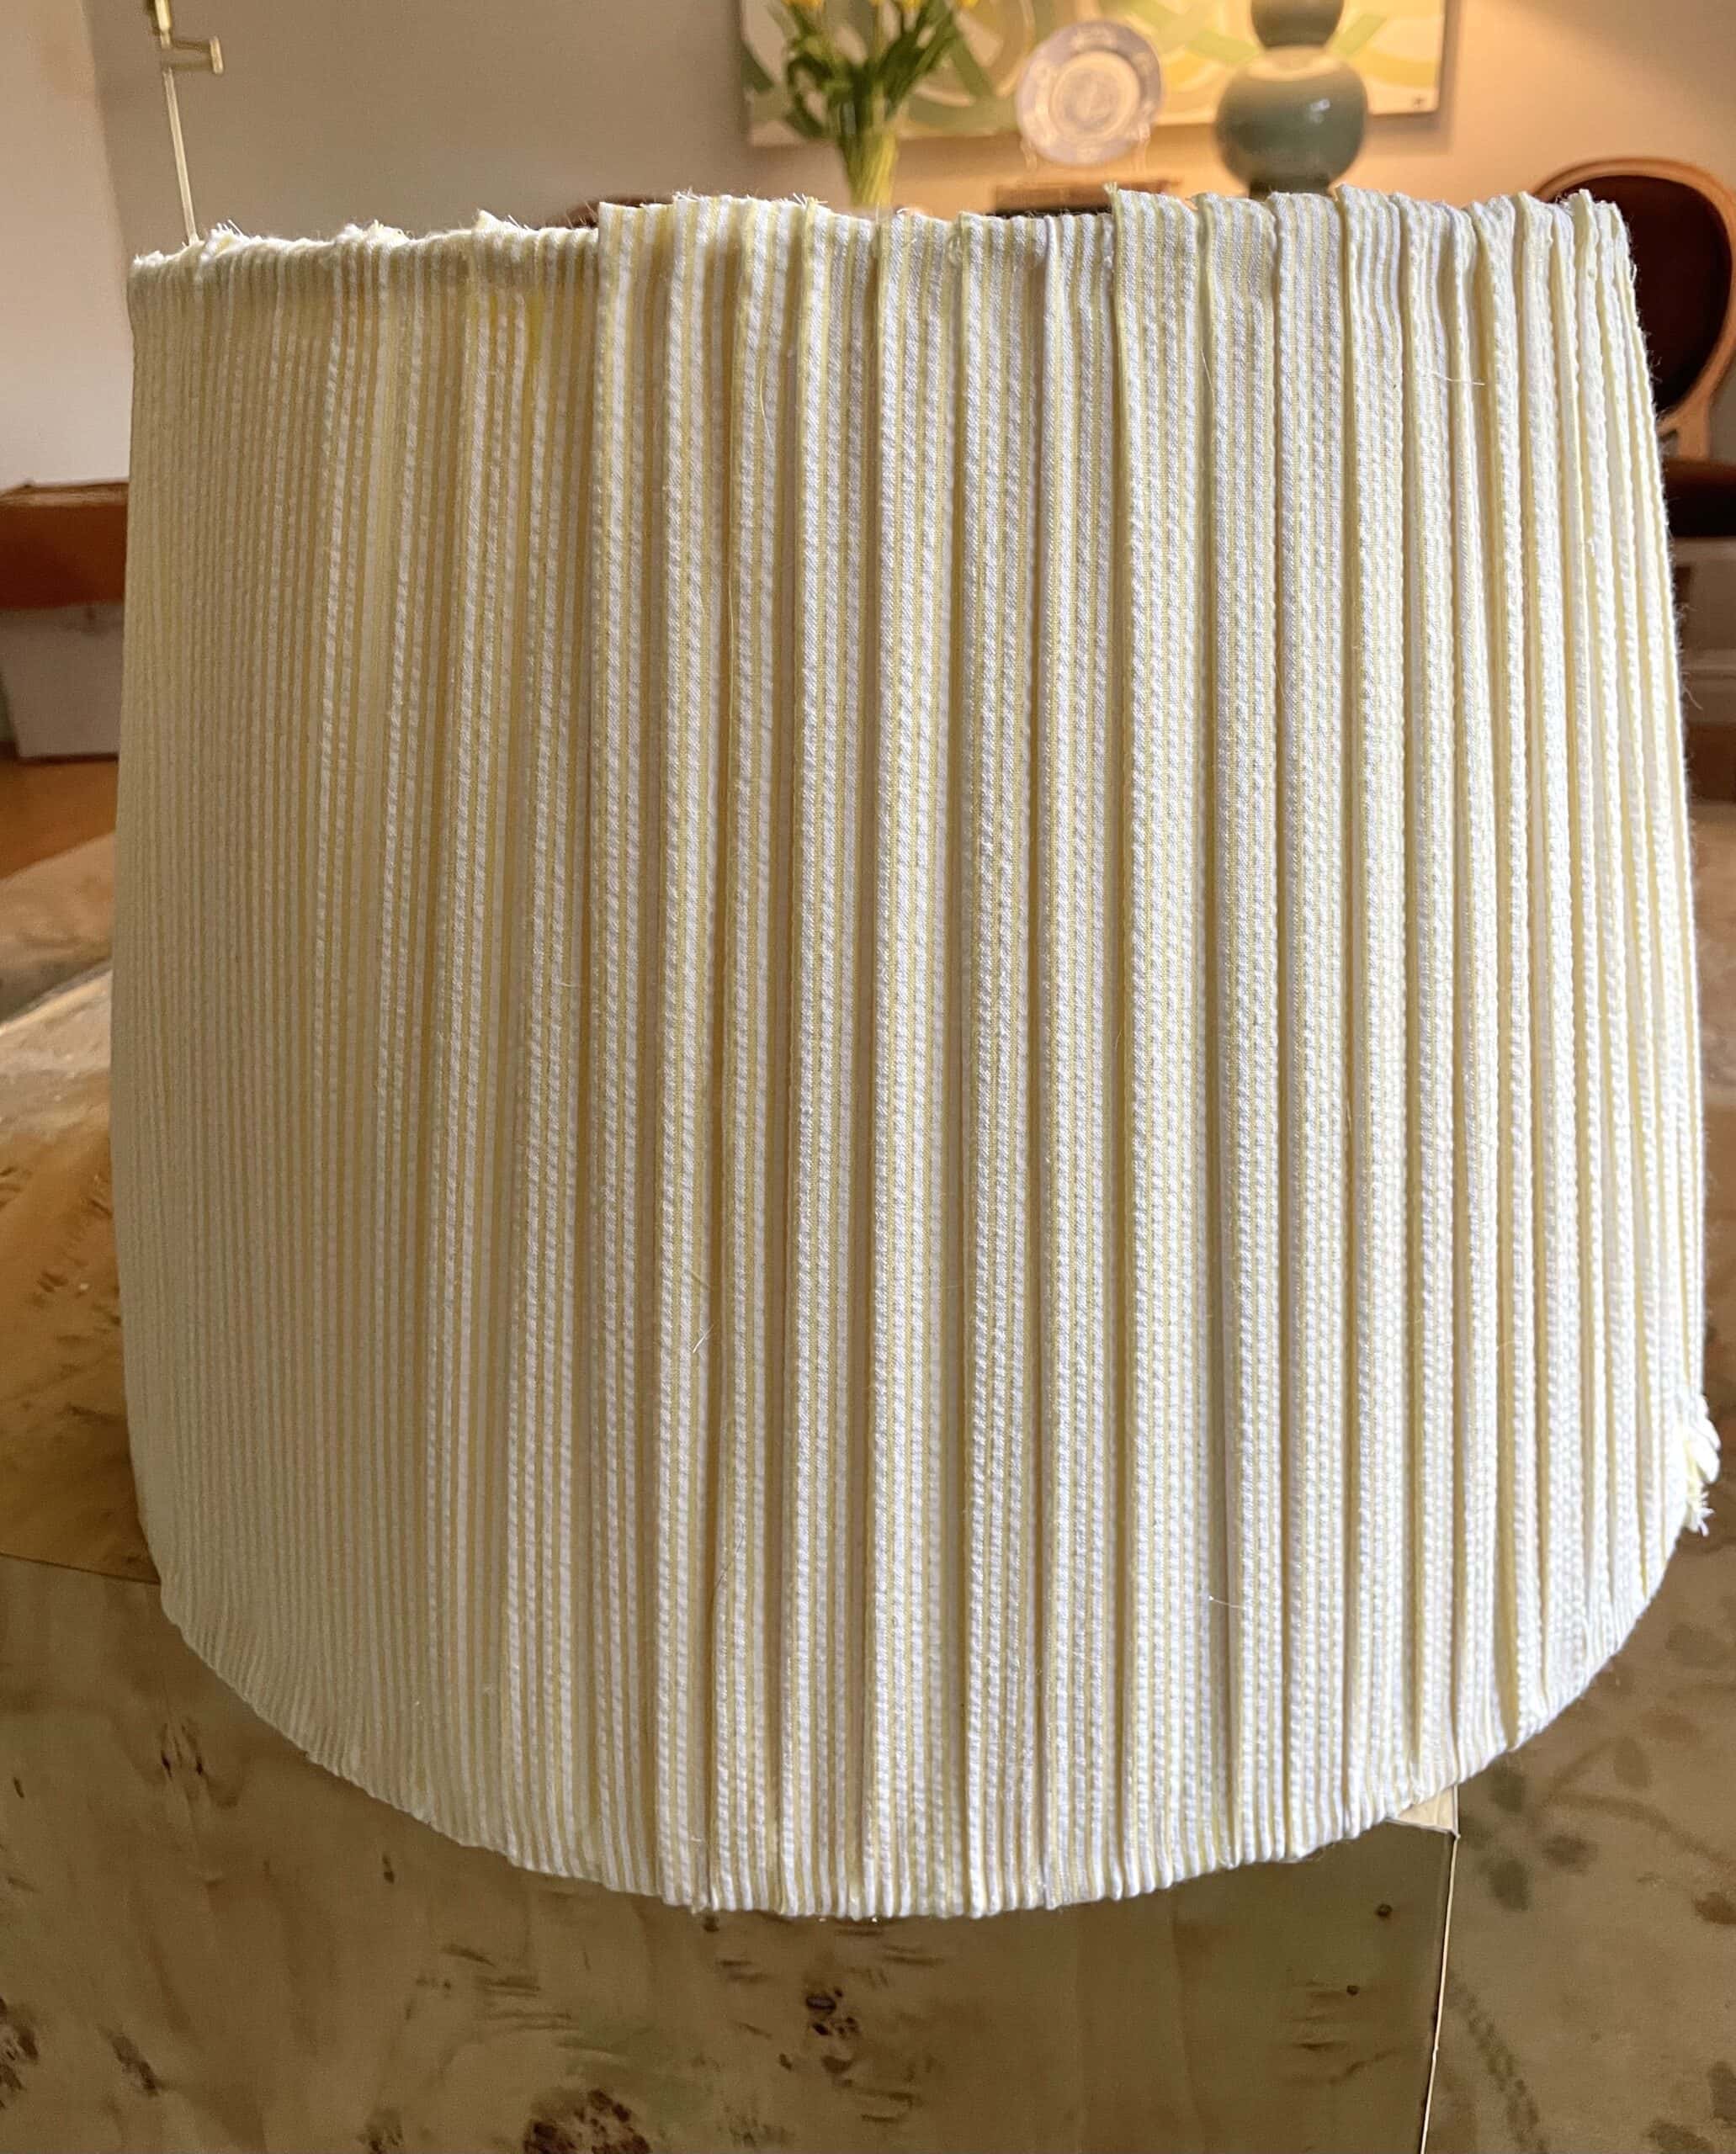
MAKE THE TRIM
Measure the top and bottom rims of your lampshade and cut two pieces of bias tape to the same lengths.
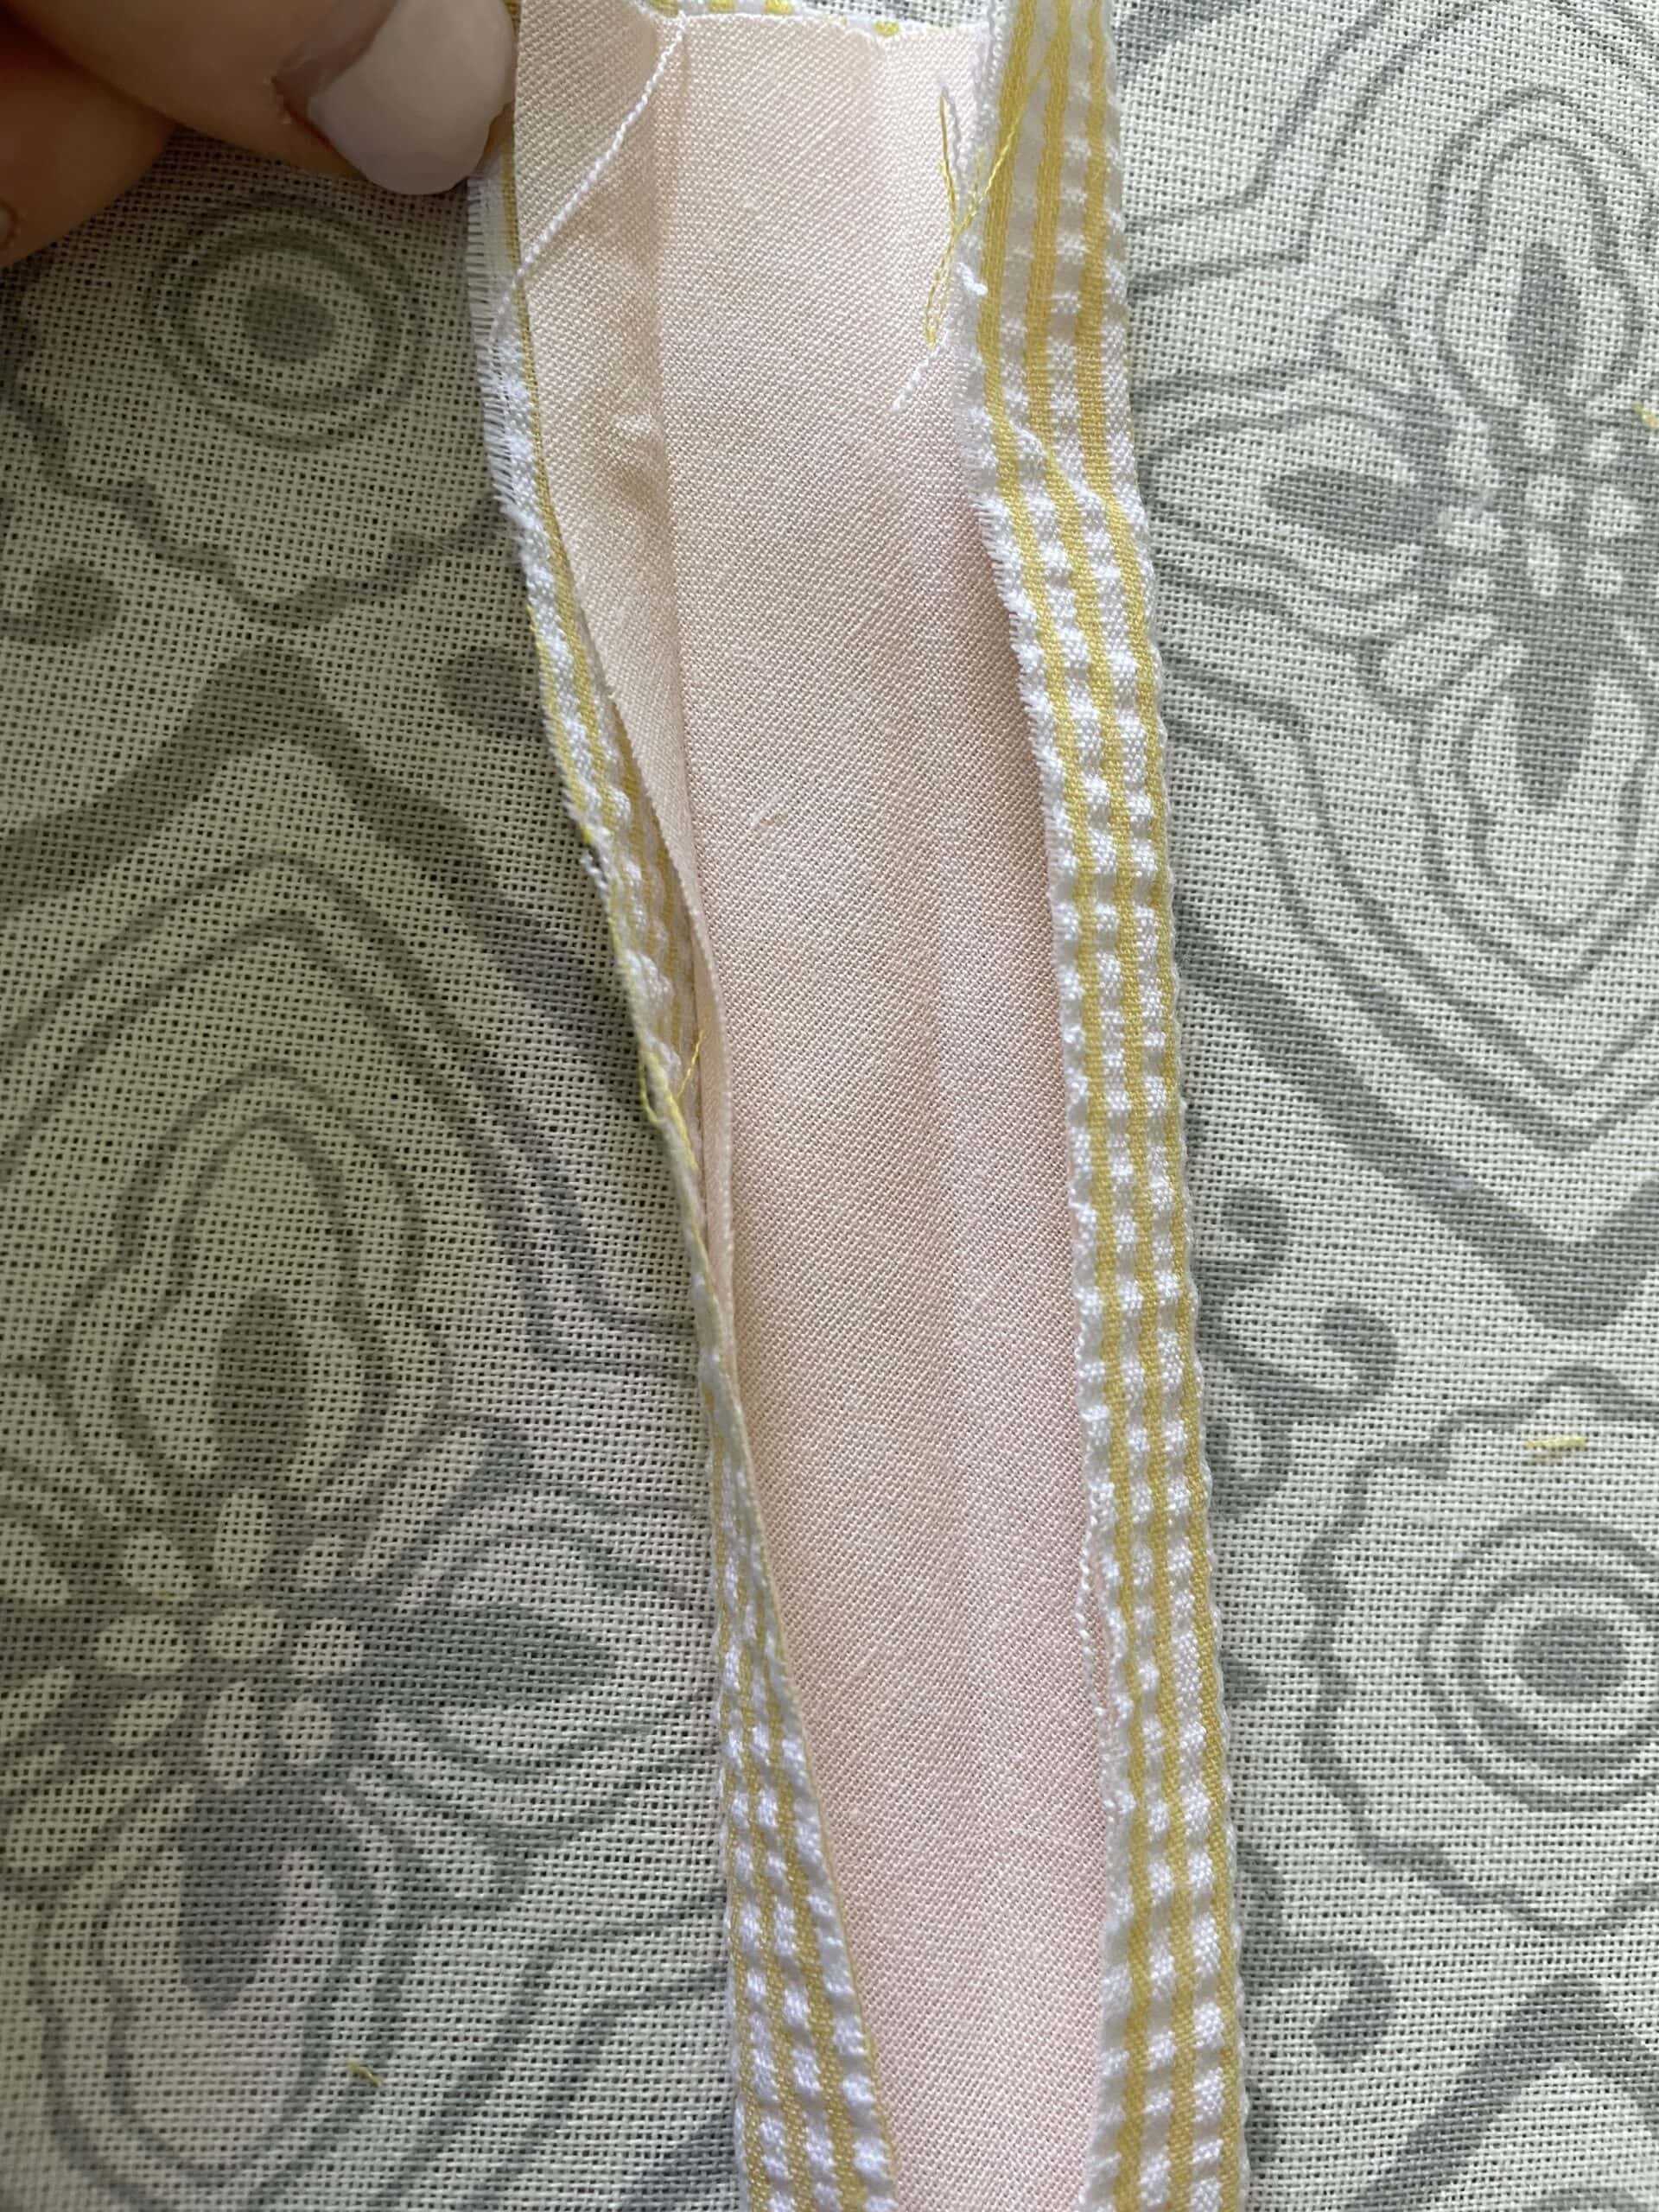
Then, cut two pieces of fabric the same lengths and widths as the bias tape and lay them out on an ironing board. Note, you don’t have to use the same fabric you used for the shade. Contrast trims are fun!
Place the pieces of bias tape on top of them, then fold your fabric over the bias tape so there’s enough to tuck under for the edges.
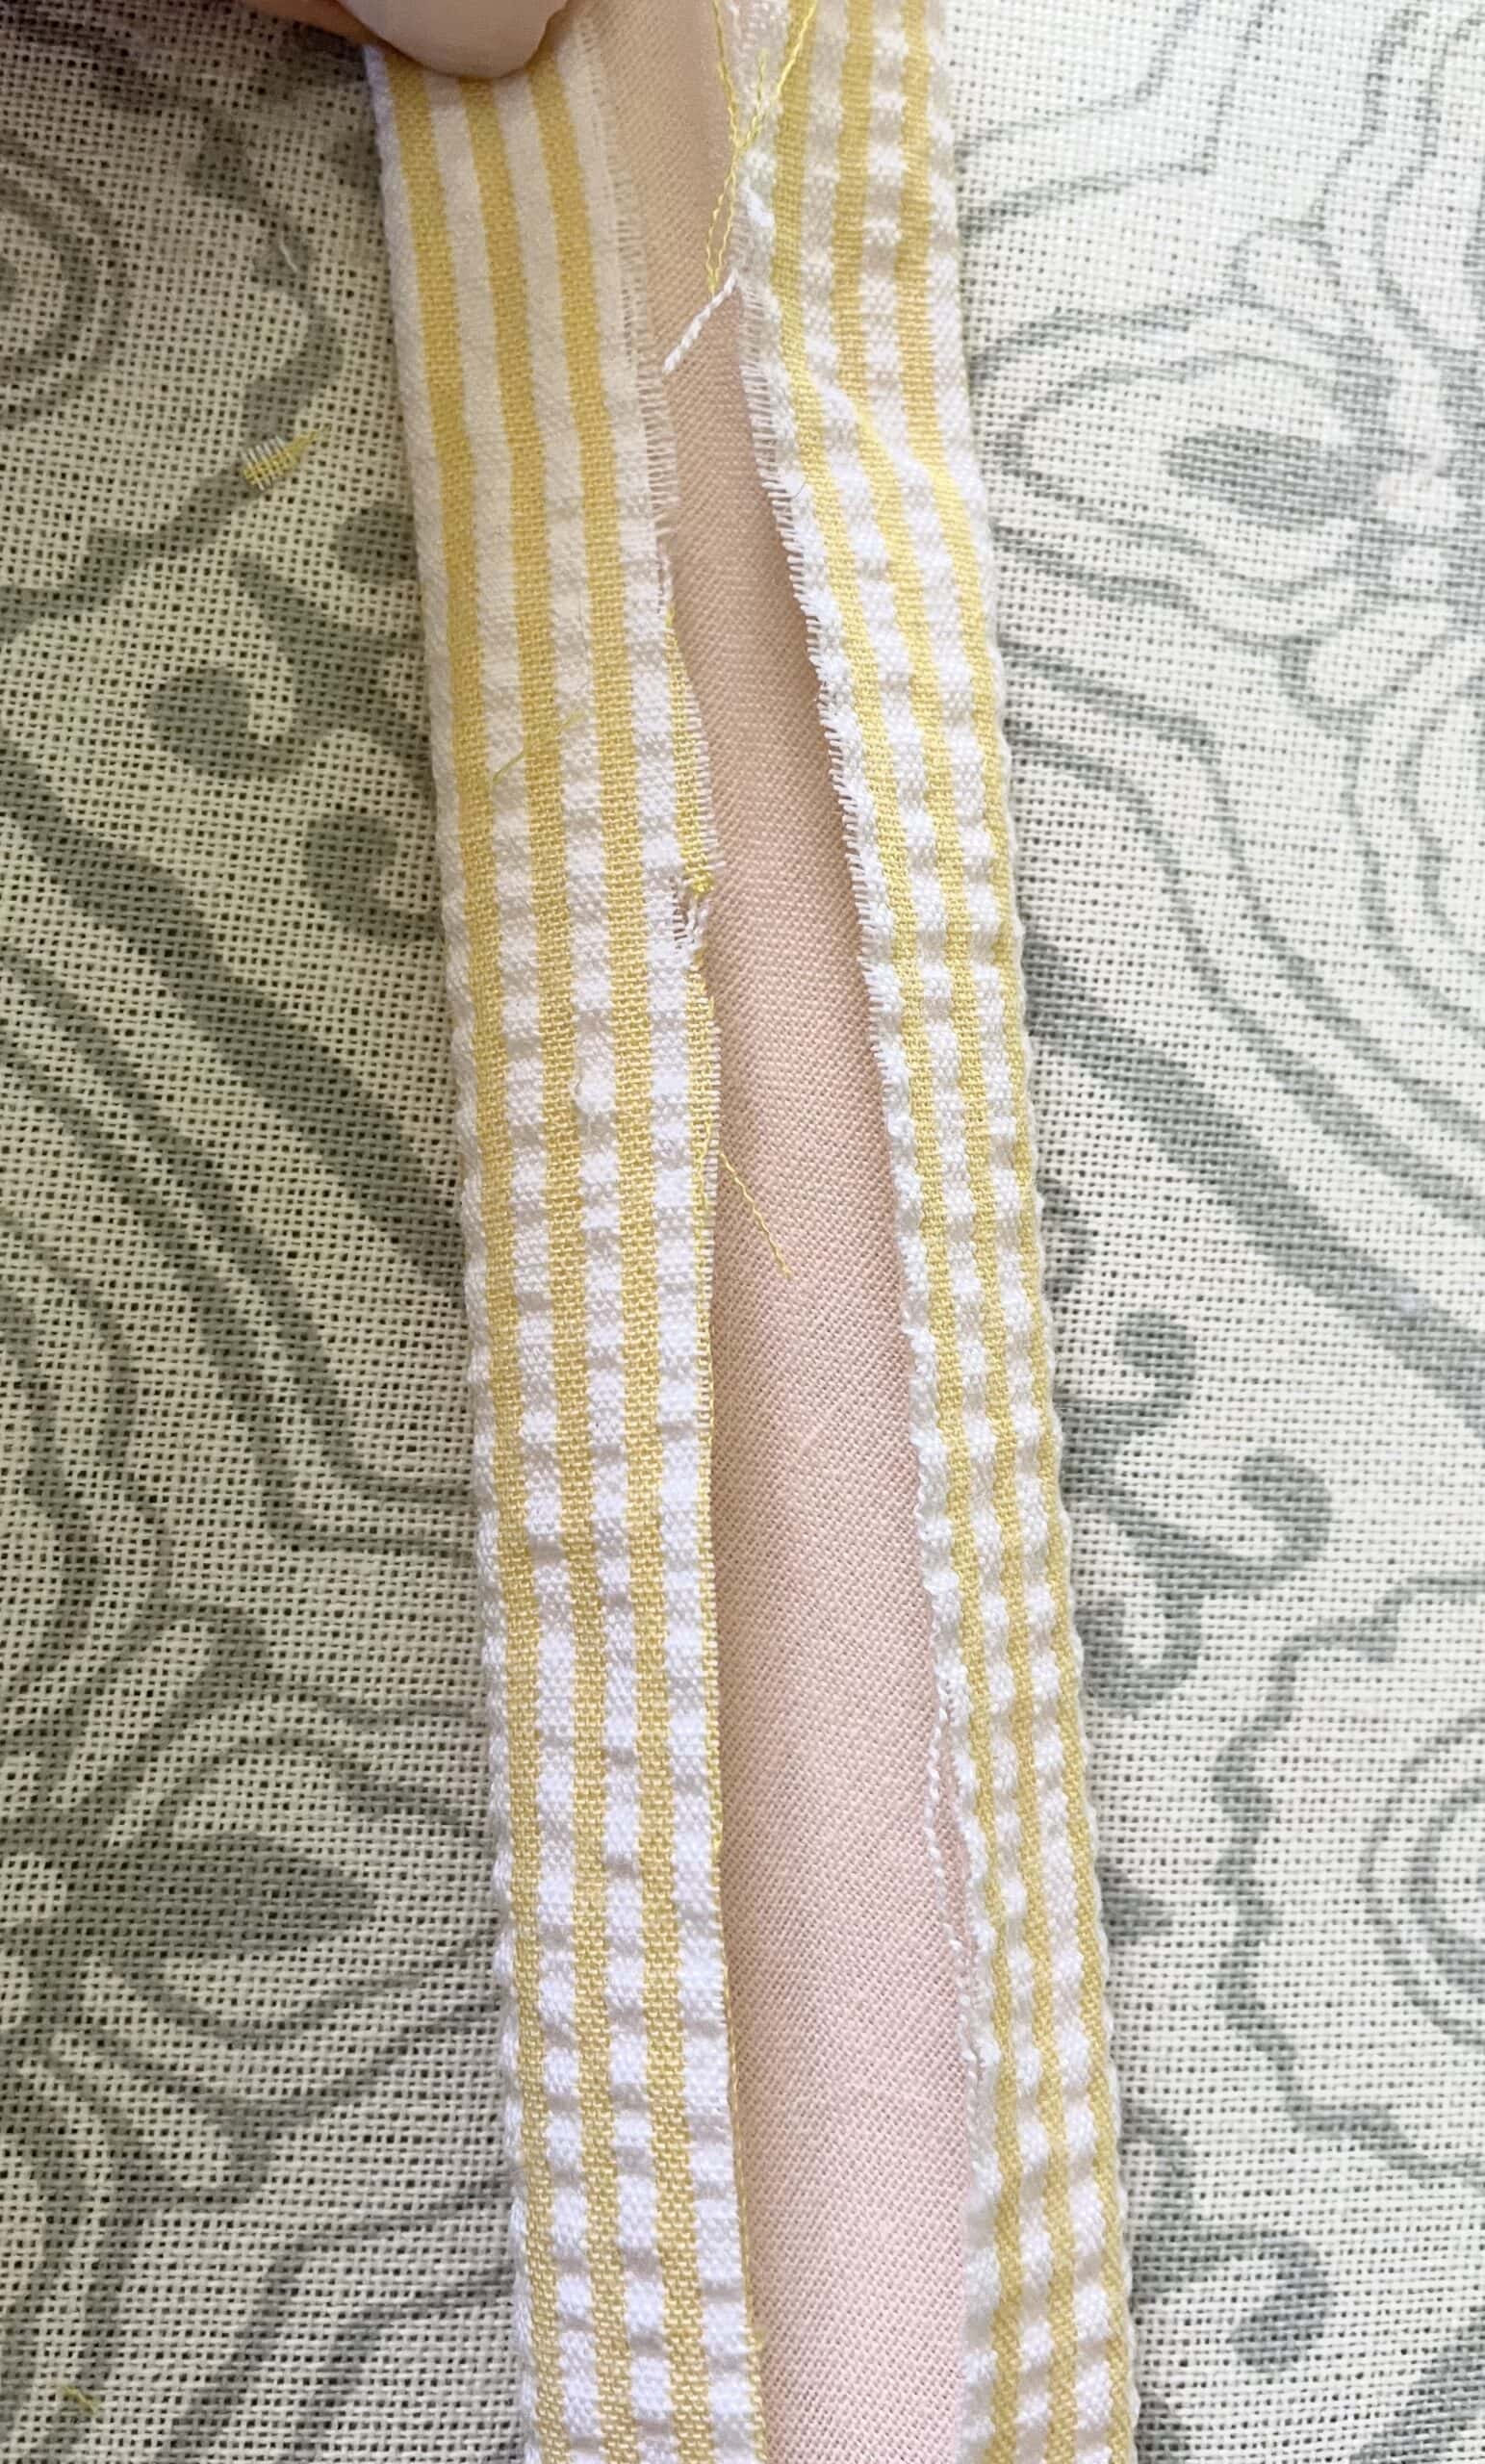
You essentially want to mimic the bias tape with your fabric to create the trim. You can press or iron it so that it’s crisp.
ATTACH TRIM TO SHADE
(this is the part where I realized my shade was not going to look good, LOL)
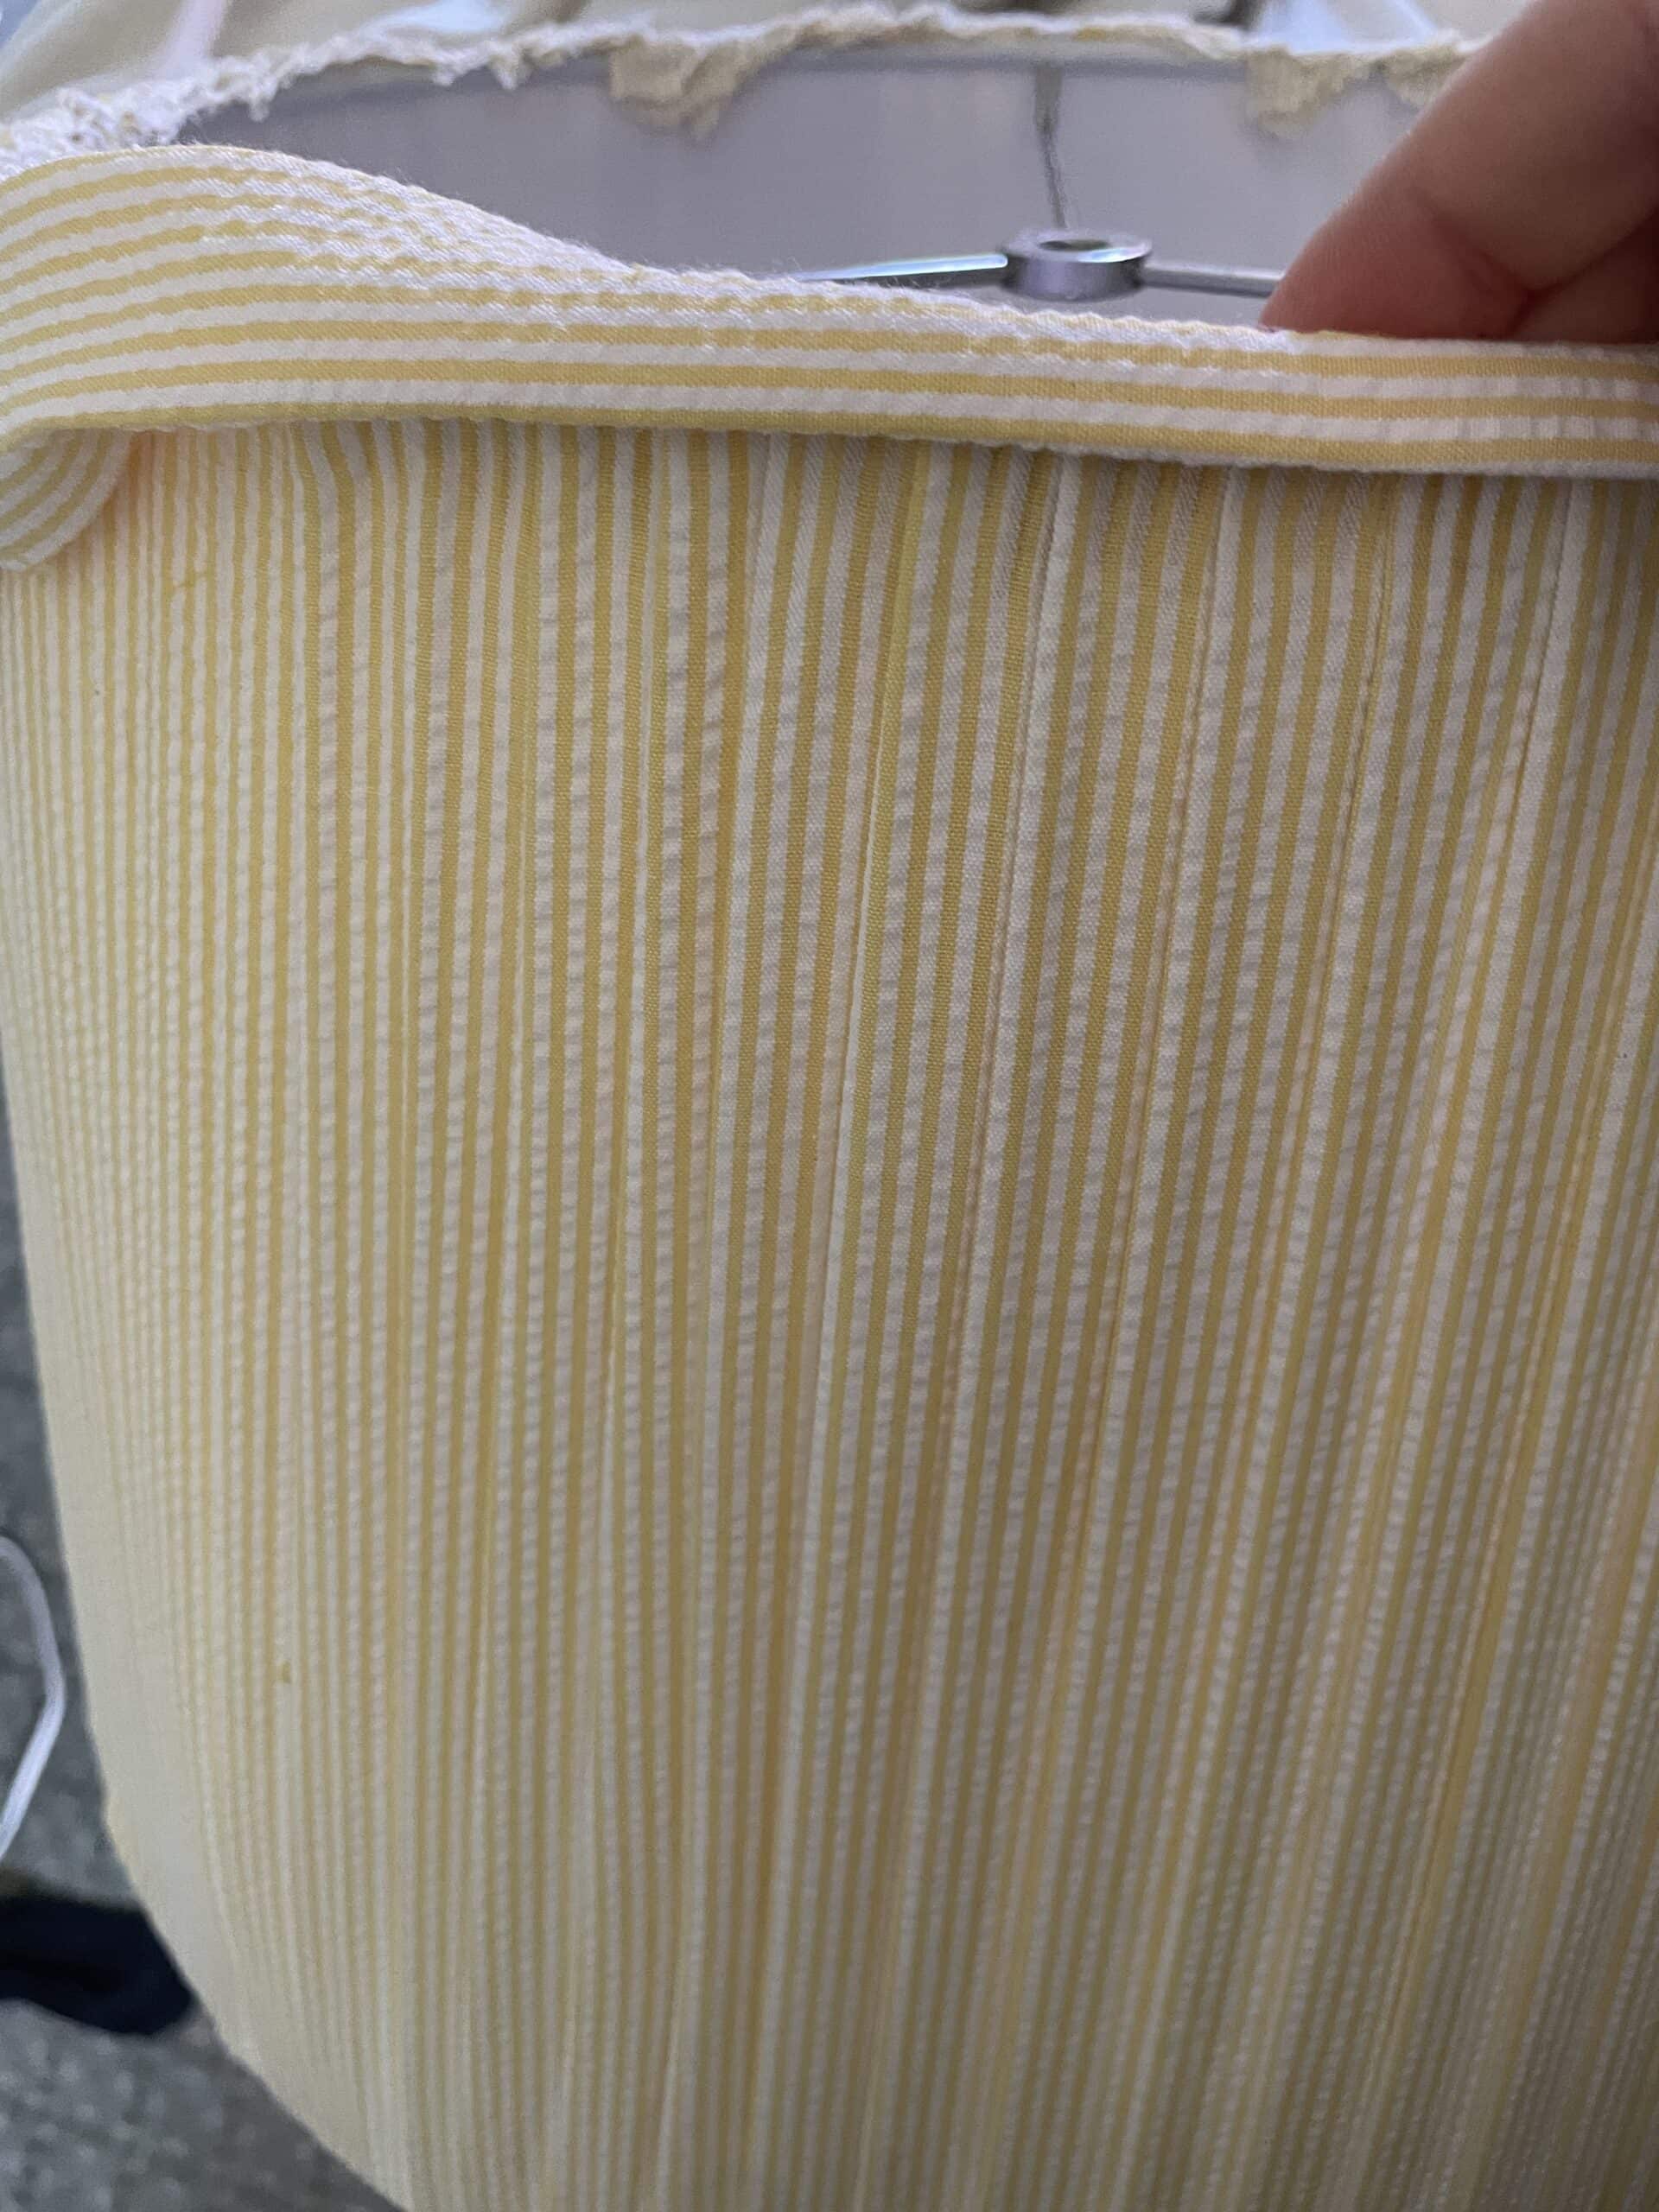
After the top and bottom pieces of trim are cut and pressed, hot glue them around the top and bottom of the lampshade. Make sure you’re covering up the ends of the pleated fabric.
The mistake I made was that I tried to straddle the trim around the edge – which made it look uneven.
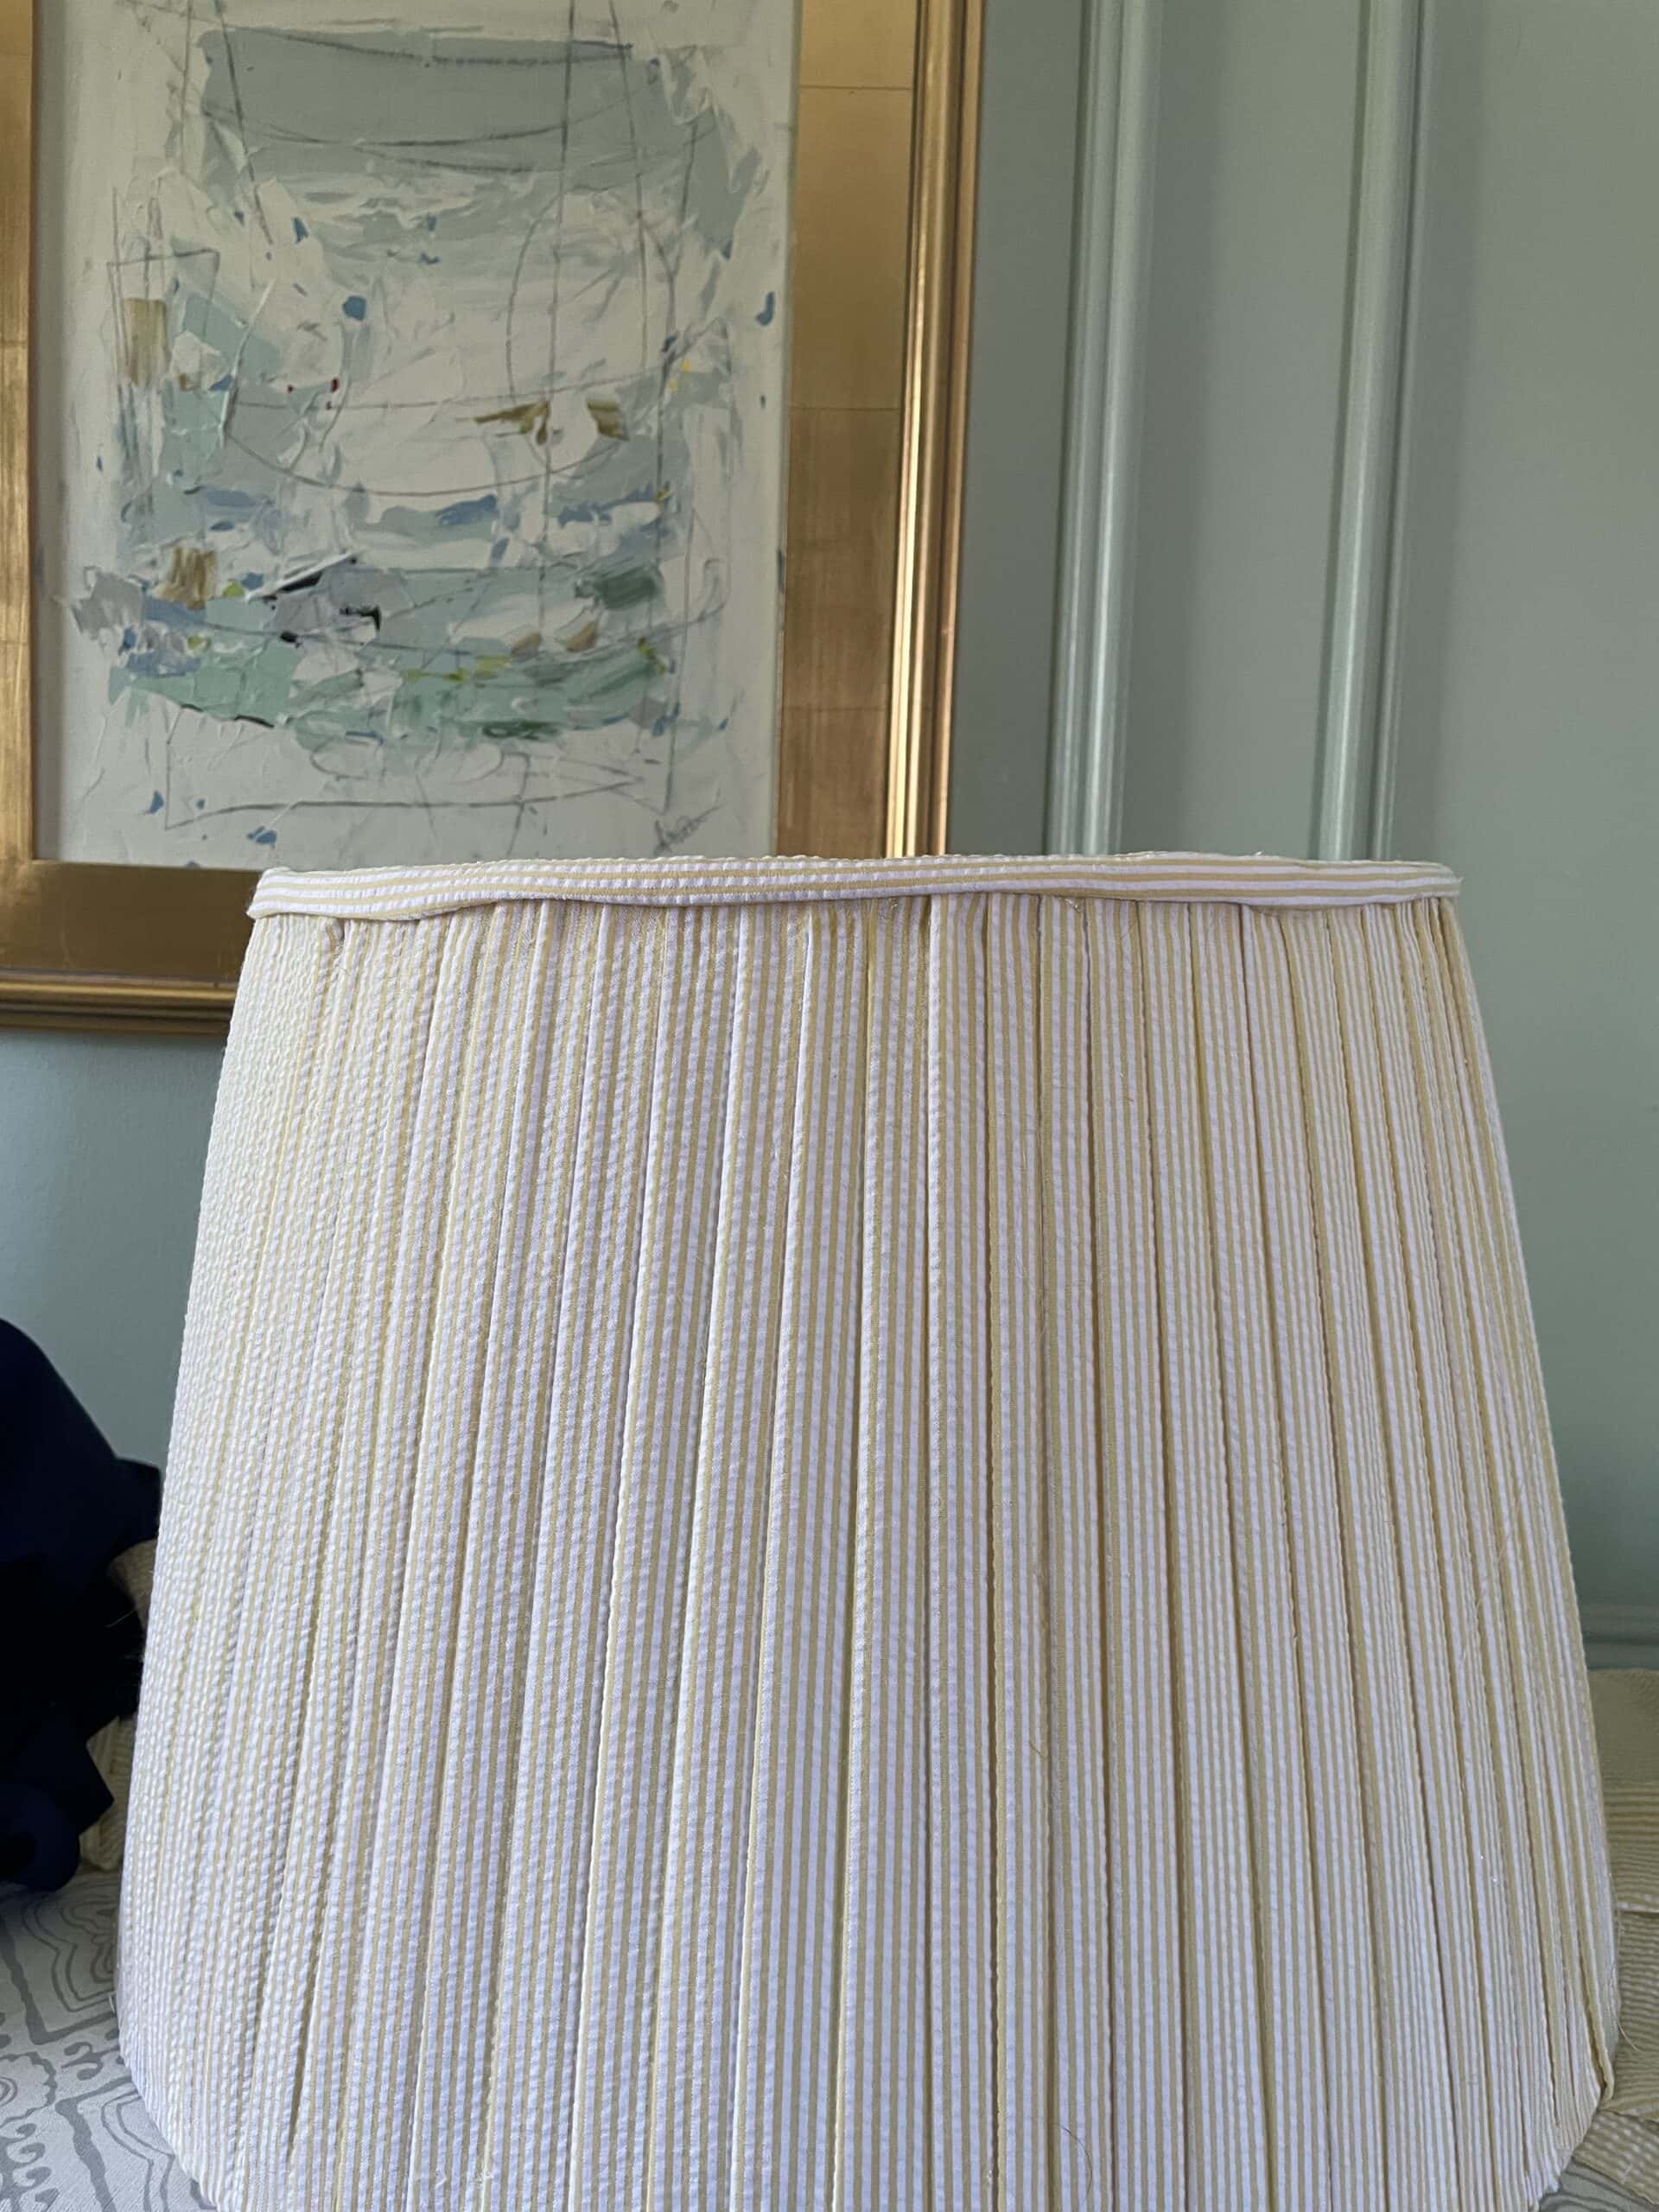
You should lay the tape down flat and glue the edges (vs. straddling tape on rim). Also, try to clean up/glue down the rough edges of fabric that are sticking out after applying the trim.
Ultimately, I gave up on this yellow seersucker shade and repeated the same steps with a new shade and this less stretchy ikat fabric. I also used a basic light blue bias tape from JoAnn so I didn’t have to worry about wrapping the ikat fabric around the bias tape.
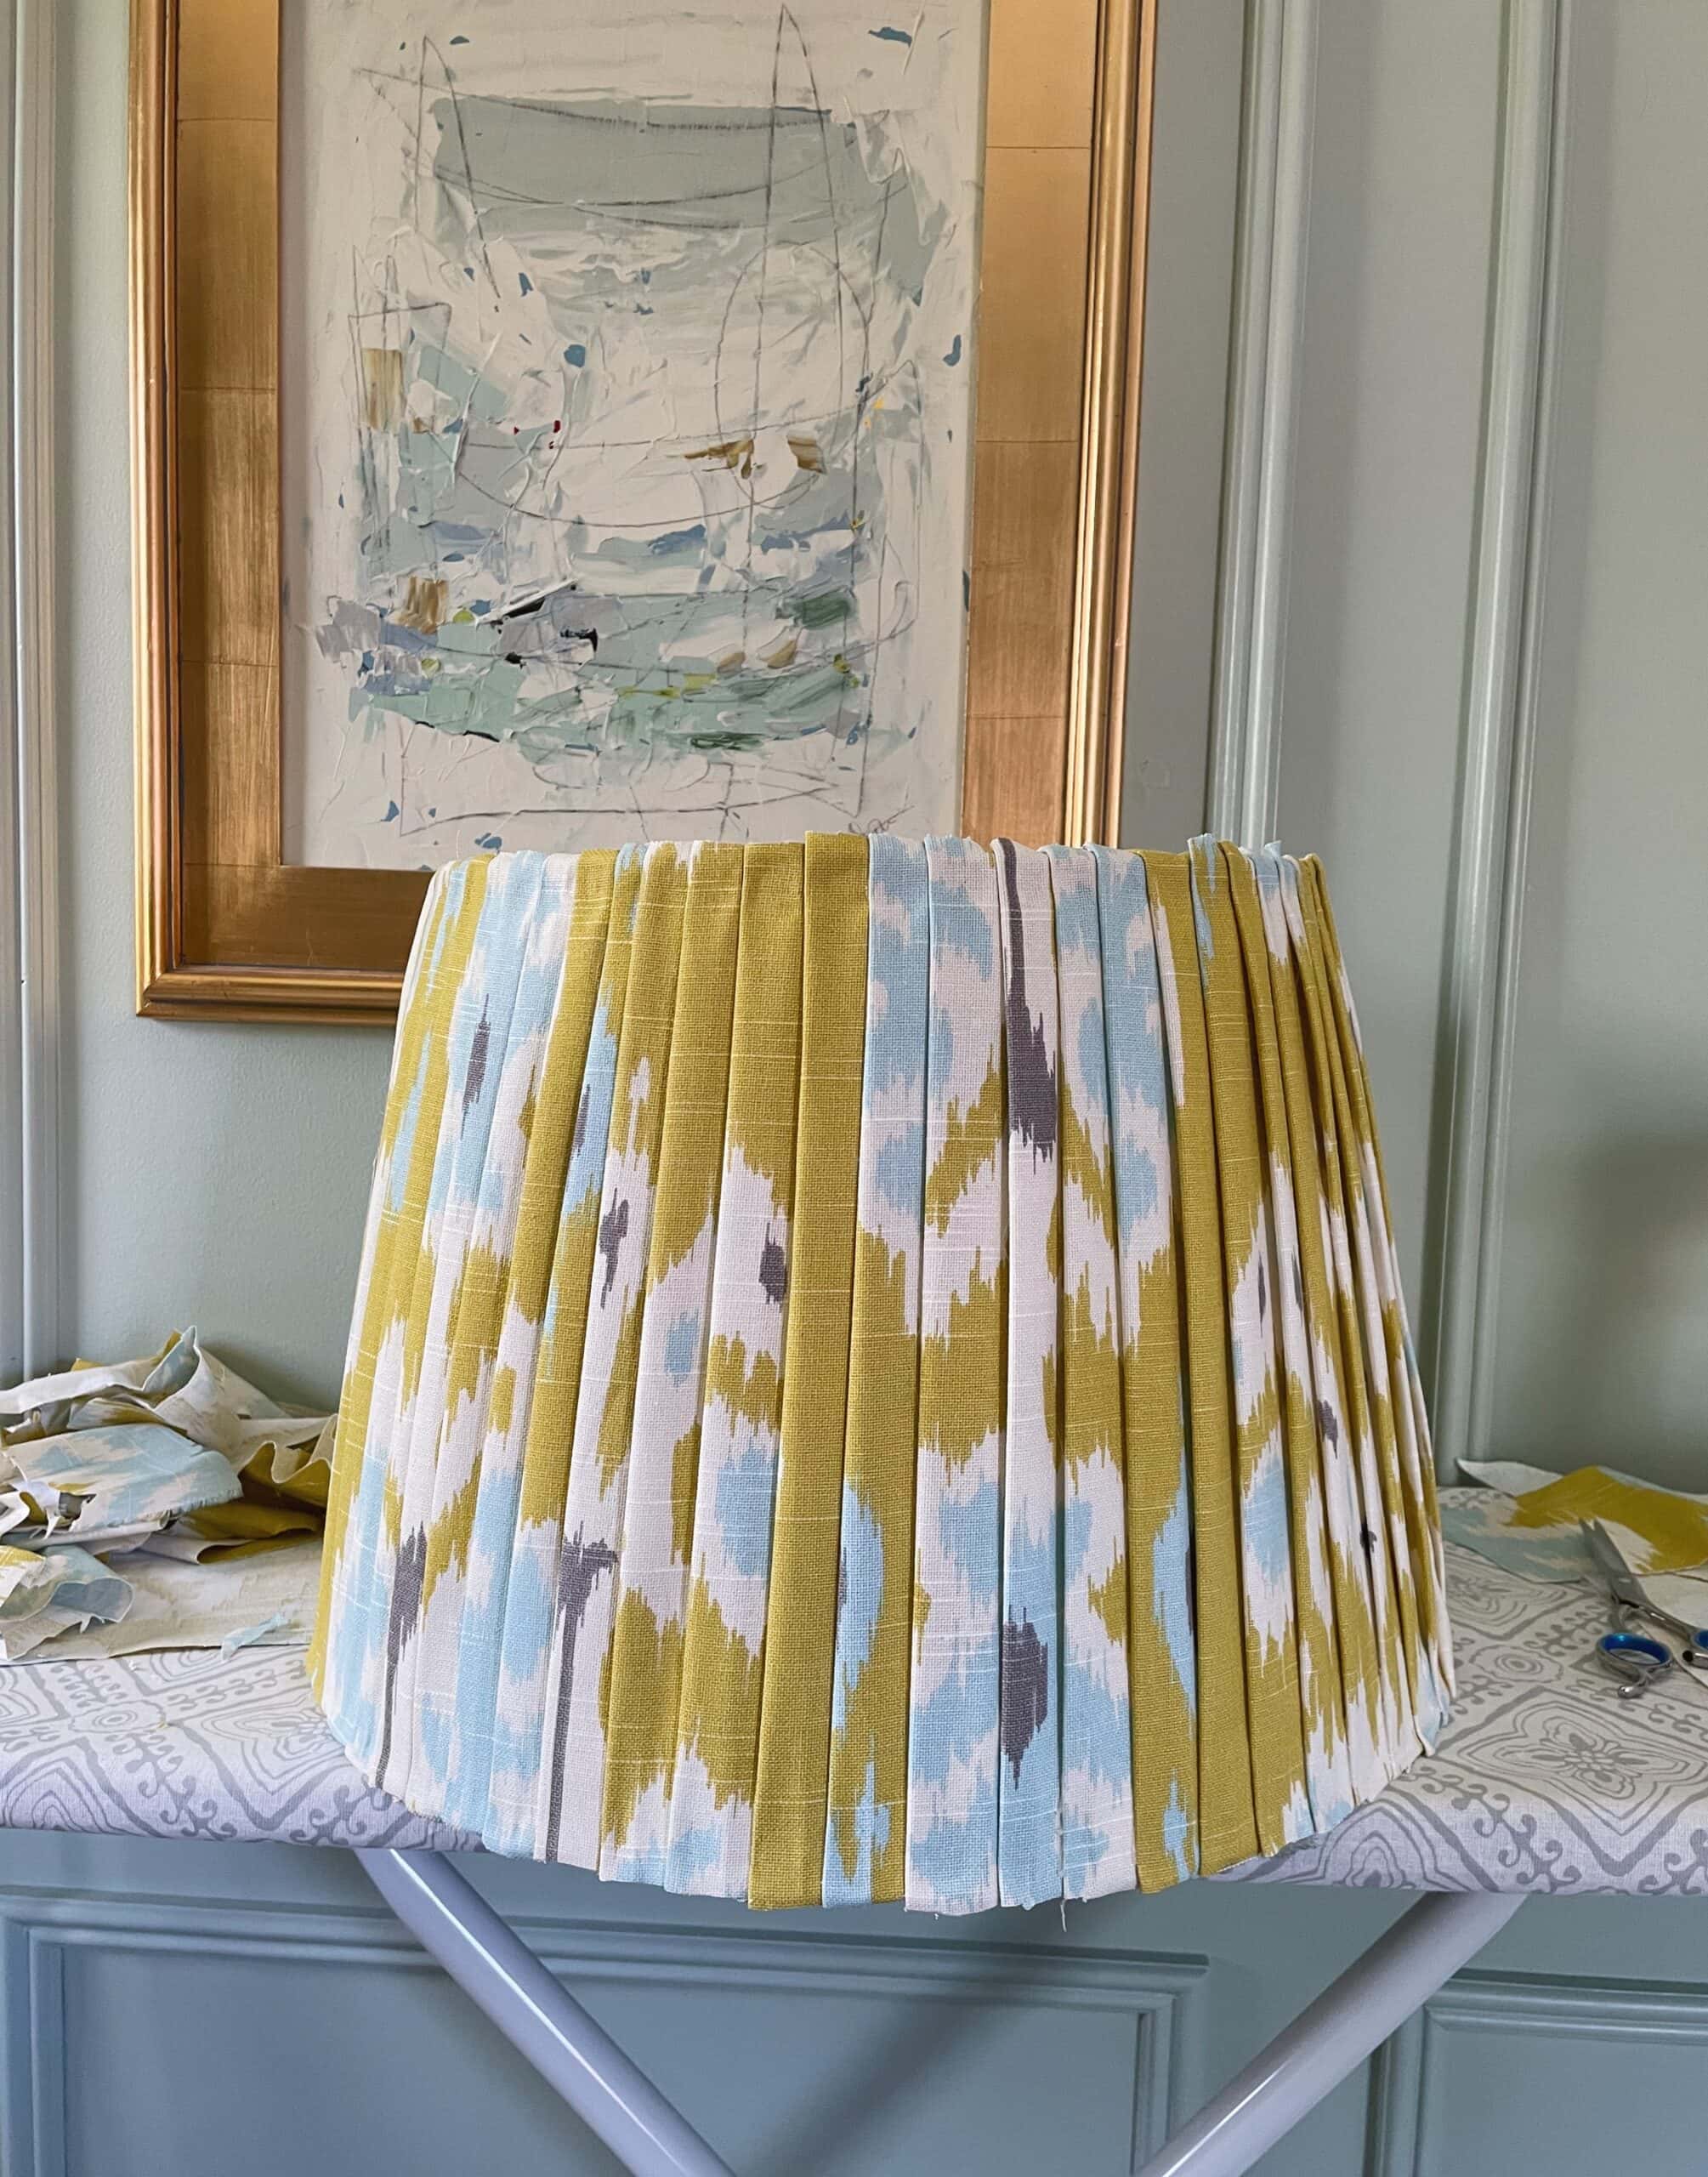
I was not 100% pleased with the end result. I still had trouble getting the bias tape to lay flat even after trimming the excess and not straddling the rims. But here’s the final result:
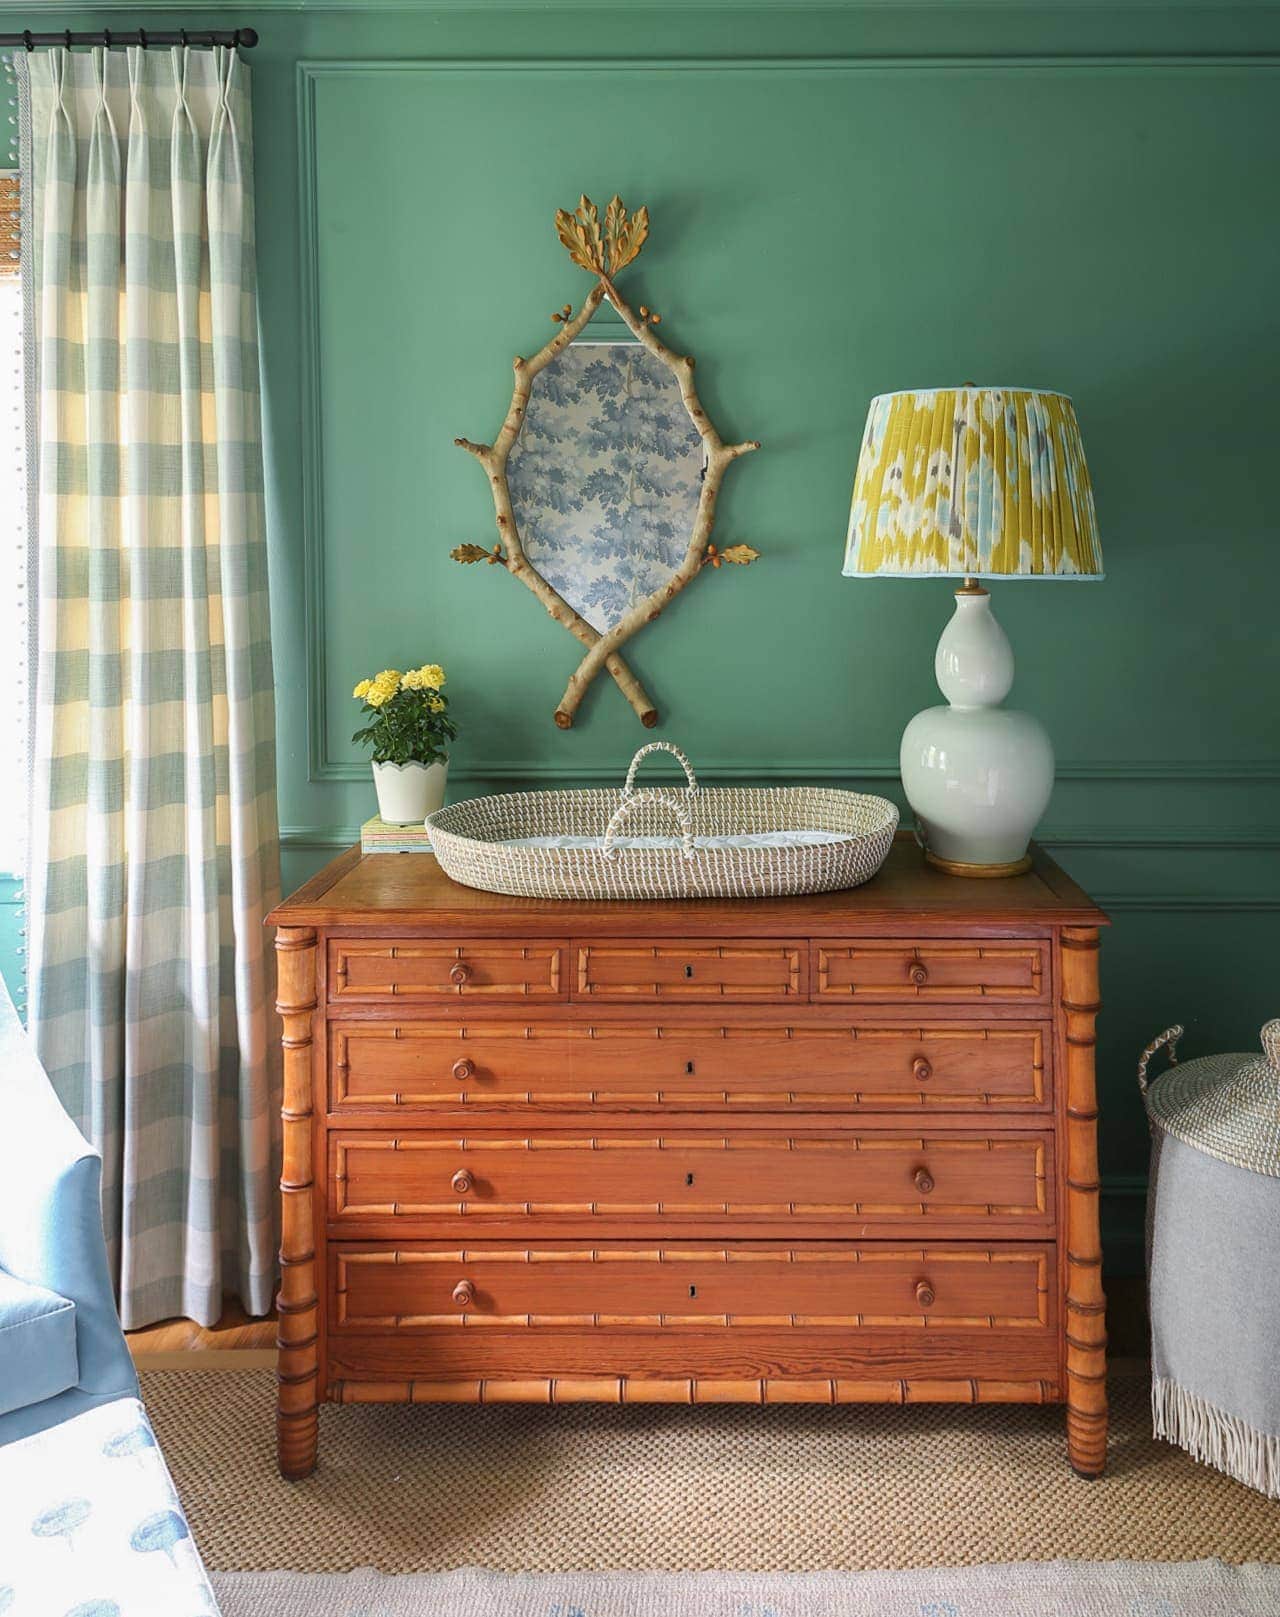
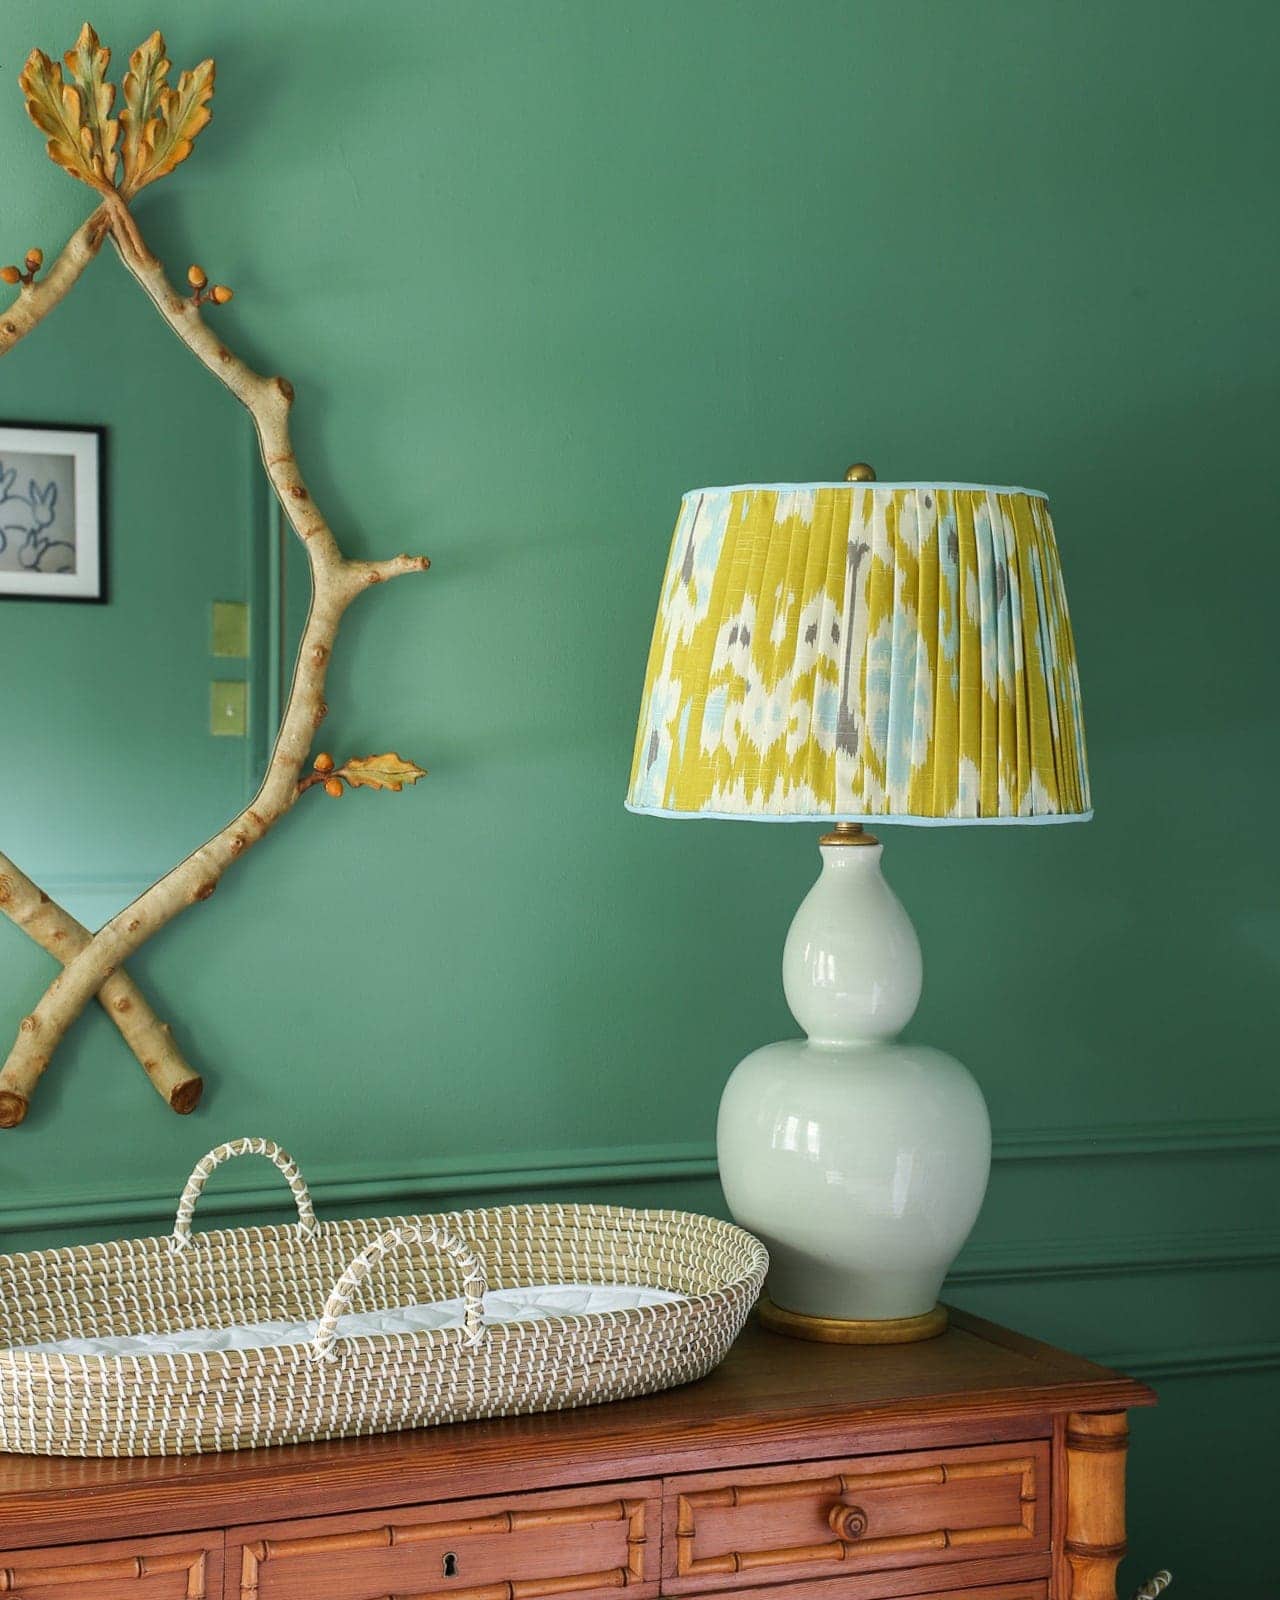
Since I wasn’t happy with the final result but still needed a shade for that gorgeous lamp, here’s the professional shade I splurged on for the nursery:
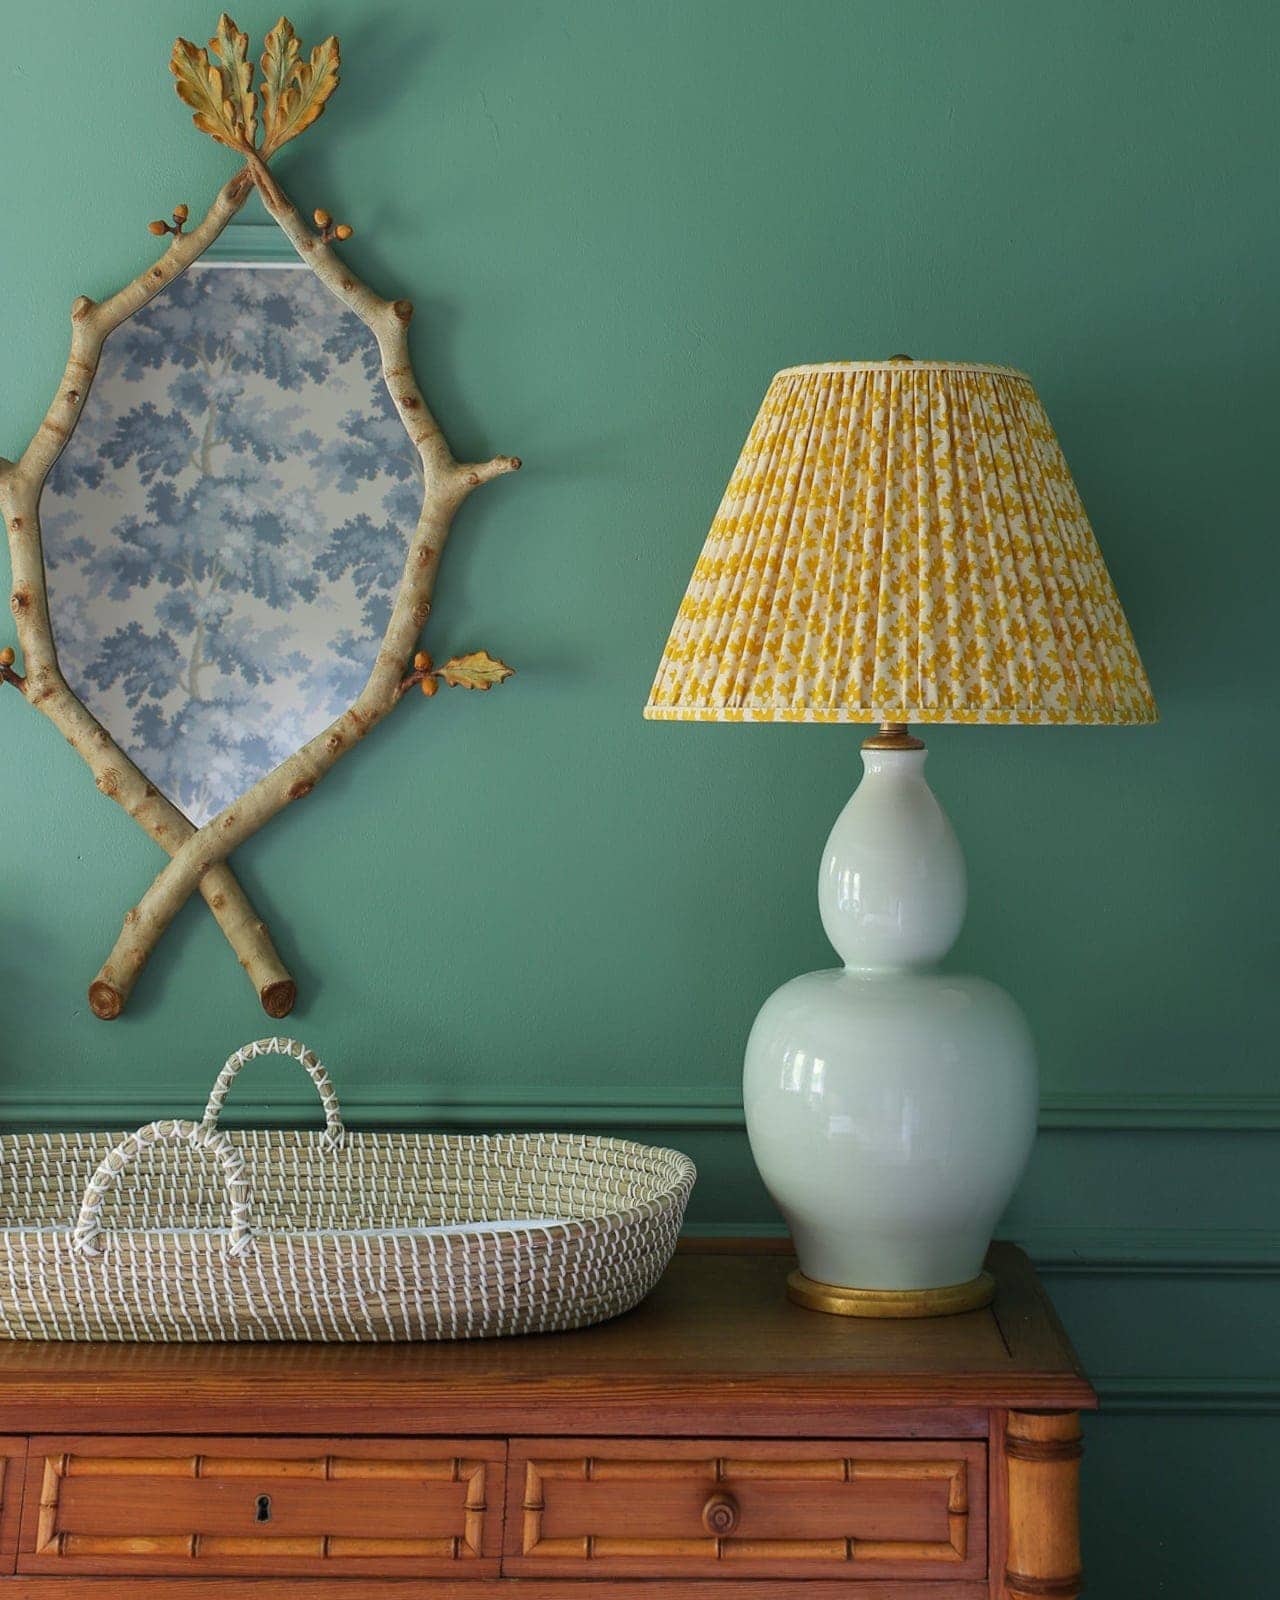
The cost of this gorgeous shade was $225, but the cost of both shades from AtHome plus fabric and supplies for the DIY was around $135. I’d rather spend the extra $100 on something that I’m happy with!
MISTAKES I MADE ON SEERSUCKER SHADE:
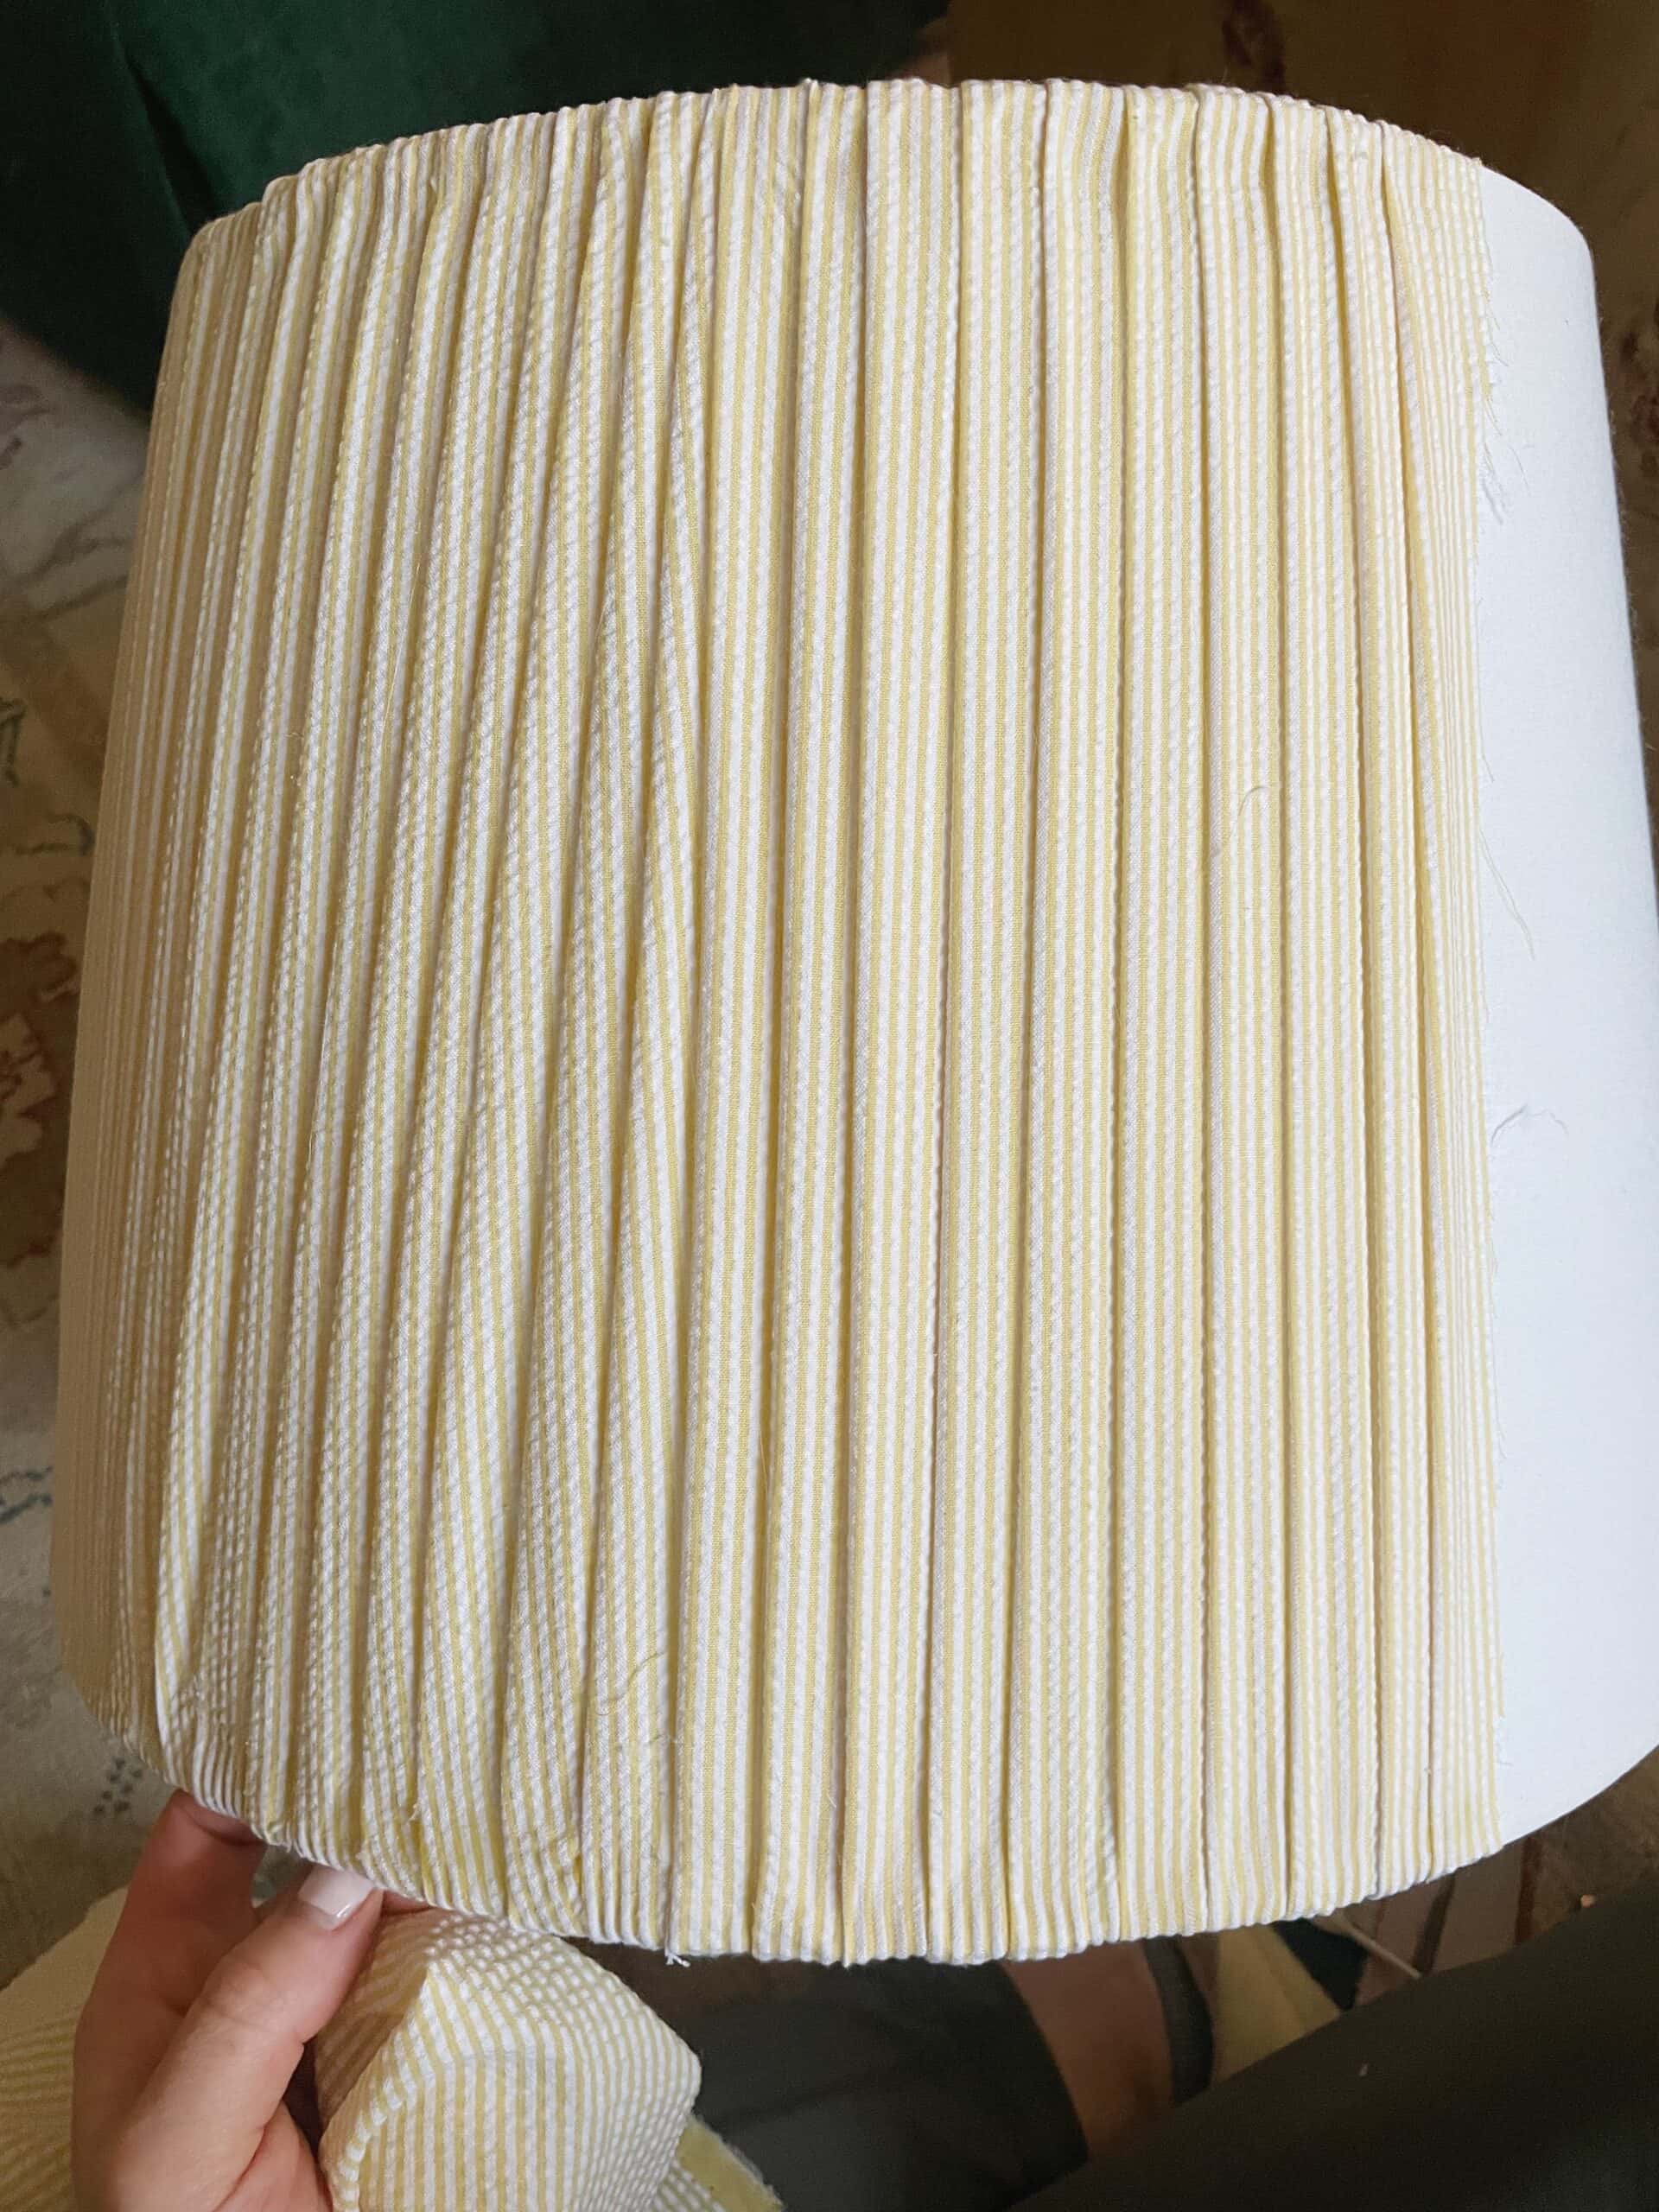
- The fabric was too stretchy. You’ll definitely want to use a fabric that has less pull and is not stretchy. The ikat fabric, which had less pull, was much better for this DIY
- Try to use a random scale pattern vs. a striped or check pattern. The seersucker lines made it really challenging to keep a straight pattern
- It was impossible to get even trim along the edges with the bias tape – again- because of the lines on the seersucker pattern:

- I also didn’t cleanly cut the edges of the pleats, so the jagged edges made it impossible to neatly apply the bias tape
- I too aggressively tried to straddle the bias tape rather than put it on in a gentle manner and just glue down the edges
- Basically, the most challenging part for me was gluing the bias tape. The pleats were easy!
In conclusion…
I definitely think this is a great DIY if you’re looking to save money but still want the custom/pleated lampshade look. But I also think there’s something to be said for just spending the money on a professionally made shade because to me, they’re worth the cost.
Hope this was helpful! Feel free to leave any questions in the comments.

Love this tutorial. I’ve been wanting to do this for years. Now I’m feeling both inspired and unsure if I have the skill. Ha. Thanks for sharing your tips!
Thank you Maria! You should definitely try it – I’m sure yours will turn out better than mine ????
Thanks for sharing your experience, Alisa! As a tip for anyone interested in trying their own covered lampshade, bias tape has stretch to it because it’s cut on a 45 degree angle to the edge (selvedge) of the fabric. It’s the stretch that allows it to bend around the curved edges of the shade for a clean finish. When you covered your bias tape with a piece of fabric cut on the straight grain (along the stripes), you removed the stretch from the bias tape and made it much trickier for the fabric to wrap around the curves of the shade. If you want to use the same fabric to cover the edges, you don’t need store bought bias tape at all – just cut a strip of your own fabric at 45 degrees to fabric edge. Good luck to anyone attempting this DIY!
Thanks so much for sharing Kelly!!
Lamp shade glue is so much better to work with than hot glue, much less messy. Also you want 100% cotton any thing with polyester won’t glue. You can buy self stick bias at any lamp shade supply to make self trim. Also learn how to make a festrum which is the arc they use to make lamp shades. For pleated you would make 2 or 3 deeding on how many pleats you wanted. Professionals always use grosgrain ribbon for trim but it must be cotton/rayon, Petershams on Etsy excellent resource for trim/ ribbon.
My problem was when I was done – it looked really weird all lit
Up. ???? it showed a bunch of shadows and was very dark
Thank you for sharing this! I really enjoyed reading about your process and the creativity involved. Looking forward to more of your inspiring posts!
Great Blog! Thanks for sharing