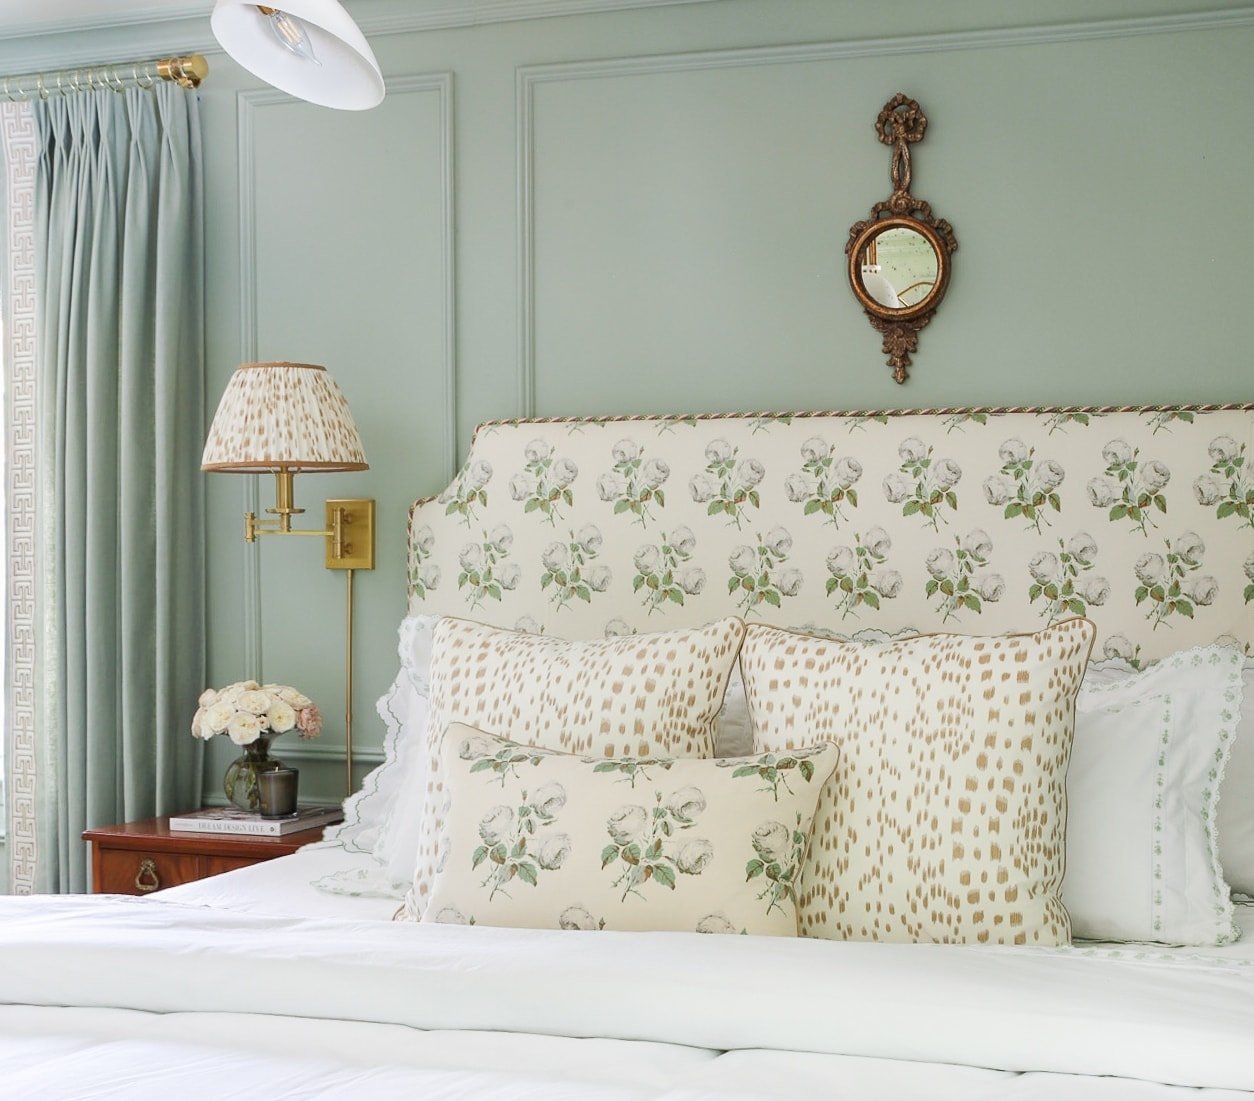
Hi there! If you’re new here, my husband and I purchased our first home (a generic, 1960’s bi-level) almost two years ago in Northern NJ. Little by little, we’re adding personality to our basic, builder-grade home, and for this spring’s One Room Challenge™, I’m tackling our master bedroom. For the next six weeks, I encourage you to sit back and follow along with a glass of (bo)vino while I dedicate nearly 98% of my free time to making over this space. The other 2% of my free time? That’s for showering and maybe the occasional snack.
The bedroom makeover to-do list:
- Paint the walls in Farrow and Ball De Nimes – DONE
- Install Metrie molding:
- crown – DONE
- base – DONE
- wall – ALMOST DONE
- Caulk and fill molding – ALMOST DONE
- Prime the ceiling – DONE
- Paint the ceiling (De Nimes)
- Rip out all existing (old af) doors and door frames – DONE
- Source new furniture, lighting, rugs, pillows, bedding, curtains, roman shades and accessories – HALFWAY THERE
- Paint a second coat of De Nimes on the wall (once molding and trim is complete)
- Paint all trim and molding with Semi-Gloss De Nimes
- Paint and install new Reeb doors throughout the room (4 total)
- Bedroom entry
- My closet (I opted for two smaller double doors instead of one big door. I love the look of closet double doors)
- Angelo’s closet (also double doors)
- Master bathroom
- Install Emtek hardware on all doors
- Install door casing around new doors
- Install Hudson Valley Lighting wall sconces and picture light
- Replace existing ceiling fan with a chandelier (and buy a substitute for the fan – maybe a Dyson air purifier
- Install House of Hackney Artmis wallpaper in …. bedroom? bathroom? it will most likely be a last minute decision since I can’t make up my mind!
Option 1:
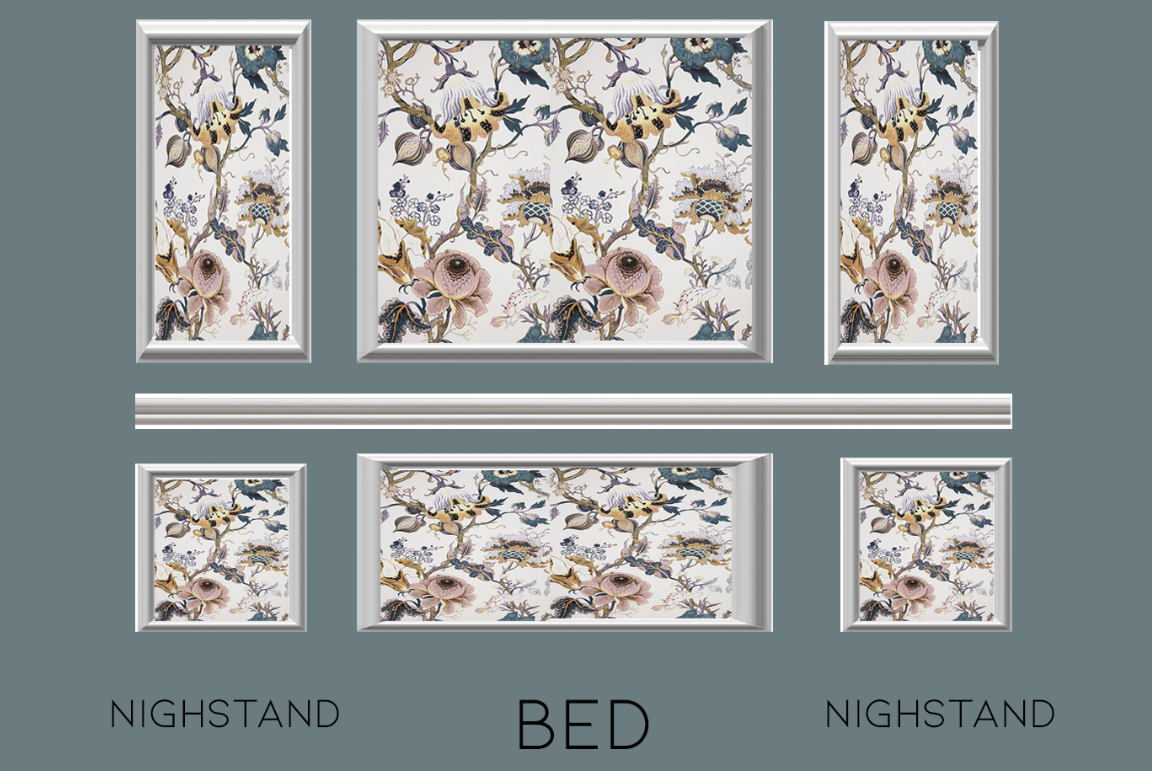
Option 2:
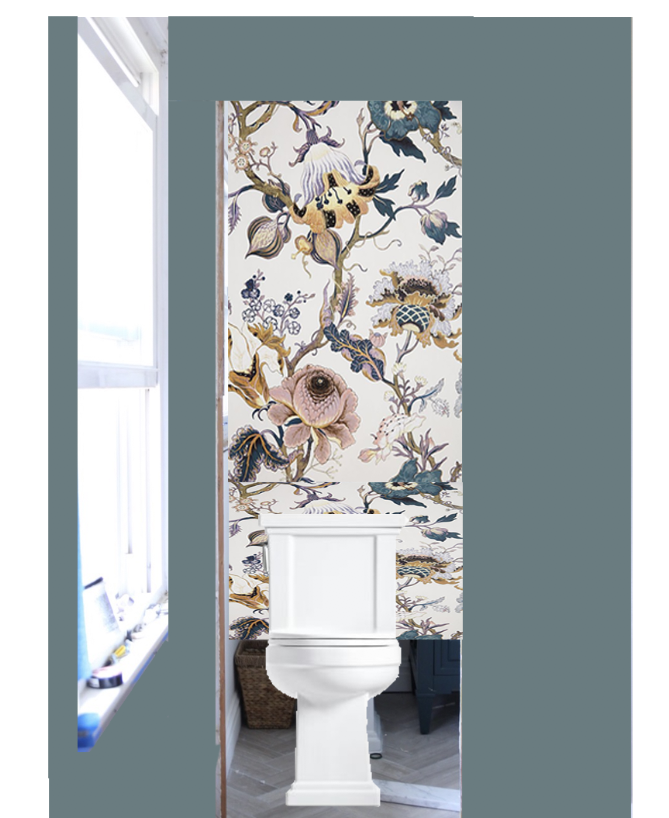
I thought that once I found the paint color, I’d be able to move on with my life. Who am I kidding.
Here’s what I accomplished this week:
Furniture sourcing:
Wayfair’s massive once-yearly sale was this week, and all of my energy was focused on finding a bed/nightstand/rug combo that worked with De Nimes.
I’m ashamed to admit I spent ~19 hours total scouring through their site over the course of 3 days looking for the perfect items. And wouldn’t you know – I ended up buying the very first bed that I pinned a few weeks ago. Why do I drive myself up a wall, going through a million different options, when I almost always end up choosing the very first option?! WHY.
Whatever, I’m just happy I got that over with. Now that I’ve chosen the bed, I can move on to everything else I need to buy 🙂
Trim and molding:
A few weeks ago, I was scared to use the miter saw. But my handy husband taught me how to use it and now I can’t stop using it. I’m addicted to cutting and installing molding, LOL.
I receive a lot of “omg you do that all by yourself?!” questions on IG and to be honest…it’s really not that hard once you get the hang of it. I highly encourage everyone to try it themselves instead of hiring out. And that’s how I feel about anything relating to home improvement.
You can do the thing.
Anyway, I first installed the crown and the chair rail to set the height of the top and bottom trim boxes.
(this is the tutorial I used to cut crown molding, which, for angle-challenged people like me, can be complicated).

Once I had installed the crown and chair rail, I measured out the boxes based on the length and height of the wall I had to work with. And then the measuring, cutting, and install started!
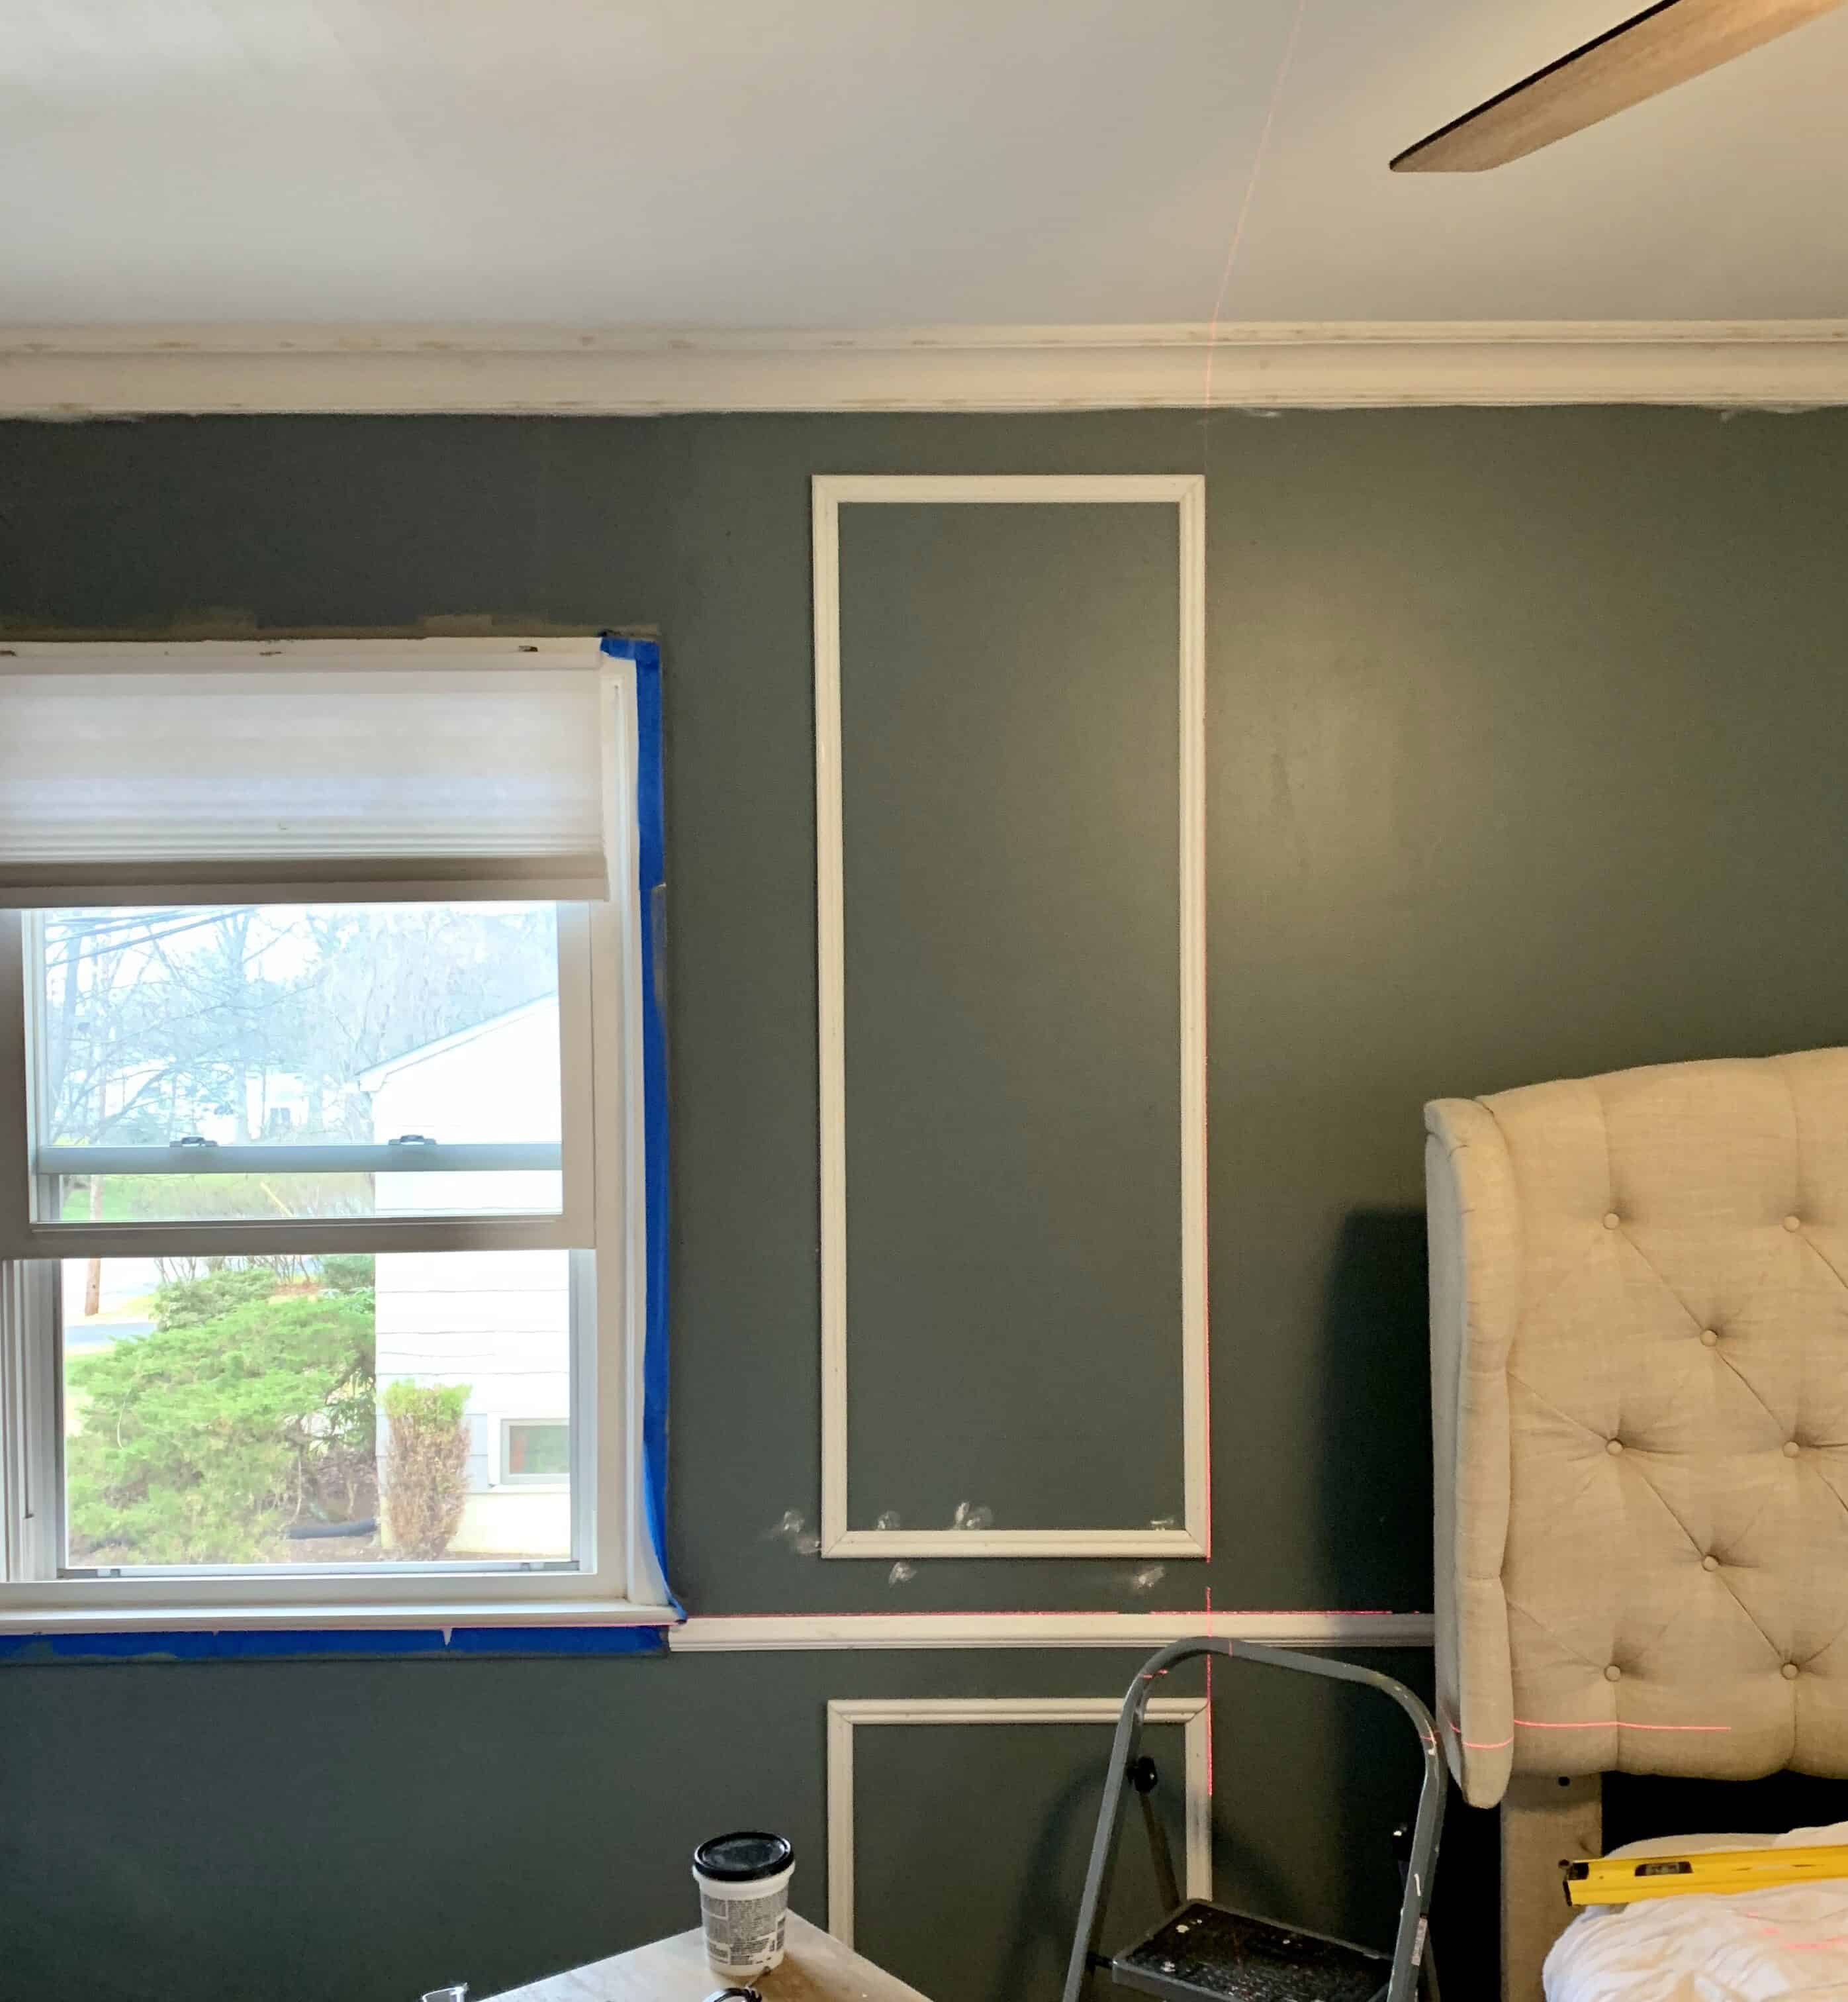
I only got through half of the room this week and plan to finish the other half next week.
“This hooman has a few screws loose”
Painted the ceiling:
Since I had leftover Wolf Gray paint from last week’s paint debacle, I figured I could save some of the F&B paint by painting the ceiling with Wolf Gray as the primer and then go over that with another coat of F&B De Nimes. It worked well on the walls so, why not.
It’s ugly right now, but my GOD what a difference a dark ceiling makes when the walls are also dark. I swear the room already feels bigger and taller. SCIENCE

Door demo:
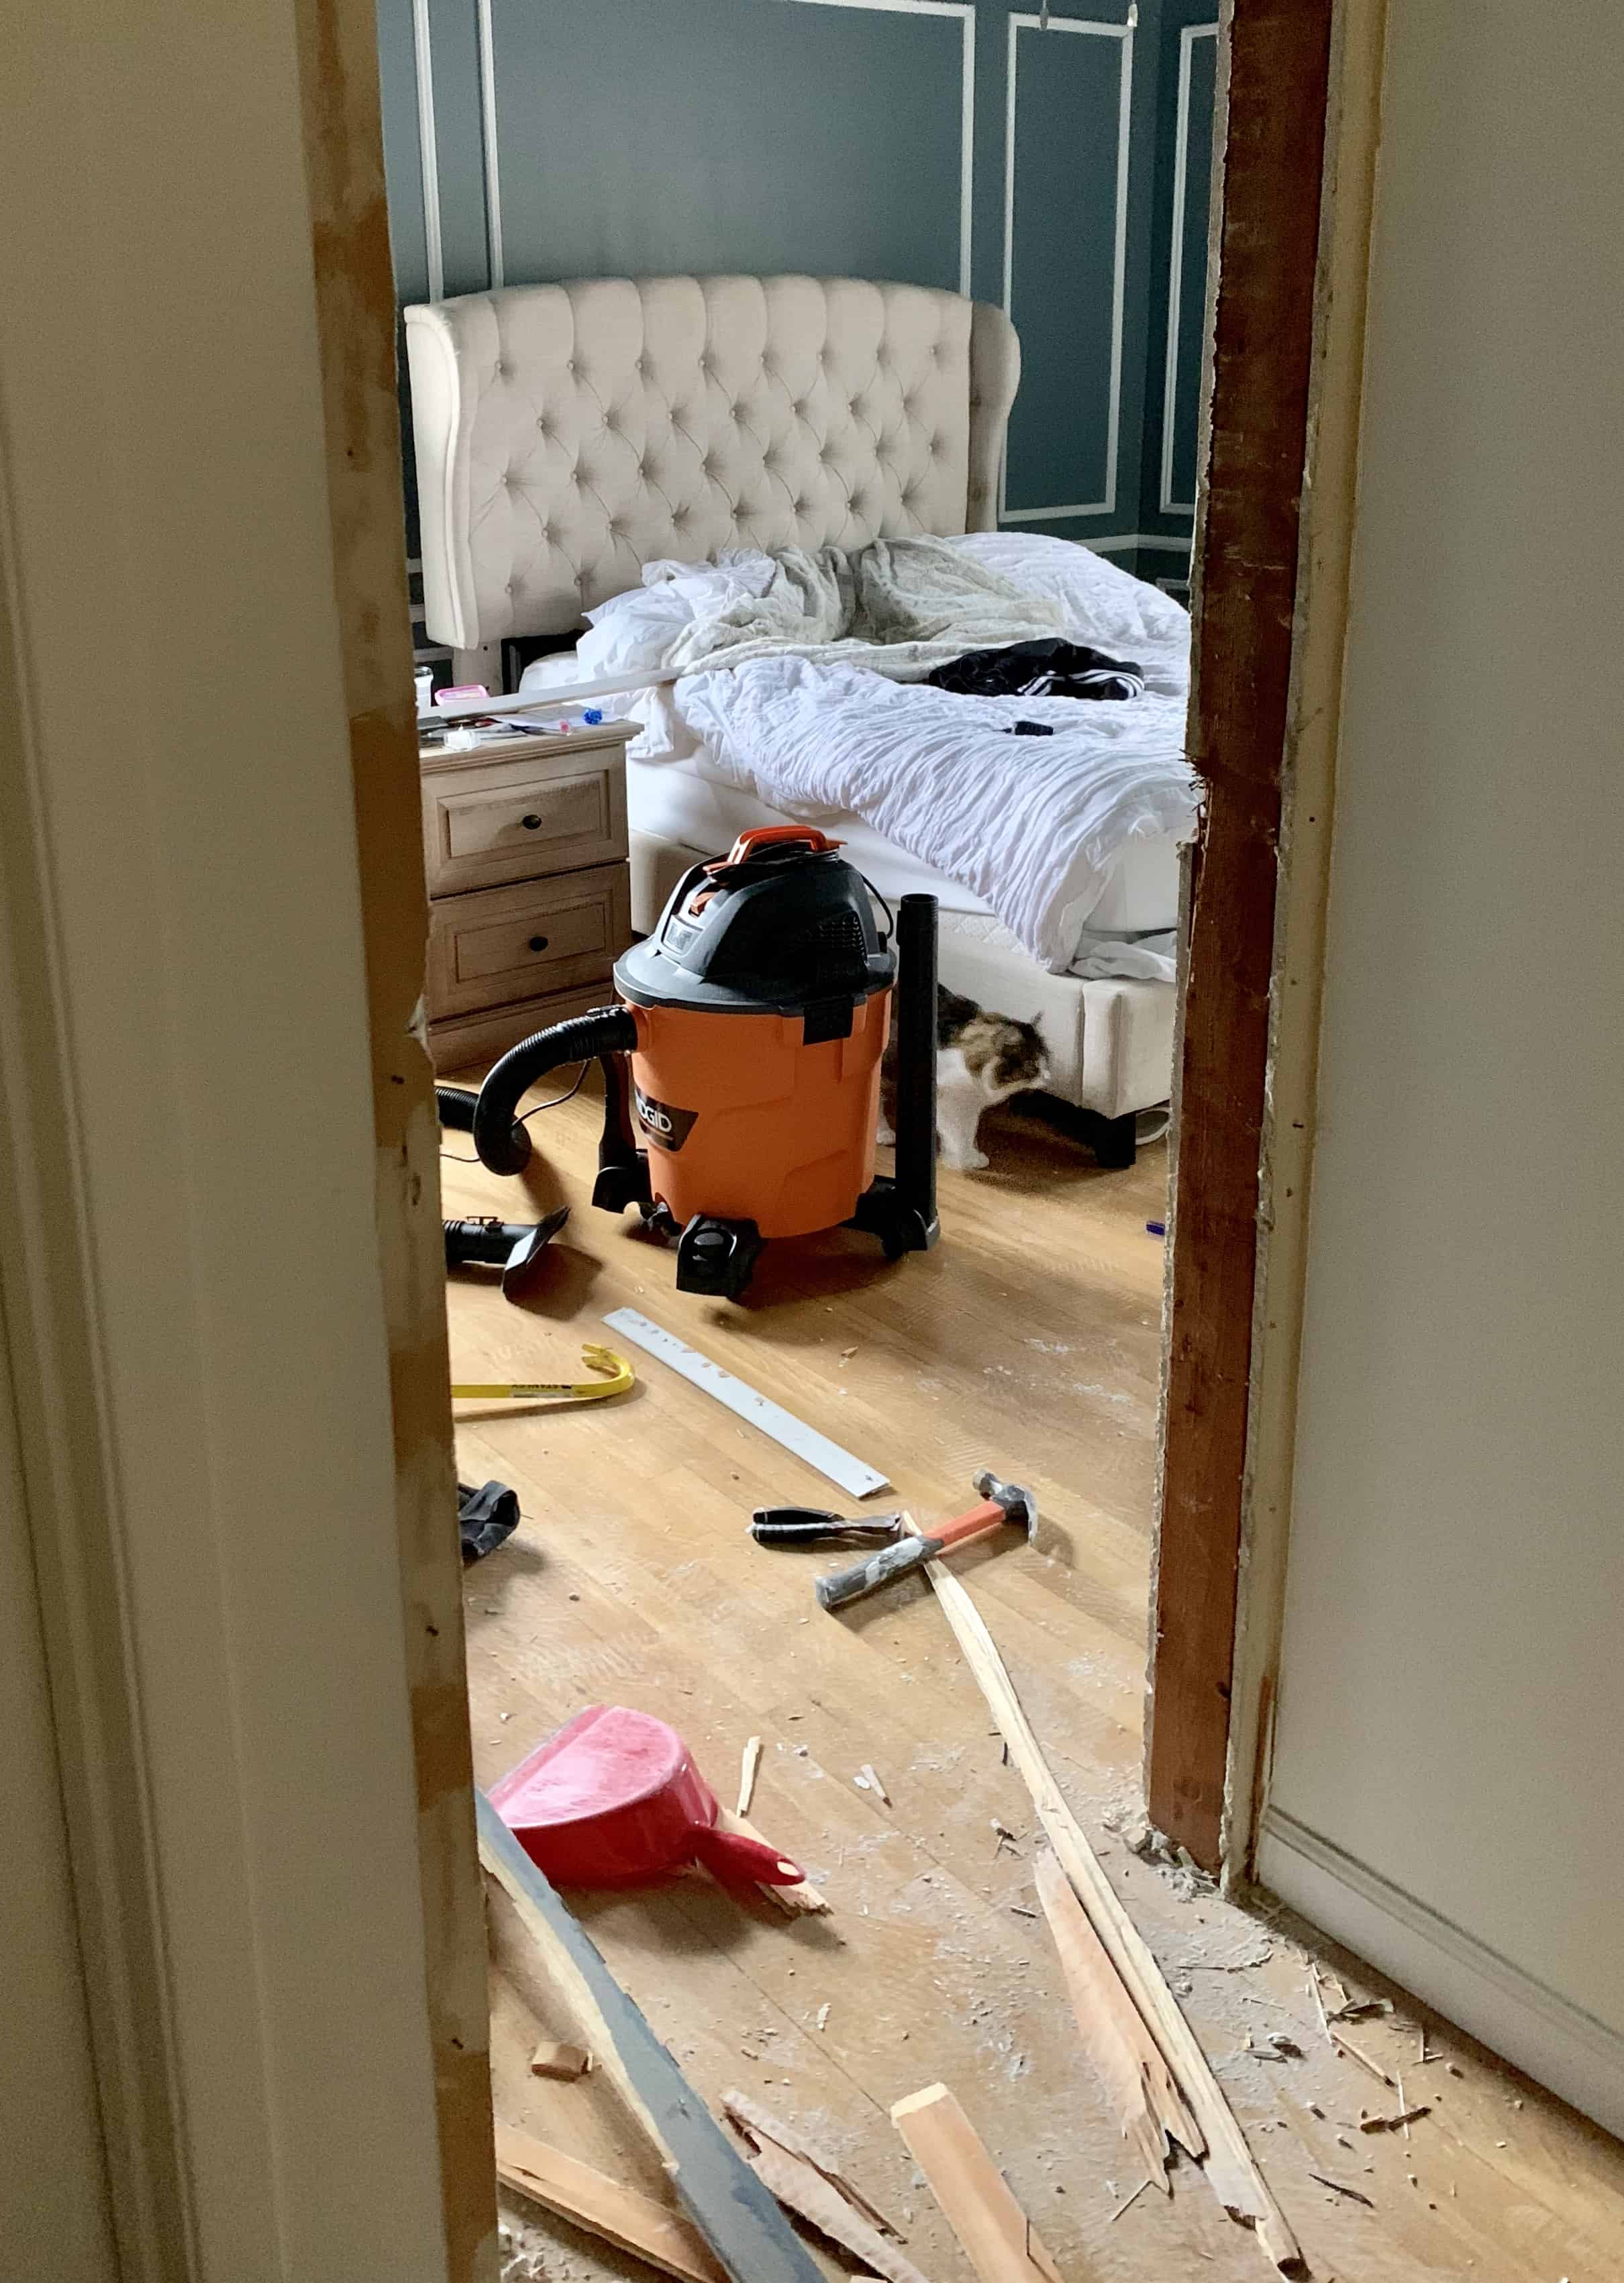
Ughhhhh the doors in our bedroom were a nightmare to remove. The frames were metal and I’m pretty sure they were original when the house was built in 1965. After a few deep scrapes and some lung-irritating particles, the doors were all finally out.

As an amateur photographer, I’m constantly thinking of all the ways I can photograph the final product of a room. And this shot already has me excited af:
That’s it for this week! Next week, I plan to:
- Paint ceiling
- Source more furniture, rug(s) and accessories
- Finish installing the wall molding through the other half of the room
- Caulk and fill molding
- Paint second coat on wall
- Install Reeb doors
Thank you to Linda from Calling it Home for organizing the One Room Challenge, and a huge HUGE thank you to the companies that are sponsoring items for the bedroom makeover:

See you next week! In the meantime, follow the chaos along on Instagram!


Leave a Reply