One of the FAQ’s from our main bathroom renovation is how we made the open shelves with brass gallery rails. Unfortunately, Angelo built them while I was installing the molding so I did not have a chance to capture every step of the process, but I’m going to do my best and explain how you can build these yourself too.
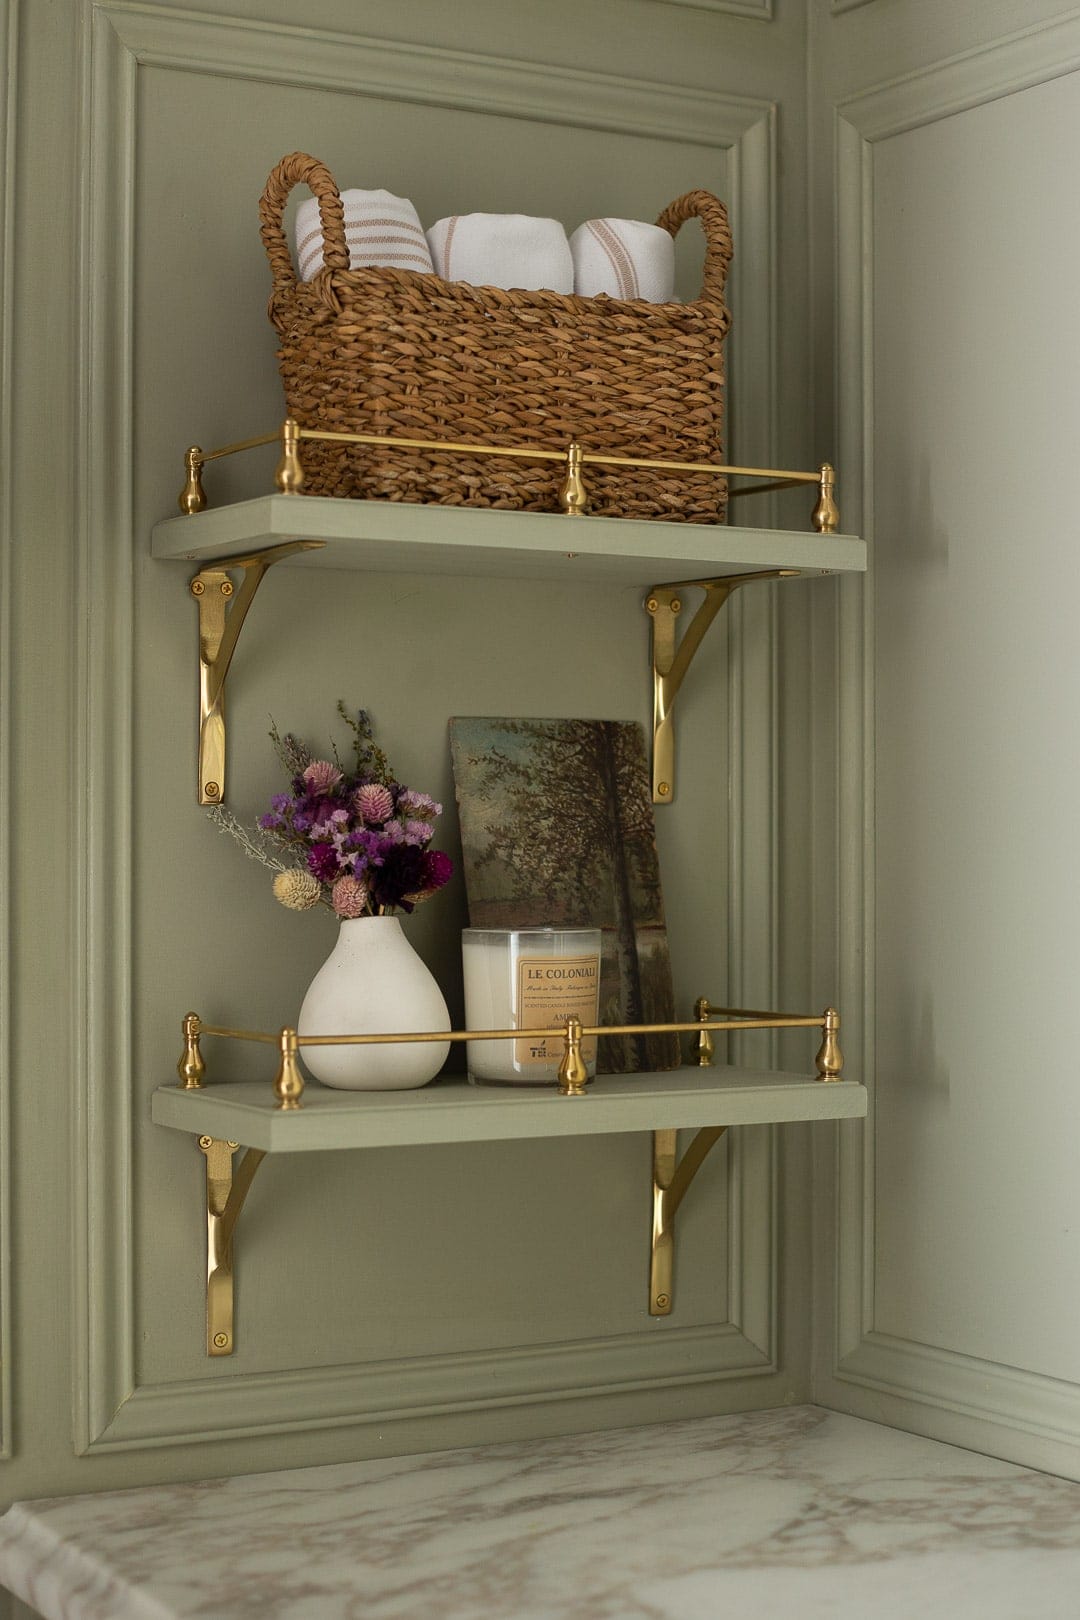
WHAT YOU’LL NEED:
- 01 // WOOD FOR SHELVES If you don’t have the tools to cut the wood yourself, you can get the shelves cut to size at Home Depot or Lowe’s. We bought this wood, and I recommend poplar or maple which are both easy to paint. You also can buy pre-made wood shelves online to speed up this process, depending on the size of the area you’re working with. Here are a few pre-made wood shelf options: Option 1 | Option 2
- 02 // BRASS GALLERY RAILS All of the gallery rail hardware was purchased from Vintage Hardware and it took about a week for the everything to arrive. You’ll need to figure out how many parts you need based on how many shelves you’re making and what size each shelf will be. Below I am sharing the parts I purchased for two, 13″ long x 6″ deep shelves (all in the polished brass/unlacquered brass finish):
- R-1 18″ long 3/16″ diameter gallery rods: I purchased 5 of these just in case we messed up cutting them, but we only ended up needing 3 of them for our 13″x6″ shelves
- W-1A Large center joining post: 2 total – one for the center of each shelf
- W-1B Large End Post: 4 total – 2 for each shelf
- W-1C Large Corner Post: 4 total – 2 for each corner on both shelves
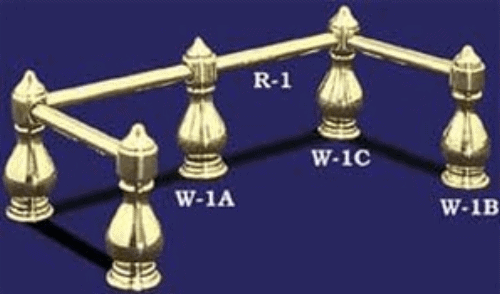
NOTE that when you’re ordering the rod, the cost for shipping is higher for the 39″ rod, so I ordered small rods because the shipping was less. I can’t imagine needing a rod that has to extend a full 39″ long, so to save shipping costs, I’d recommend getting more of the smaller rods.
You can do a full, wrap-around brass gallery rail (like we did) or, if you only want one rail that extends from left to right in front of the shelf (and not on the sides), then you will only need W-1A and W-1B so the gallery rail will run across the center and not on either side.
I personally love the full wrap-around gallery-rail look, but it’s up to you.
- 03 // BRACKETS: We used these brass signature hardware shelf brackets, but the brackets you choose are entirely up to you. I think this is a step where you can switch things up and try corbels, black brackets, or make these into floating shelves – whatever you prefer.
- 04 // SANDING SPONGE: I used a 180 grit, but you can use a sponge between 150-220
- 05 // PRIMER: Killz works wonders
- 06 // BOLT CUTTER: To cut the brass rods, this one should do the trick
- 07 // SOCKET WRENCH
- 08 // ROUTER BIT TO CREATE A DETAILED EDGE (OPTIONAL)
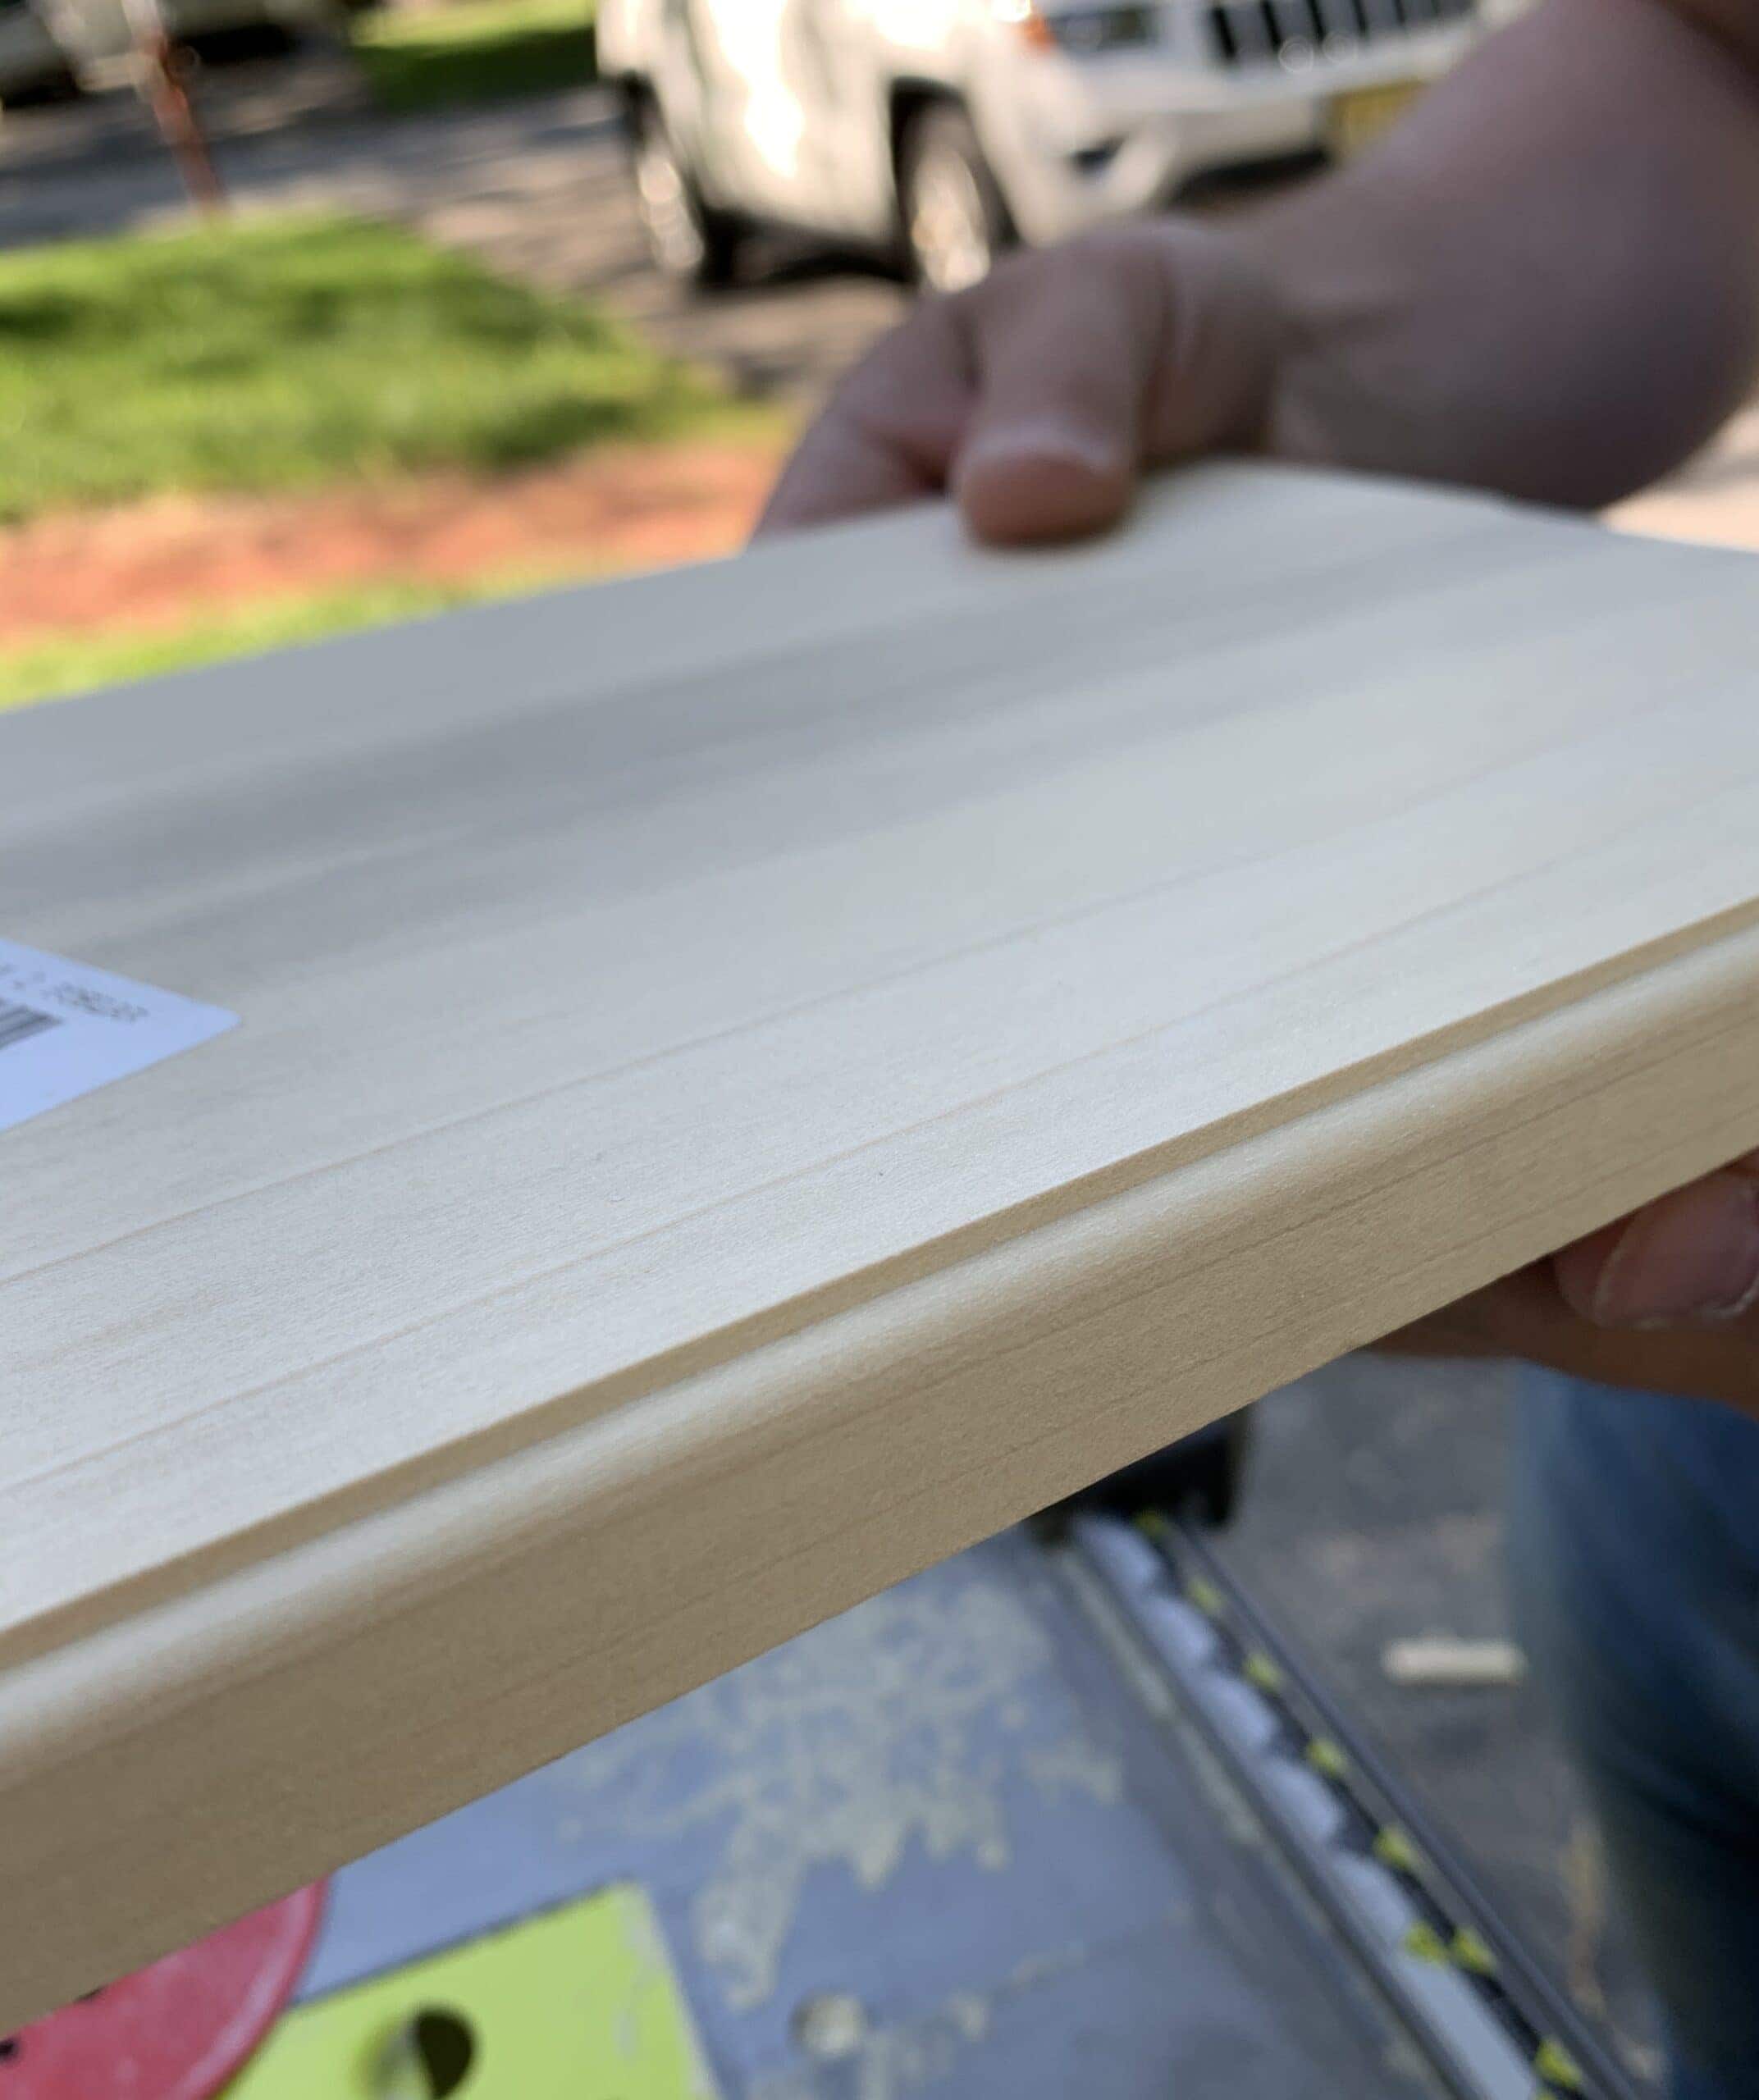
The finished edge on ours is *very* subtle, but I think it’s a nice touch to the straight wood edge.
The total cost for materials for our two small shelves was ~$175. We already had the tools to make the shelves, I just needed to purchase the wood, brass gallery rails and brackets.
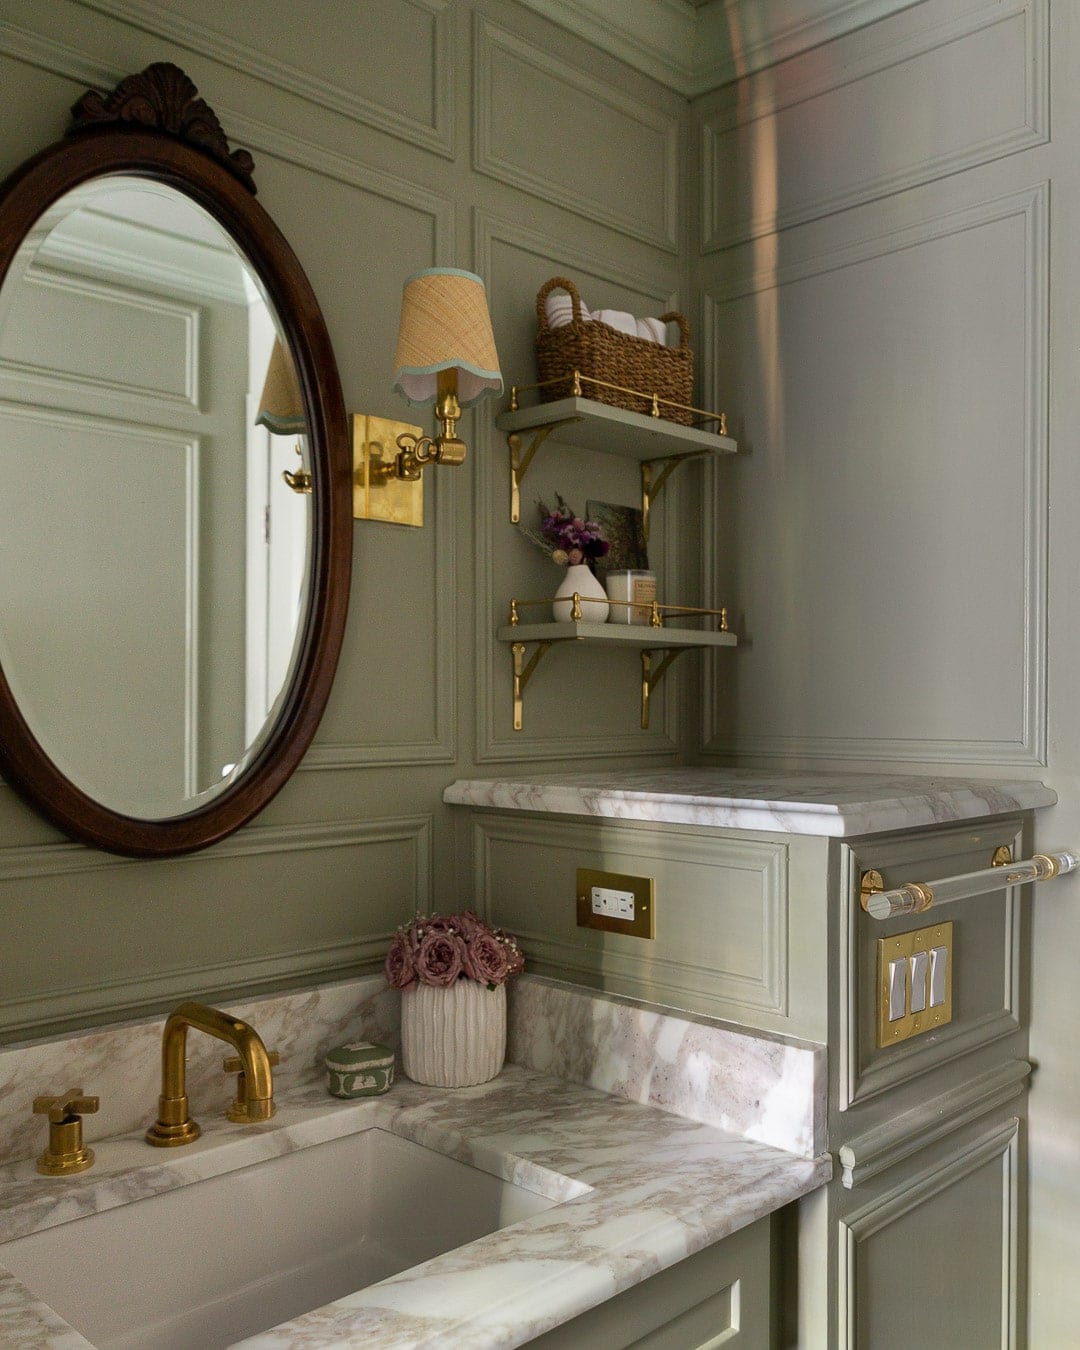
HOW-TO:
.01 // CUT SHELVES TO SIZE
If your shelves are already pre-made/cut to size, you can skip this step!
We first figured out how big the shelves could be for our small, awkward wall. We only had about 14″ between the molding box, and I didn’t want them to be *too* tight, so Angelo cut each shelf to 13″ wide x 6″ deep. Again, the size of your shelves is up to you and where you plan to install them.
.02 // SAND, PRIME & PAINT
I highly recommend sanding the wood with 150-220 grit sanding sponge to get the wood smooth before priming. 1-2 coats of Killz will do the trick, but do not skip this step, otherwise the wood will be rough and you will most likely be able to see the grain under the paint. Then I lightly sanded the primer before painting 2 coats of French Gray on the shelves prior to the gallery rails being installed, and then 1 coat of paint after the rails were on, just for touching up the spots that were dinged.
.03 // DETERMINE POST SPACING + drill holes in the shelf for each post
I didn’t want the posts on the very edge of the shelves, so I requested that Angelo install them about 0.5″ in from the edge. We put each of the center, corner and end posts exactly where they needed to be and he marked each spot with a pencil. Since we had 5 posts total, he marked 5 spots on each of the shelves.
Once your posts are marked, drill the holes for each post. Make sure the holes are slightly larger than the post screw so that the threaded screw will fit.
.04 // CUT THE BRASS RODS TO SIZE
Once you determine the spacing between each gallery post on your shelf, mark on the brass rod where you will need to cut so the rod will fit between each post and begin cutting with the bolt cutter. It may take some strength to get the rods cut because they’re solid brass.
.05 // assemble the brass rods + posts
Once the rods are cut, insert the rods into the posts off to the side and drop them into the pre-drilled holes. Tighten the nuts from the bottom with a socket wrench.
.06 // install the shelves
Whether you’re using shelf brackets, corbels or planning to make them floating shelves, make sure everything is level. Our trusty laser level helped when we drilled the shelf brackets into the wall.
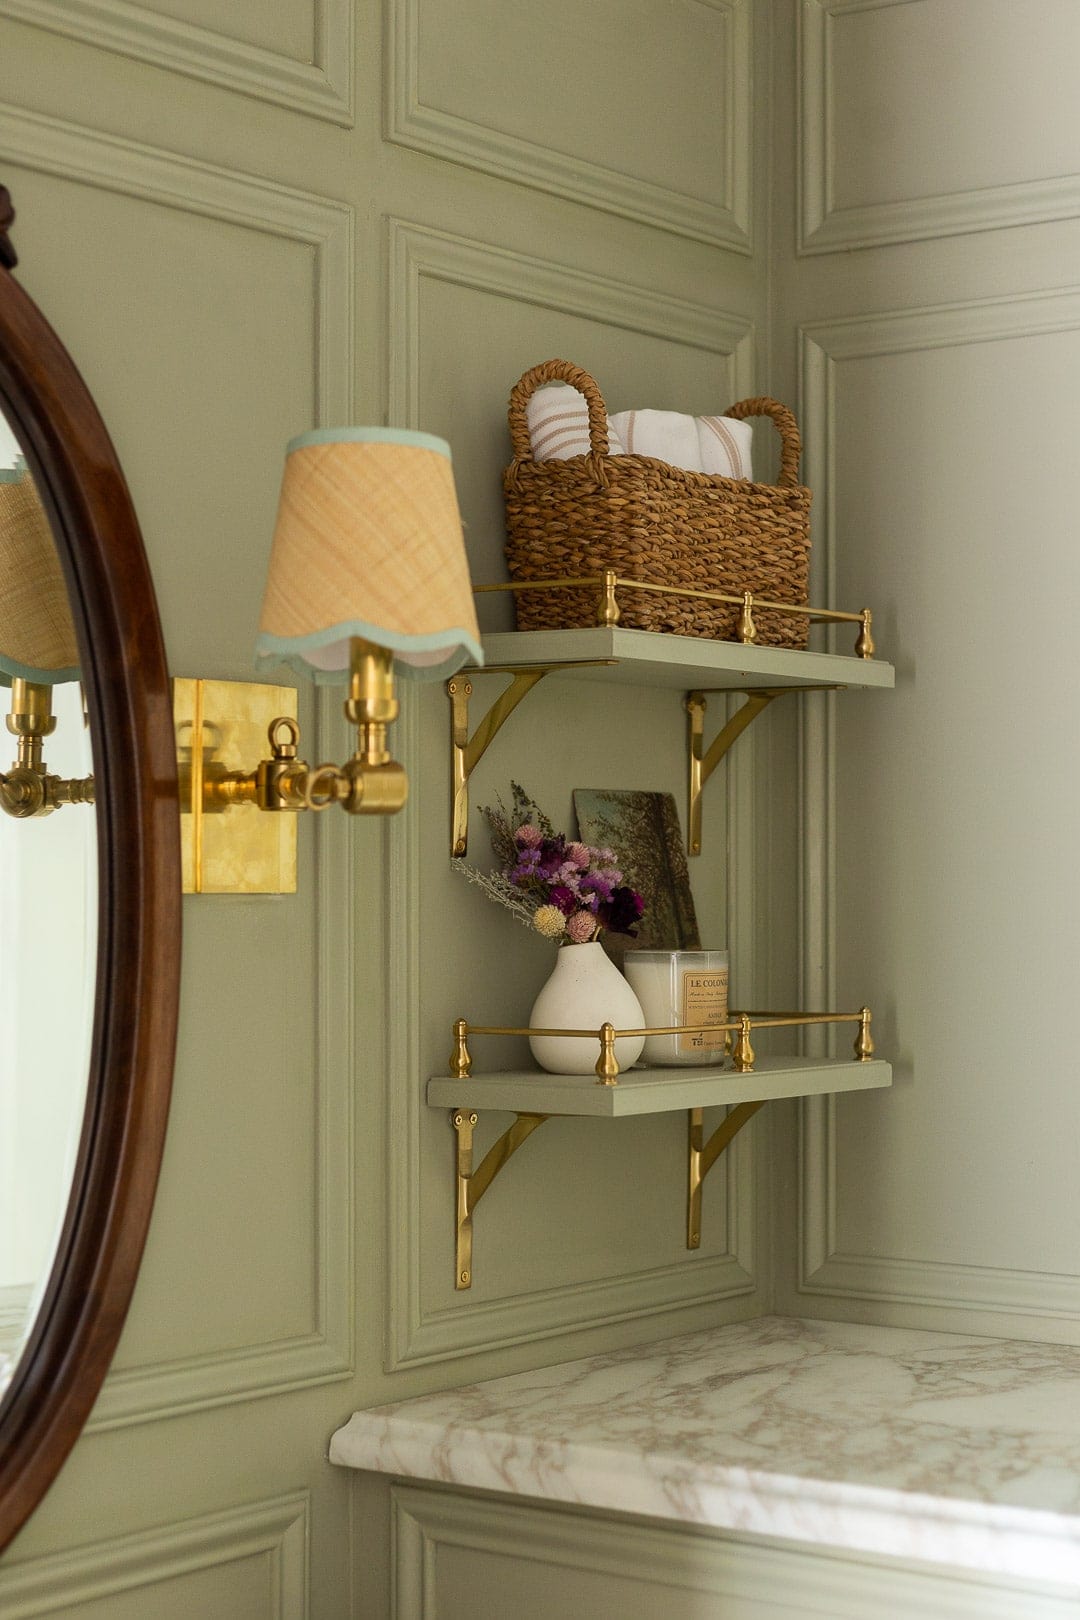
.07 // STYLE
Depending on the size of your shelves and where they are, you have a lot of flexibility to style. Here are some ideas for styling your shelves:
- Books
- Florals
- Plants
- Propped up art
- Small baskets + storage
- Glasses/dishes (if your shelves are in the kitchen)
- Small lamp
- Jars

I hope this tutorial was helpful! Per usual, please leave a comment or send me an email if you have any questions.
Have a fabulous 4th of July!
xo
Alisa
Alisa,
I absolutely love the shelves! Thank you so much for sharing both the process and sources. You’re spot on as far as the sanding goes, especially if you are using a water based primer. For Stained wood, a good woodworker will either use a little water or a pre-stain conditioner to raise the fibers of the wood so they can be sanded. This is a sure fire way to keep the wood smooth to the touch!
Nancy
Thank you so much Nancy!! I appreciate you taking the time to read 🙂
I love the paint color. What is the color / brand of the paint.
According the the reveal post: “The walls and ceiling are Farrow and Ball French Gray in the Estate Emulsion finish and the trim boxes + vanity is in the Modern Eggshell finish.
yes, that’s correct! 🙂
Soo beautiful. What size brackets did you use? The site shows 3 different sizes.
Thanks.
Thanks!! I used the 5” brackets.
Love love these brass railings! How high are they? 2” 3”? Thanks!
Beautiful job! Would you mind sharing how much the project costs?
Hello! Did you go with the polished or antique brass! I’m totally going to do this, thanks!!
Thank you for your beautiful shelf project post. I’m inspired! Excellent directions, too.
I love this idea and I have been inspired to do a shelf with brass rails for my bathroom renovation. I ordered the rails and posts. The only problem is the screws are too short to go through my 1″ thick shelf. I went on the Vintage Hardware website to try to order longer screws and I saw that they were selling hanger bolt “screws” to use with the posts. This would be nice because then the screw head would not show on the bottom of the shelf. I wish I would have known this from the start, because now if I order them it’s another almost $10 for shipping. I am going to try my local hardware instead. Also I would highly recommend IKEA shelves. They are around $20 for a 31″ wood shelf (Tranhult) that comes in white or unfinished with a nice beveled edge, as opposed to around $200 for the above recommended shelf. Thanks for the adorable idea!
Can you send the link or post it for the wood boards. The link you have does not bring me to them.