I might as well reactivate my myspace because this DIY is so 2007, but I’m excited about it so let me do my thing.
A pinboard is a fun and easy way to add a personal touch to a home office space and this project is super simple to complete. It took me 15 minutes from start to finish! I’m all about quick and simple DIYs these days. Every pinboard I found online that I actually liked was well over $300 which seemed ridiculous, so I decided to make my own since I’m on a budget.
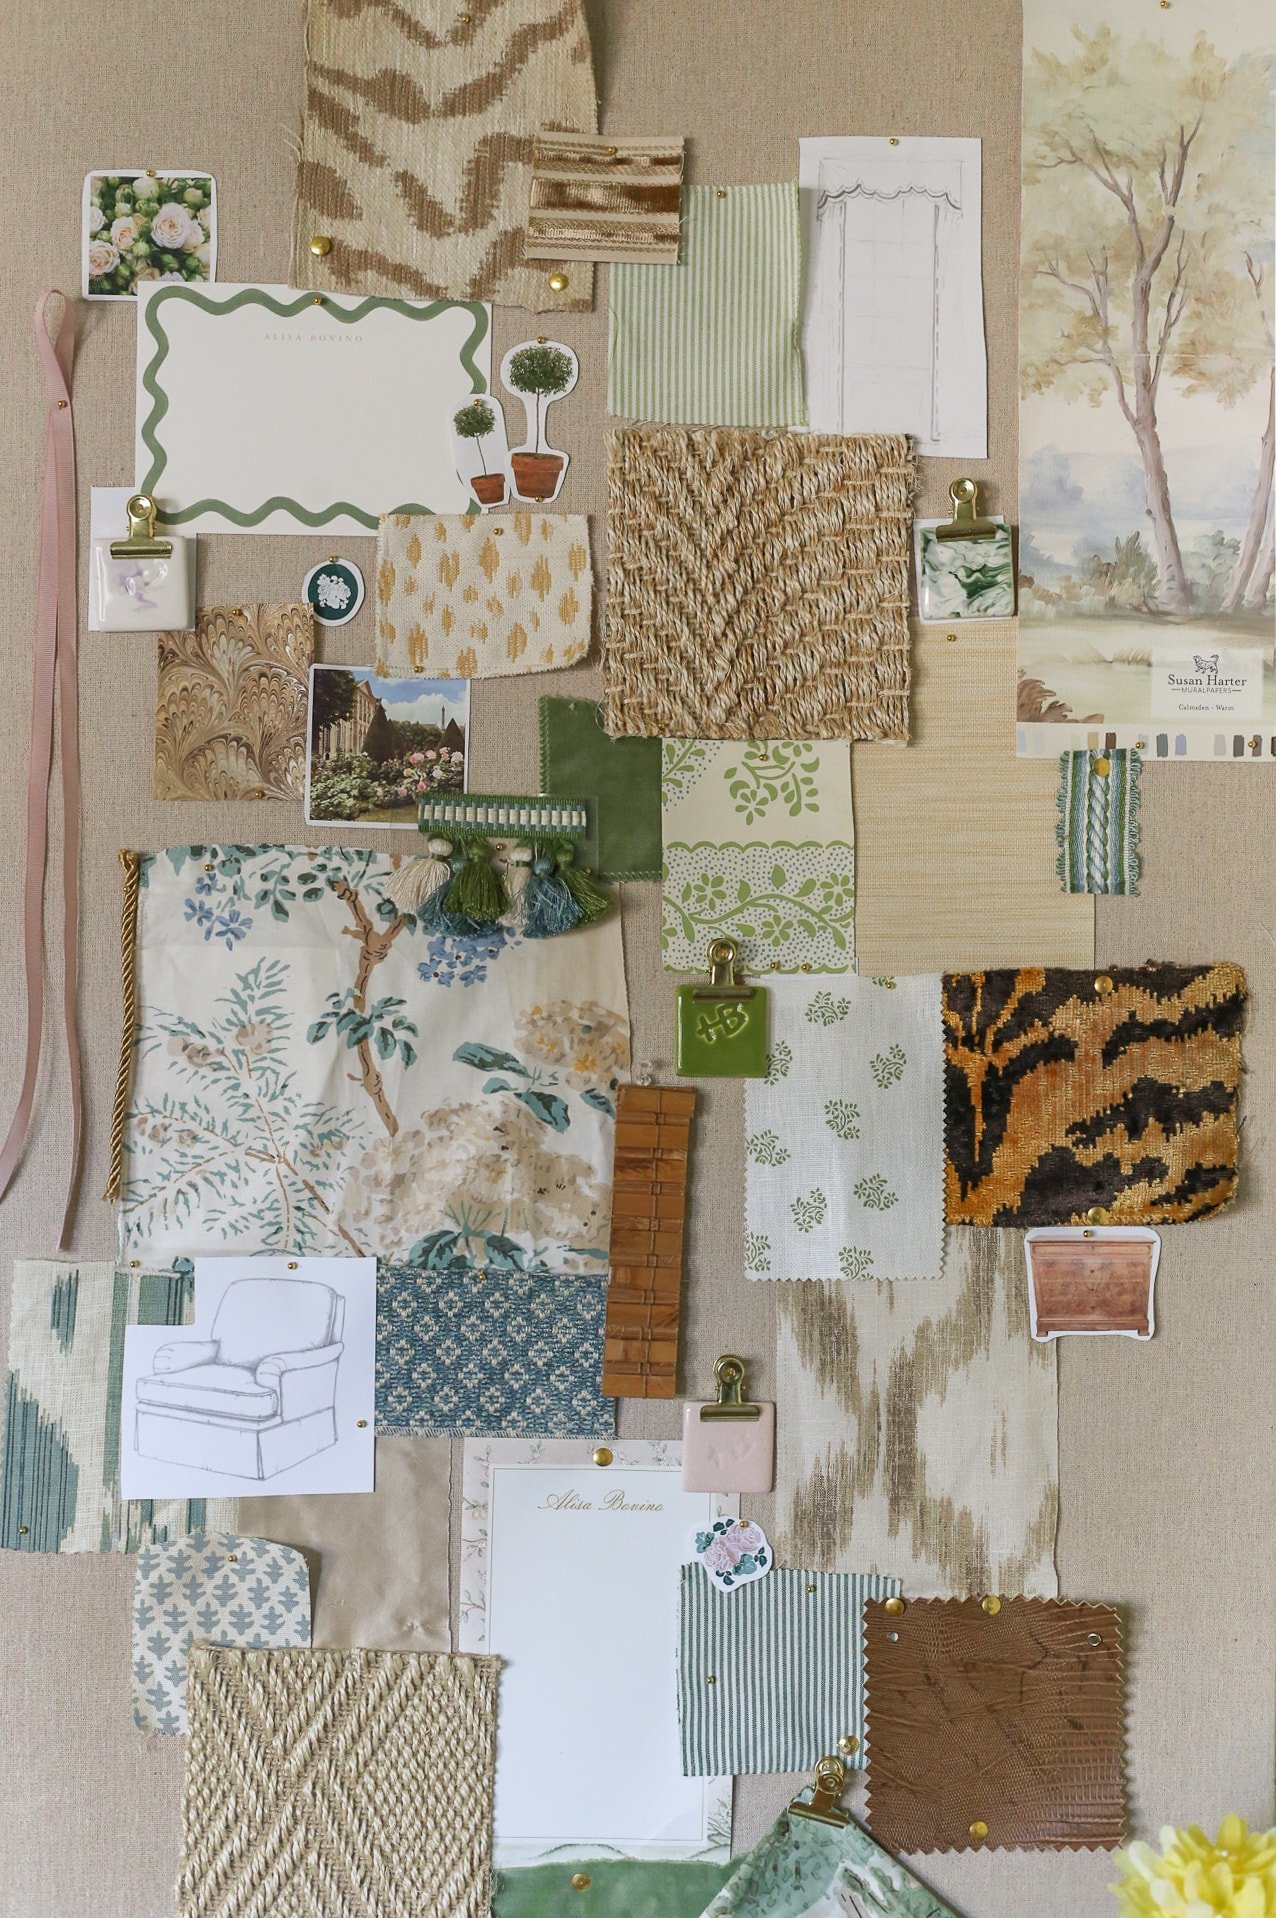
Here’s what you’ll need
- Homasote $43 (also known as Sound board). Lowe’s or Home Depot carries this, and I got it cut to the size I wanted (26″x48″) at Lowe’s so I didn’t have to cut it at home.
- Fabric of choice. I’d definitely recommend something soft and easy to work with. After speaking to Maxine Makes about how she made her pinboard, she told me she used a drop cloth ($20) so I decided to use that too! I wanted beige/ivory fabric but didn’t want to spend $ on a few yards at JoAnn. You can also use burlap, which is relatively cheap, and paint it the color of your choice.
- scissors
- staple gun (we already owned this one)
- Push pins: I chose this pack
- If you want to hang yours (I didn’t hang mine, but I assume most people would), you’ll need:
- d-rings
- hanging wire
- level
- drill or screwdriver
STEP 1:
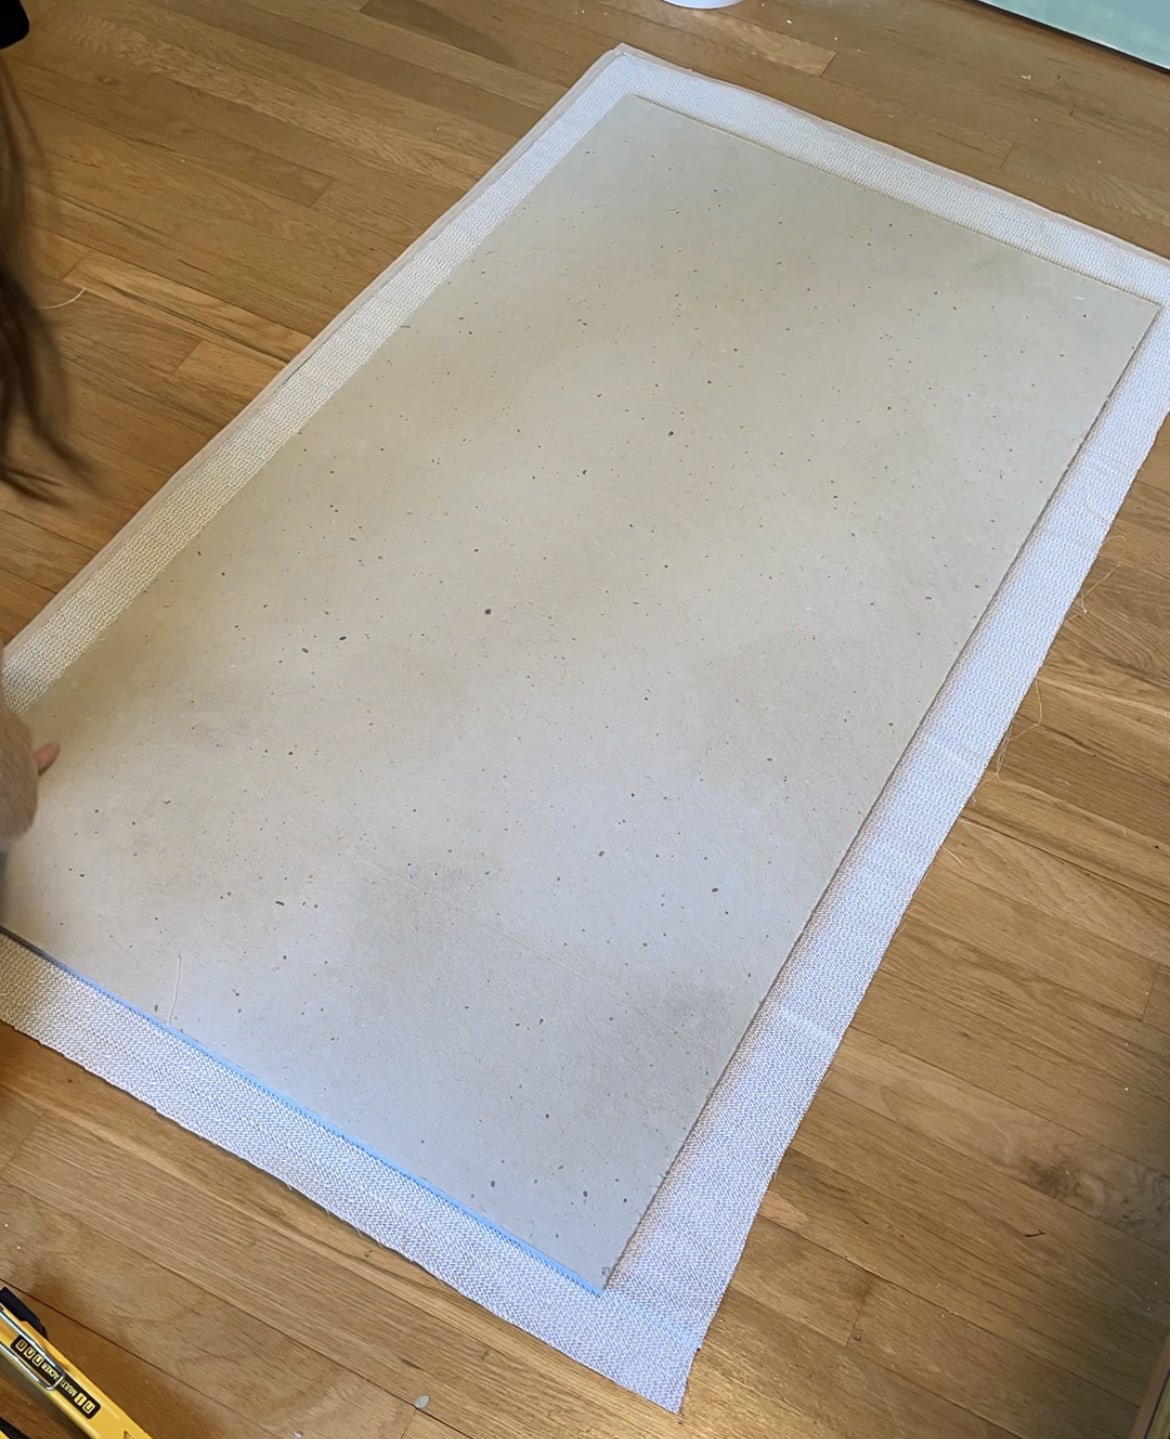
Once you have your Homasote cut to size (again, I had this done at Lowe’s), cut your fabric so that it’s 2-3″ wider than the piece of Homasote. Place the fabric underneath the Homasote, making sure the 2-3″ of extra fabric is even on all sides. If your fabric is wrinkly, I recommend ironing before moving on to step 2
STEP 2
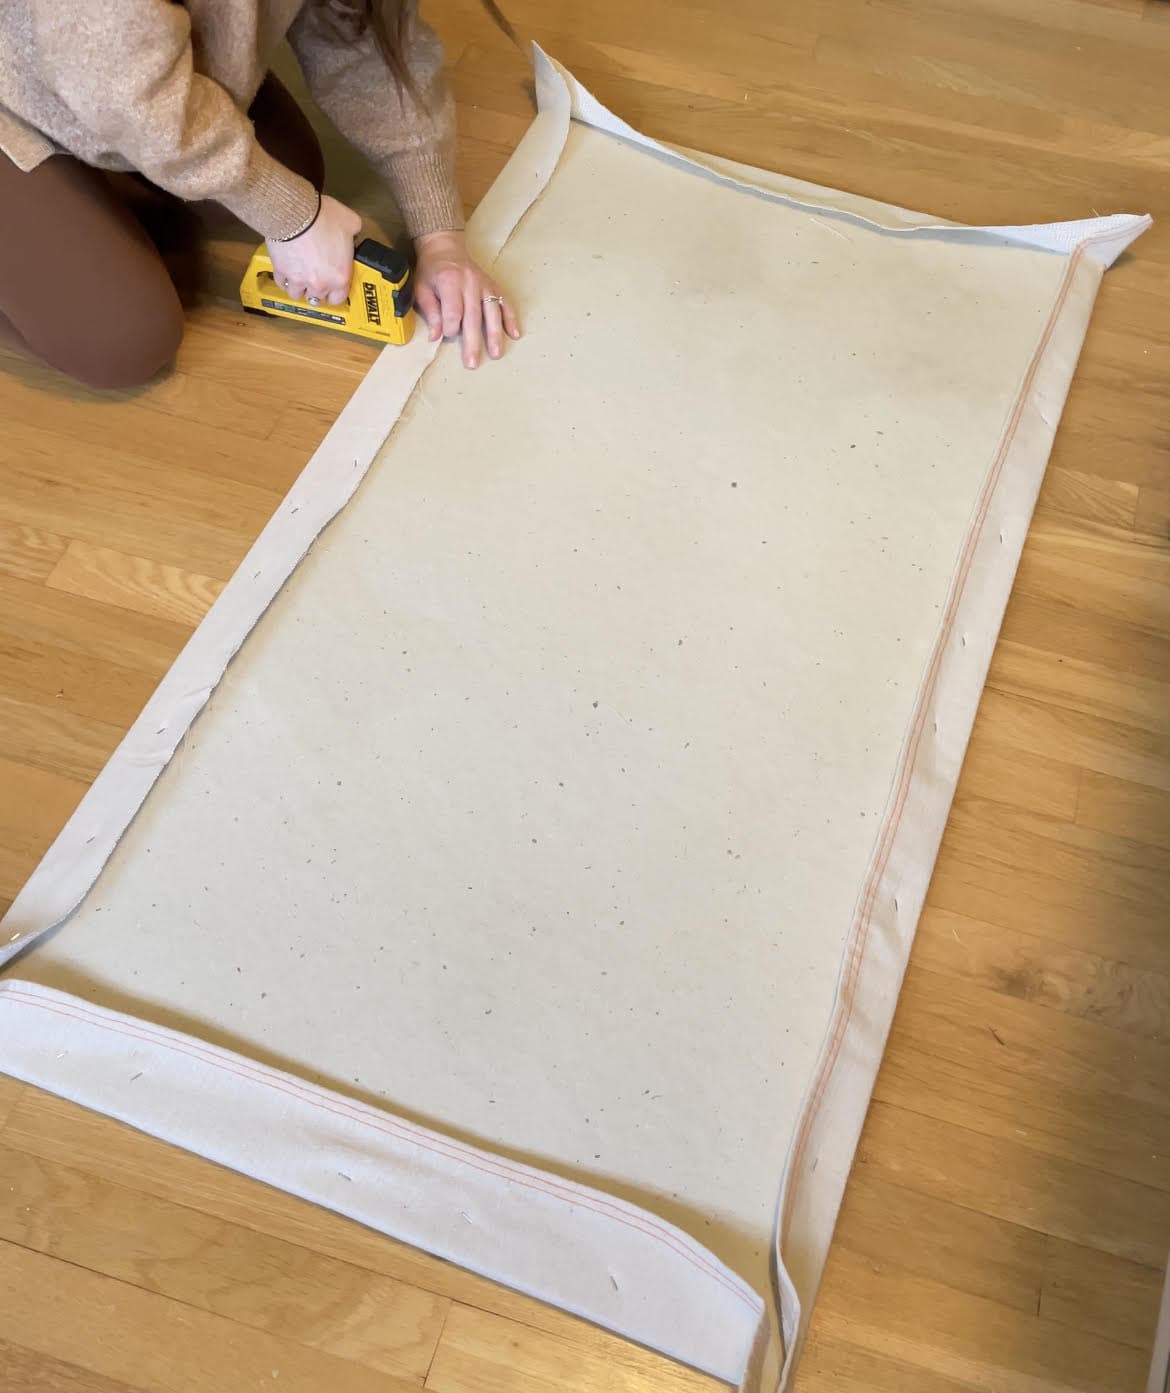
Begin stapling. I recommend starting on the center-right side, then pulling the fabric taut, stapling on the center-left side, then continuing to staple every few inches and pulling the fabric taut so there aren’t any creases on the front. I used a lottt of staples.
When I got to the corners, I folded over and stapled them like I would wrap a present:
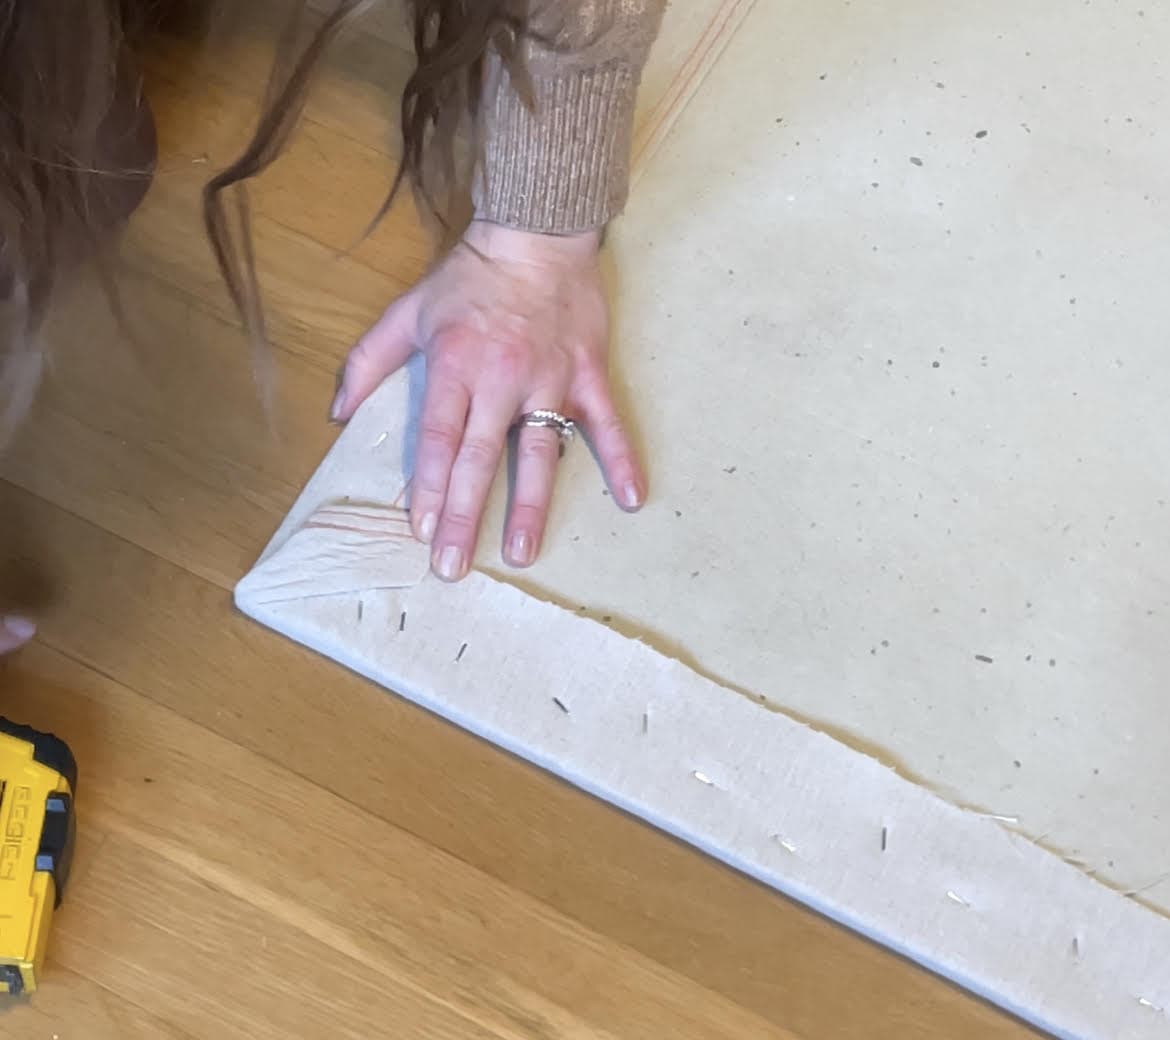
Flip the pinboard over to see if there are any areas of loose fabric that need to be pulled and stapled.
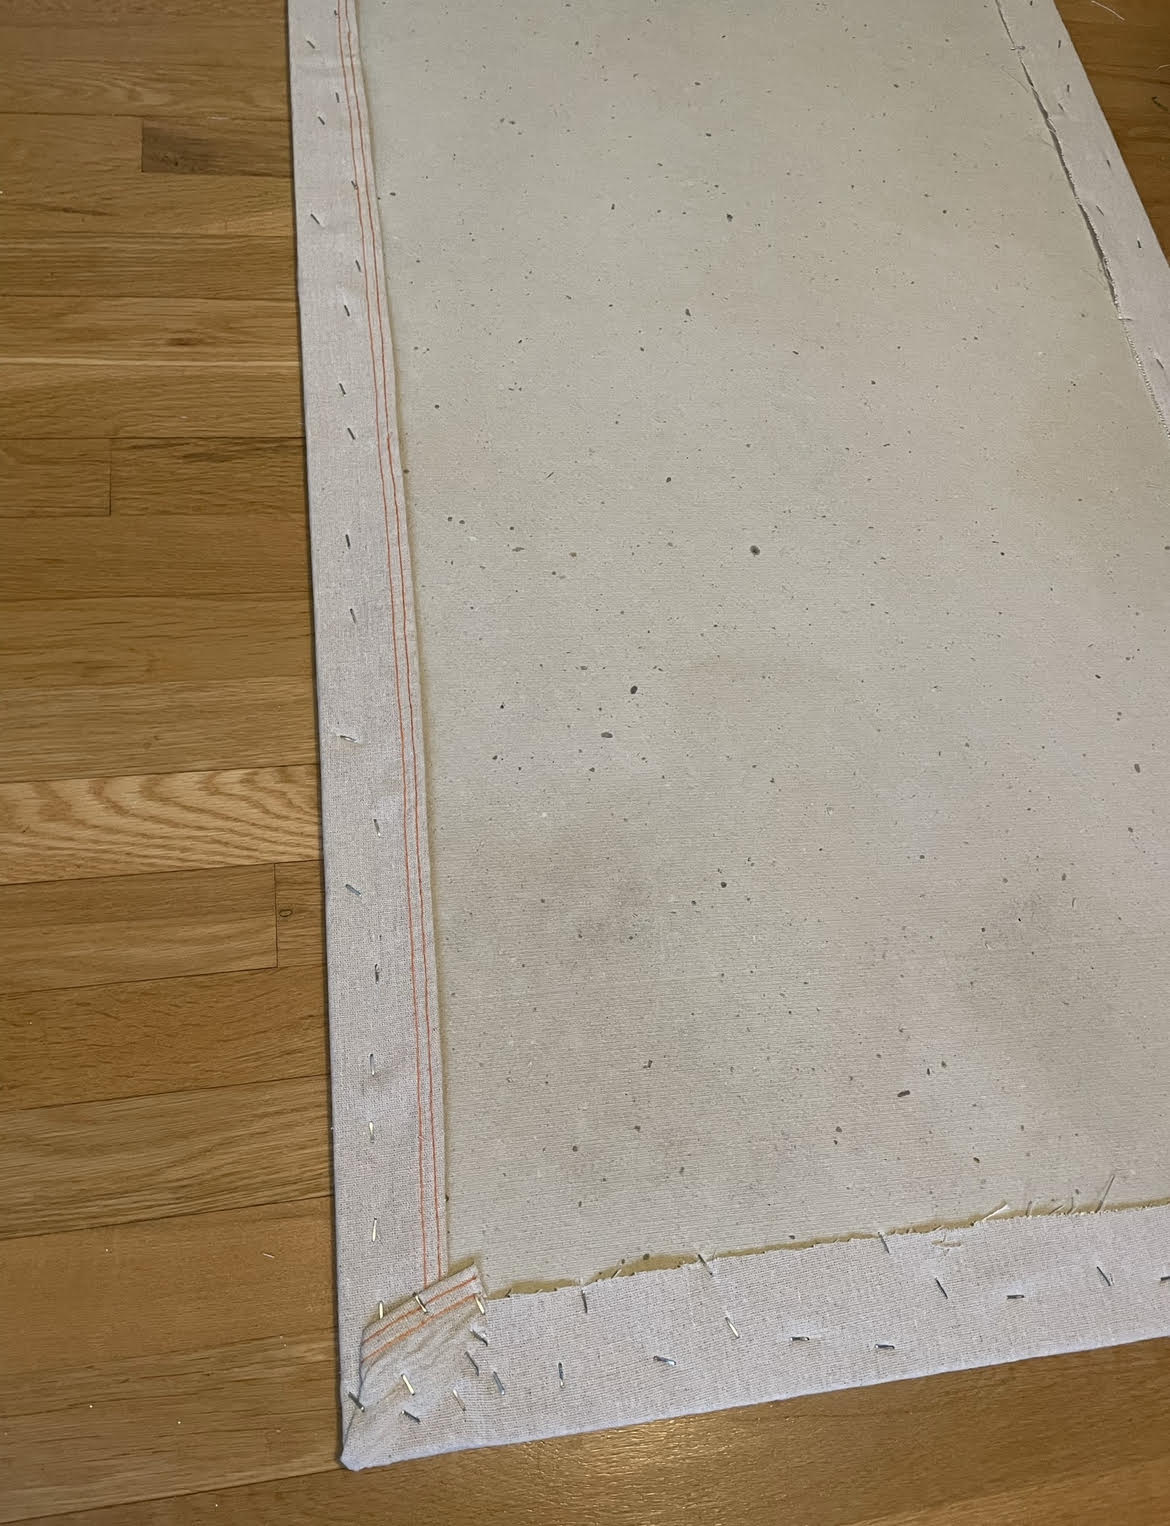
As you can see, I went a little crazy with the staple gun
You can add a ribbon border around 1″ from the edge for a custom look. I decided to keep this simple for now and if I want, I can always add a border down the road
STEP 3
Full transparency, I skipped this step because I didn’t want to nail any holes in my wallpaper if I could avoid it, so I just propped it up on my chest for the time being.
But if you want to hang your Pinboard, use d-rings and hanging wire to screw onto the back. Use a level to ensure the D-rings are even.
Then, hang your Pinboard on your wall (or prop it up like I did) and start pinning! There’s nothing like a real-life Pinterest board to cultivate inspiration, makeover plans, ideas, thoughts, photos, etc.

Peep my newly installed Sister Parish Dolly wallpaper, Papier Fleurs, and the Made Goods burl chest I scored on Facebook Marketplace a few months ago. I love this corner so much!
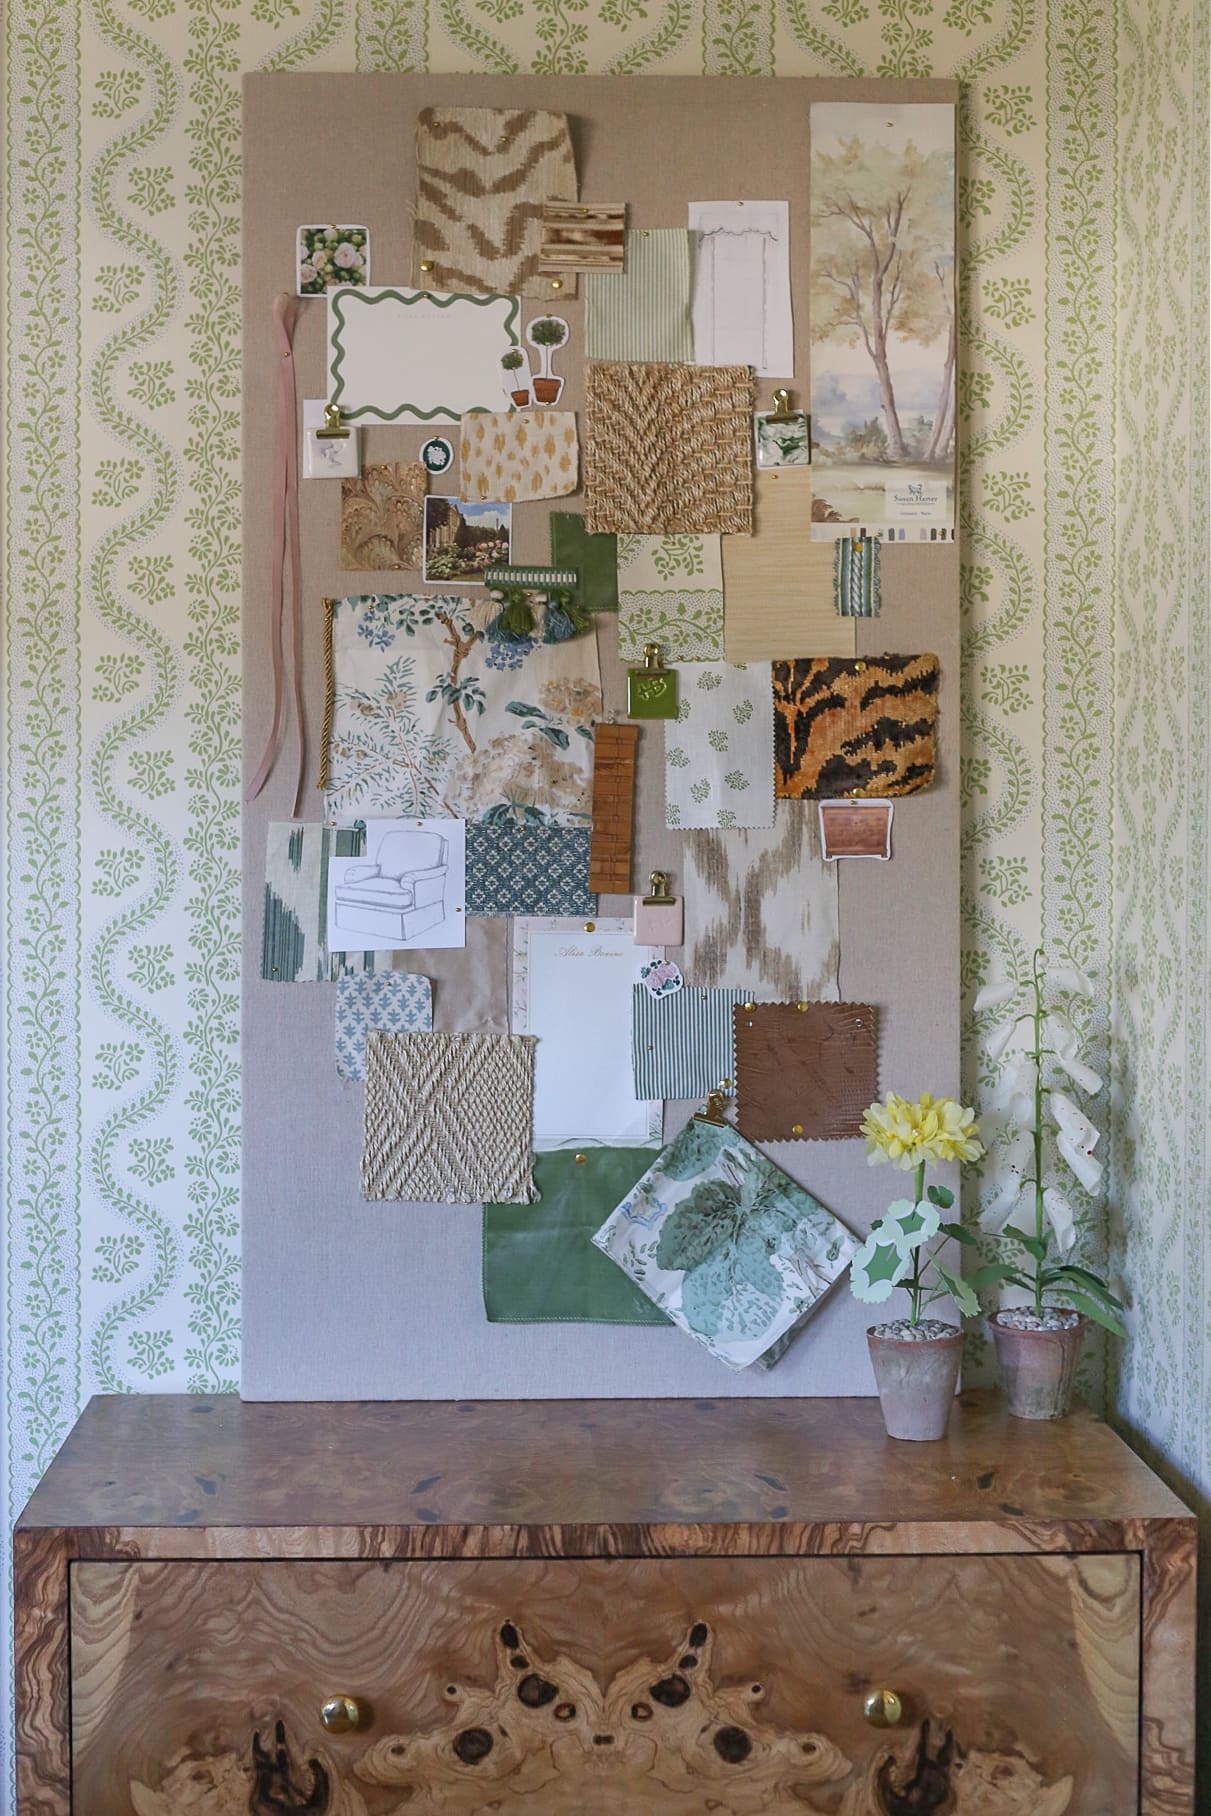
I can’t wait to share more of this room with you!
xo
Alisa
That chest, though! Beautiful!
That Burl chest is ???? love the pinboard!
ok this looks phenomal and has me so exited for your office!