Hi there! If you’re new here, my husband and I purchased our first home (a generic, 1960’s bi-level) about a year and a half ago in Northern NJ. Little by little, we’re adding personality to our basic, builder-grade home, and for this fall’s One Room Challenge™, we’re tackling our very first demo/reno all on our own with our tiny master bathroom. For the next six weeks, I encourage you to sit back and follow along with a glass of (bo)vino while we slowly (but proudly) kill ourselves over creating the bathroom of our dreams.
Before we dive in, I have to say that I’m almost embarrassed to share these before photos. We obviously purchased our house like this, but we didn’t do anything with it since we knew we’d renovate it eventually.
WEEK ONE.
What we accomplished our first week(end):
+ Demo’d
Here are a few before photos:
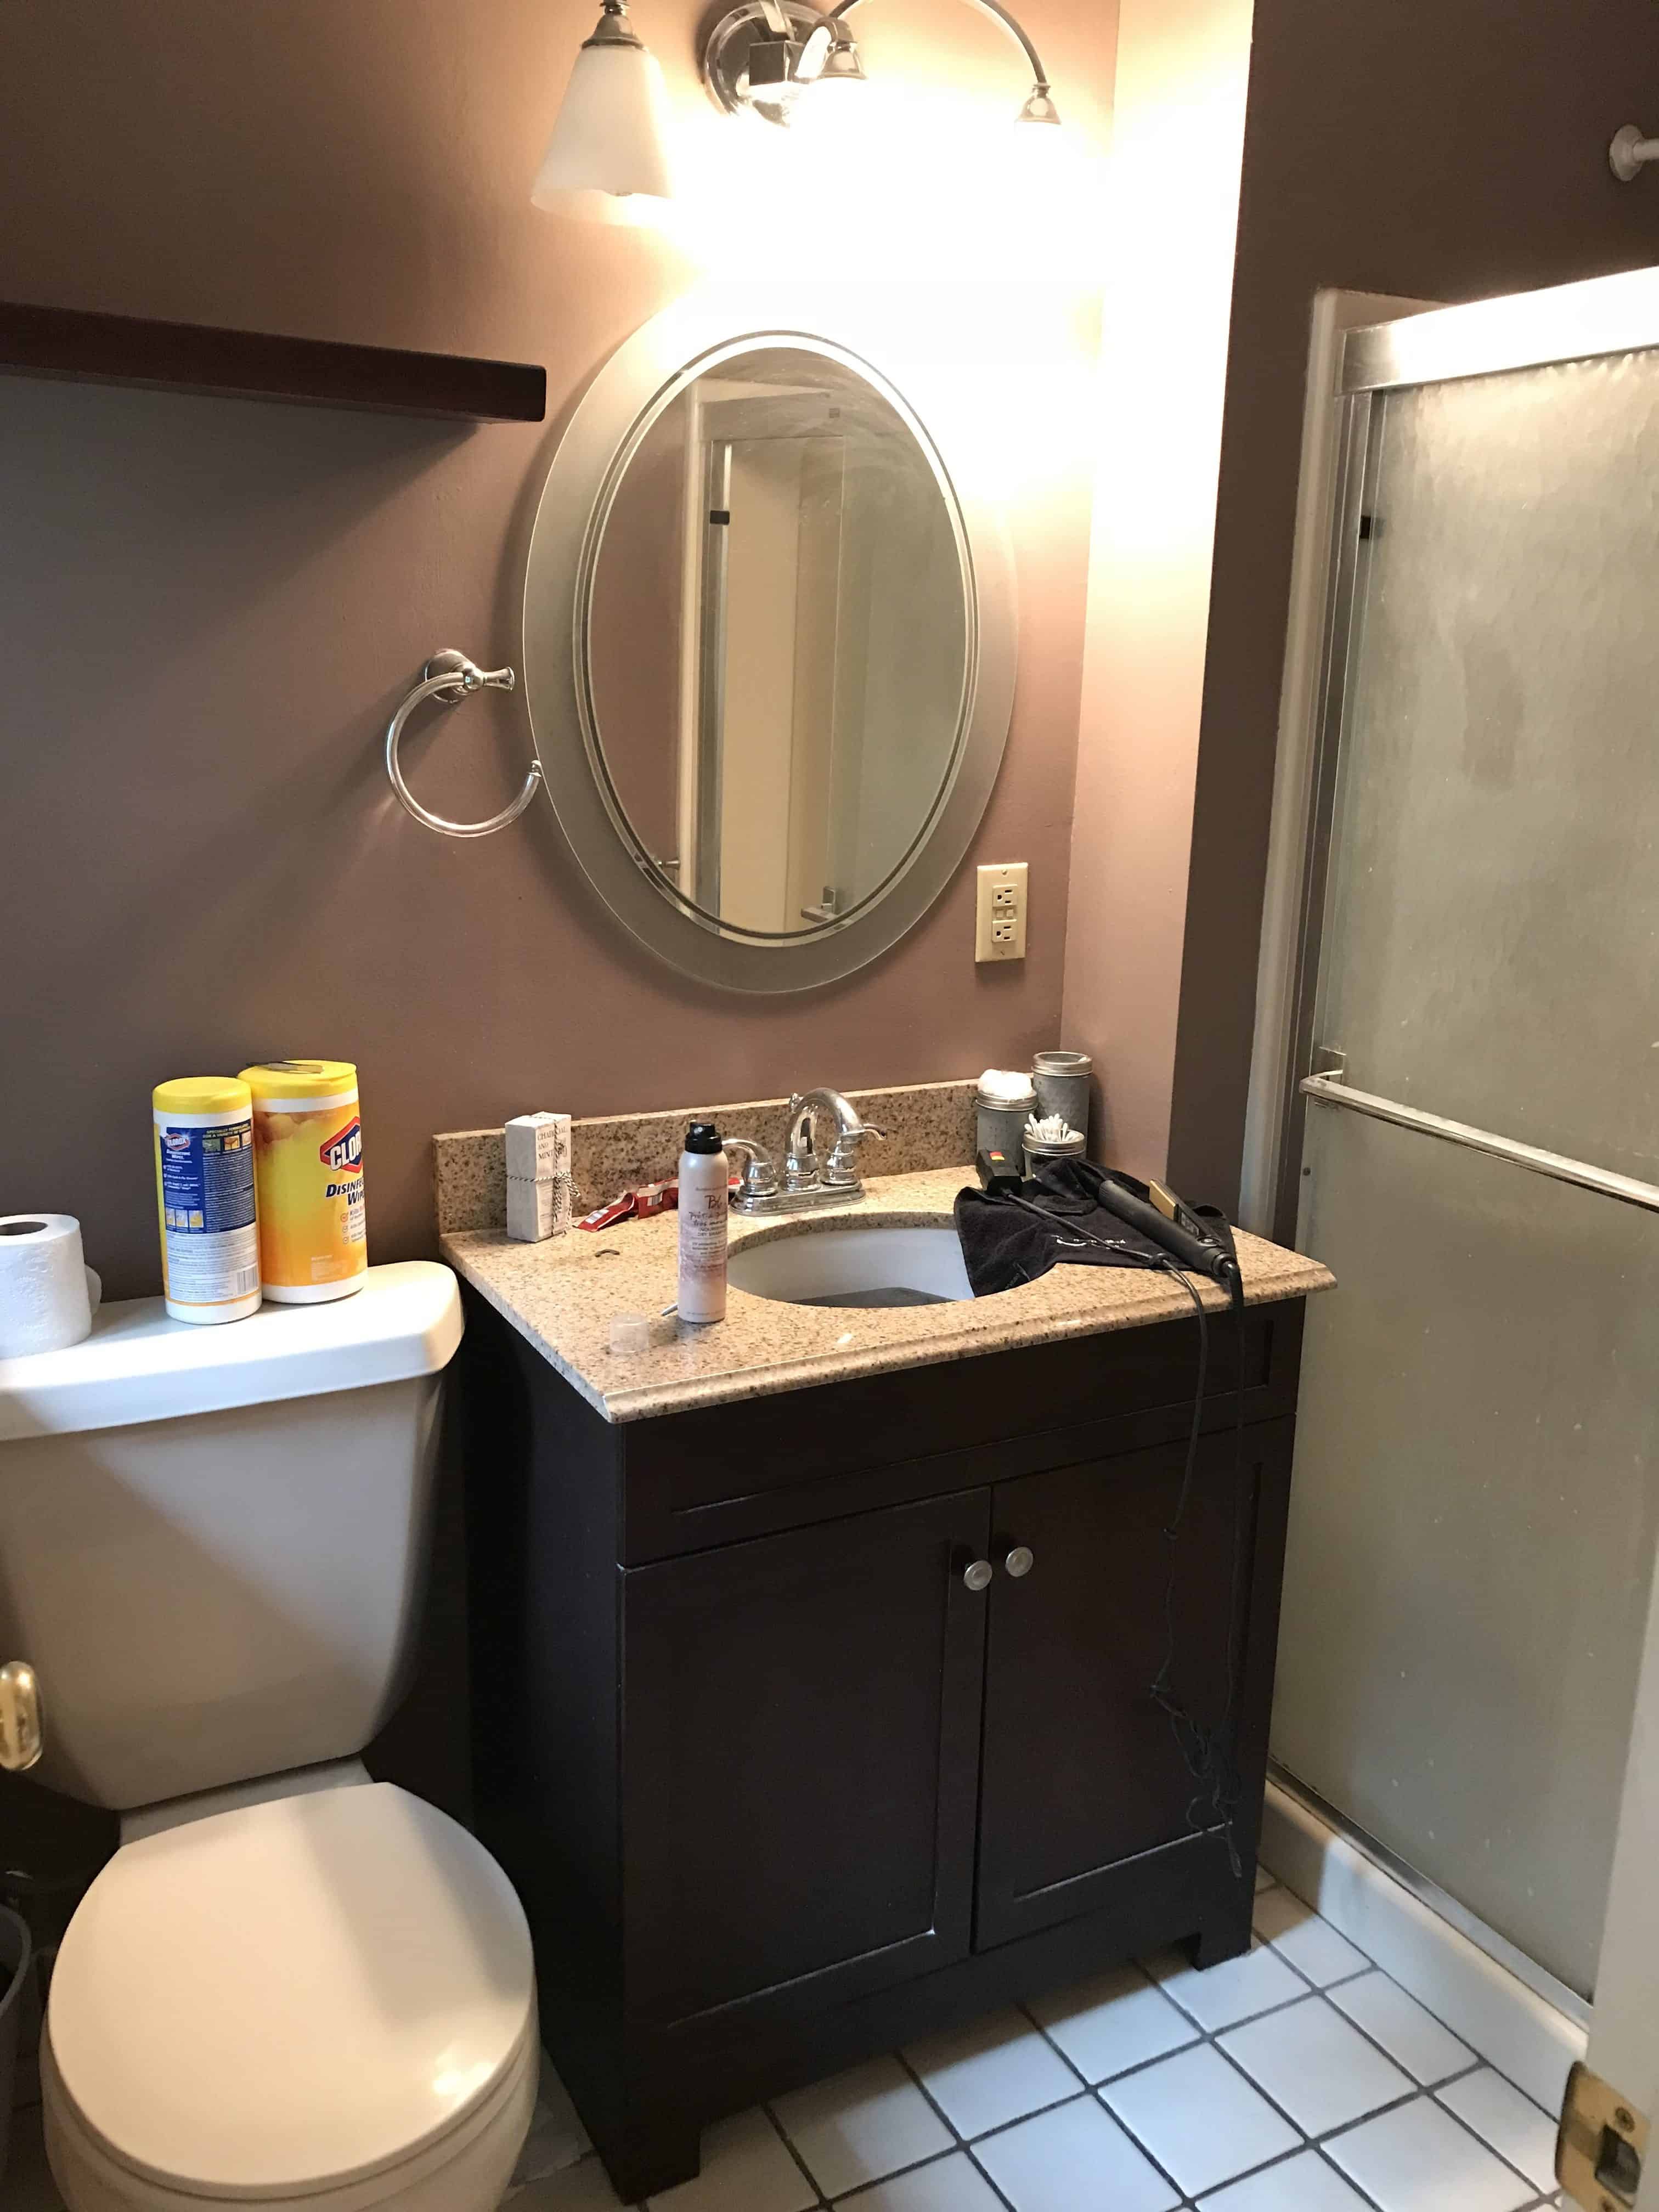
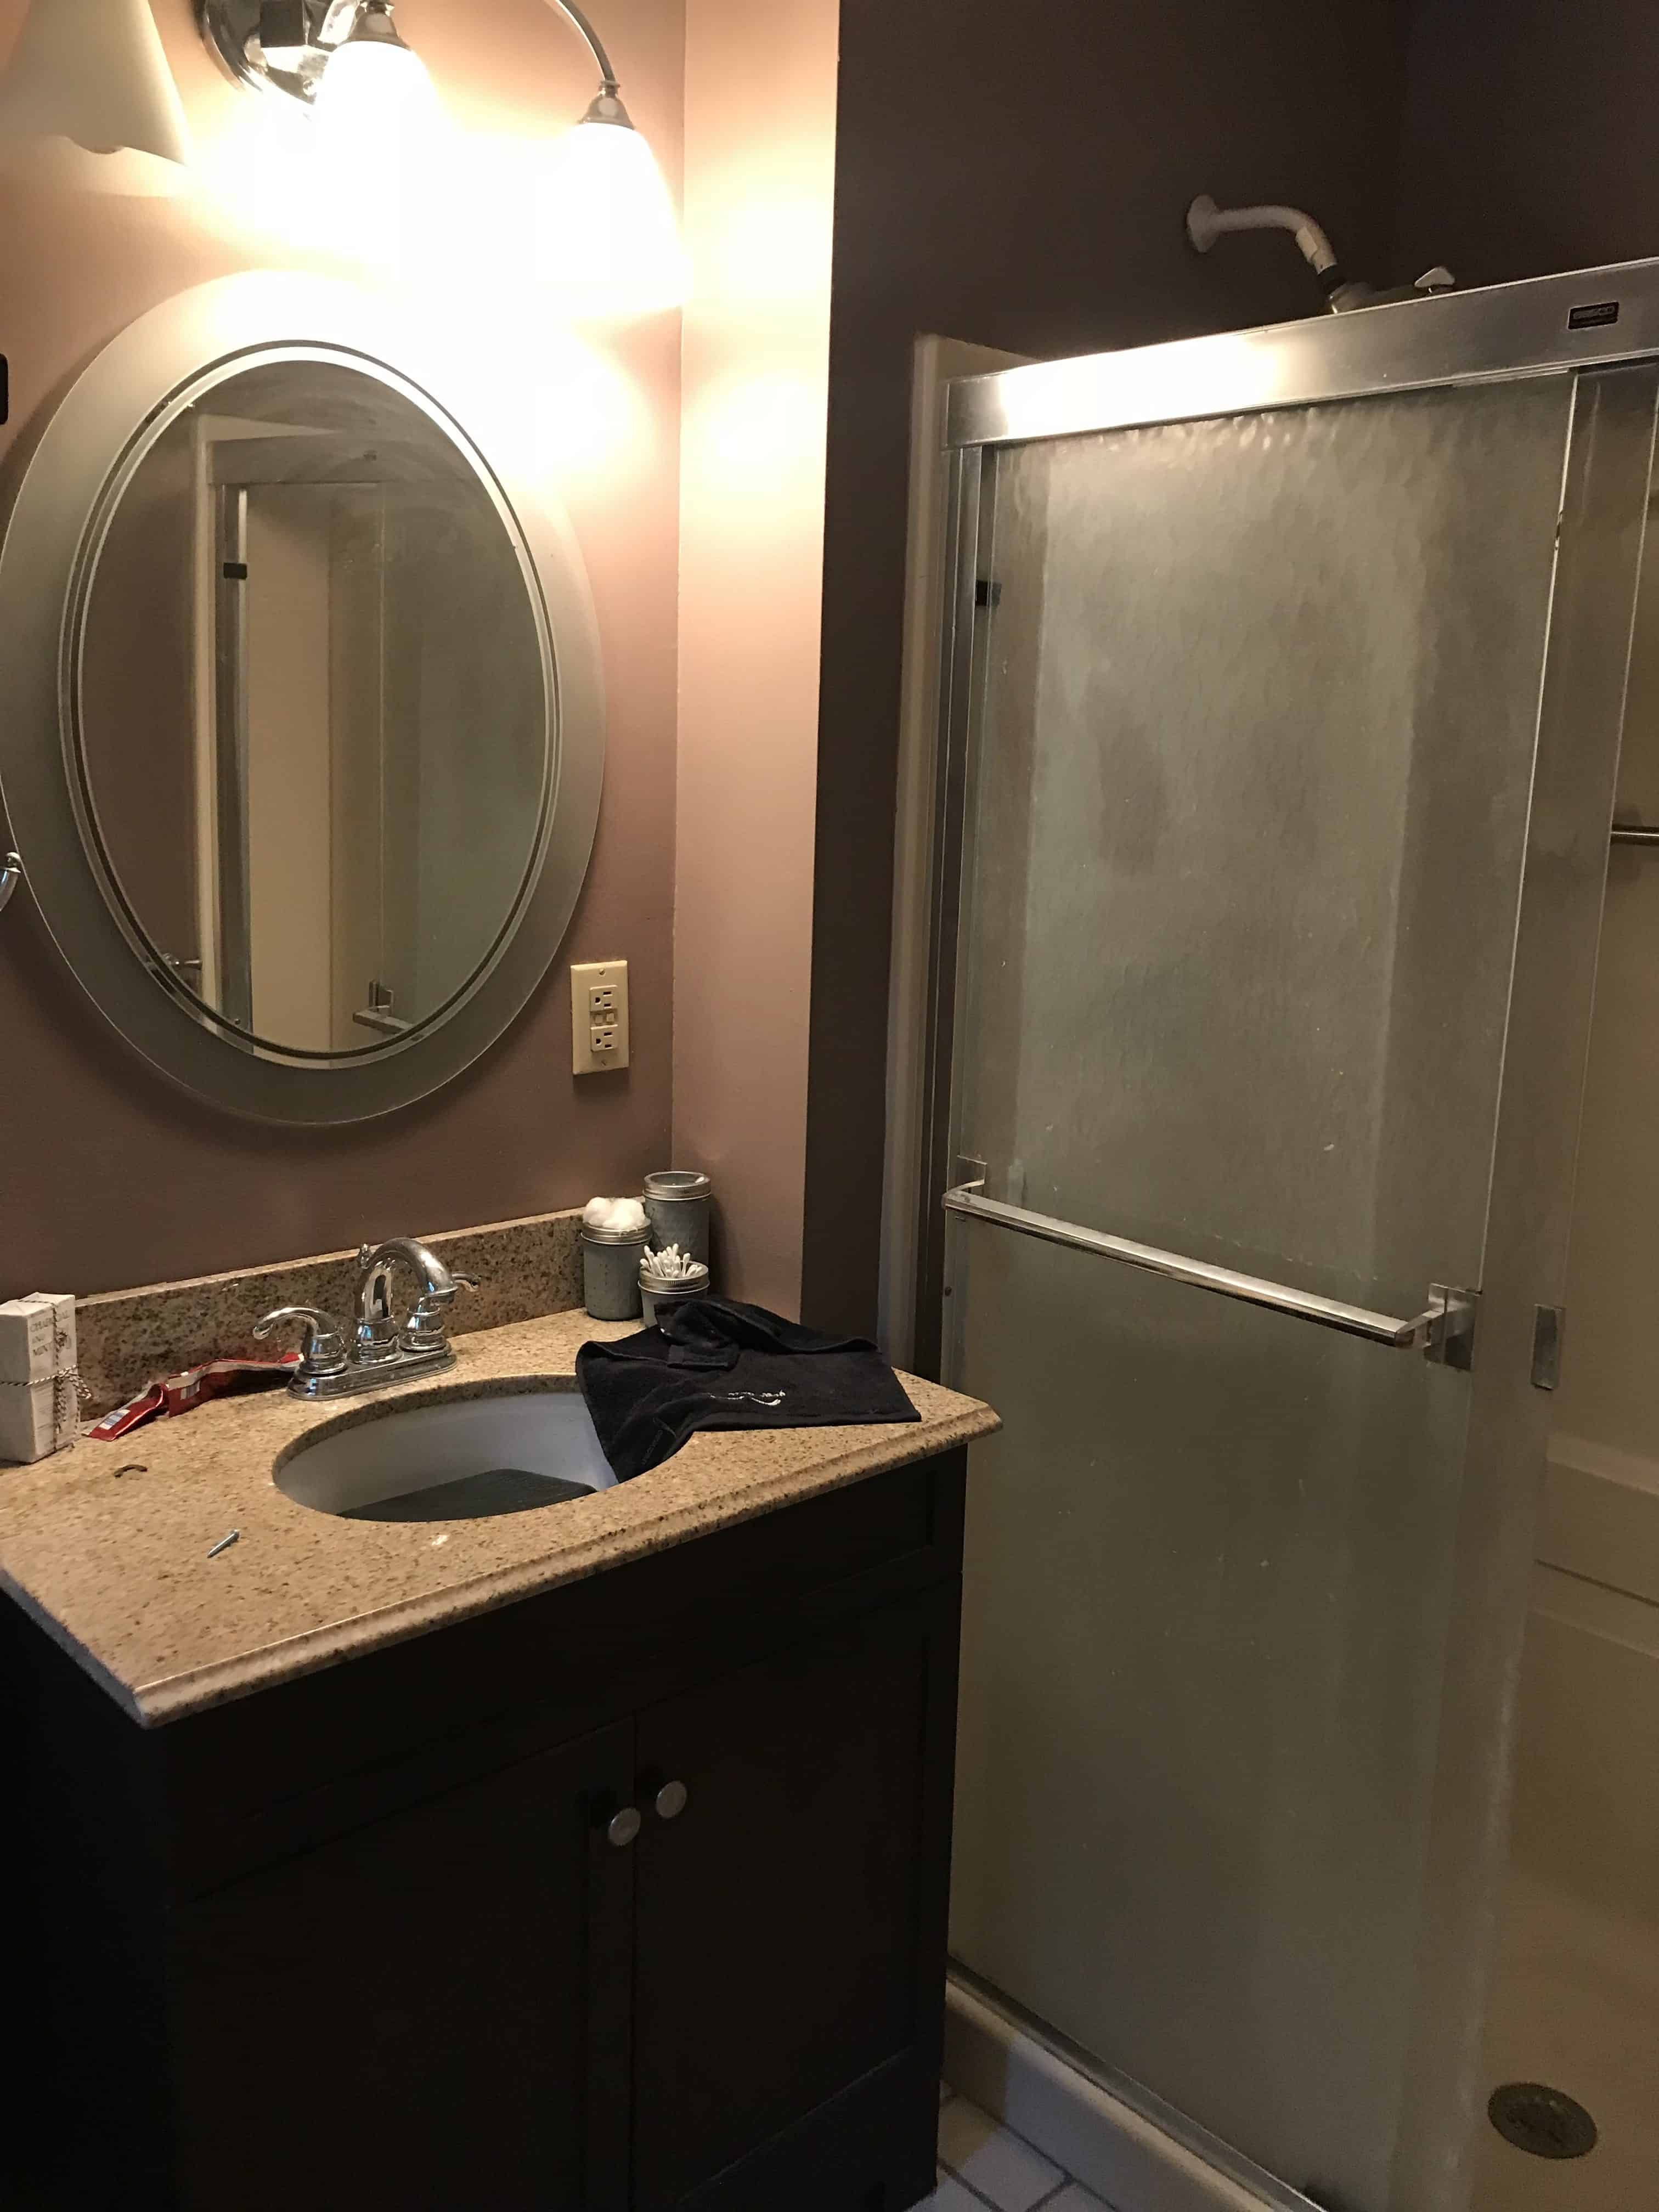
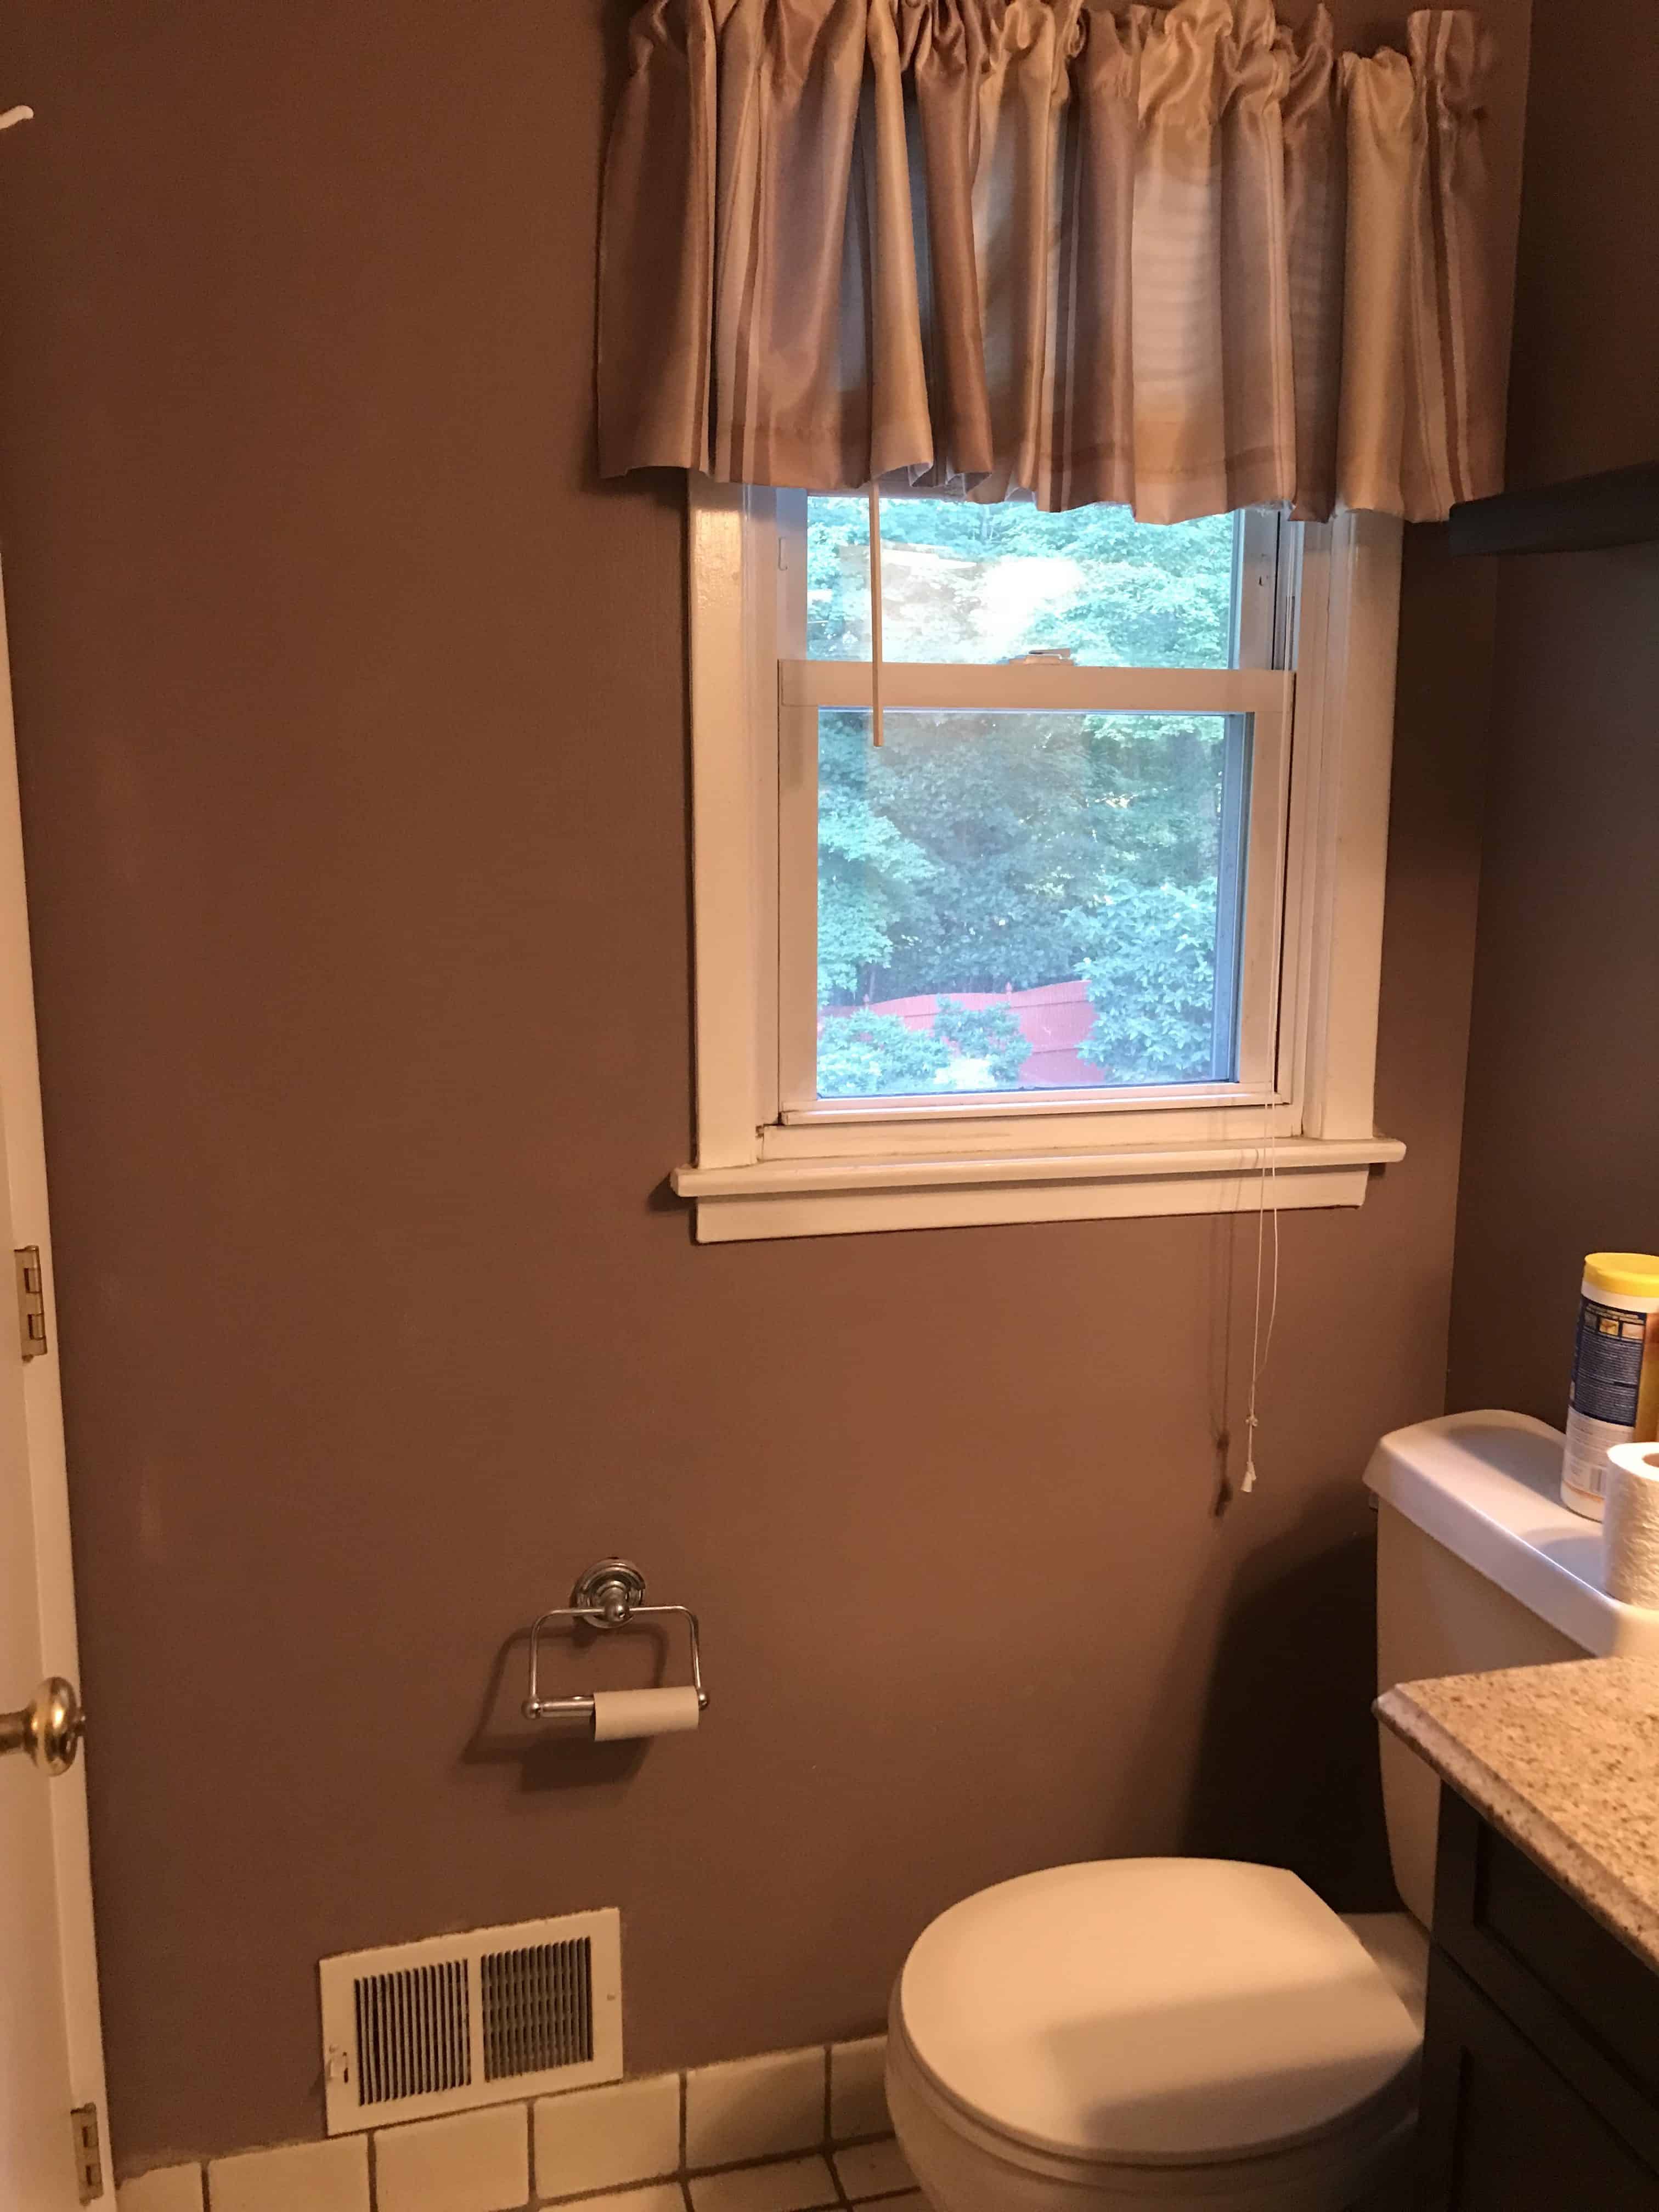

The night before we demo’d. I look so optimistic. So naive. Had zero idea what we were getting ourselves into.
I don’t need to go into every single detail of what a demo entails, so I’ll keep this brief.
We began by removing the wall fixtures, curtains, and the vanity.
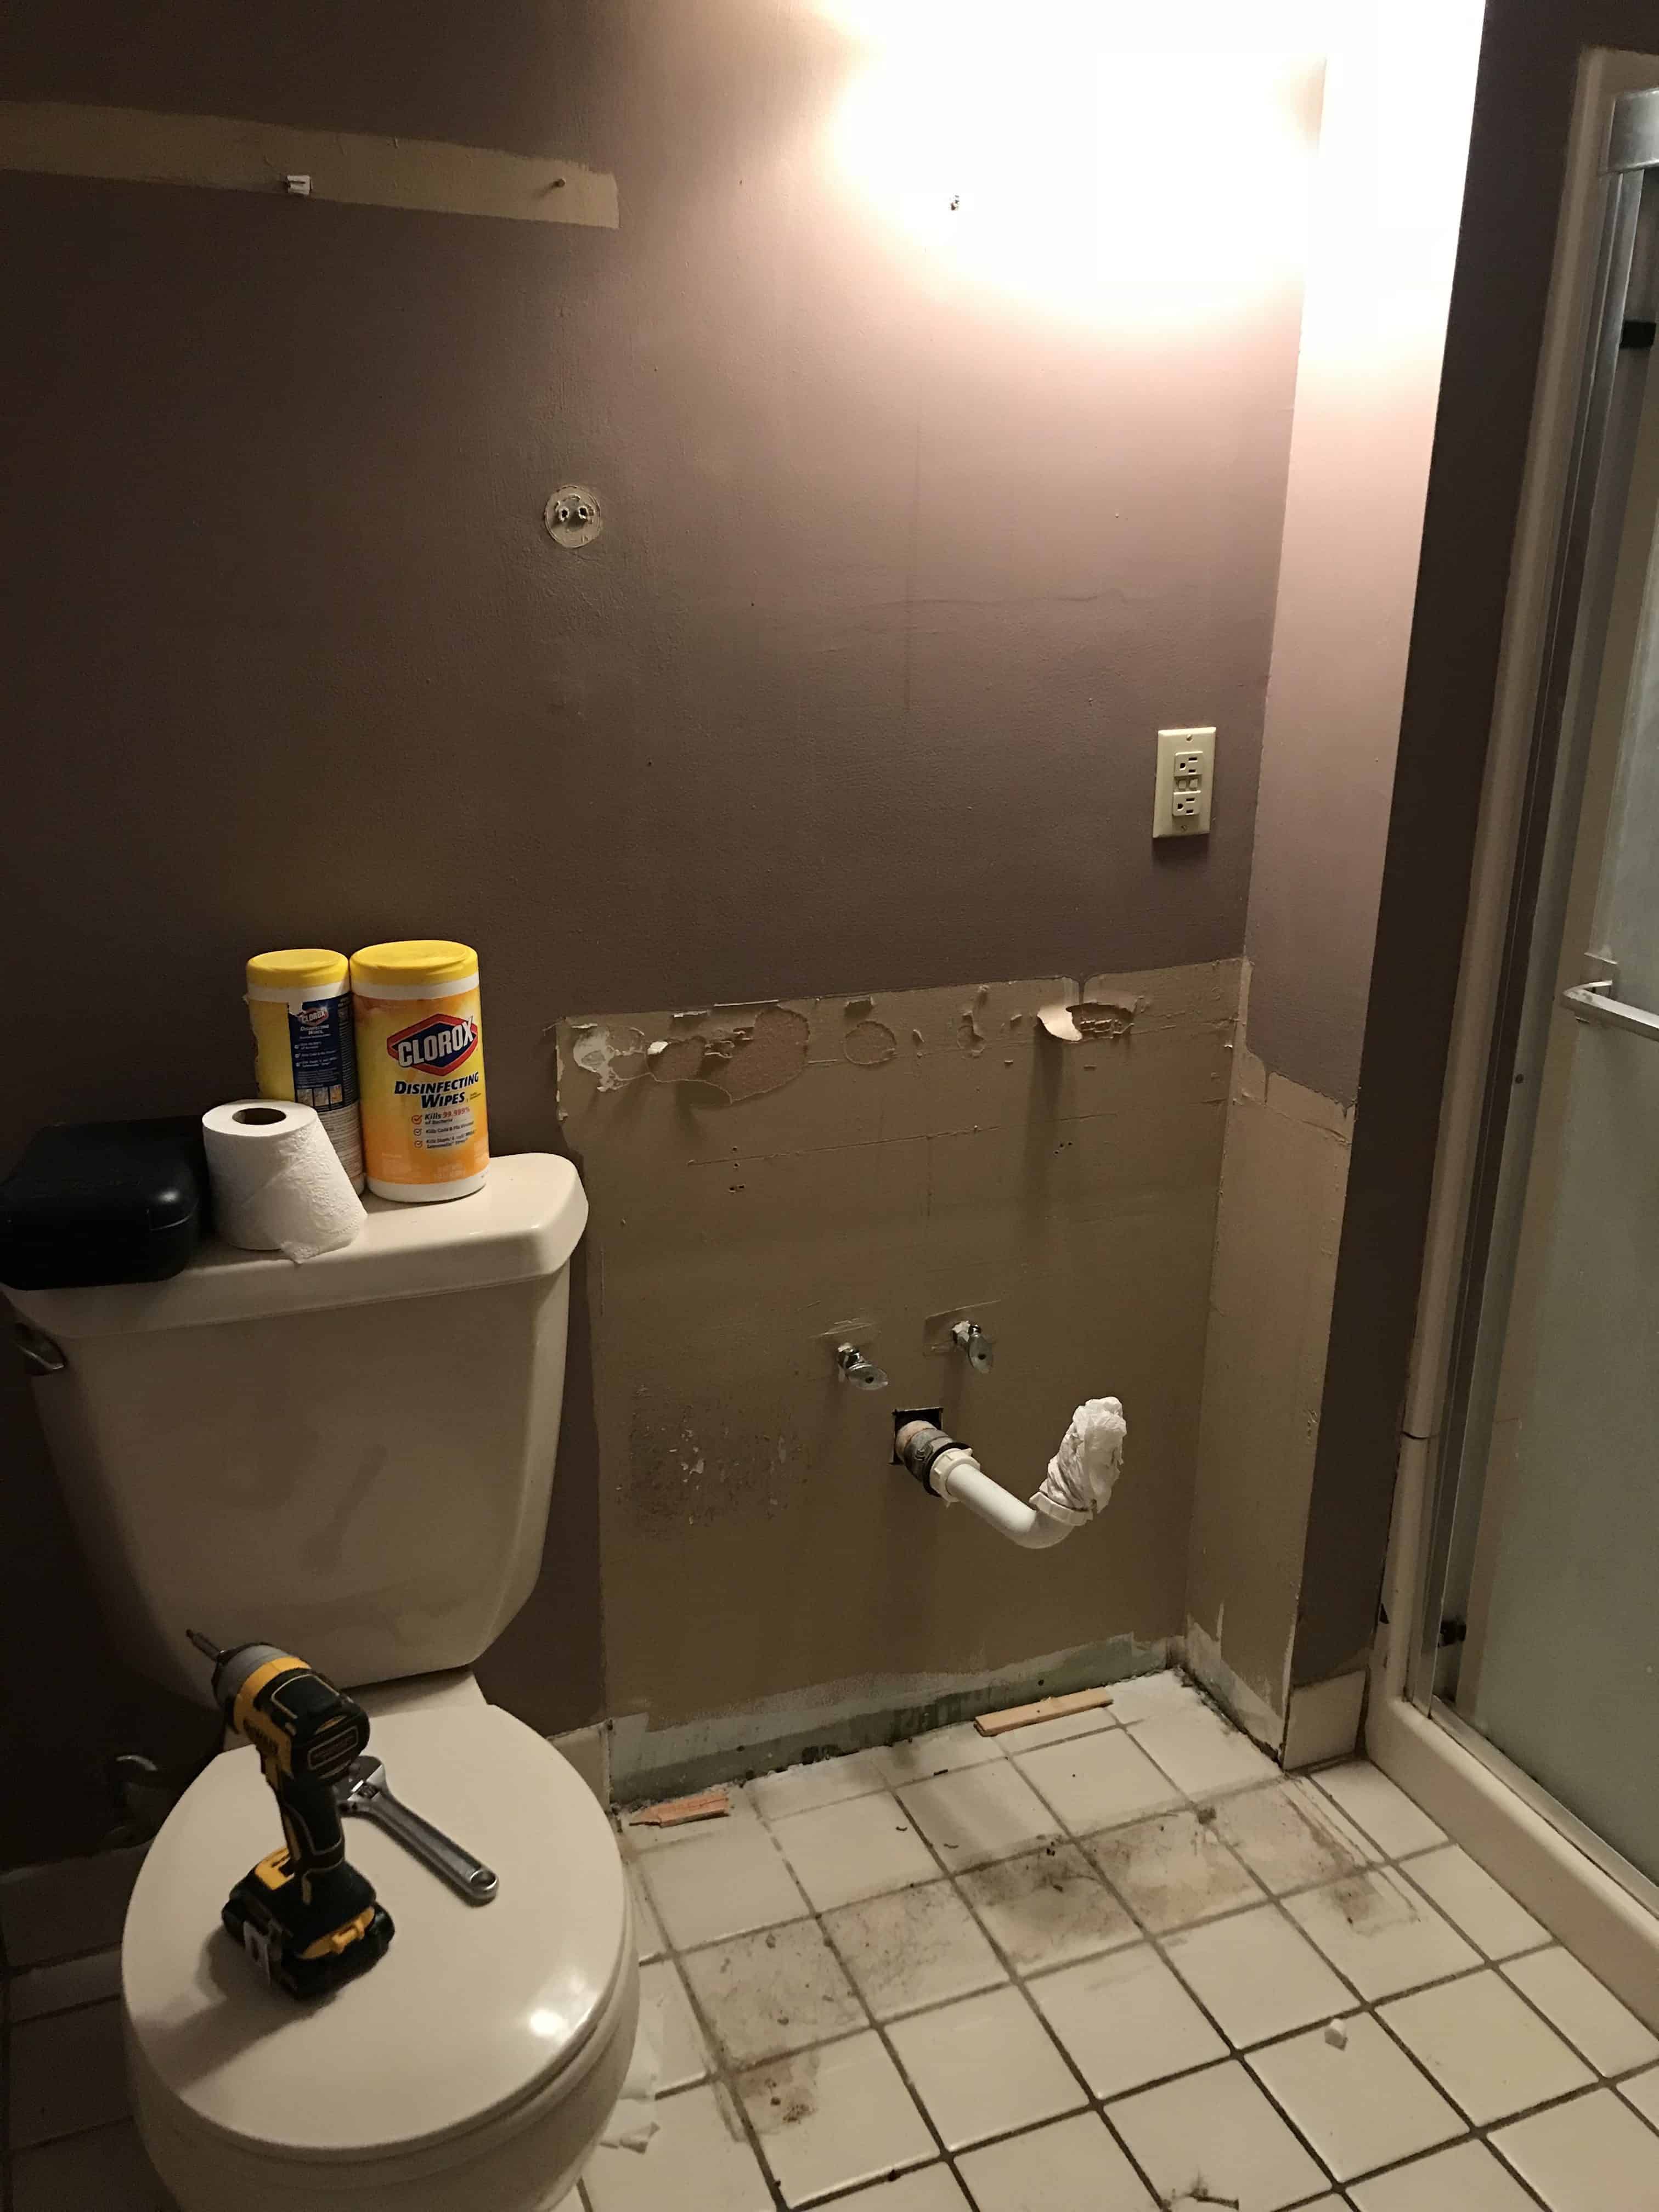
Using a hammer and box cutter, we started to remove the drywall from around the shower. The fiberglass was hard to remove as it wouldn’t budge from the walls or ground, so I just stood back and tried not to inhale the black mold particles while Angelo worked his magic.
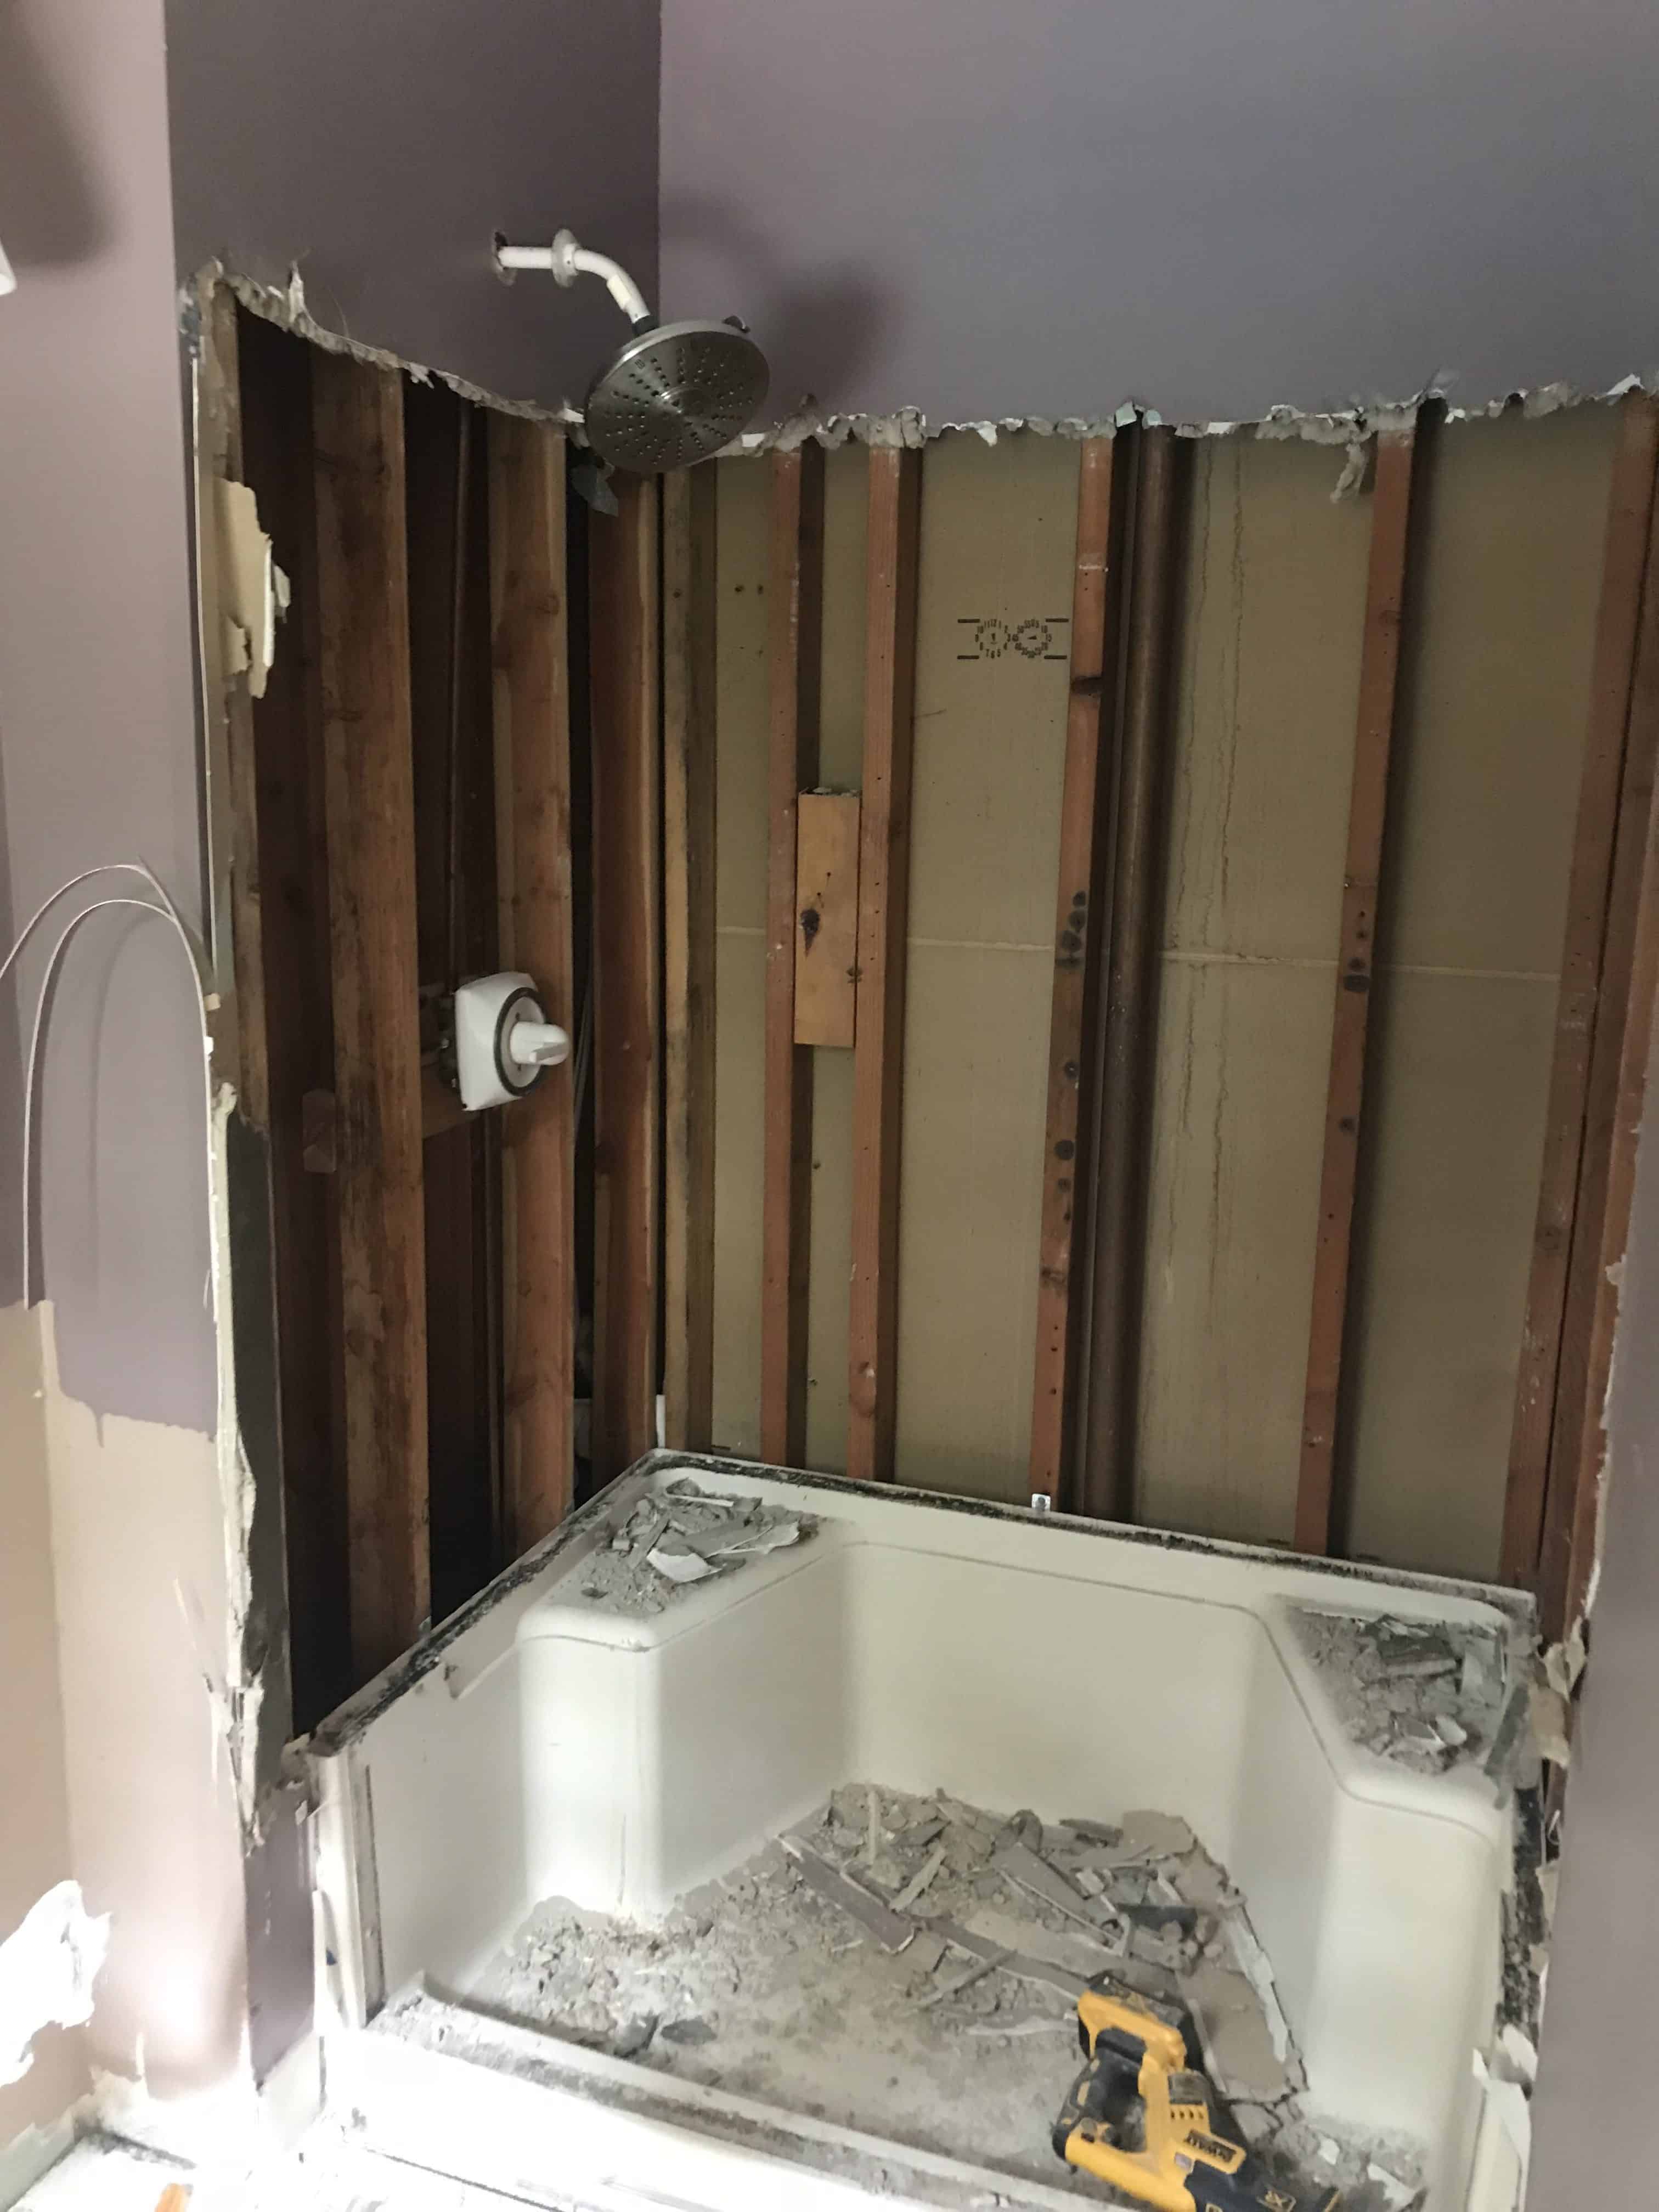
As we were ripping apart the shower piece by piece, Angelo noticed a bizarre drawing.
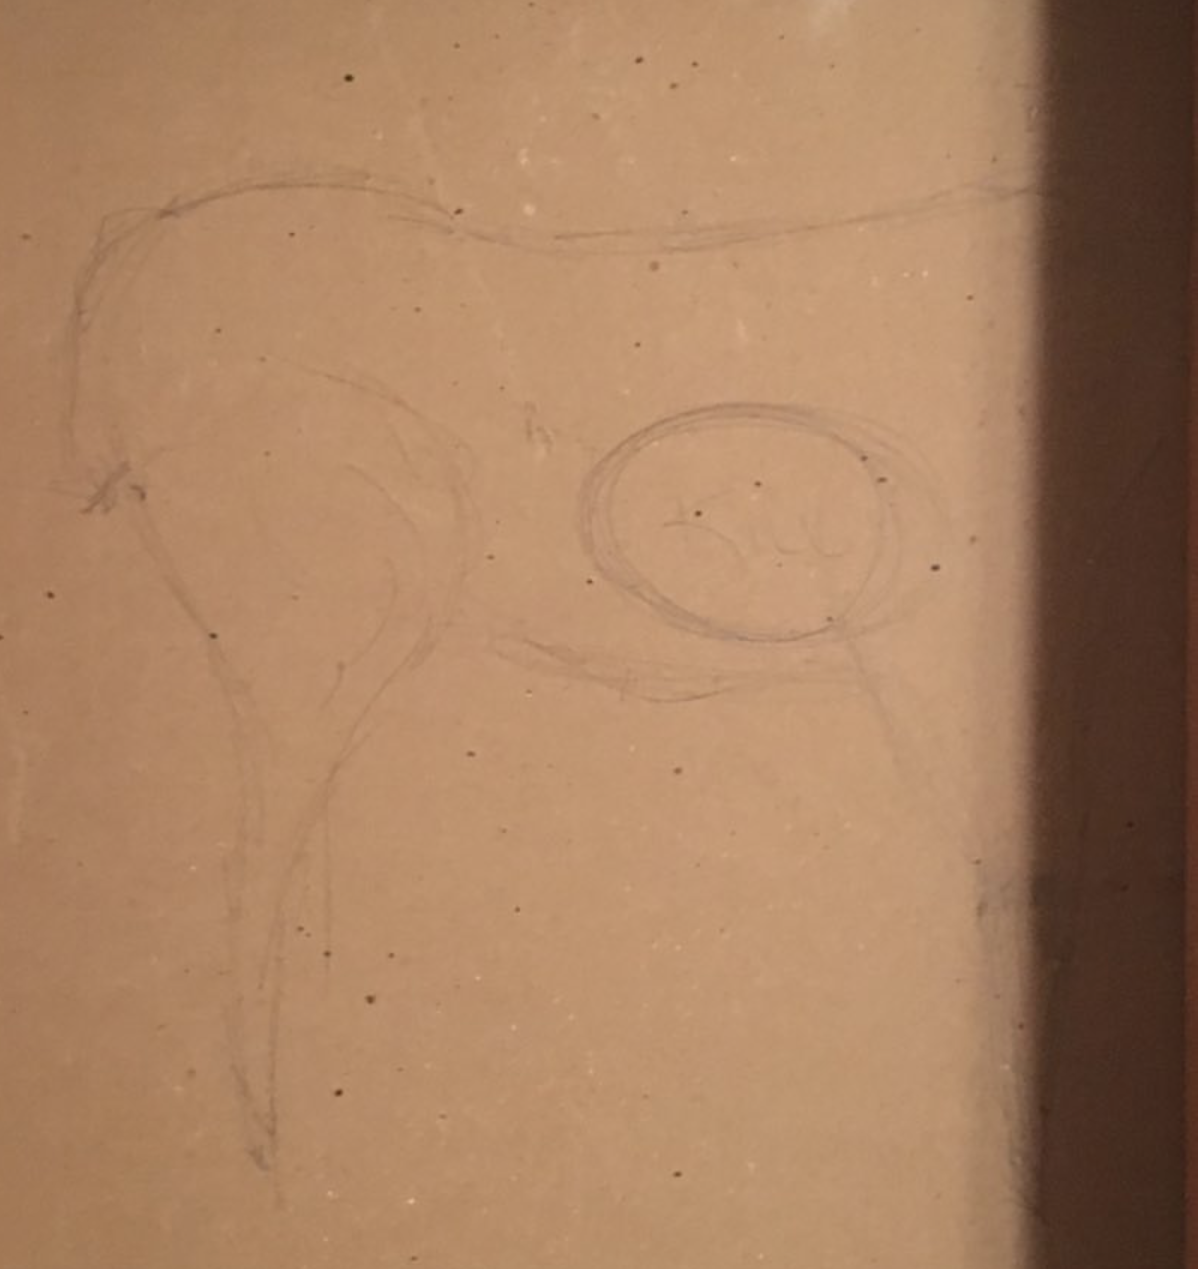
If you look closely, someone scribbled “kill” right in the center of a deer. Needless to say, I picked up some sage after our trip to Home Depot.
Once the entire shower was out, we removed the rest of the drywall around the shower to expose the studs.
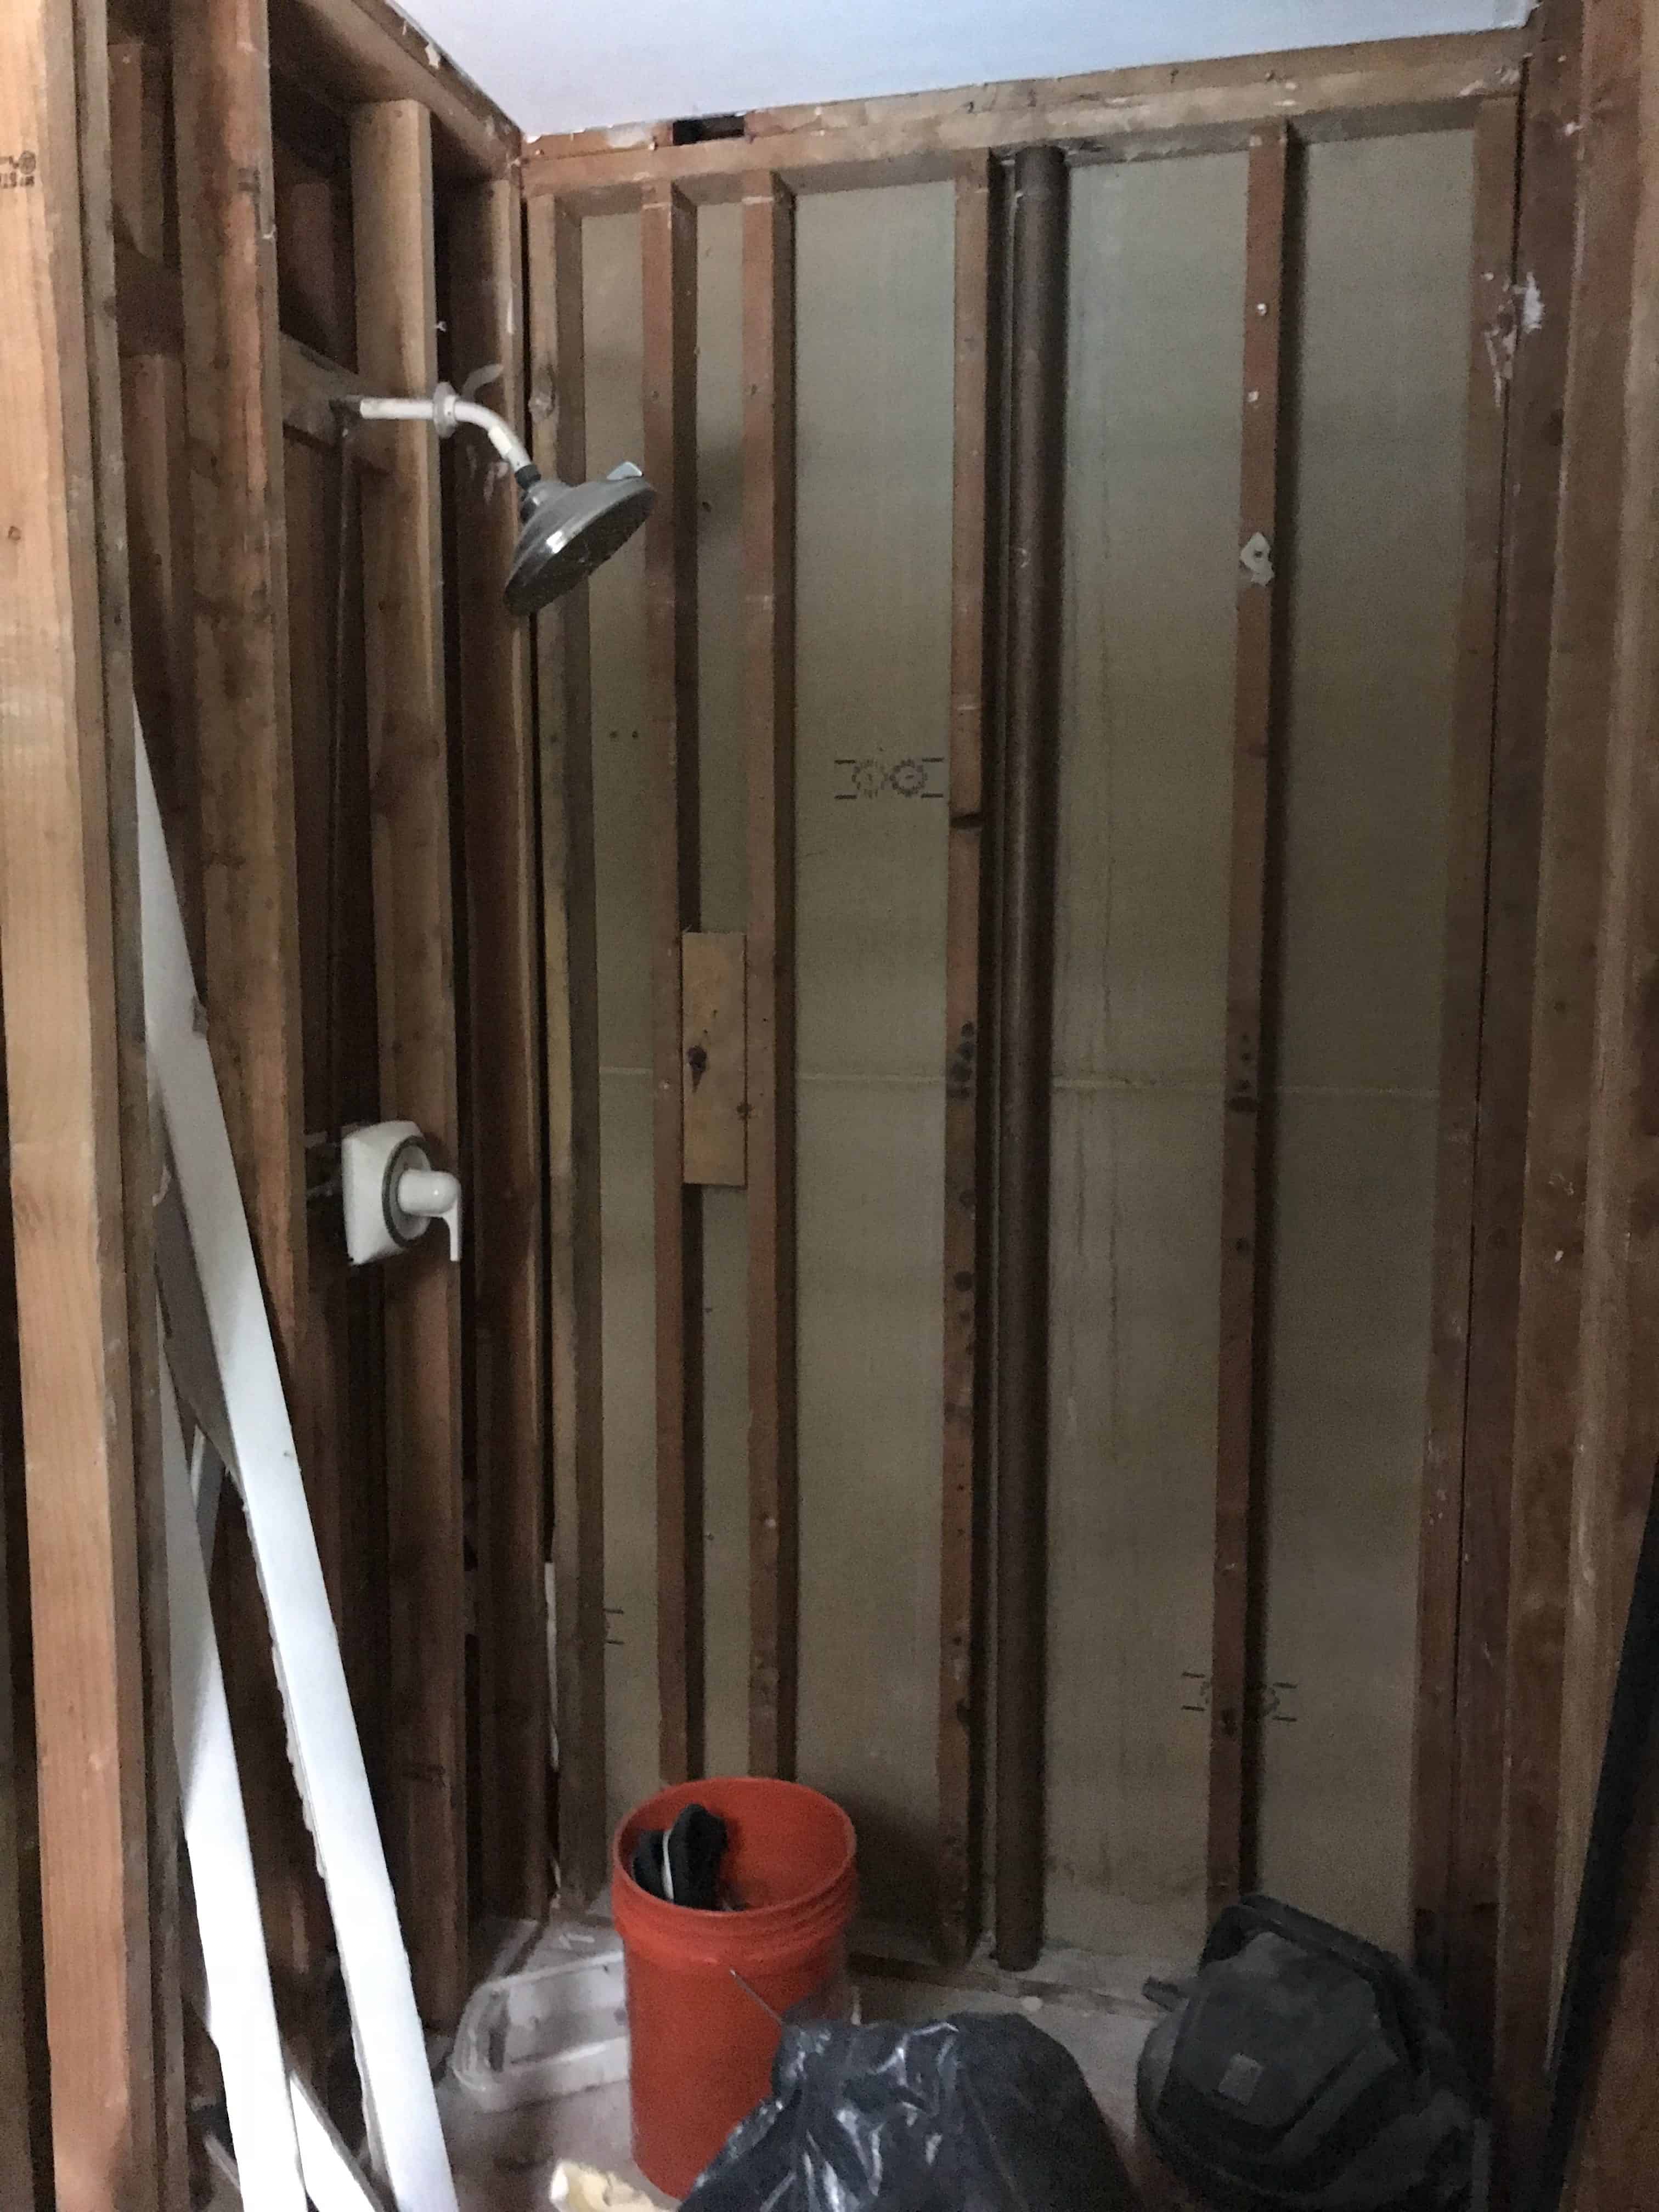
I mentioned in the first post I wrote about our bathroom that I knew this bathroom had potential, and after ripping everything out, I could finally picture what a floor to ceiling marble shower would look like.
Next up – ripping out the tile.
Based on our research (YouTube), it didn’t seem that ripping up tiles would be a huge challenge. But this house must have received *special* treatment back when it was built in ’65 because as we started breaking up the tile, we discovered two inches of concrete on top of CHICKEN WIRE.
After frantically checking the Google, we realized we needed a jackhammer. Aaaakay so this is the part where they tell you to “plan for the unknown.”
While checking out a jackhammer rental at Home Depot, the super friendly cashier showed us his chicken wire scar he received 30 years ago and told us to “be careful.” K.
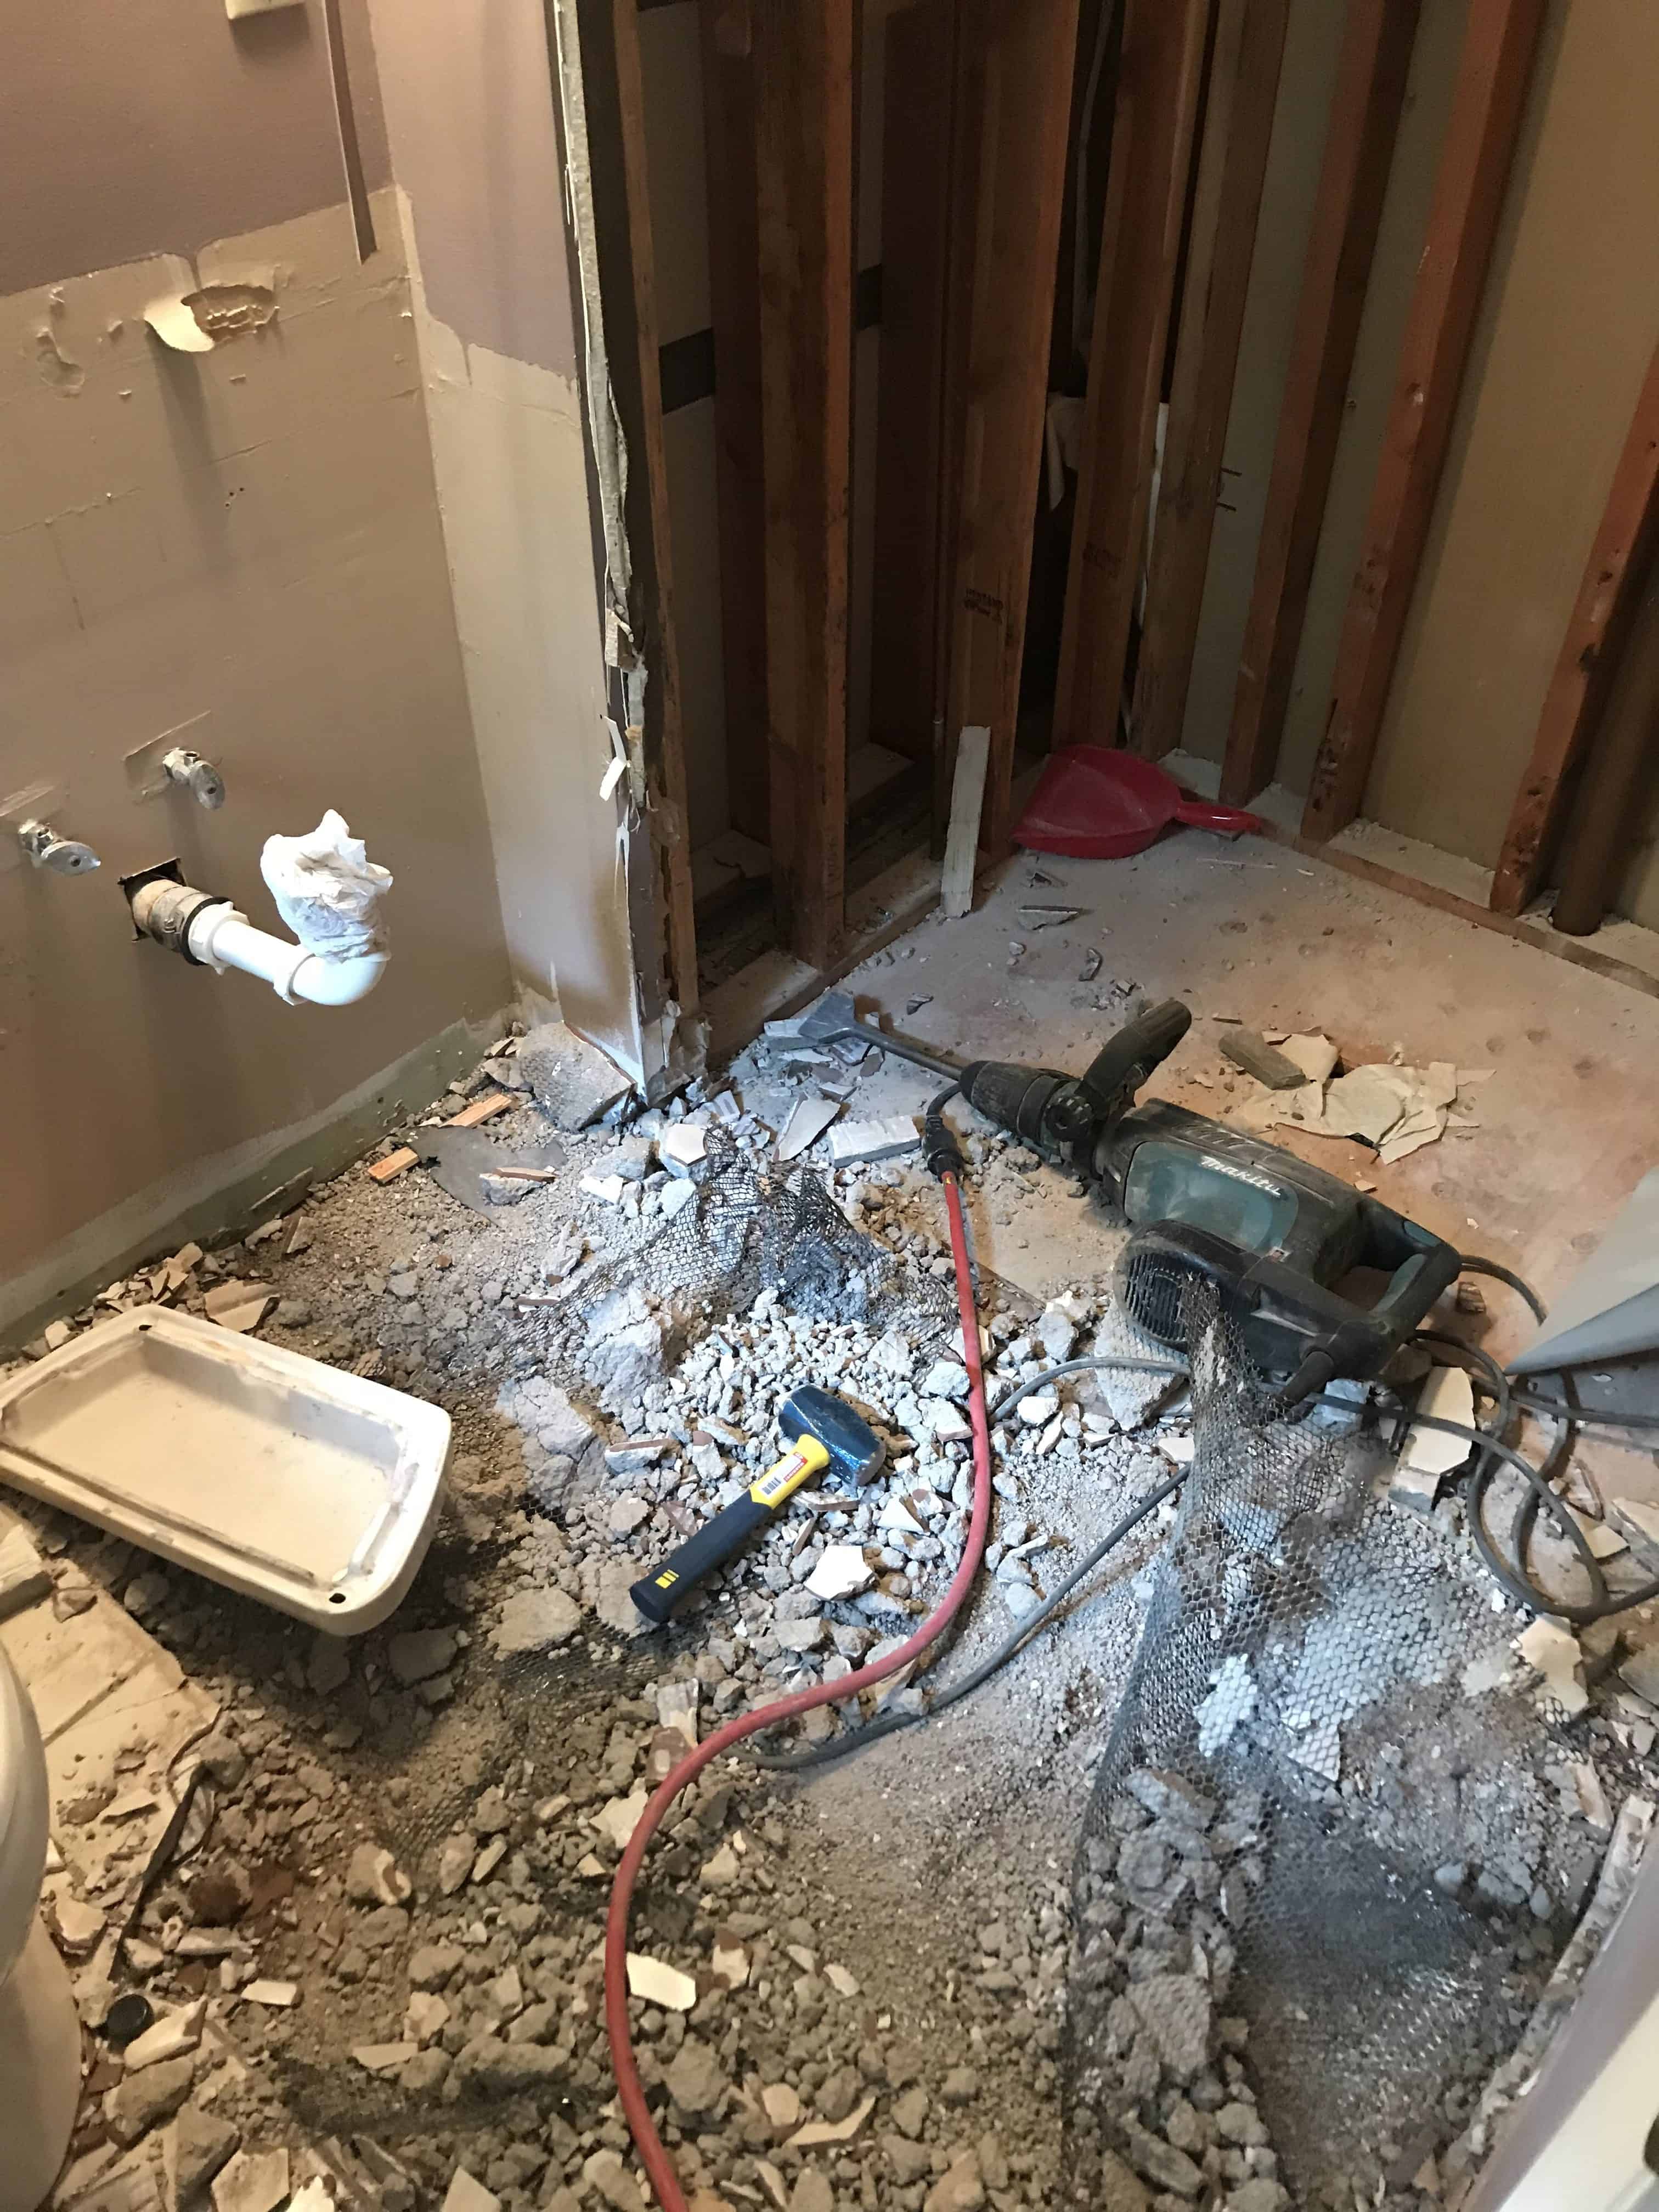
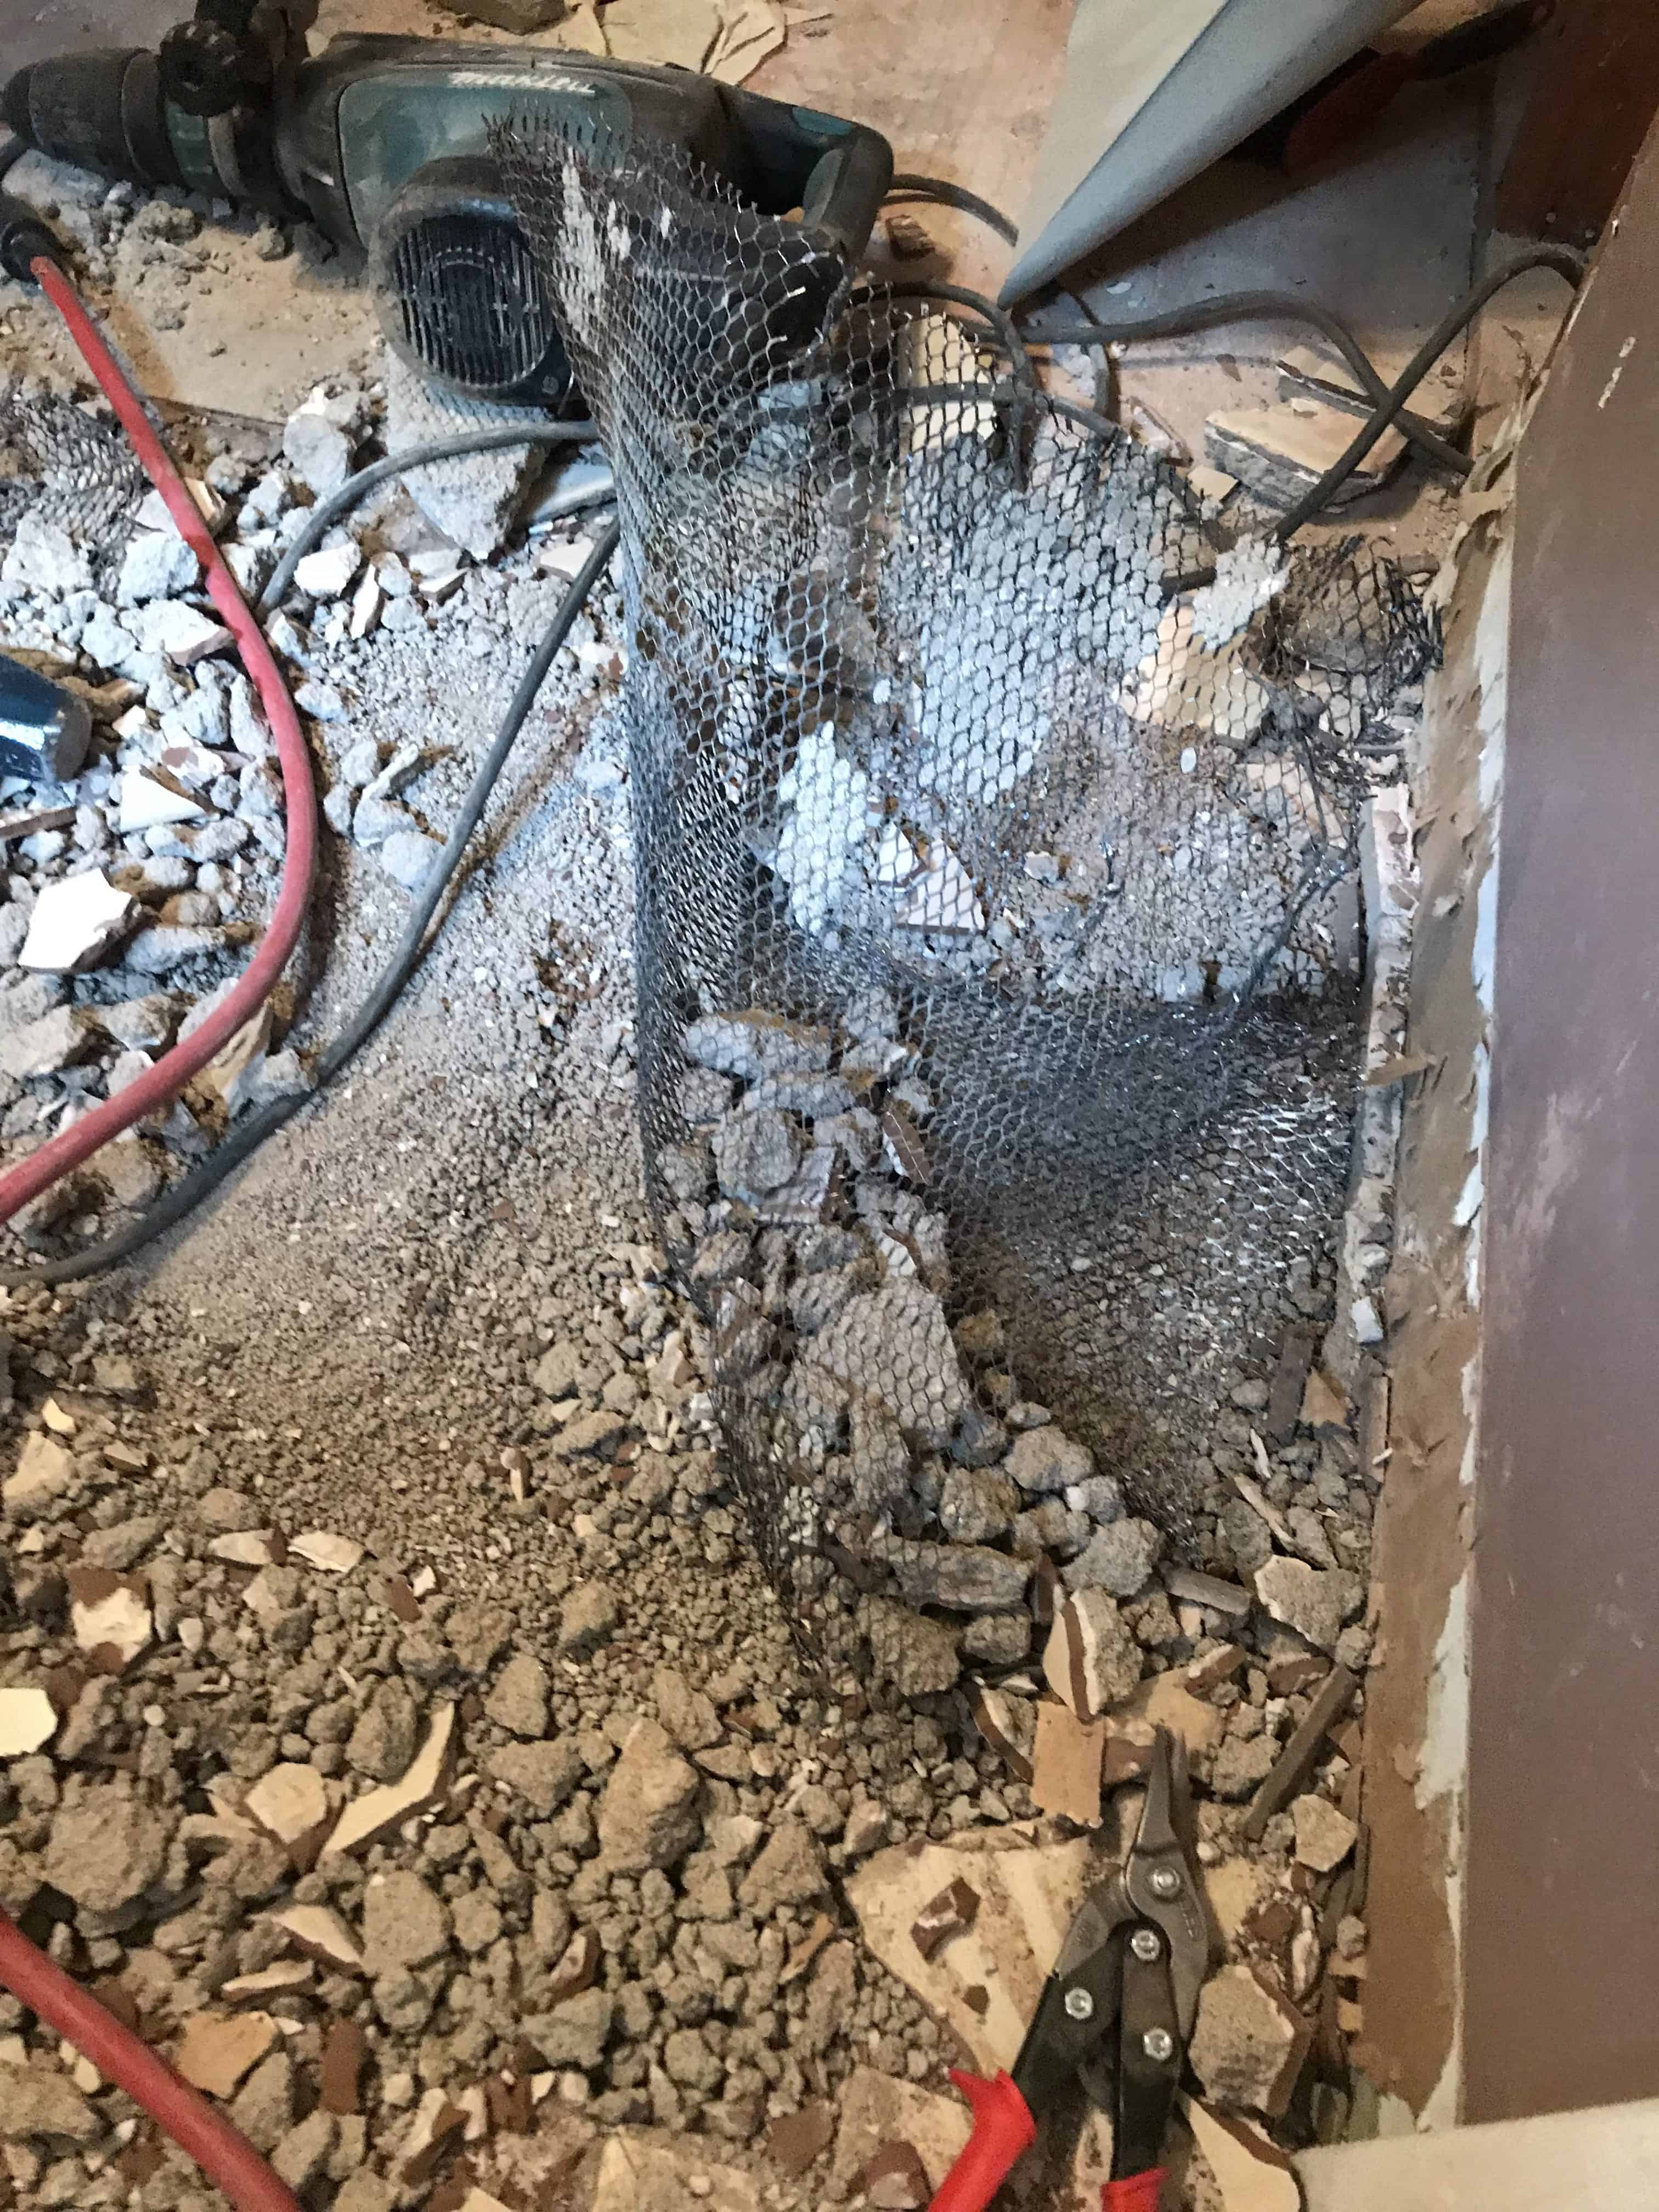
Luckily, the jackhammer broke up the tile and concrete quickly but we had to manually cut the chicken wire with that small red tool and it took a longgg time.
We anticipated some water damage in the bathroom and prepared for the worst. Luckily, there was only some water damage around the subfloor under the toilet, so we planned to replace the subfloor the following weekend.
And the last thing we tackled this week – ripping out the rest of the drywall
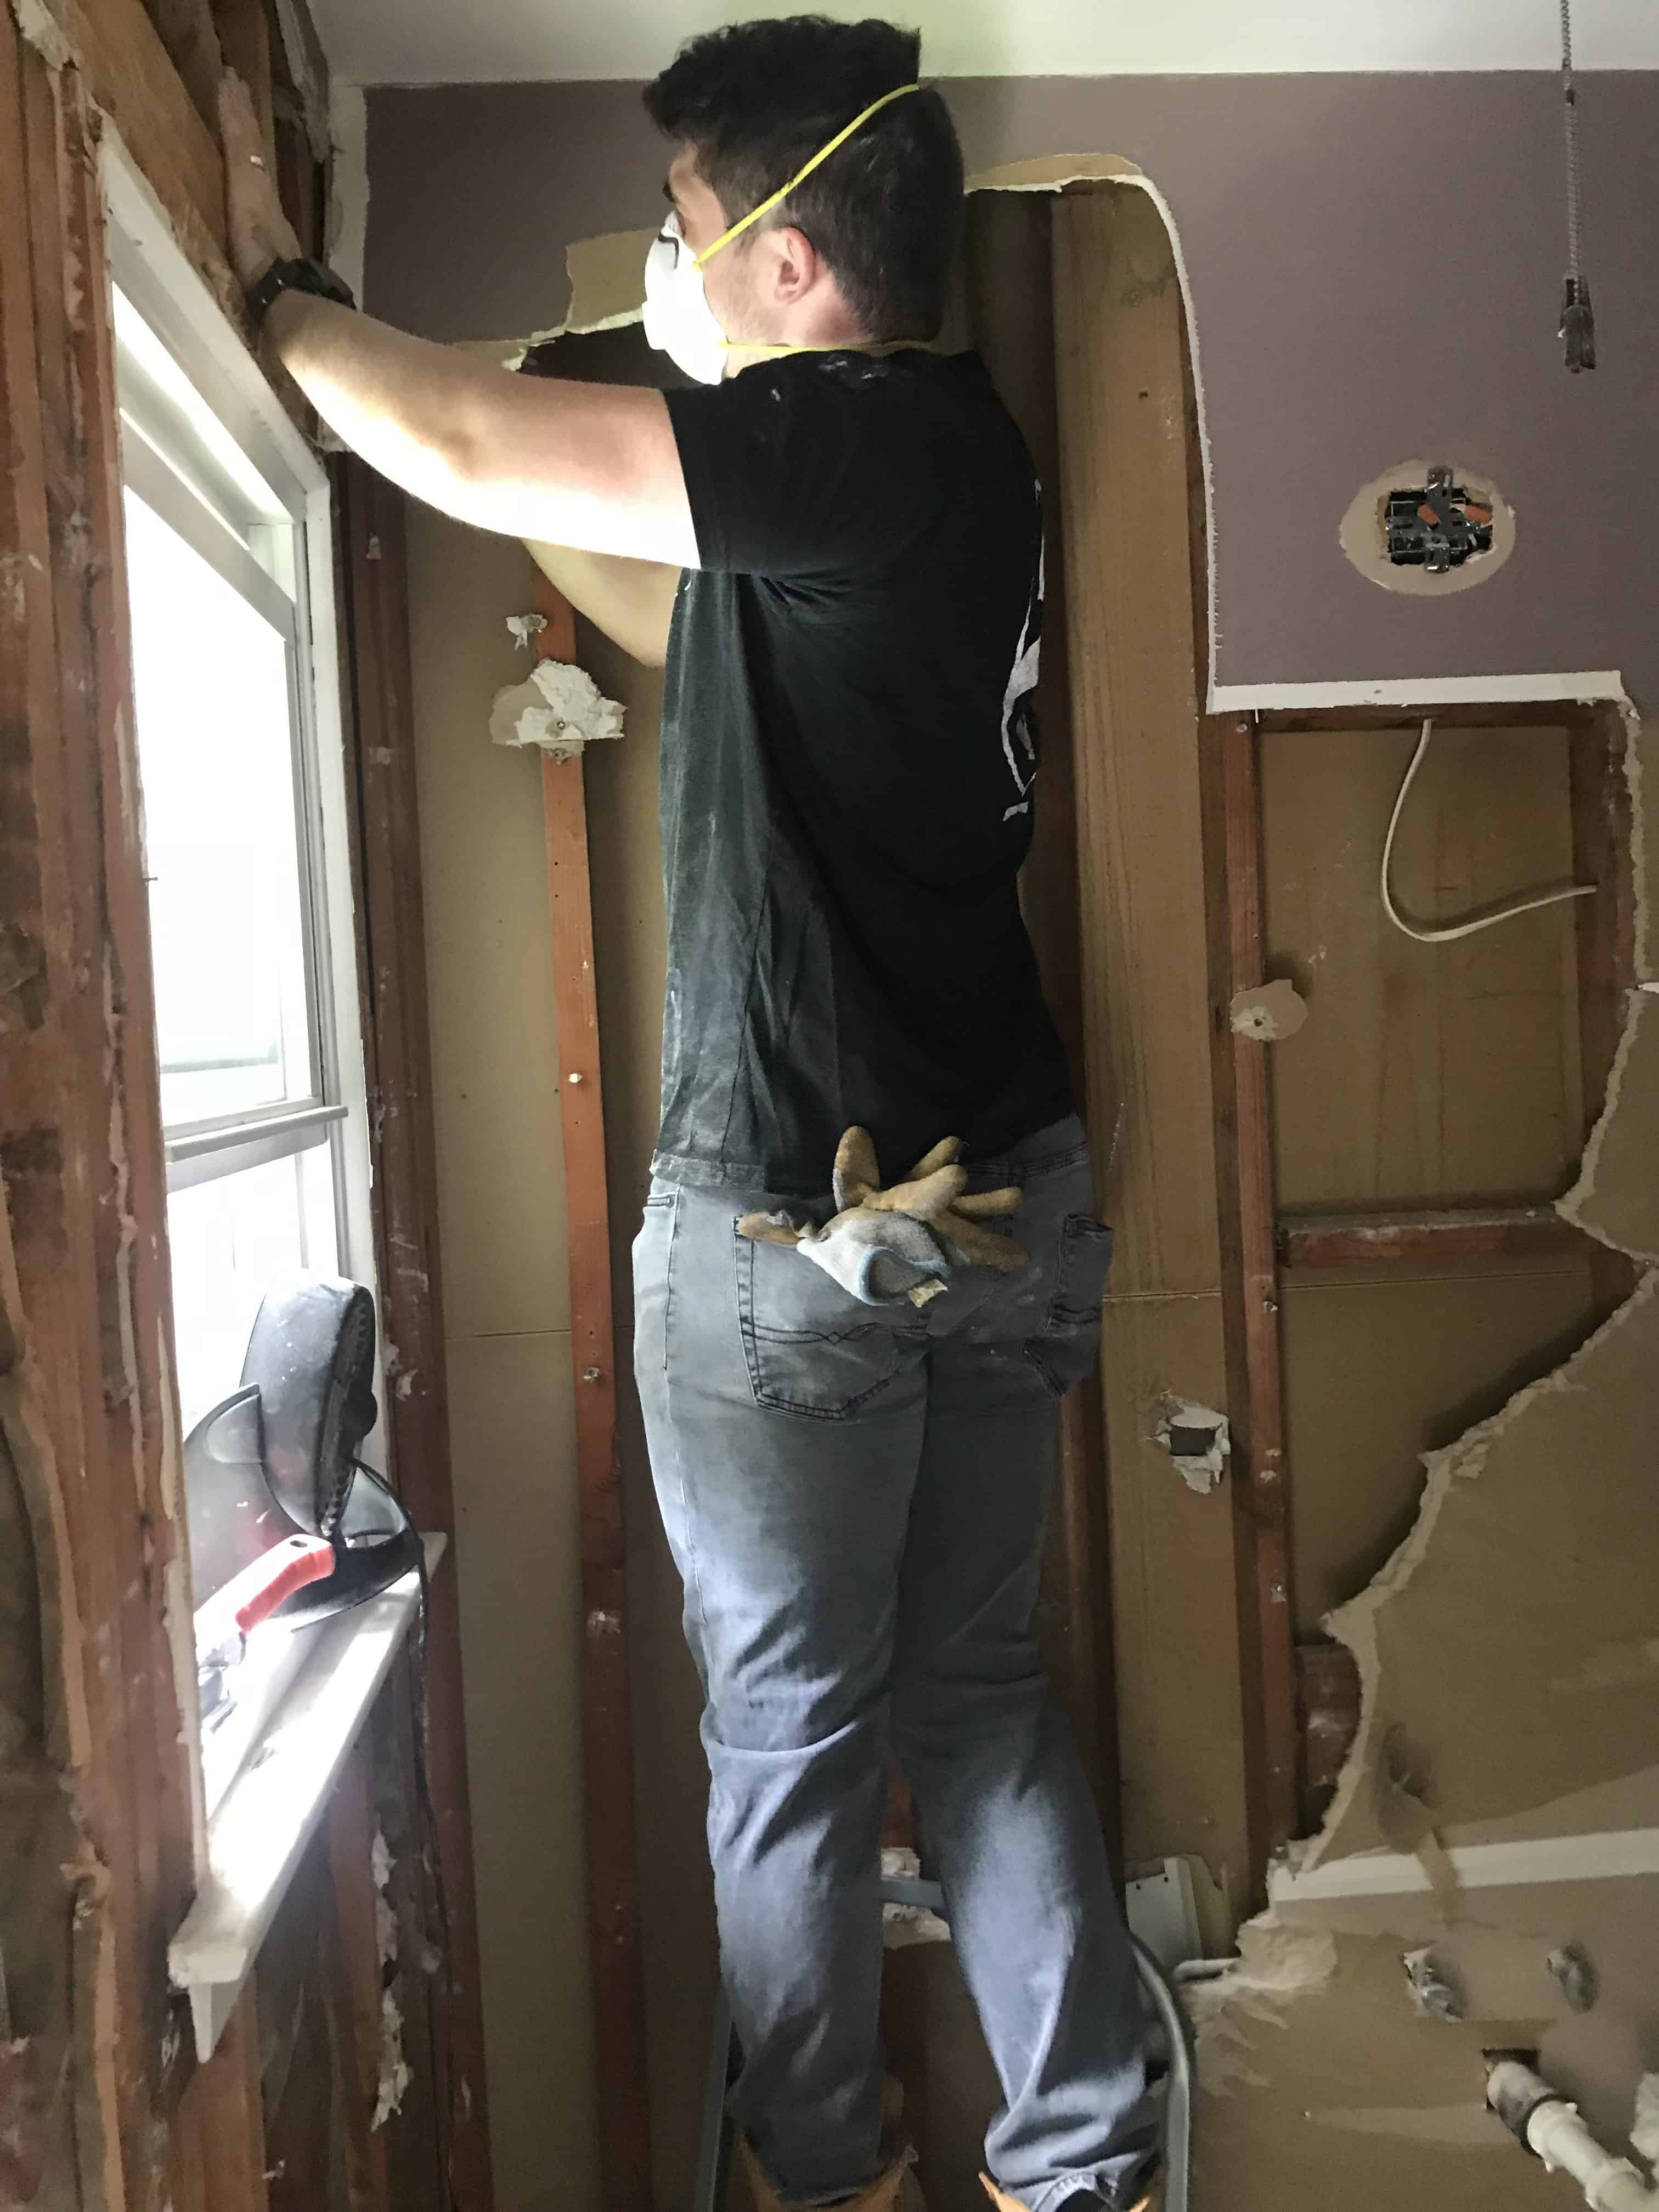
See you never again purple!!!! Bye!!!
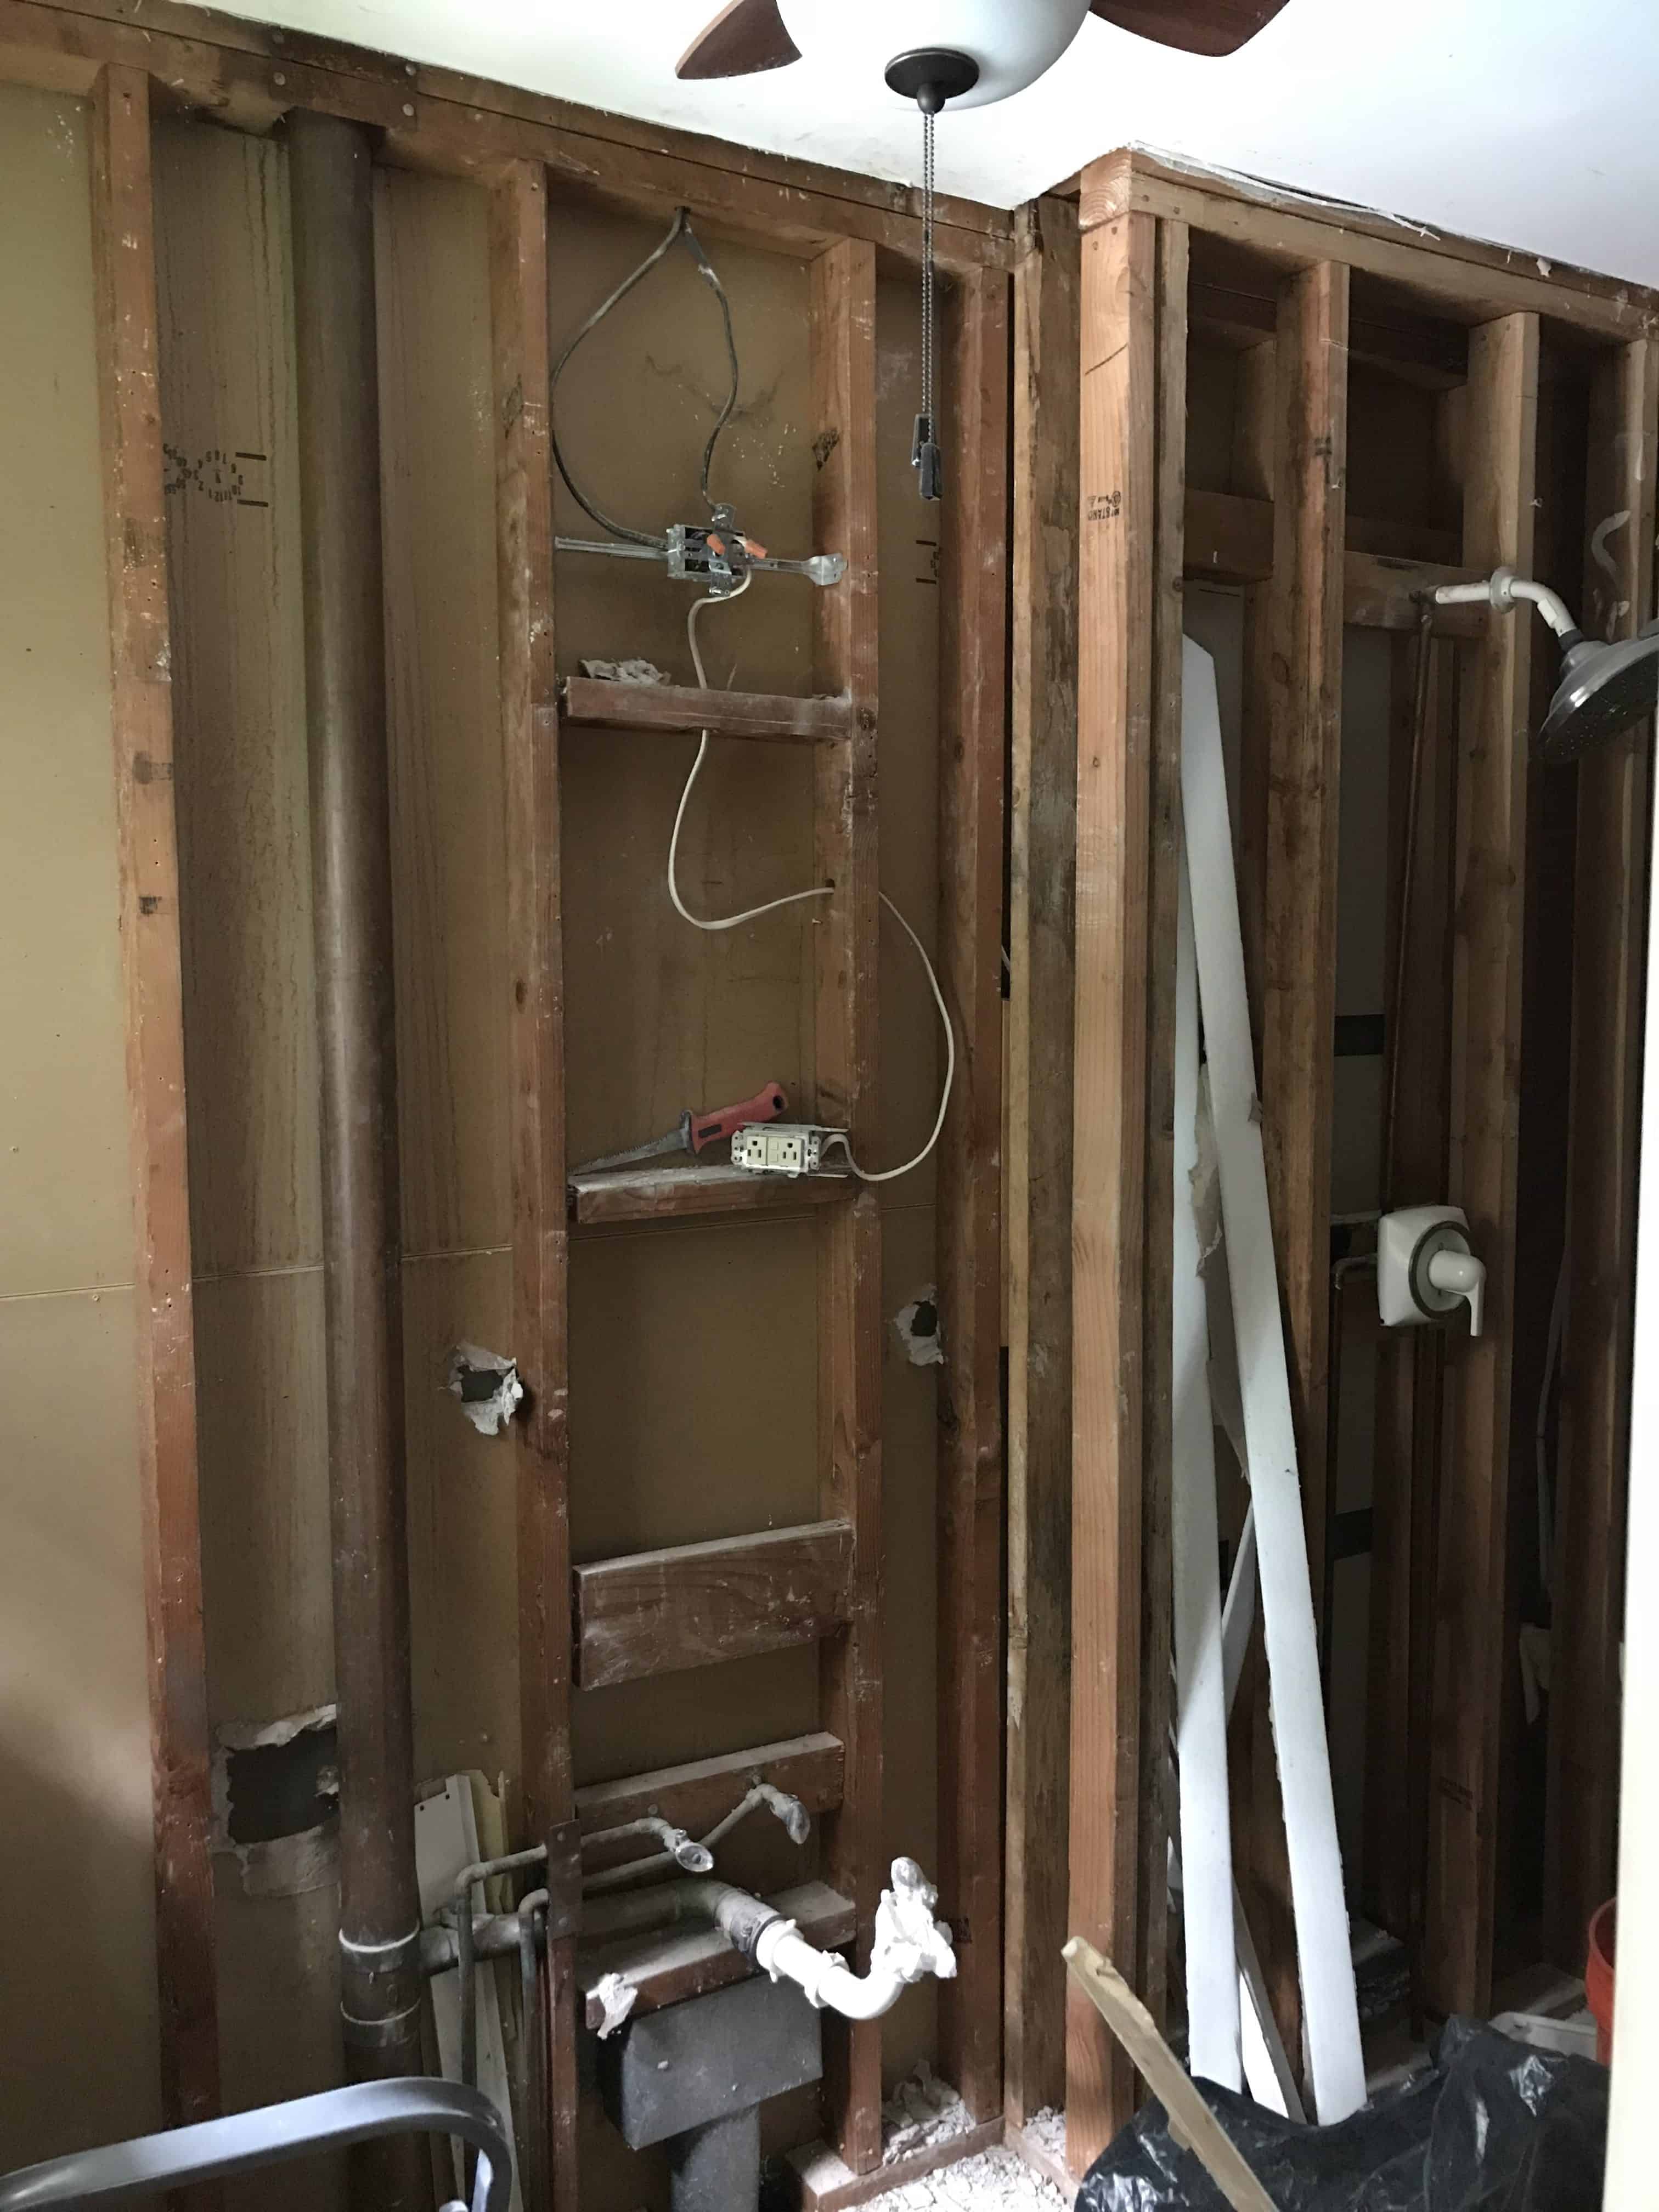
Once we tore everything out, we vacuumed it all up and carried 17 bags of 50 lb debris to the garage. Definitely didn’t need my Tabata workout this weekend.
I obviously can’t leave you without the single image that’s inspiring our bathroom renovation:
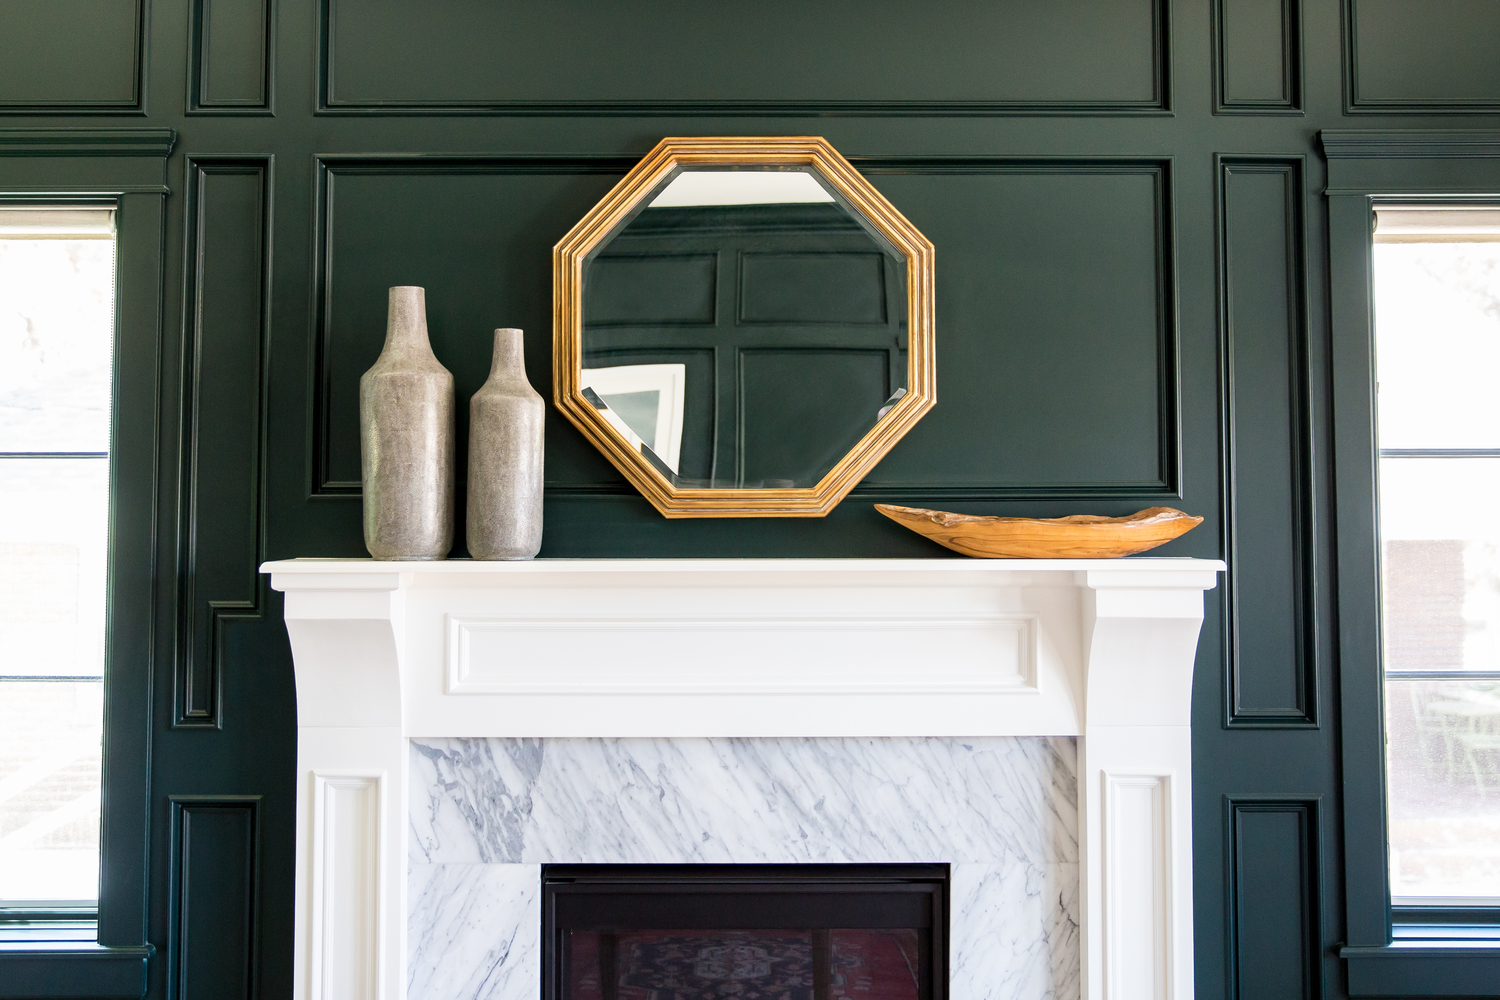
The marble, molding, BM Salamander and gold combo via Studio McGee. I’ve also created an e-design for our bathroom, which I’ll share next week.
Also the latest concept design board, which has changed like, 6 times already (and will change another 6 before this is over)
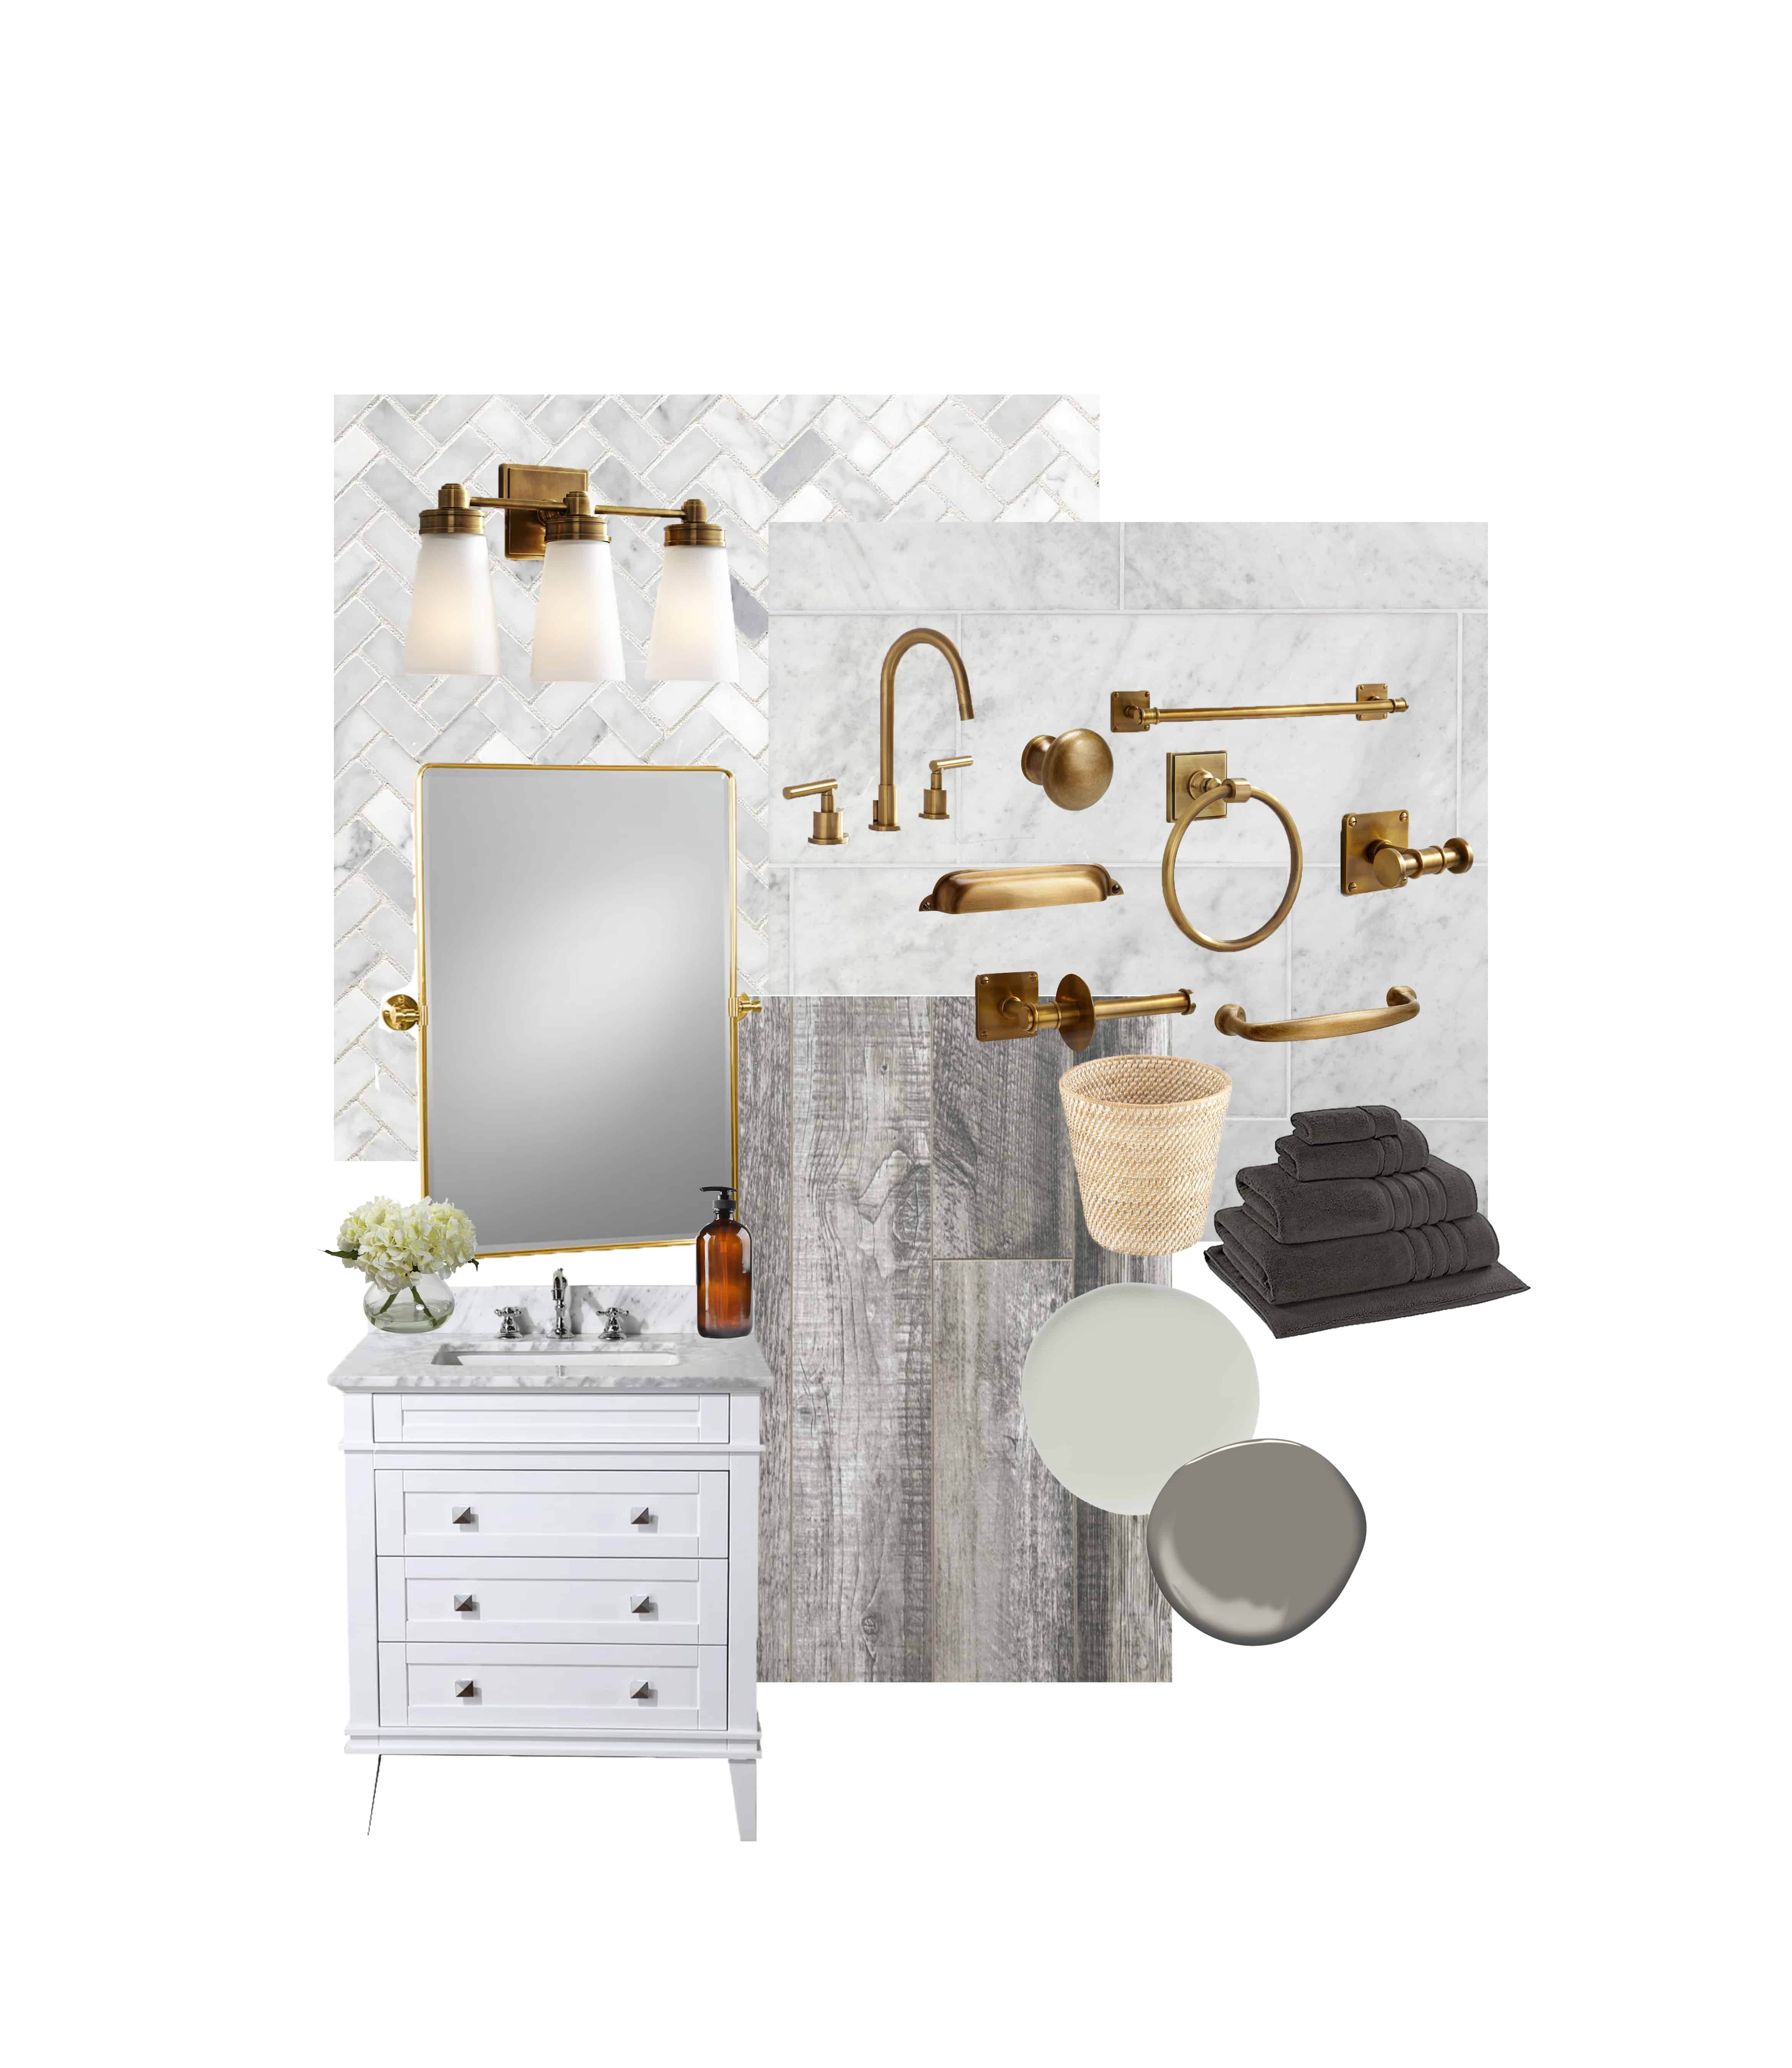
Some things we learned through demo’ing ourselves:
+ Always prepare for the unexpected – because it will happen. That means extra funds and additional time than you originally planned
+ Buy enough protective gear – you don’t want to be halfway through and realize you should have bought those heavy duty gloves so you don’t have a chicken-wire scar for the rest of your life
+ Prepare to find weird, cryptic drawings behind your walls and always have sage on hand
On the agenda for next week:
+ Remove rotted subfloor and replaced with new subfloor
+ Hang new drywall
+ Tape the seams and apply mud to drywall
+ First coat of primer applied to walls
+ Prime subfloor for self-leveler
+ Pour self-leveler
To watch the challenges and emotions of the renovation unfold from Week 1, visit my Instagram and check out the “ORC” story highlight.
The media sponsor for the One Room Challenge™ is Better Homes and Gardens.
I will link each week below as the challenge progresses:
My Fall 2018 ORC Posts: Week 1 | Week 2 | Week 3 | Week 4 | Week 5 | Week 6
The Guest Participant Link-ups: Week 1 | Week 2 | Week 3 | Week 4 | Week 5 | Week 6
Featured Designers for October 2018:
At Home with Ashley | Brepurposed | Dabito
Erin Kestenbaum | Harlow & Thistle | House of Brinson | J & J Design
Kelly Golightly | Linda Holt | Megan Bachmann | Michelle Gage
Mimosa Lane | Murphy Deesign | Vestige Home



Beautiful mood board!! Great progress already, wow!
So excited for this project! It is really hard work but so worth it at the end, especially since you are doing it yourselves – that makes it even more rewarding! I love Studio McGee too – beautiful work as well.
So excited for you and I can’t wait to see your progress this week.
So, I’m searching for things to add to my redo that damned bathroom planning list and I run across you. I am extremely excited waiting for your page to load, find the checklist and get it downloaded. It doesn’t exist any longer. I am so not happy.
Hi Babs! I’m sorry for the inconvenience – the checklist is linked at the bottom of the page.
Thanks!
It’s laborious to find educated people on this subject, however you sound like you realize what you’re speaking about! Thanks
I’m gone to tell my little brother, that he should also go to see this weblog
on regular basis to get updated from hottest gossip.